


WI22 Installation Guide
0

Table of Contents
Overview...........................……...….....………....…………2
Requirements................................................................3-4
Section I .............…………….............……………....…..5-8
Connecting to the WI22 ................................5-8
Section II......................................................................9-19
Playing Music.......................................................10
Playing Video.......................................................11
Viewing Photos...............................................12-13
Uploading Photos/Videos....................................14
Downloading Files..........................................15-16
Create/Copy/Move Files & Folders..................17-19
Section III……………..…...………..............................20-23
Connecting to WI22 Using Computer…………….20-21
Mounting the Hard Drive.......................................22-23
Section IV...................................................................24-25
Accessing the WI22 GUI.......................................24-25
Functions in the GUI ................................................26-29
1

Overview
Supported File Formats for iPhone/iPad app:
1. Video
m4v, mp4, mov (using H.264 or Mpeg-4 codec
only and must be DRM free)
2. Audio
AAC (NO-DRM), AIFF, Apple Lossless, Mp3,
WAV
3. Pictures (Viewable Only)
JPG, BMP, TIF, PNG, and GIF
4. Documents (Viewable Only)
ppt (Power point), xls (Excel), .docx or .doc
(Word), pdf
2

Requirements
The following procedures are instructions on how to
establish a connection with the WI22. Please make sure
you have the following requirements.
Hardware Requirements
PC or Mac computer with USB 3.0/2.0 port (For
Samba sharing, file transfer, or to access the WI22
Connect user interface)
iPhone (3G or better), iPad (1 or better) or iPod Touch
(2nd generation or better)
Android device and Tablet
Before power on the WI22, you must plug in a Pen
Drive or external enclosure with NTFS or FAT32
formate in WI22 USB2 connector
3

Requirements
Software Requirements
Windows XP/Vista/7 or higher
Mac OSX 10.5 or higher
WI22 Connect application for IOS (IOS 4.0 or higher)
WI22 Connect application for Android (Android phone
2.3 or 3.0 for tablets)
Web browser to access the User Interface (IE 6 or
better, Firefox 3 or better, or Safari 4 or better)
4
Section I
Connecting to the WI22 using an iPhone, iPod Touch or
iPad
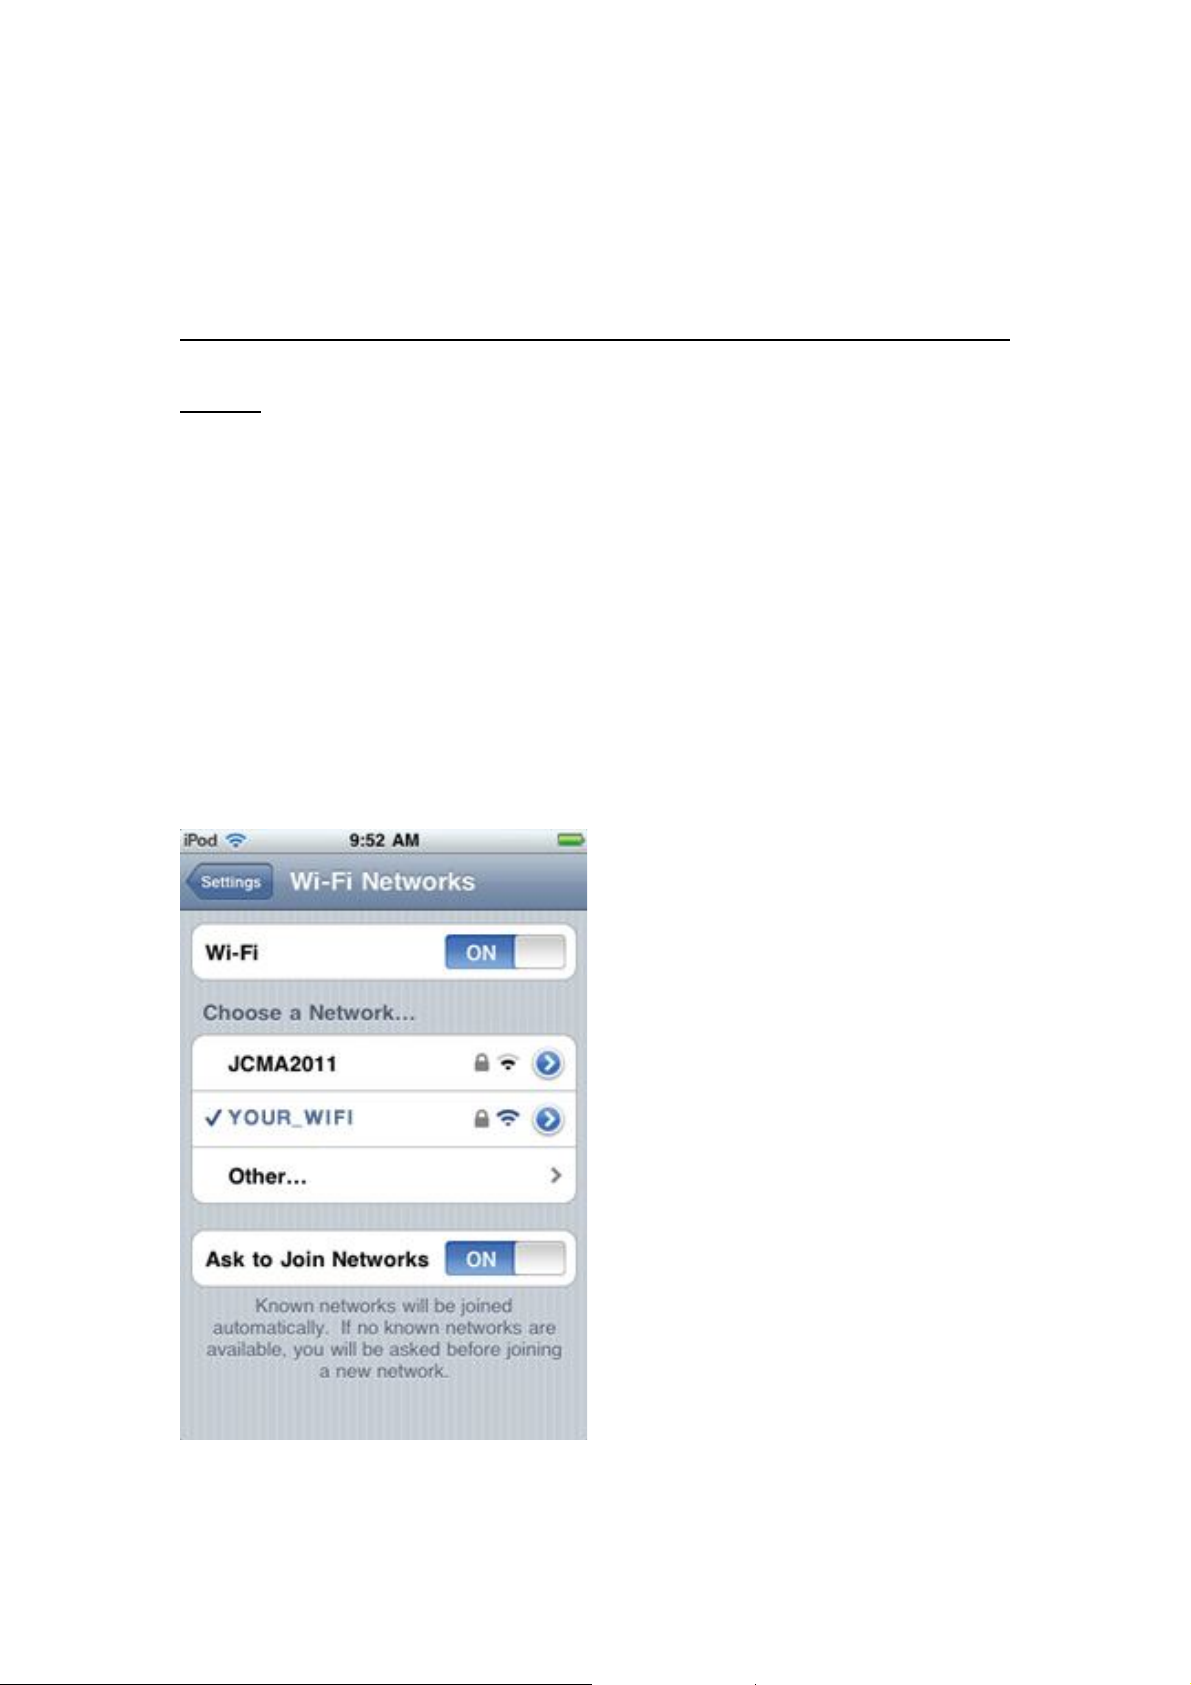
1. Press the “Settings” button on your device.
2. Select the “General” tab.
3. Select the “Wi-Fi” tab. Your device will be searching for
any wireless hotspot within in range (See screenshot
below).
5
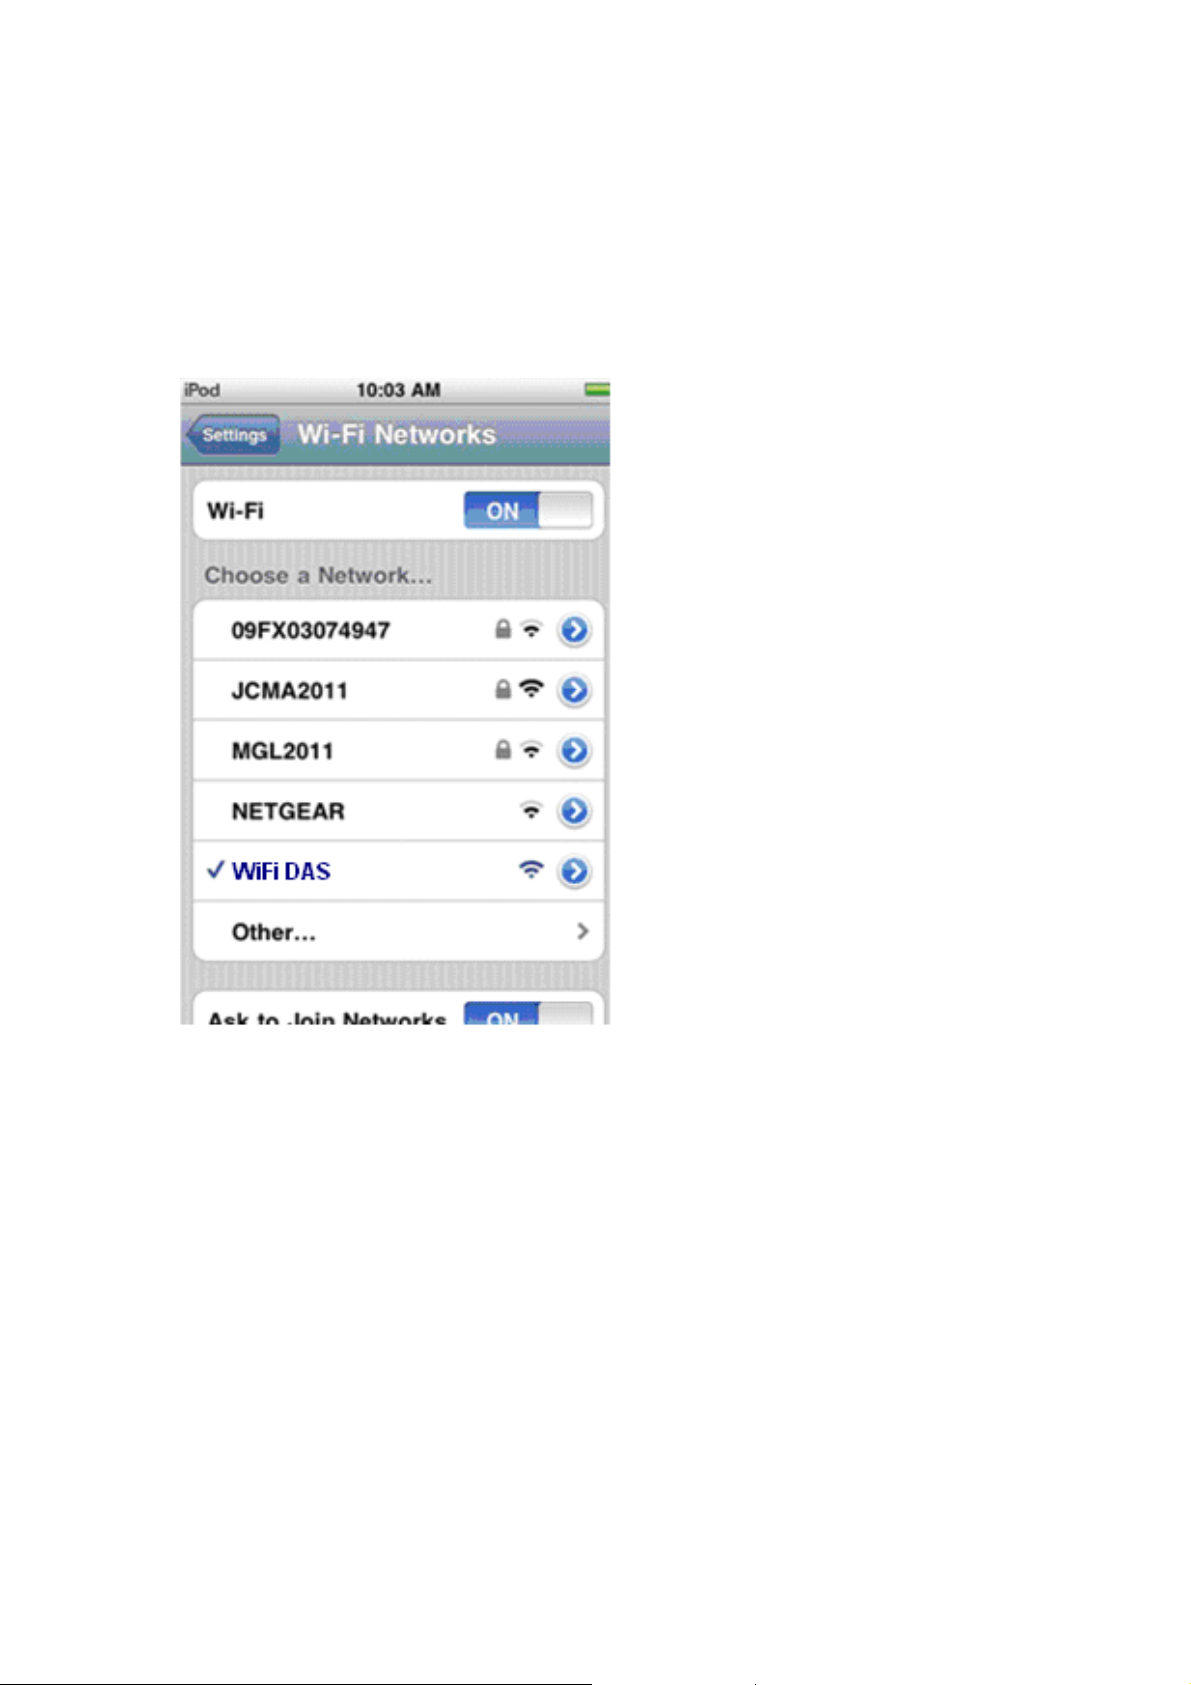
Section I
4. Select the hotspot called “WiFi DAS”.
6
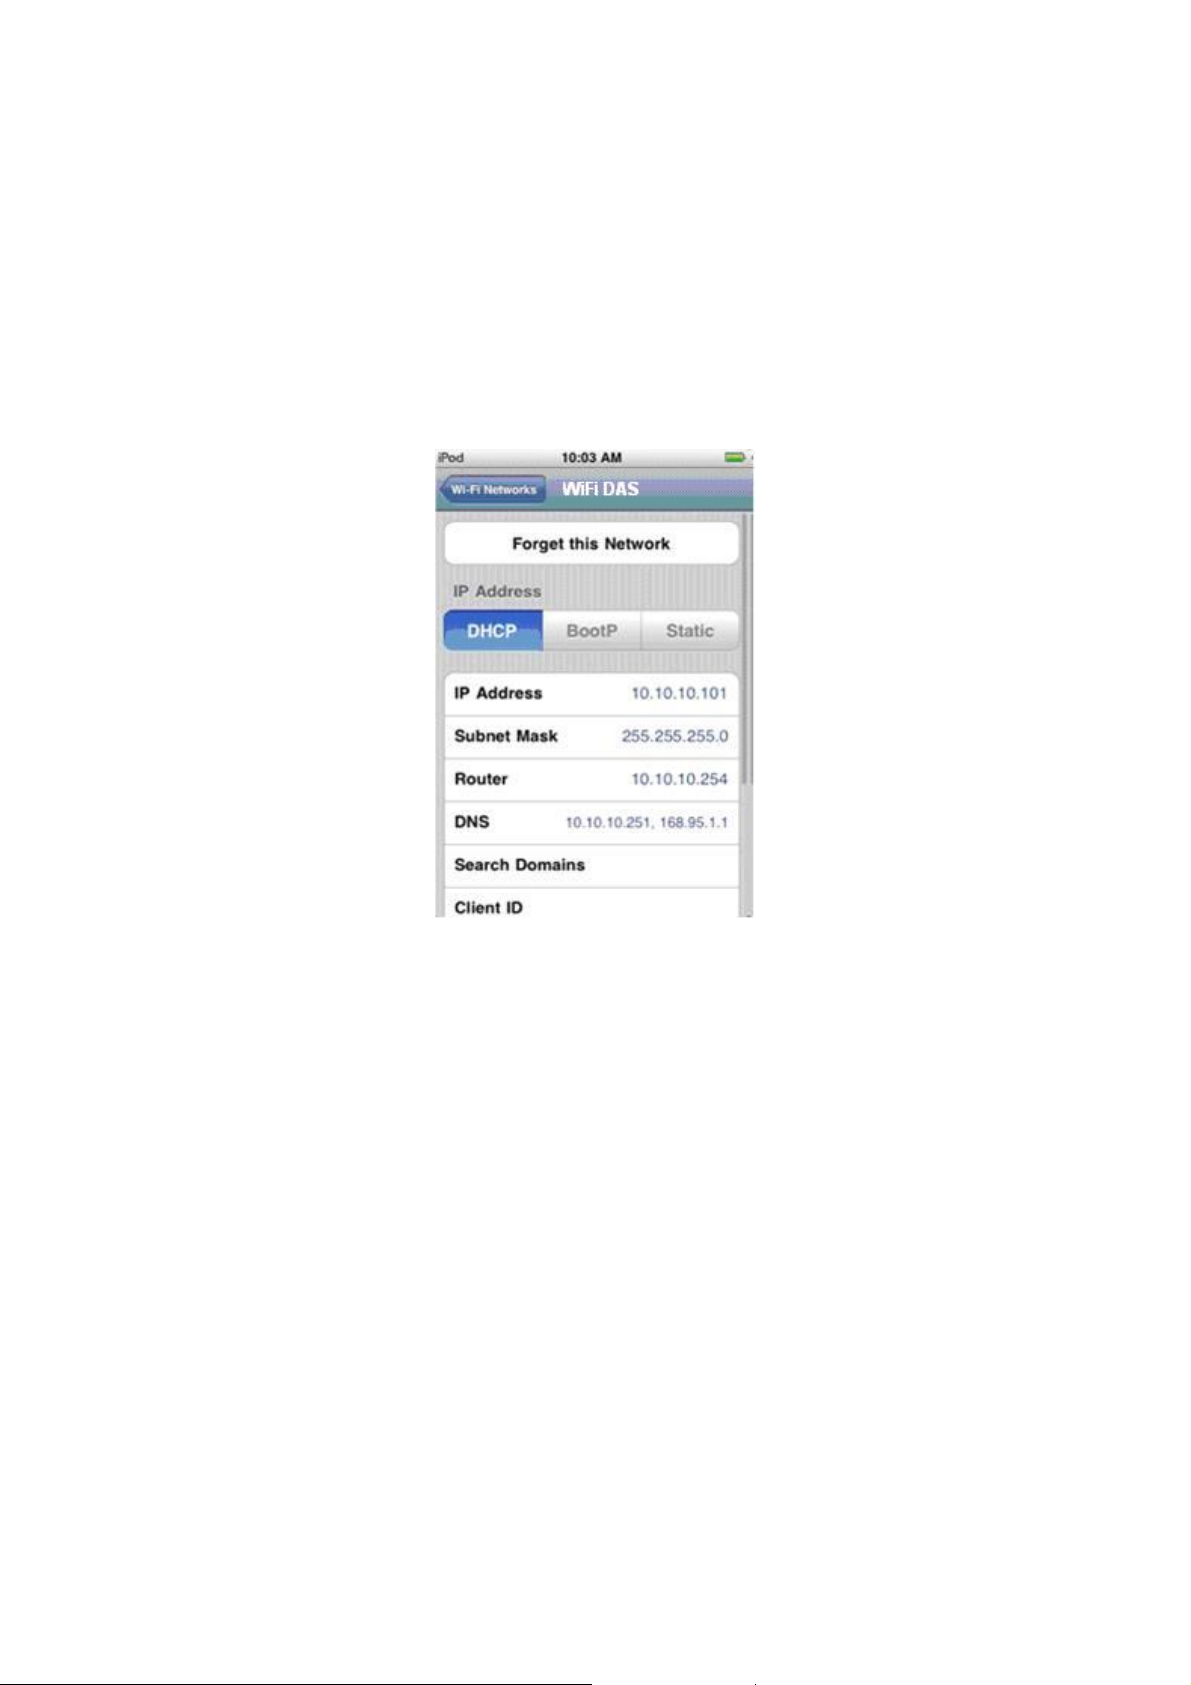
Section I
5. Make sure an IP address has been assigned
(10.10.10.xxx)
6. Once the connection is established, launch the WI22
Connect iOS application. This “App” can be downloaded
App store.
7
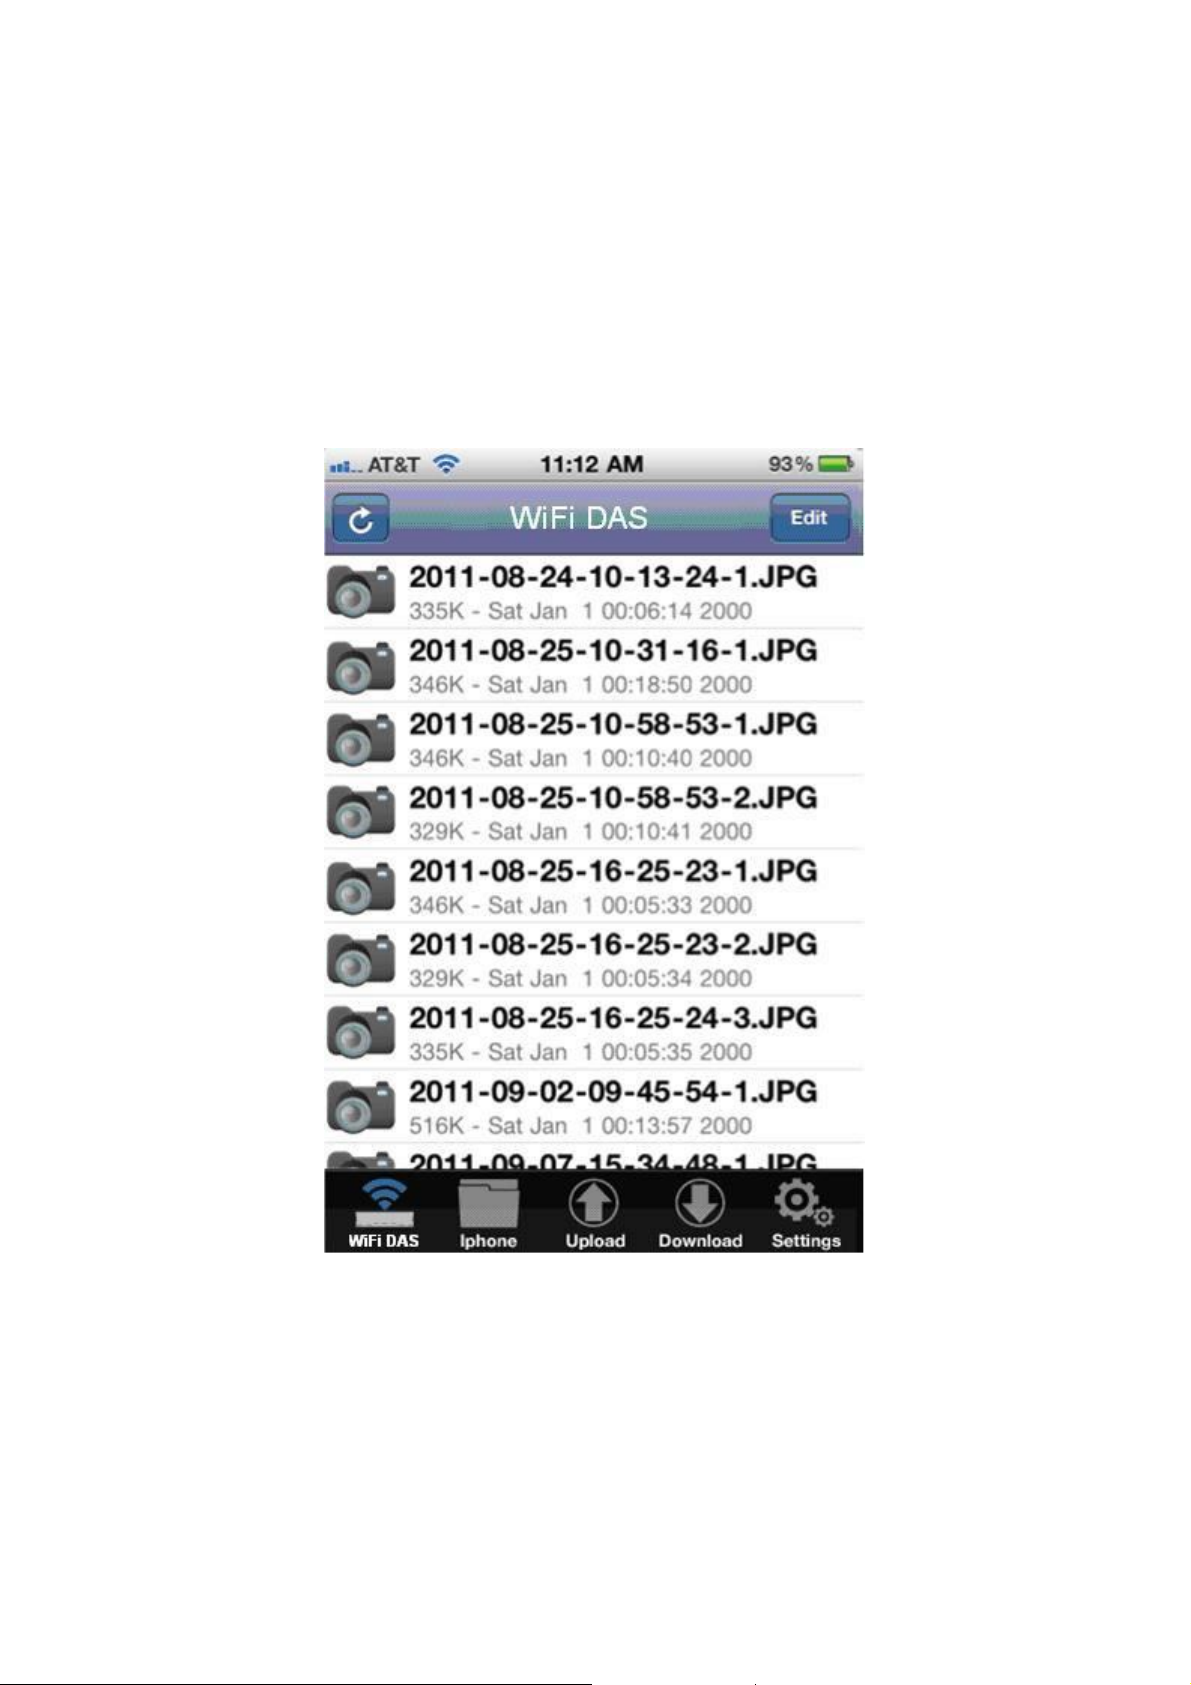
Section I
7. Once you have open the application you will be able to
browse the WI22.
8

Section II
Navigating the WI22 Connect Application
The following is a description of the icons that appears in
the home screen:
WiFi DAS – This is where you can view files that are in
the WI22.
MyDevice – This folder contains files that were
downloaded from the WI22 to your phone or tablet.
Upload – This is where you can upload from your
phone or tablet to the WI22. At the moment you can
only upload pictures or videos that are in your device’s
photo library.
Download- This is where you can download files from
the WI22 and store them to your phone or tablet.
Settings- This is where you can change the settings for
the WI22.
9

Section II
Playing Music
1. Select the audio file that you wish to play.
2. Once the song begins to play the music player will
appear.
3. Select the “Back” button if you wish to return to the main
screen or select the “Play list” button to view your music.
10

Section II
Playing Video
1. Select the video file that you wish to play.
2. Once the video has been selected it will need to load.
3. Once the video finishes loading it will start playing
11

Section II
Viewing Photos
1. Select the photo you wish to view.
2. Once you have selected the photo the picture viewer will
start.
Pressing the “Play” button will begin the slideshow
12

Section II
The slide show settings can be changed by pressing the
“Settings” tab on the main screen.
13

Section II
Uploading photos/video to WI22
1. Select the “upload” tab.
2. The upload screen will then appear.
3. Press the “+” button.
4. Select the files that you wish to upload to the WI22.
Once the files have been chosen, press the “upload”
button. This should start the upload process to the WI22.
14

Section II
Downloading files from WI22 to your phone or tablet
1. Select the “download” tab.
2. The download screen will then appear.
3. Press the “+” button.
4. Select the files that you wish to download from WI22.
Once the files have been chosen, press the “download”
button. This should start the download process from
WI22 to your device
15

Section II
5. Files that have been downloaded are located in the
“MyDevice” folder.
16

Section II
Create/Copy/Move Files or Folders
1. Select the “MyDevice” folder tab.
2. Select the “edit” tab.
3. You can now create a new folder, in order to move or
copy files to.
Section II
17

4. In order to copy/move a file you will need to select the
files.
5. Choose the files or folders that will be copied or moved.
6. Once the files have been chosen press the “Done” tab.
7. Select the new folder that was created.
Section II
18

8. Press the “edit” tab. A new screen will appear.
9. Press the “paste” tab. The files that were selected will
now be copied/moved to the new folder.
Section III
19

Connecting to the Wi-Fi Settings of Your Operating System
1. Navigate to the Wi-Fi settings of your operating system
Window 7
Section III
20

OSX
2. Select the hotspot called “WiFi DAS”.
3. Make sure an IP address has been assigned.
Section III
Mounting the Hard Drive
Once you have connected your computer to the WiFi DAS,
21

the device should appear within your home network. If the
device does not appear you will need to manually connect
to it using the Samba commands. The following
procedures are for OSX and Windows.
OSX
1. Click on The “Finder” icon on your dock.
2. Navigate to the upper taskbar and select “Go”.
3. Click on “Connect to Server”.
4. In the “Server Address” space, type in smb://10.10.10.254
5. The system will prompt you for a username and
password. Both the username and password are “admin”.
6. The drive will then mount on your desktop.
Section III
Windows
1. Click on The Windows icon on your taskbar.
22

2. In the “search programs and files” box, type in
\\10.10.10.254
3. The system will prompt you for a username and
password. Both the username and password are
“admin”.
4. The drive will then mount under windows explorer.
Section IV
Accessing the WiFi DAS GUI
The WI22 also includes a user interface that allows
23

users to change certain settings such as; network security,
SSID, passwords, Static IP address, etc. The following
procedures work on both PC and Mac.
1. Open a web browser (IE, Firefox or Safari)
2. In the address bar type in the following:
http://10.10.10.254
Section IV
3. The system will prompt you for a username and
password. Both the username and password are “admin”.
24

4. Once the username and password has been entered the
following page will appear.
Section IV
Functions in the GUI
1. Status : The System, Network and Client info will be
25

shown in this page. You also can select the “Display
Language” from this page.
2. Setup : You can change the Workgroup name, Time
setting and Firmware upgrade from this page. You also
can enable the Virtual AP function by click the “Network
Connections” from the bottom of this page
26

Click “Search” to find out the physical APs
27

Choose the AP you like to connect and click “Apply”
3. Network : You can change the SSID and Samba
account from this page.
28

4. Security : You can enable the Security function from this
page. And there are three security type for your optional.
WEPAUTO, WPA-PSK and WPA2-PSK.
29

Federal Communications Commission (FCC) Statement
You are cautioned that changes or modifications not expressly
approved by the part responsible for compliance could void the user's
authority to operate the equipment.
This equipment has been tested and found to comply with the limits for
a Class B digital device, pursuant to part 15 of the FCC rules. These
limits are designed to provide reasonable protection against harmful
interference in a residential installation. This equipment generates,
uses and can radiate radio frequency energy and, if not installed and
used in accordance with the instructions, may cause harmful
interference to radio communications. However, there is no guarantee
that interference will not occur in a particular installation. If this
equipment does cause harmful interference to radio or television
reception, which can be determined by turning the equipment off and
on, the user is encouraged to try to correct the interference by one or
more of the following measures:
-Reorient or relocate the receiving antenna.
-Increase the separation between the equipment and receiver.
-Connect the equipment into an outlet on a circuit different from that to
which the receiver is connected.
-Consult the dealer or an experienced radio/TV technician for help.
This device complies with Part 15 of the FCC Rules. Operation is
subject to the following two conditions:
1) this device may not cause harmful interference, and
2) this device must accept any interference received, including
interference that may cause undesired operation of the device.
FCC RF Radiation Exposure Statement:
1. This Transmitter must not be co-located or operating in conjunction
with any other antenna or transmitter.
2. This equipment complies with FCC RF radiation exposure limits set
forth for an uncontrolled environment. This equipment should be
installed and operated with a minimum distance of 0.5 centimeters
between the radiator and your body.
SAR information: 0.245 W/kg (1g)
CAUTION
Risk of explosion if battery is replaced by an incorrect type.
Dispose of used batteries according to the Instructions
 Loading...