

Maplin N74DG Owner's Manual
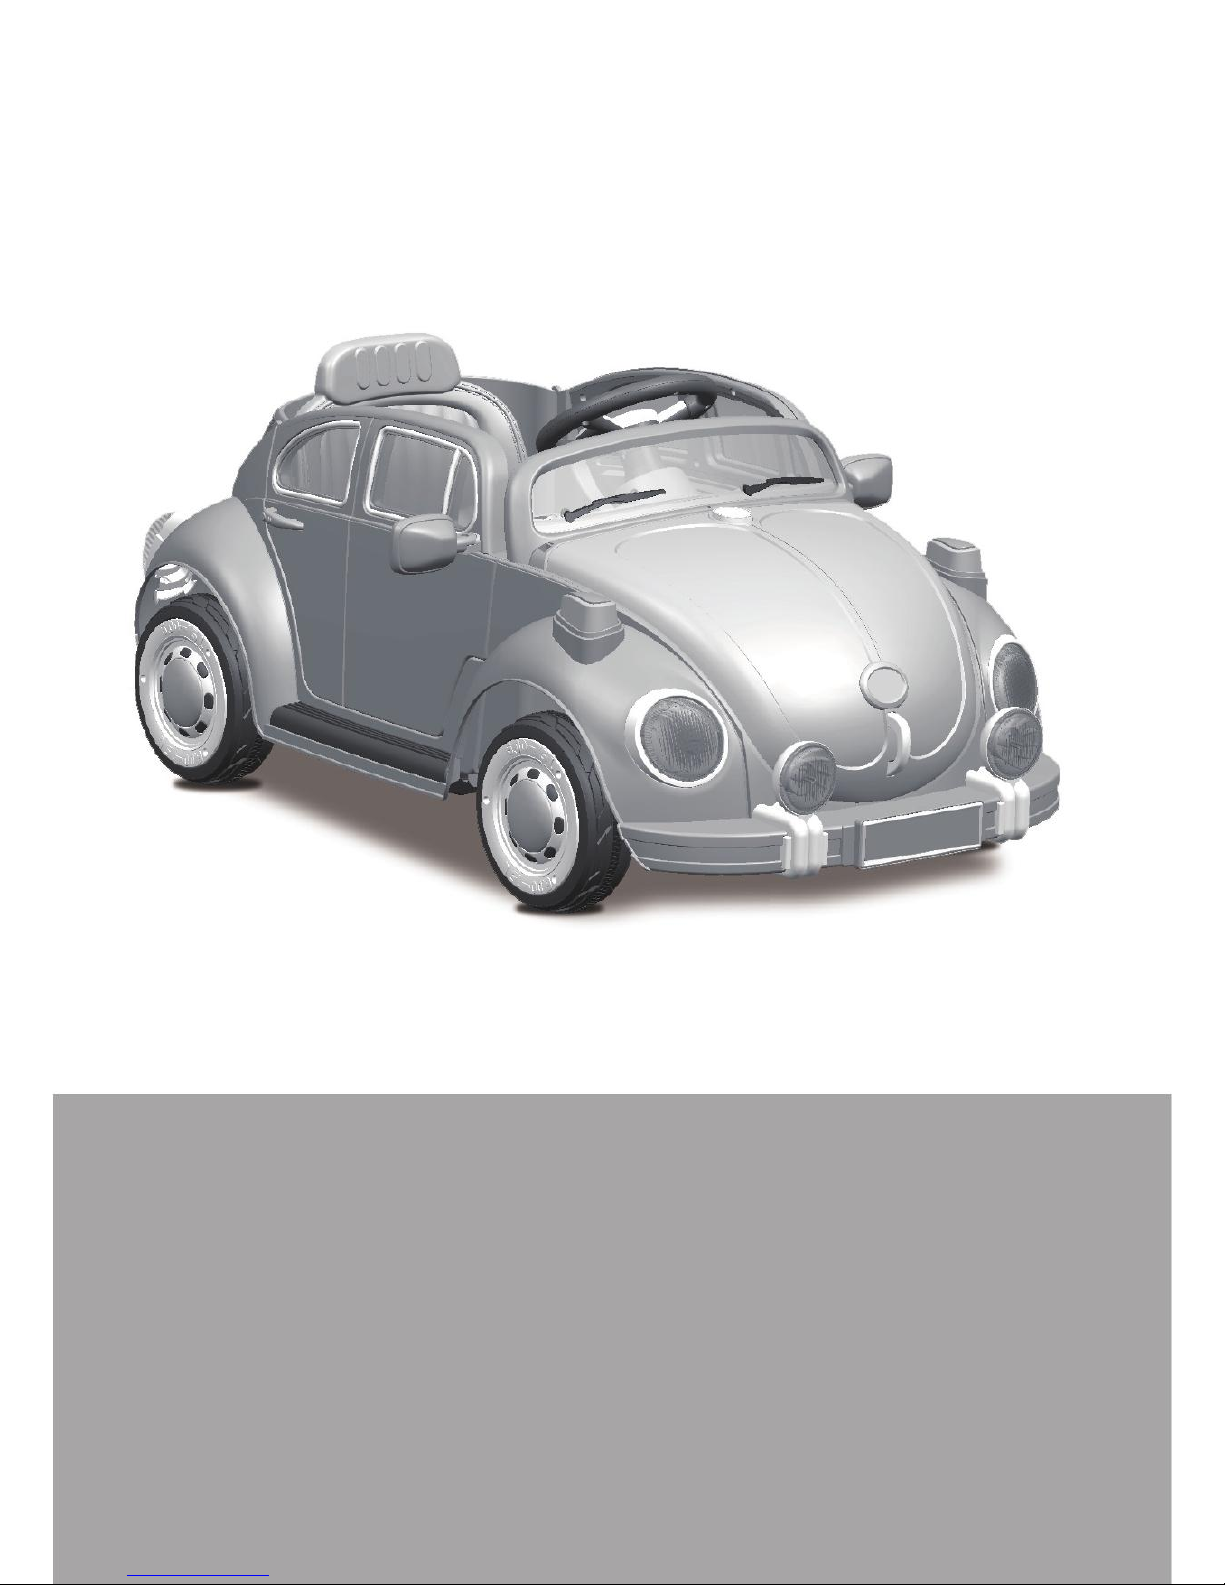
CHILDREN'S ELECTRIC RIDE-ON
With remote control function
Owner's Manual
with Assembly Instructions
Styles and colours may vary.
Made in China.
The owner's manual contains important safety information as well as assembly, use and
maintenance instructions.
The Ride-On car must be assembled by an adult who has read and understands the
instructions in this manual.
Keep the package away from children and dispose of properly before use.
Keep this manual for future reference.

About Your New Ride-On 1
Details on the purchase of your new
Ride-On car.
This Ride-On car will provide your child with many hours of riding of enjoyment.
To help assure you and your child a safe experience, we ask you to please read
this manual carefully, and keep it for future reference.
Please do follow the recommendations in this manual, they are designed to
improve the safety and operation of your Ride-On car and your child.
Battery
Fuse
Charger
Suitable age:
Load Capacity:
Speed:
Size of car:
Power way:
Charge time:
6V7Ah * 1
7A
6V1000mA
37~96 Months
Under 30 kgs
1WD 3km/h
115 x 63 x 53 CM
Charging type
8 ~ 12 hours
2WD
6V7Ah * 2
5A & 13A
12V1000mA
3~5km/h
VER: SMS-JE158-RC-EN-131213
VER: SMS-JE158-EN-131213
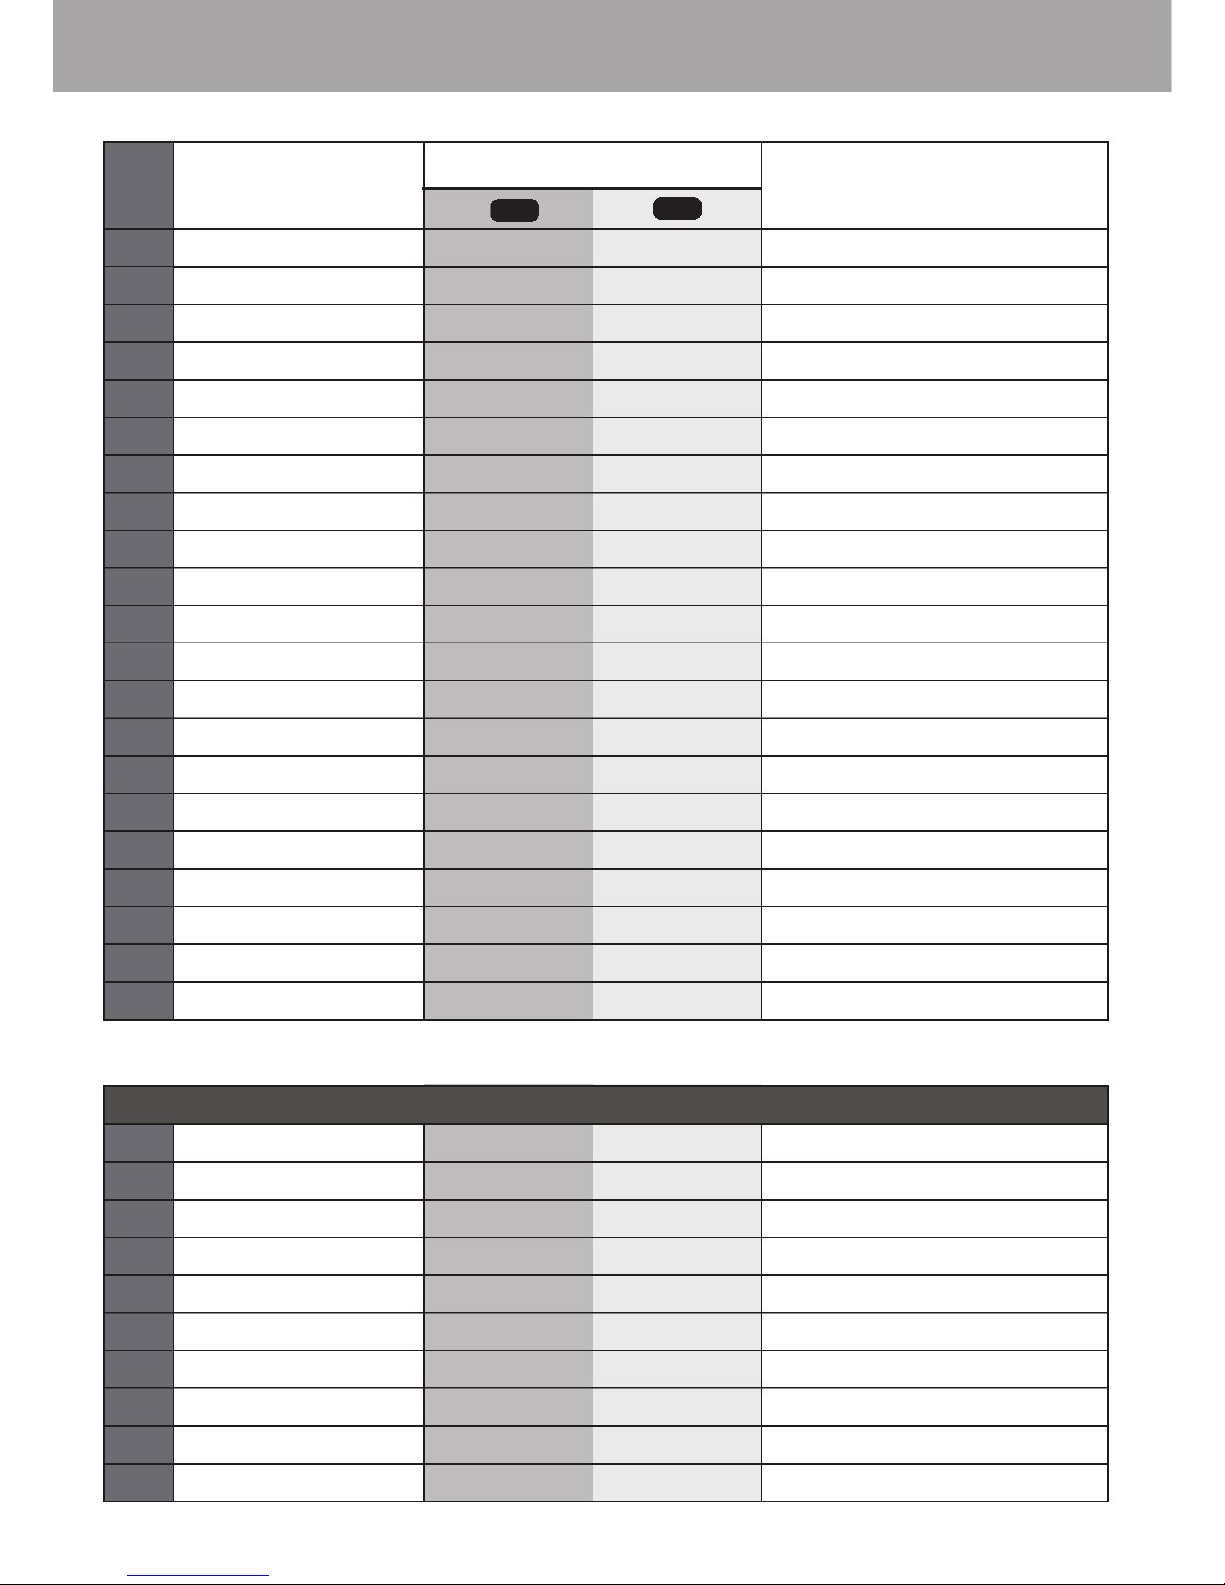
Parts List 2
PART
NO.
1
2
3
4
5
6
7
8
9
10
11
12
13
14
PART NAME
Gear box
Driving wheel
•12 washer
•10 locknut
Bushing
Normal wheel
Motor hood
Vehicle body
Rear axle
Steering column
Headlight
View mirror
Front axle
Seat
1WD
Q'ty (pcs)
2WD
One pair
REMARKS
15
16
17
18
19
20
21
M5x12 machine screw
Steering wheel
M5x35 machine screw
•5 nut
Side support
Charger
Remote controller
Placed on the vehicle body
Placed on the steering wheel
Placed on the steering wheel
One pair, and marked "L" or "R"
A
B
C
D
E
F
G
H
i
J
•4x12 falt head screw
Hubcap
Spanner
Split pin
•10 washer
M5x20 machine screw
•4x12 round head screw
•5 nut
M5x20 machine screw
R/C driver
Assembly package
For front axle and motor hood.
1 pcs for spare
1 pcs for spare
For view mirrors
For side supports
2 Forfor viewmirror, 1 pcs placed on the R/C driver
pcs view mirror
Placed on the R/C driver
Parts Diagram 3
NOTE: Some parts shown are assembled on both sides of vehicle
20
C
21
15
14
F
8
7
A
16
17
18
12
9
11
2
1
B
4
3
B
4
3
19
6
G
5
G
13
3
H
10
D
J
A
i
E
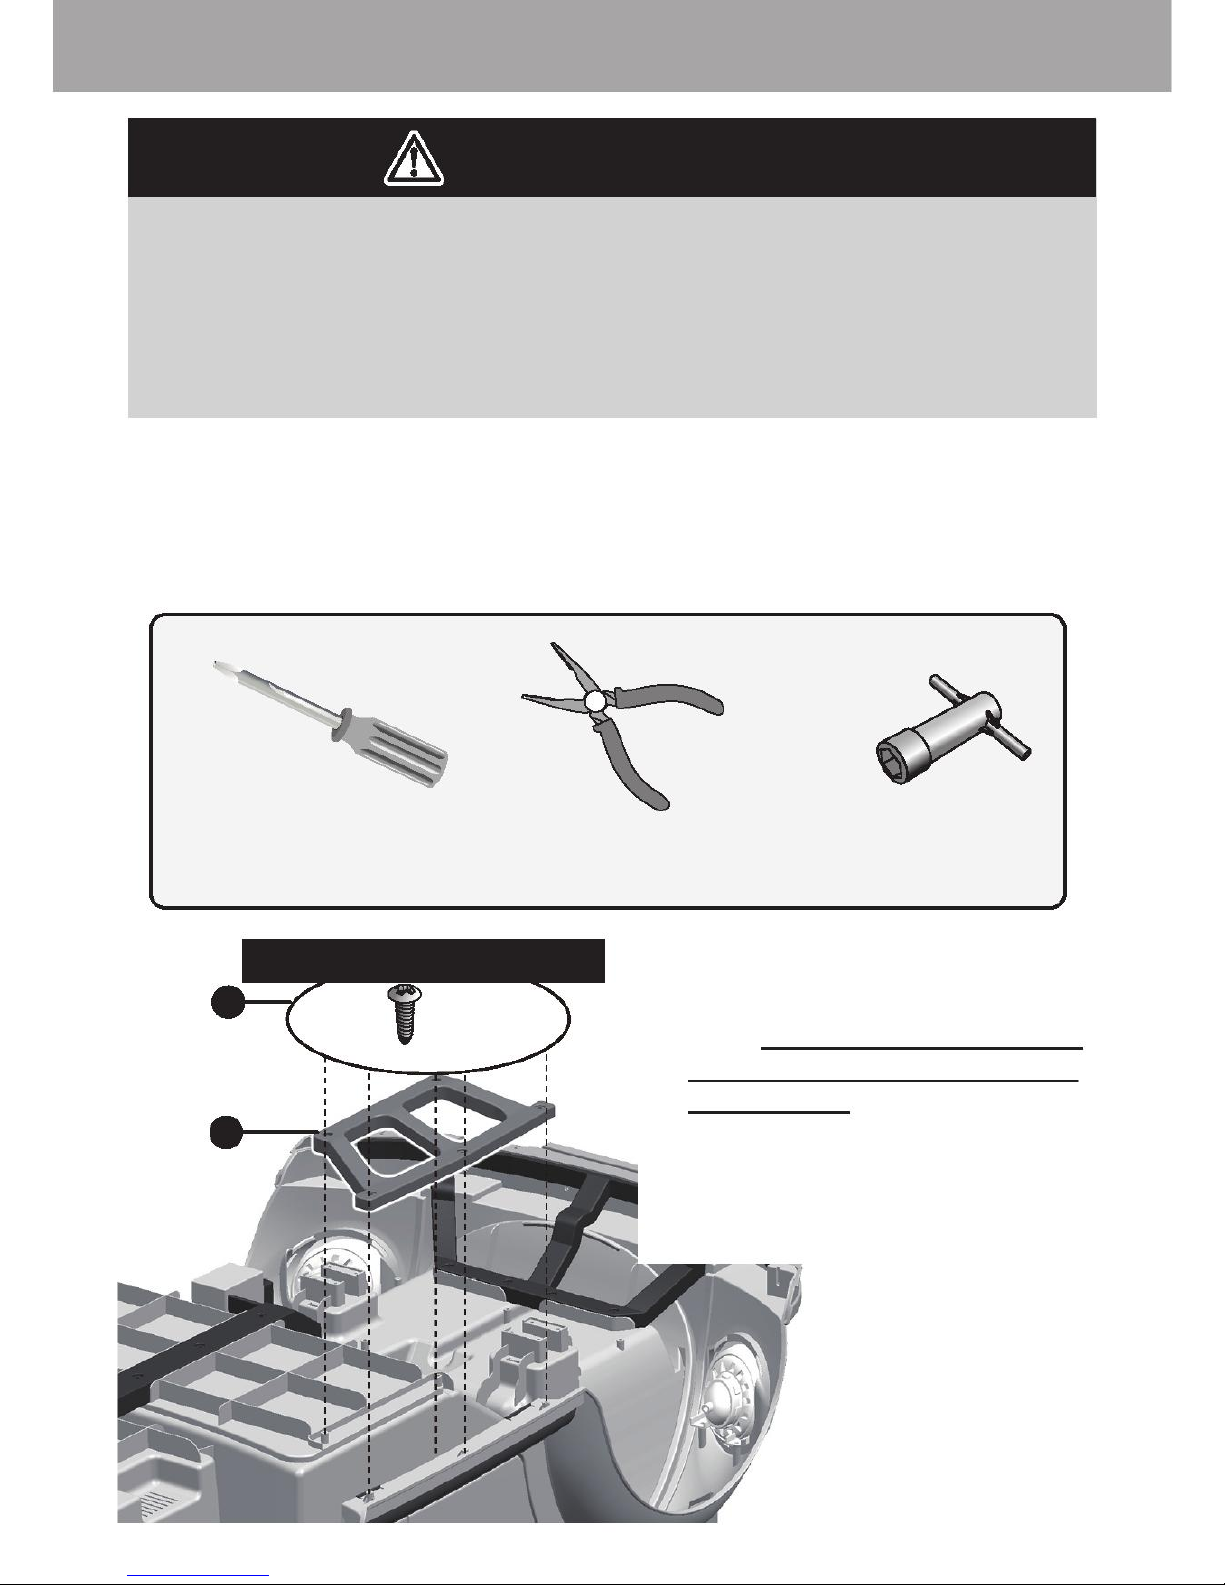
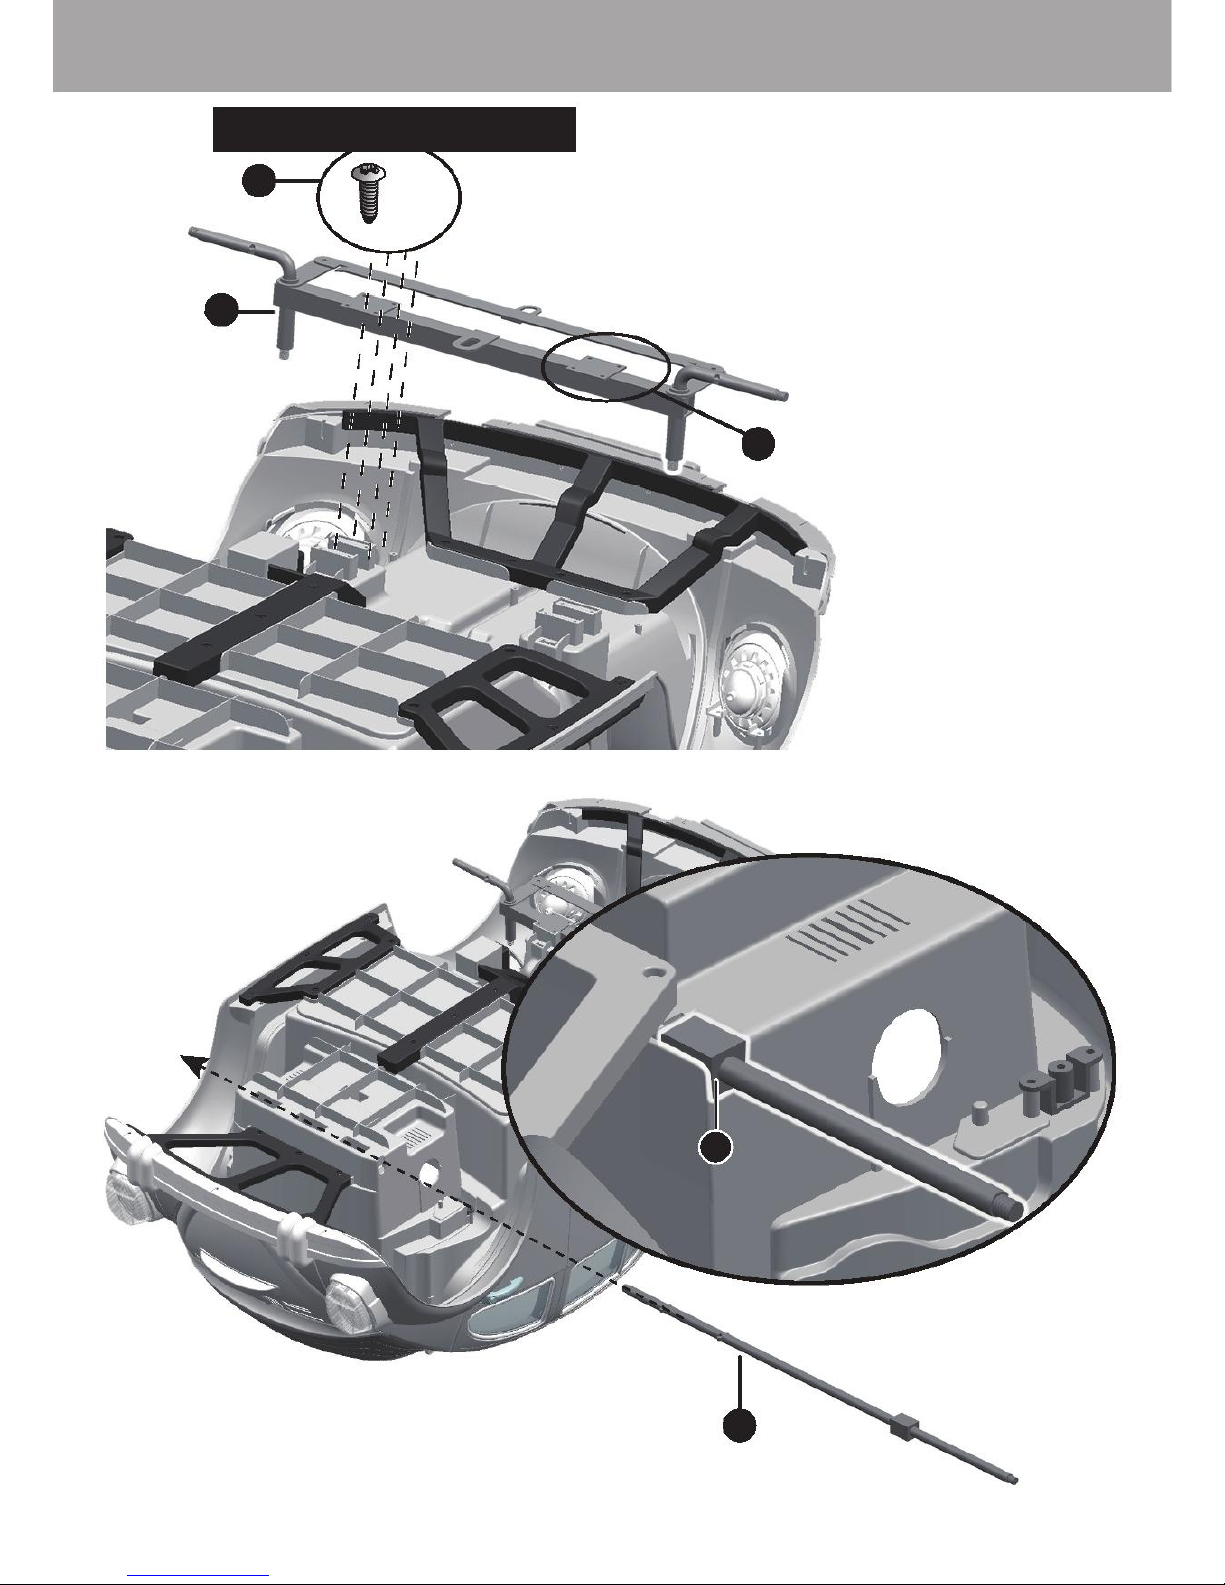
Attach the Side Support 4
WARNING!
FOR THE SAFETY OF YOUR CHILD, PLEASE READ ALL WARNINGS AND
ASSEMBLY/USE INSTRUCTIONS. KEEP THIS GUIDE FOR FUTURE REFERENCE.
• ADULT ASSEMBLY REQUIRED. The product contains small parts, which are for
adult assembly only. Keep children away when assembling.
• Always remove protective material and poly bags and dispose before assembly.
• Make sure that the power switch is turned "OFF" before assembling the Ride-
On.
• Before first use, it is recommended to charge the battery for at
least 4 to 6 hours.
• Assembly tools required:
Screwdriver Long nose pliers Spanner
(not included) (not included)
2
1
•4x12 round screws, part G
x5
Turn the vehicle body upside down.
1. Fit the side support to the vehicle
body, If the side support does not
seem to fit, please try the other
one and try again! As they are
different but hard to tell apart!
2. Tighten five Ø4x12 round screws,
part G to secure it.
3. Repeat for the other side.
Attach the Rear Axle 5
•4x12 flat screws, part A
1
2
x4
1. Fit the front axle to the vehicle body.
2. Tighten four Ø4x12 screws flat
head screwis, part A to secure it.
3. Repeat for the other side.
3
5
Remove all the parts from the rear axle.
4. Insert the rear axle into the hole in the vehicle body. 4
5. Make the square part on the rear axle match with the square opening in
the vehicle body.

1WD Attach the Rear Wheels 6
Rear axle
4
5
3
2
1
Tools required: Spanner
1. Slide the gearbox onto the rear axle (Left Side).
2. Slide the driving wheel onto the rear axle. And make the driving wheel line up with
the gearbox .
3. Slide the Ø12 Washer onto the rear axle.
4. Tighten a Ø10 Locknut to the end of the rear axle with a
spanner.
5. Fit the hubcap to the wheel cover.
9
6 10
7
8
6. Slide the Ø12 Washer onto the rear axle (Right Side).
7. Slide the Bushing(right end first) onto the rear axle .
8. Slide the Normal wheel onto the rear axle. And keep it lined up with the
Bushing.
9. Slide the Ø12 Washer onto the rear axle.
10. Tighten Ø10 Locknut to the end of the rear axle with a spanner.
11. Fit the hubcap to the wheel cover.
11

2WD Attach the Rear Wheels 7
Rear axle
4
5
3
2
L
1
1. Slide the gearbox onto the rear axle (Left Side). "R" labelled gear box should be fit to the
"R" side of vehicle body; "L" labeled gear box should be fit to "L" side of vehicle body.
2. Slide the driving wheel onto the rear axle. And keep the driving wheel lined up with the
gearbox.
3. Slide the Ø12 Washer onto the rear axle.
4. Tighten a Ø10 Locknut to the end of the rear axle with a spanner.
5. Fit the hubcap to the wheel cover.
Tools required: Spanner
6
R
7
8
9
6. Slide the gearbox onto the rear axle (Right Side).
"R" labelled gear box should be fitted to the "R" side of vehicle body; "L" labelled
10 gearbox should be fit to "L" side of vehicle body.
7. Slide the driving wheel onto the rear axle. And keep the driving wheel lined up with
the gearbox .
8. Slide the Ø12 Washer onto the rear axle.
9. Tighten a Ø10 Locknut to the end of the rear axle with a
spanner.
10. Fit the hubcap to the wheel cover.
 Loading...