

Page 1

GPS Road Logger
Concerto-B
User Manual
MAP electronics co.,ltd. 1
Page 2

Concerto-B GPS Road Logger User Manual
Specifications and accessories ………….…………………………P.3
Introduction and operation ….……………………………………P.4~7
Outline introduction ……….….…...………………………………P.4
Main page introduction ………………….…………………………P.5
Riding Inf. & GPS Inf. introduction …………...……………….……P.6
Setting page introduction …………….. ……….…………………P.7
Program Installation …...……………………….…………………P.8~11
Driver Installation ………………………………………………P.8~10
Application Program Installation …….....…….…………………P.11
Connection mode select ..............………….. ……………………P.12
Application Program introduction …………..……………………P.13~18
GPS Mouse Mode introduction ………………………………P.19~20
How to build a photo file to Google earth ………………P.21~23
MAP electronics co.,ltd.
2
Page 3
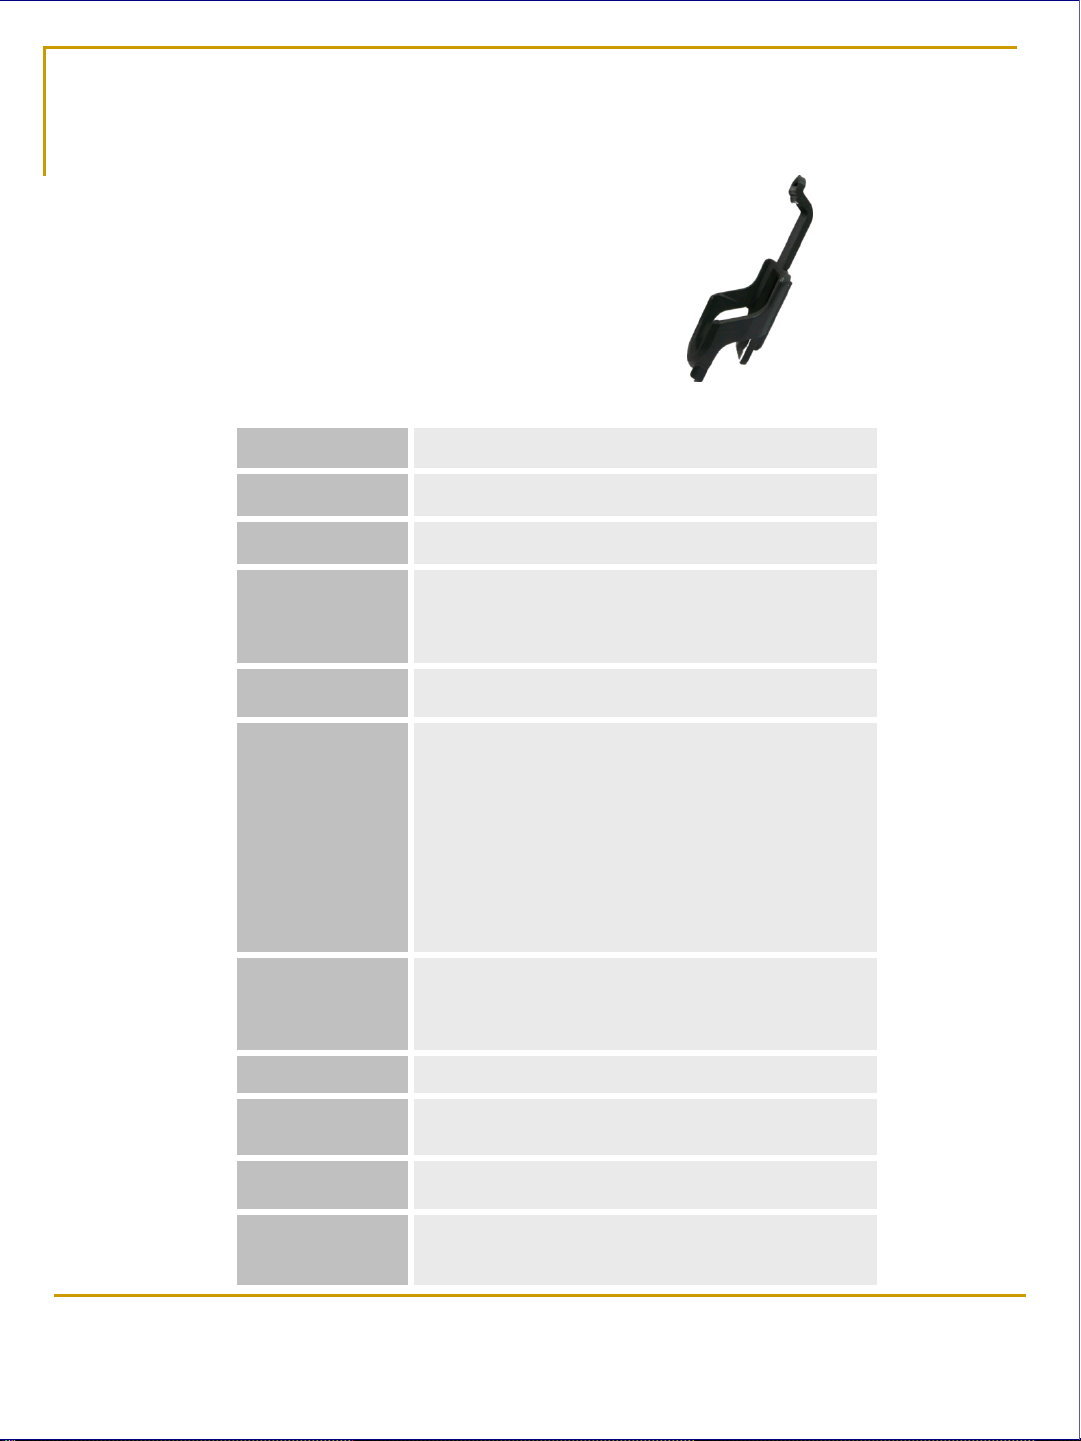
Spec. and Accessories
Concerto-B Li-ion Battery USB Charger & Cable Bike Holder CD
SIZE 75 x 42 x 18 mm
WEIGHT 60g(with battery)
DISPLAY LCD 1.5” 128 * 128
MEMORY FLASH 2M
Max. recording trace:99
Max. recording point:130,848
USB USB Connector (Standard 5PIN) / charge
Battery Li-ion battery (Japanese battery cell)
Capacity:920mAh
Operation time:over 9 hours (wit h ba cklig ht o n
mode)
PS.: Inside a building under lower signal
circumstance, Concerto consumes more power to
search satellite signal.
USB Charger Input : 100~240 VAC, 0.25A 50/60Hz
Output : 5.0Vdc, 1.0A/5.0W(MAX.)
USB wire : 1m
GPS chip MStar
Bike Holder Holder、Bike clipper 、 Tying string x2、Rubber
pad x1
CD Driver、AP、User Manuel
System Only for Windows 2000 、 XP 、Vista、7
Not available for Macintosh and Linux.
MAP electronics co.,ltd.
3
Page 4
Outline and screen introduction
Front side Rear side Bottom side
On / Off
Previous /Left Next / Right
Enter
Battery Cover
USB connector
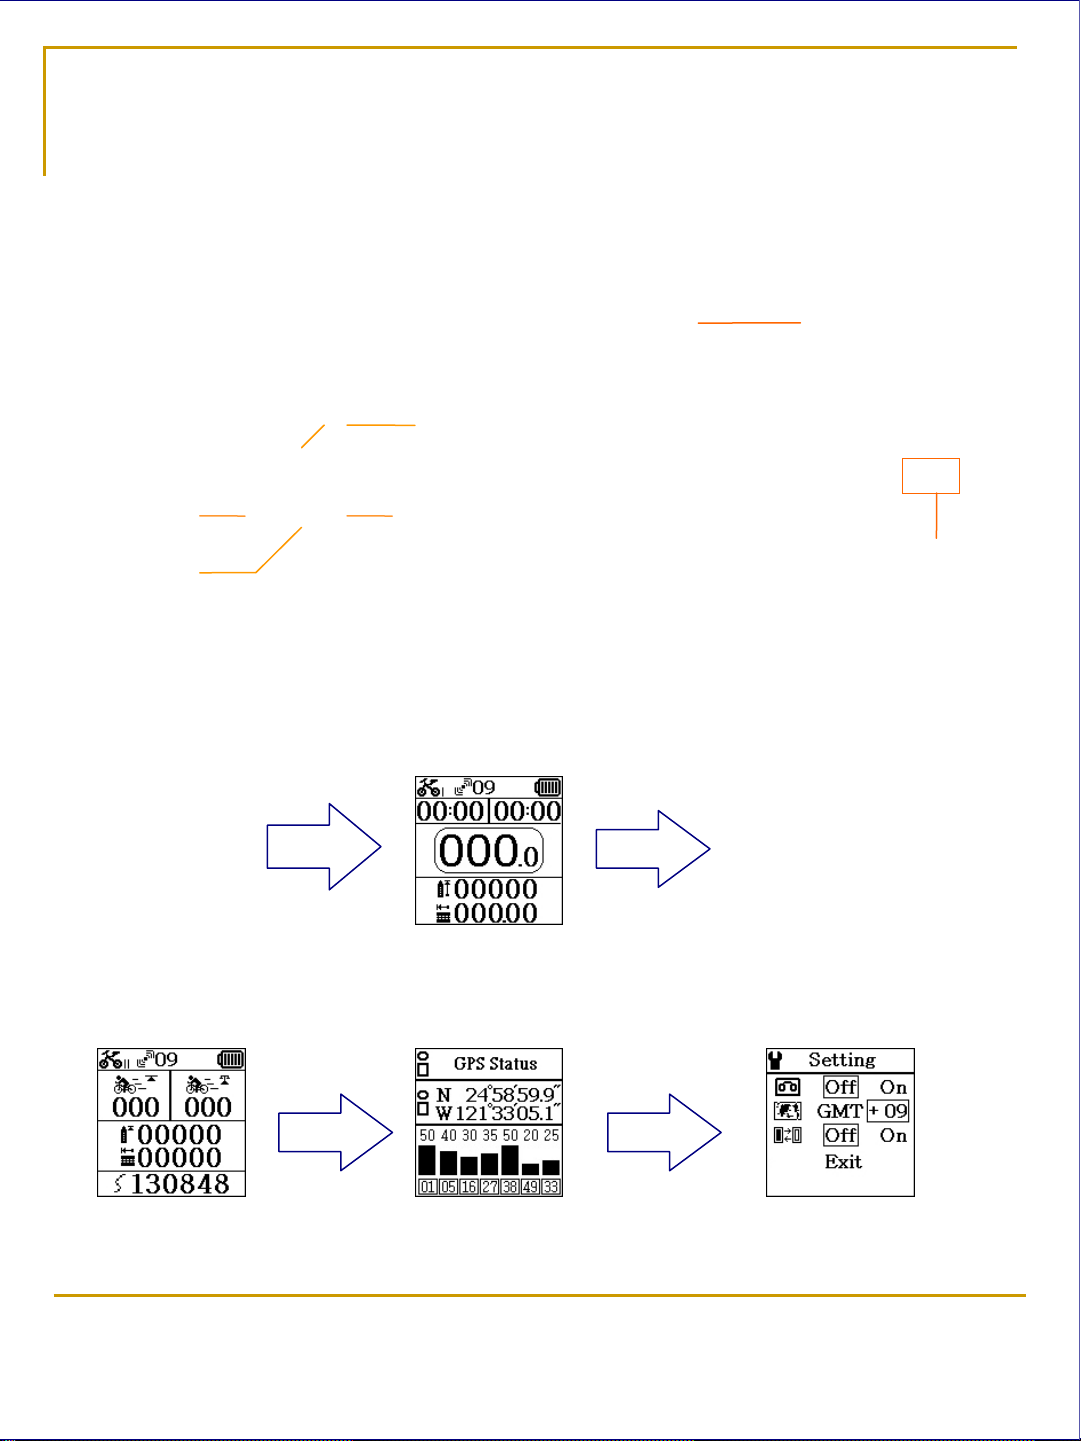
MAIN PAGE
Turn On/Off:Push power key for 3 second to turn on Concerto
Auto
Enter
Turn On
Riding Inf.
Main
GPS Inf.
Push left or right key to select page
Setting
MAP electronics co.,ltd.
4
Page 5
Main Page
Main
In Main page push “Enter” key
POI Save
The POI will be saved
Bike mode icon
This Bike mode icon will flash when record
function is on.
Satellite No.
Number of satellite signals receiving
Battery Capacity
When battery low power Concerto will show
“Battery low” on screen for a alarm
If you did not do anything concerto will auto save
your record and power off
Time / Riding Time
Time and riding will start when Concerto get
satellite clock
Speed
Your riding speed
Altitude (Unit:m)
Local altitude
Moved distance (Unit:km)
Start from your turn on Concerto to position now
MAP electronics co.,ltd.
5
Page 6
Riding Inf. & GPS Inf.
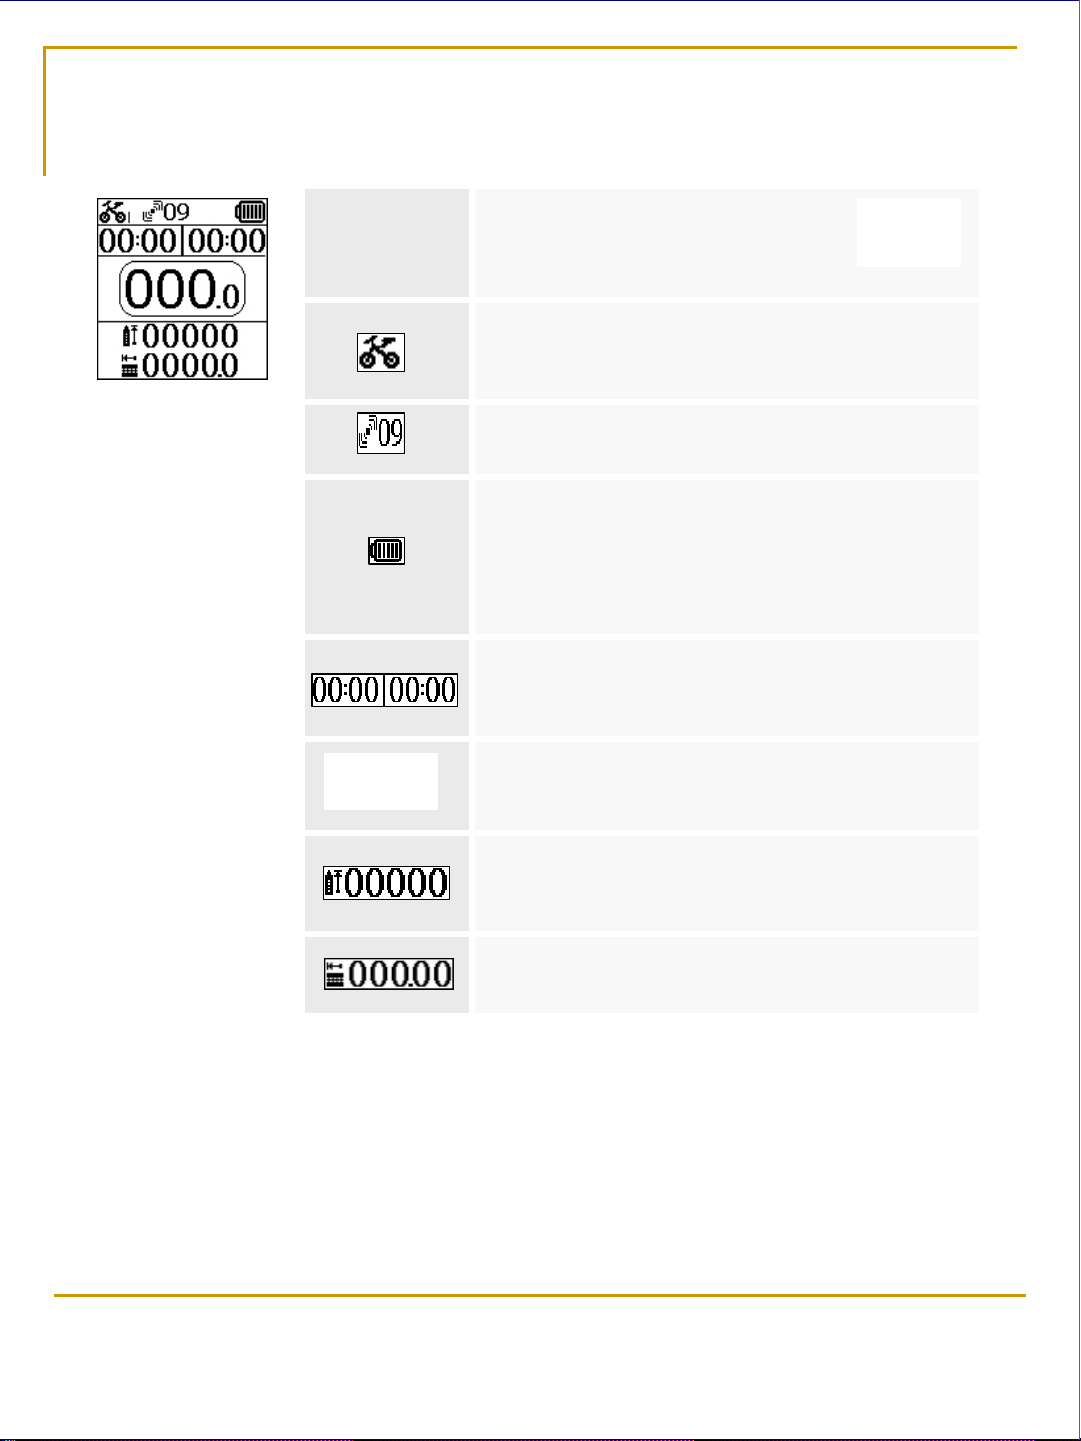
Riding Inf.
Max. Speed (Unit:km / Hr )
Avg. Speed (Unit:km / Hr )
include rest time
Max. Altitude (Unit:m)
In you this trace max altitude
Total Trip distance (Unit:km)
Remaining record points
Concerto max record point is 130848 and max
trace is 99.
This number will decrease when your use
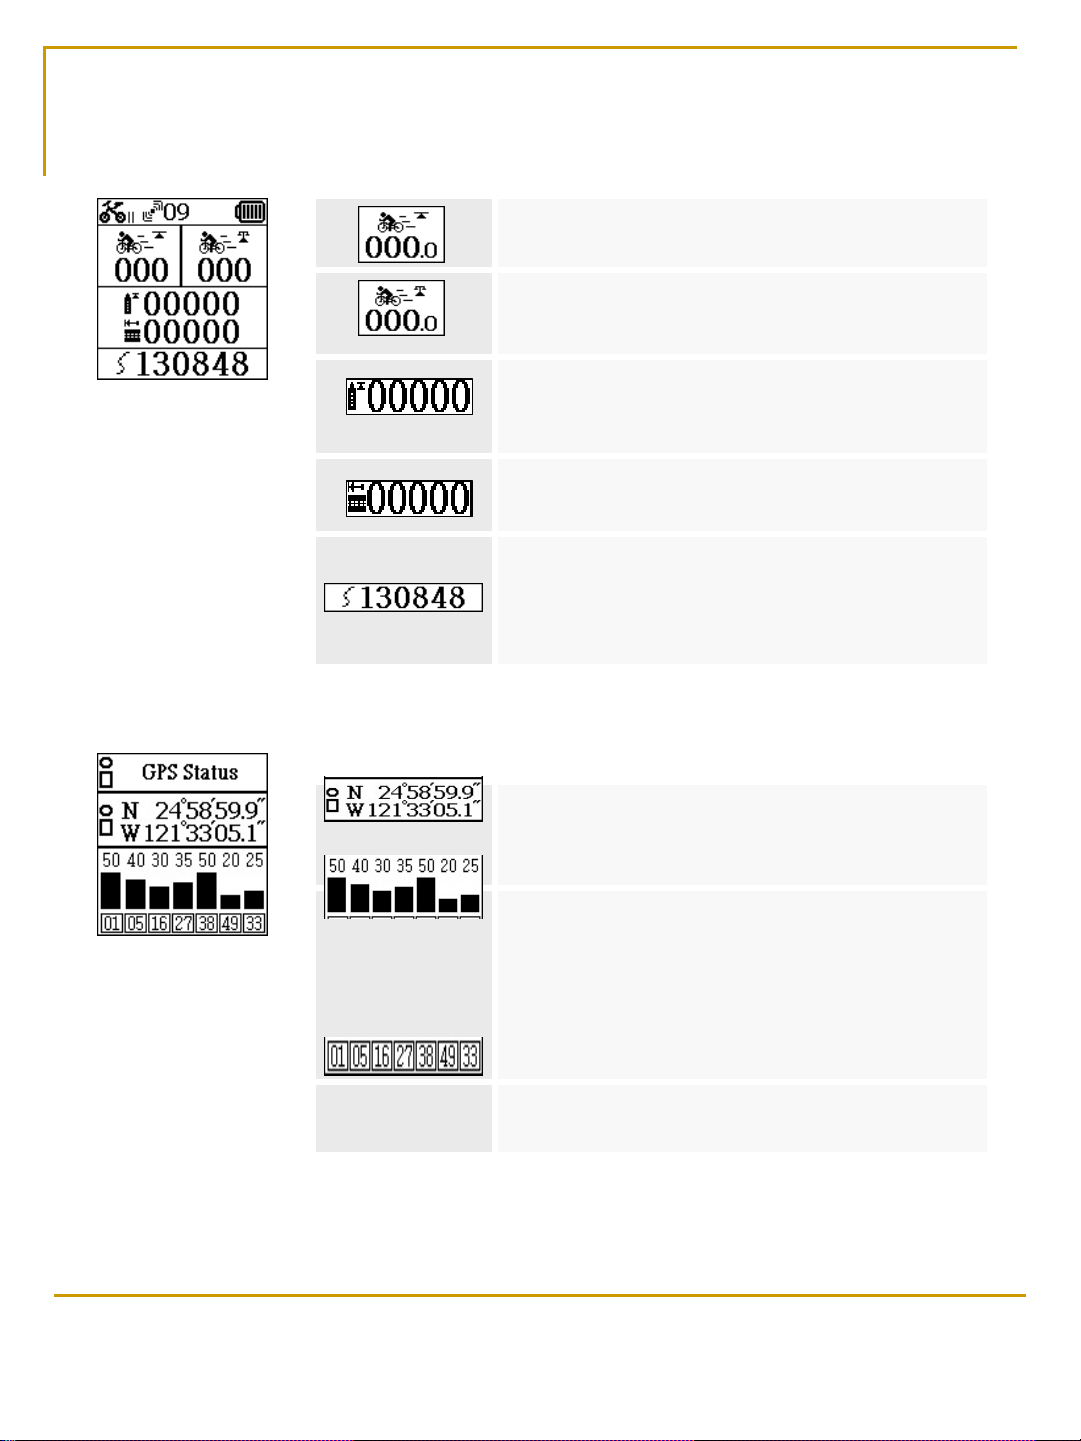
GPS Inf.
Long. / Lat.
Use WGS84 system and it is according
to position to show NE, NW, SE and SW.
Sat. Signal
Note
Sat. signal is influenced by building or
circumstances.
Please attend about your environment for a
good signal
Sat. Number
MAP electronics co.,ltd.
6
Page 7

Setting
Setting
Record On / Off
If you turn on trace record function
This icon will flash
When km/h < 40 10m /1point
40 <= km/h < 50 30m /1point
50 <= km/h < 60 35m /1point
60 <= km/h < 70 40m /1point
70 <= km/h < 80 50m /1point
80 <= km/h < 90 60m /1point
90 <= km/h < 100 70m /1point
100 <= km/h < 110 80m /1point
110 <= km/h < 120 90m /1point
120 <= km/h < 130 100m /1point
130 <= km/h < 140 130m /1point
140 <= km/h < 150 160m /1point
150 <= km/h < 160 200m /1point
160 <= km/h < 170 250m /1point
170 <= km/h 500m /1point
Time zone adj.
Backlight On / Off
If you turn Off back light
When your push any key
The back light will turn for 10 sec..
Exit Exit to main page
MAP electronics co.,ltd.
7
Page 8

Program Installation--Driver Installation
The install will start when your insert the disk
If your computer has not this program please push
this bottom for install
Install Concerto driver for computer
Install Concerto application program for computer
Show company information
Show about user manual
Show about disk information
If you can’t see above screen page in your insert disk to computer,
please select ConcertoCD.EXE in disk for the Software install
MAP electronics co.,ltd.
8
Page 9

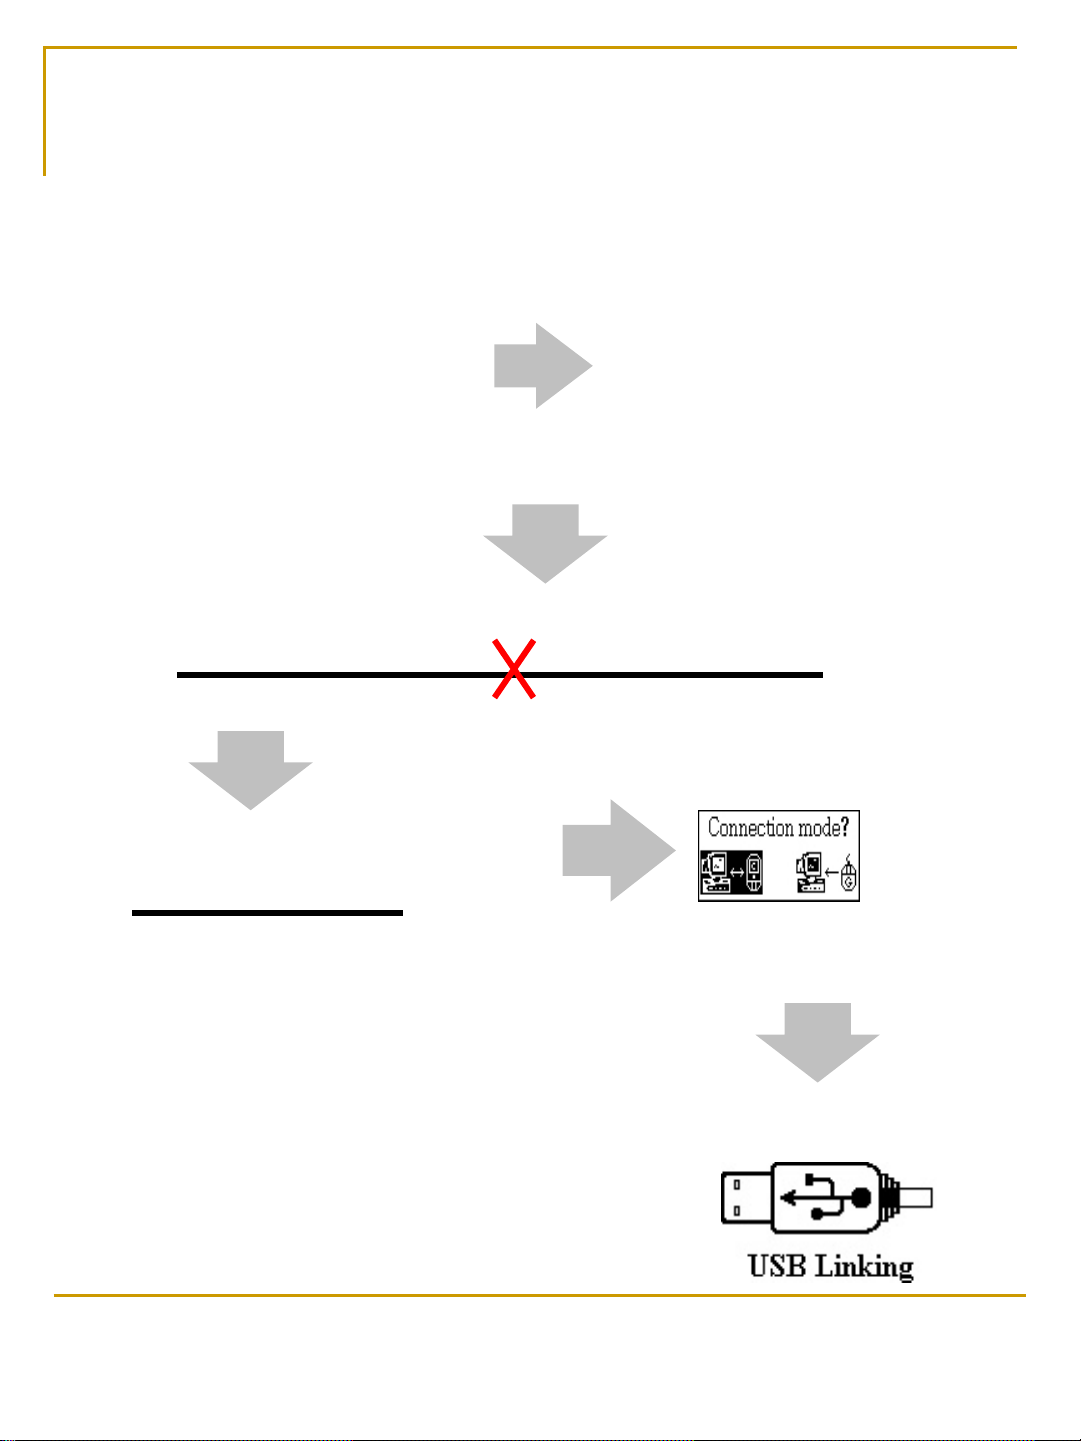
Program Installation--Driver Installation
Please remove Concerto from your Computer
before your install
Push device driver bottom
For start Concerto driver installation
Please connect
Concerto to
your Computer
Push Enter to next step
Next
Select
No, not this time
MAP electronics co.,ltd.
Select
Next
9
Page 10
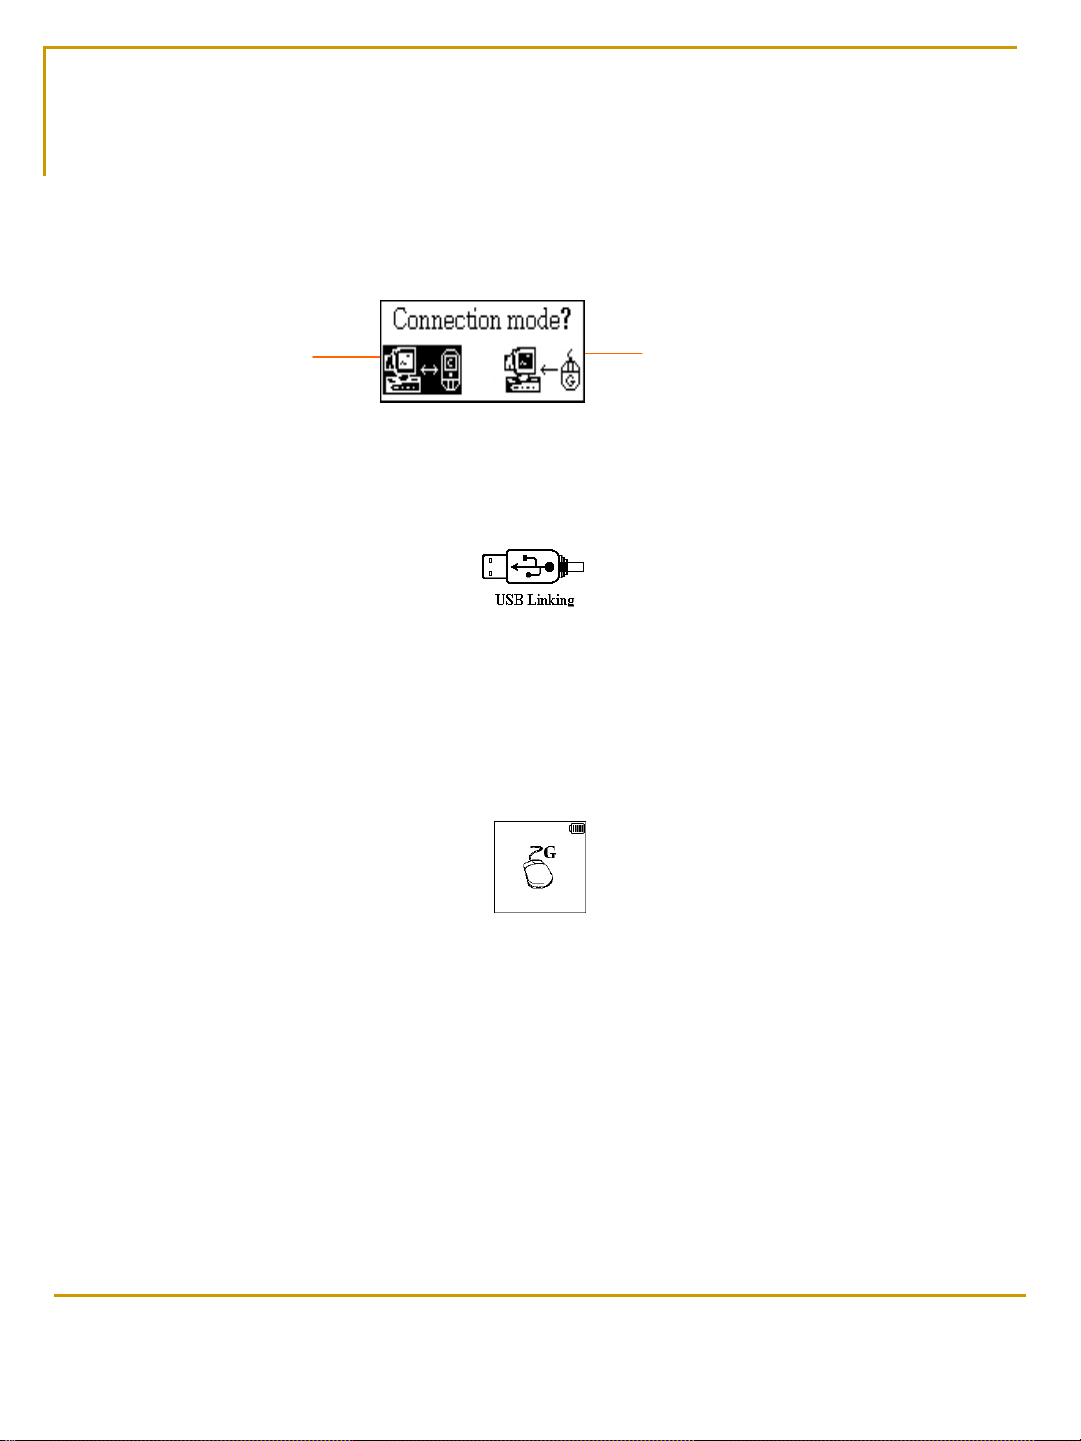
Program Installation--Driver Installation
Select
Please remove Concerto from your Computer
Please connect again
Select
Select USB Link mode
and push “Enter”
When installation is
successfully completed, the
icon appears on the screen.
MAP electronics co.,ltd.
Concerto driver installed
10
Page 11

Program Installation--AP Installation
Push Application Program bottom to start
Concerto application program installation
Next
Concerto Application installed
Next
Finish
MAP electronics co.,ltd.
11
Page 12
Connection Mode select
Connection Mode select
Select an icon and push
Enter.
USB Link Mode GPS Mouse Mode
USB Link Mode : Please see page 13 ~ 18
When you select this mode, the icon appears on the screen.
GPS Mouse Mode :Please see page 19~20
This function can use in your computer with navigation software
When you select this mode, the icon appears on the screen.
MAP electronics co.,ltd.
12
Page 13
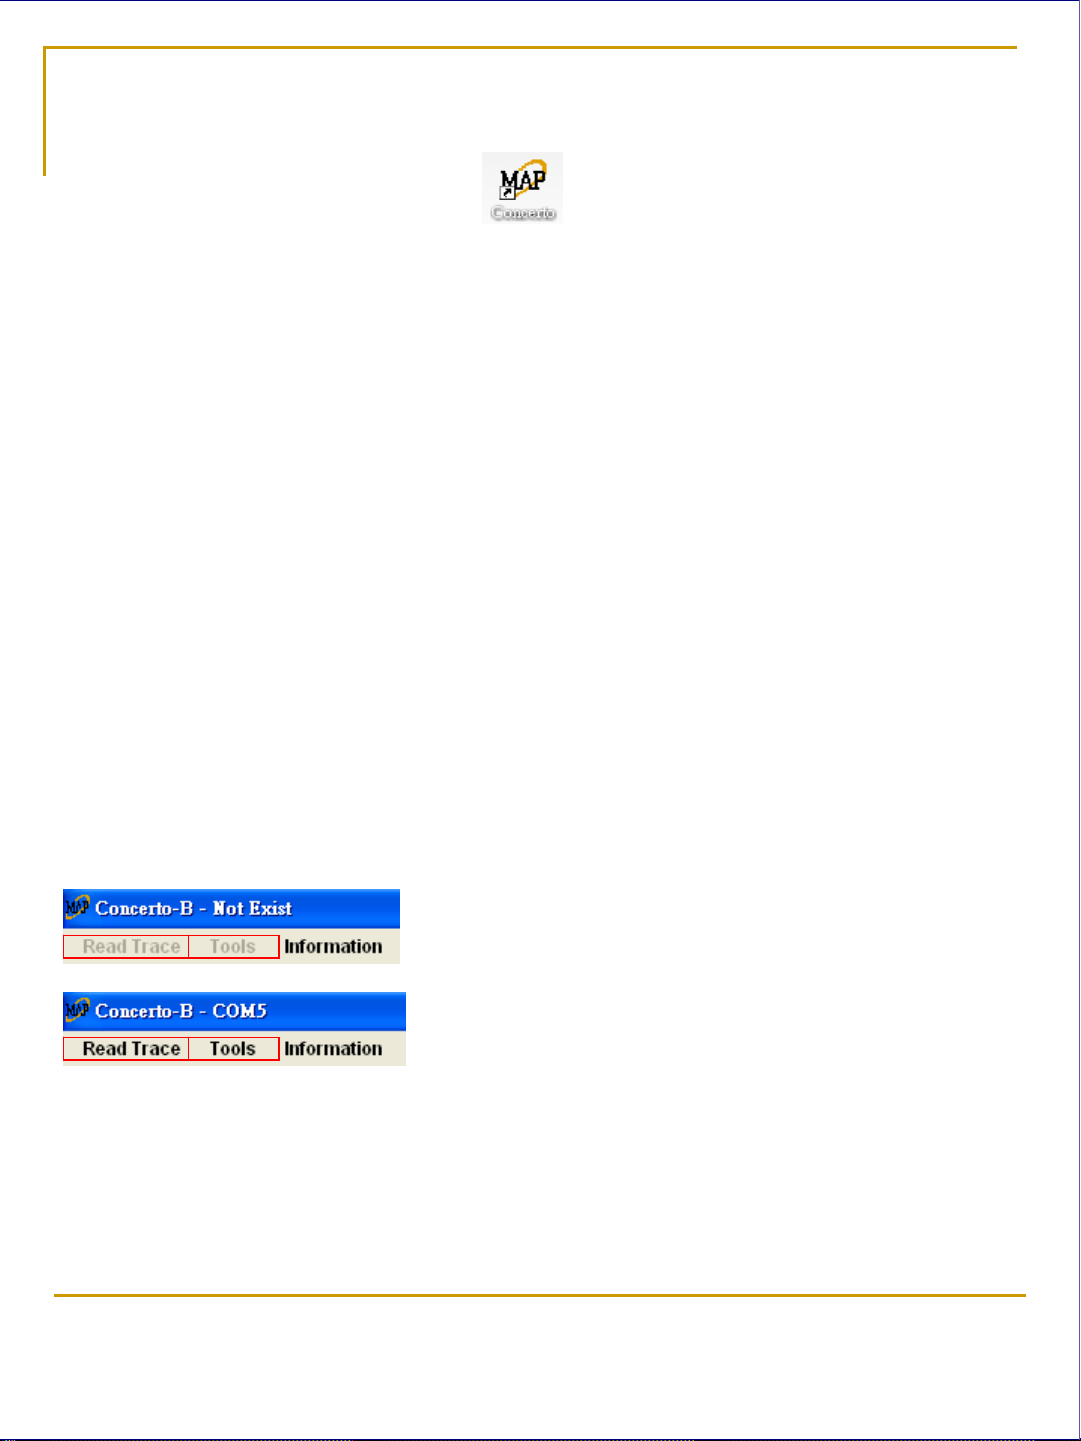
Application Program introduction
Double click Application Program icon to start program.
This icon in your computer desk top
Concerto not connect to computer
Concerto connect to computer
MAP electronics co.,ltd.
13
Page 14

Application Program introduction
Read Trace
Percentage of read
When trace data is read completely, this
dialog window will show.
If you select Yes program will
clear Concerto memory
If you select No program will
keep data in Concerto memory
Tools
Information
Delete trace by your select
Distance setting
Update firmware for Concerto.
MAP electronics co.,ltd.
14
Page 15

Application Program introduction
Revise Data
Trace name You can rename this trace.
Delete trace
You can delete your select trace when your push Yes
MAP electronics co.,ltd.
15
Page 16

Application Program introduction
Start Google earth linking
If you want to start it, you must be install Google earth from Google web before
POI Name
POI Altitude
Distance vs before POI
POI setting time
Push Enter on the main page of Concerto to save a POI.
You can input POI names on Trace information - Distance vs Altitude page.
Concerto will automatically generate the other information.
MAP electronics co.,ltd.
16
Page 17
Application Program introduction
Export KML
Export your trace data to Google KML file
KML can resave your trace in Google mode
If you want to see about KML detail function
please search by Google
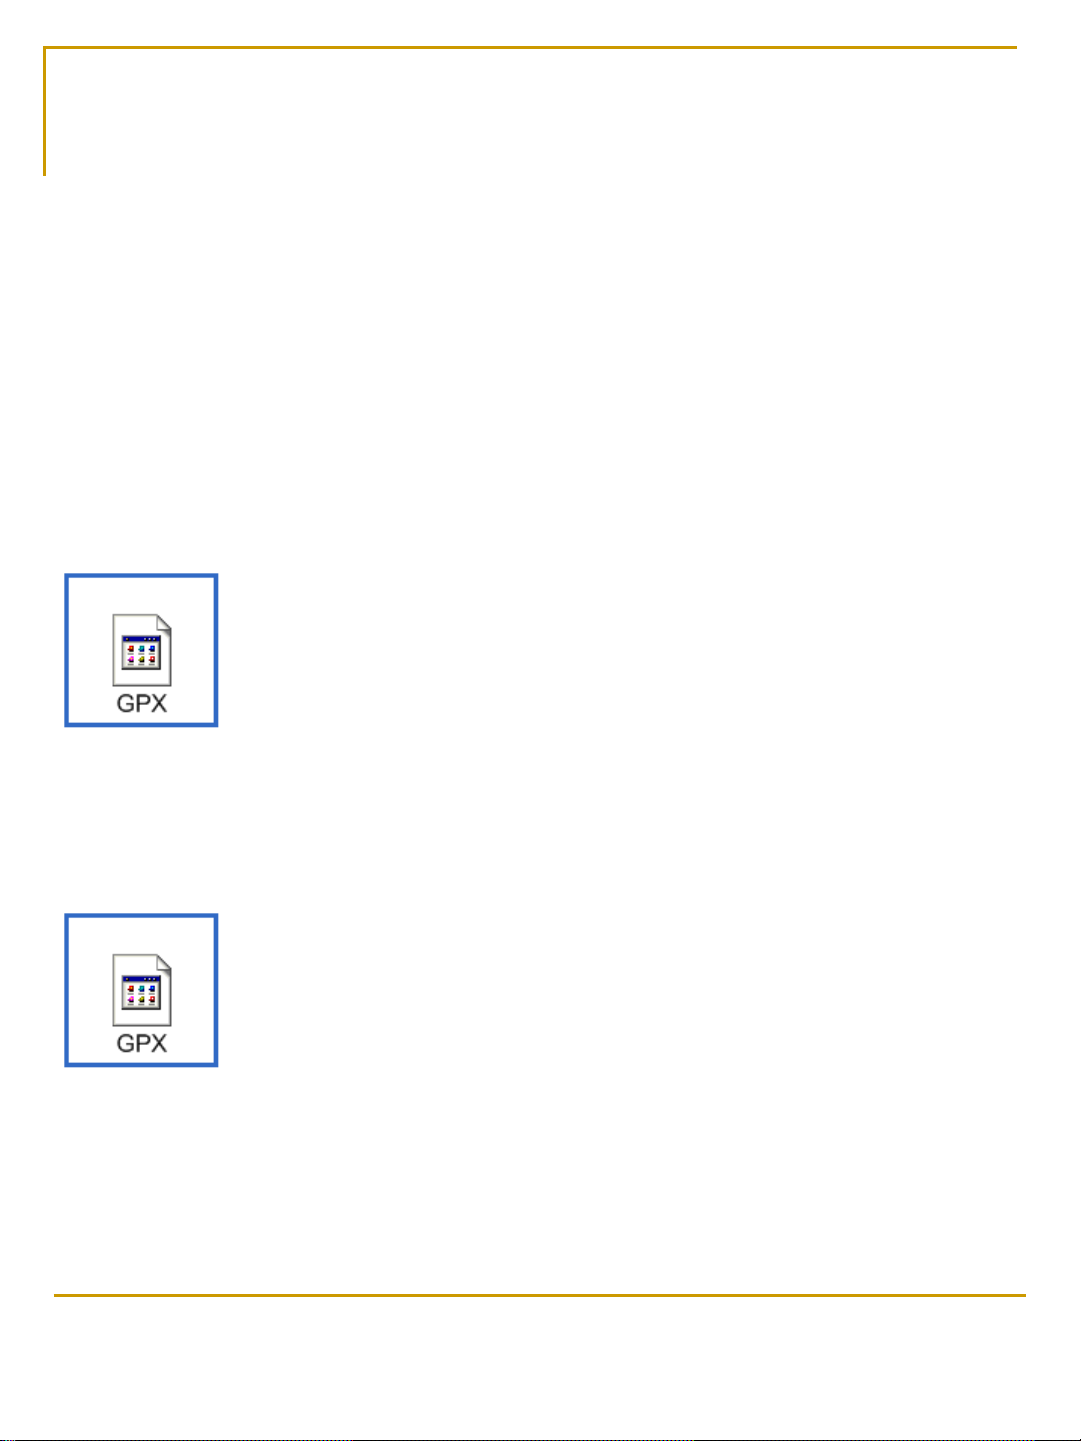
Export GPX
Export your trace data to GPX file.
The GPX file is public format that can share with
other GPS application program.
For example:
The Gpcisync application program can use GPX
file to synchronic pictures with GPS data.
Import GPX
Import other GPX file to application program
You can see the trace information from other person when
your import
MAP electronics co.,ltd.
17
Page 18

Application Program introduction
Trace File Open
Distance vs Altitude
Double click to input
POI Name
POI information
Distance vs Speed Distance vs Time
Google Map Export BMP
Push this bottom to export
BMP directly
MAP electronics co.,ltd.
18
Page 19

GPS Mouse mode introduction
Step 1.
Link your Concerto to Notebook and
select GPS mouse mode
Step 2.
Start your navigation software in your
computer and set your COM. port
Note :
Software Initial COM. Port is number 3
but some time computer maybe setting to or
number but you can check in your computer
device director please setting to Baud rate
9600
Step 3. Start GPS linking
Step 4. Search GPS device
MAP electronics co.,ltd.
19
Page 20

G-Mouse mode introduction
Step 5. GPS fixed position Step 6. Setting your destination
Step 7. Start navigation
MAP electronics co.,ltd.
20
Page 21
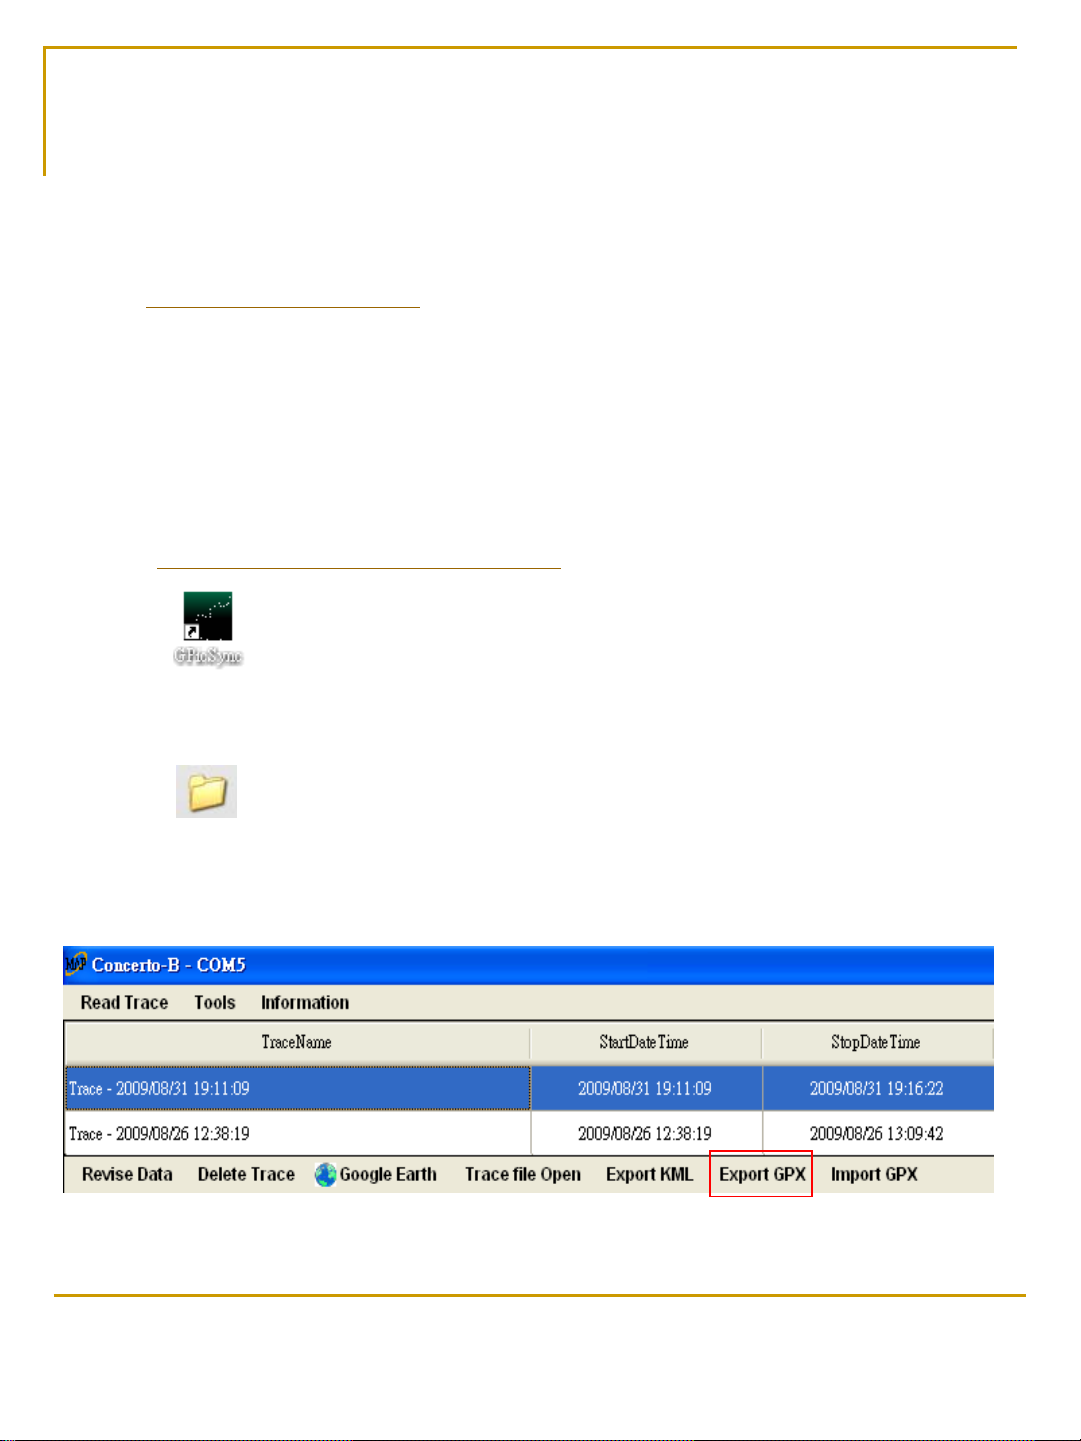
How to build a photo file in Google earth
Step 1 install Google Earth program
Down Google Earth program from Google web
http://earth.google.com/
Step 2 install GPicSync program
Down GPicSync program from Google web
http://code.google.com/p/gpicsync/
Step 3 Create a file clipper for photo file and GPX file
Step 4 Use application program to export GPX file
MAP electronics co.,ltd.
21
Page 22

How to build a photo file in Google earth
Step 5 Start GPicSync program
Select pictures folder
Select GPX file
Photo time and point tolerance
When your files were selected
push this bottom
Photo file will auto synchronism
Adj.
Photo time and point tolerance
MAP electronics co.,ltd.
22
Page 23

How to build a photo file in Google earth
Step 6 Open doc.kml file
Your photo file was finish
If you want to transfer your file to other please save as KMZ file
MAP electronics co.,ltd.
23
 Loading...