


OEC 7700
Service Setup
Preview with B345
for calibration
B345
00-451142-01
Iris-Collimator
Slot Collimator
Preview
- DAP
- DAP + Laser
PC-SW Version 1.8
B345 Version „B345 04 08.h86“
1. Installation PC-SW for B345 ..............................................................................................................................2
2. B345 Software.................................................................................................................................................... 4
1. Start Programm ............................................................................................................................................... 4
INFO: .................................................................................................................................................................. 5
2. Monitorcart settings for DAP..........................................................................................................................6
3. Monitorcart settings for Preview..................................................................................................................... 6
3. Callibration.......................................................................................................................................................... 7
Mechanical Callibration „Slot Collimator“......................................................................................................... 7
Mechanical Callibration „Iris-Collimator“..........................................................................................................7
Iris Collimatior Adjustment................................................................................................................................. 8
4. Preview Adjustment.......................................................................................................................................... 11
5. DAP Adjustment............................................................................................................................................... 13
07 Aug 2002 Manual for OEC_7700 Service-Setup B345_01.doc
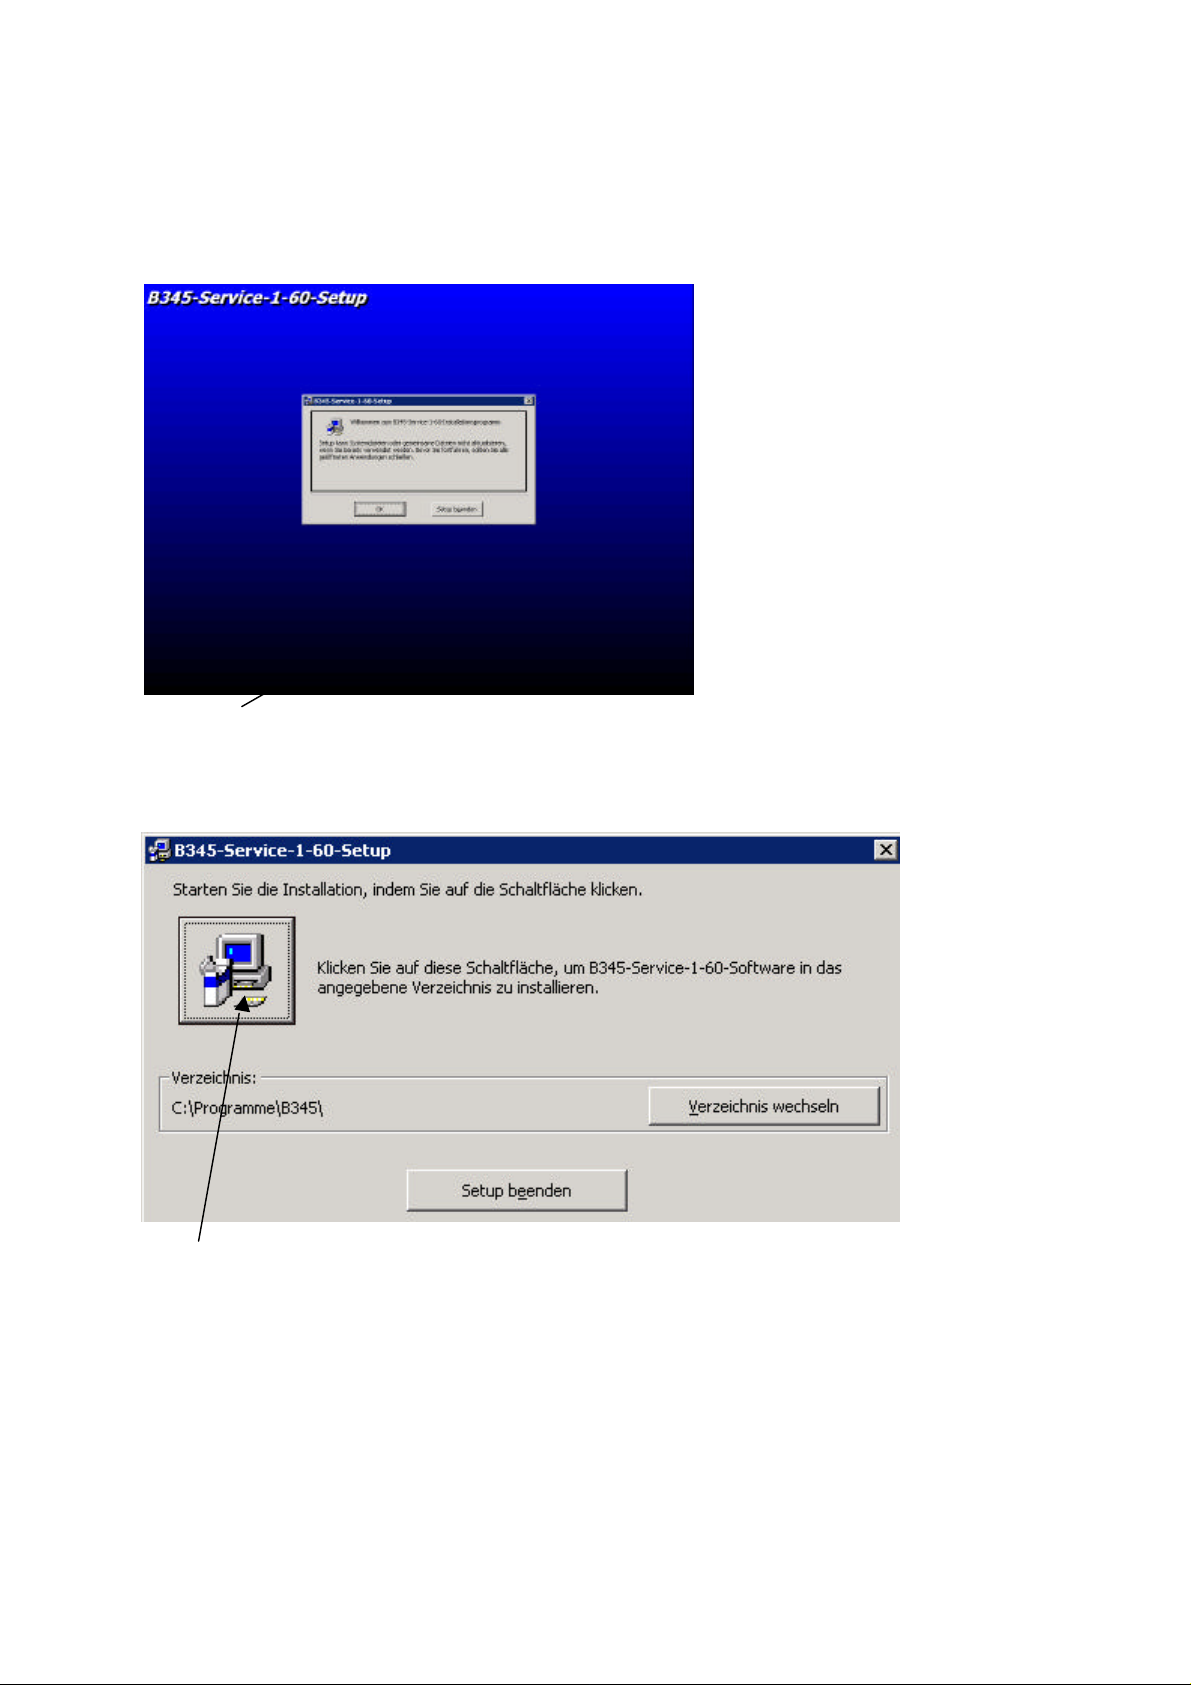
1. Installation PC-SW for B345
Start „Setup.exe“
Press „OK“
Press
07 Aug 2002 Manual for OEC_7700 Service-Setup B345_01.doc
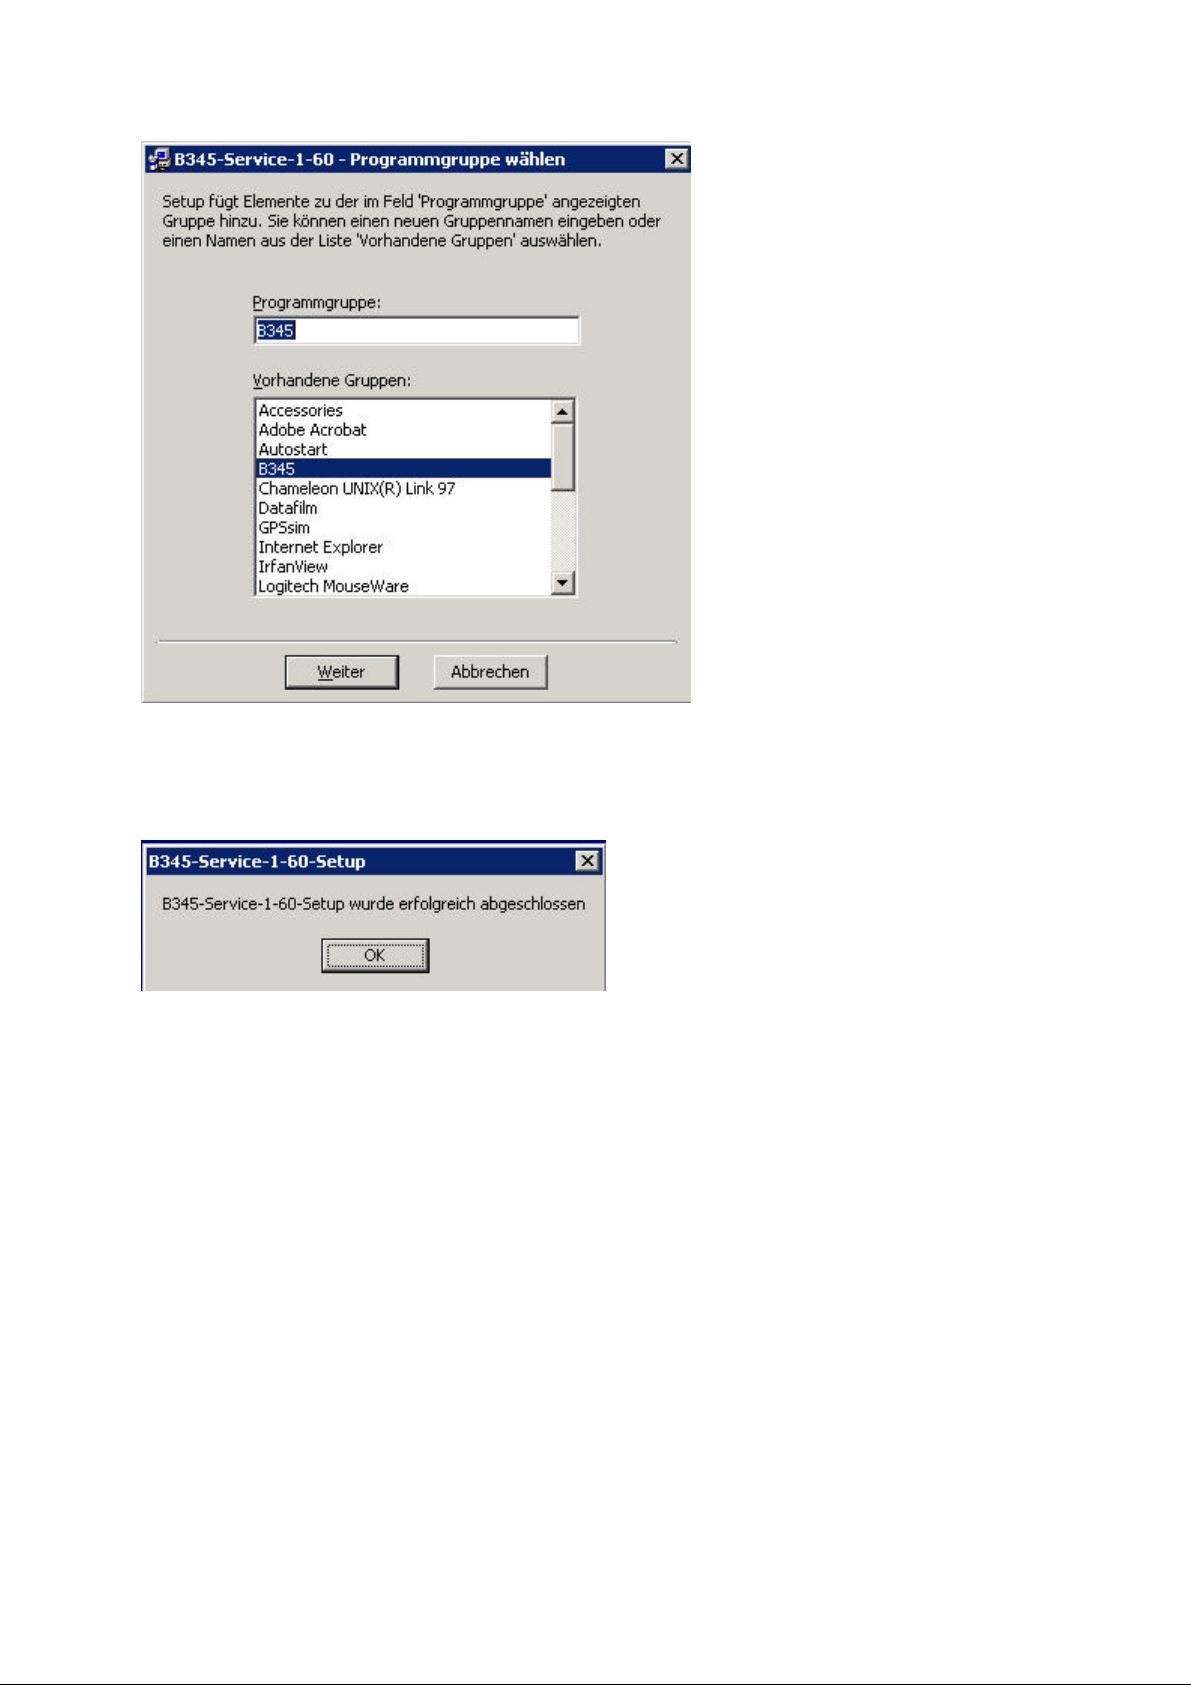
press „weiter“
press „OK“
Programm installed successful
07 Aug 2002 Manual for OEC_7700 Service-Setup B345_01.doc
2. B345 Software
Normal Mode = Standart Mode (no MAG no HAND-MODE no FIME.MODE)
MAG 1 = Hand Mode or Mag Mode
MAG 2 = Hand-Mode and Mag Mode
Film = Film Mode
1. Start Programm
Start Programm B345 / b345_180
Note: please select COM1 or COM2 (MENUE / OPTION/COM)
07 Aug 2002 Manual for OEC_7700 Service-Setup B345_01.doc

if B345 to the right COM port connected some buttons get active
INFO:
04.05:xx SW.Version and SW-LABEL
04.xx:xx B345 with DAP „DAP installed“ is actice
03.xx:xx B345 without DAP „DAP not installed is actice
xx.xx:nc B345 is not callibrated
after callibration „Iris Collomator adjustmen“ and „Preview adjustmen“ display change to „c“
xx.xx:c B345 is callibrated
Example DISPLAY 03.05.c SW Version 05
B345 is callibrated
SW Label = B345 04 05.h86
07 Aug 2002 Manual for OEC_7700 Service-Setup B345_01.doc

2. Monitorcart settings for DAP
For the equipment to work correct, the following changes have to be made in the service menu.
1. Open service menu (Shift Home)
- Servicemenue
- Password BMS 95
2. Select DAP menu
3. In the DAP menu open „Reference value“ first, then „Tolerance“ and make the following
inputs:
Reference value = 1
Tolerance = 0
Korrectur value = 1,00 !!!!!!!
3. Monitorcart settings for Preview
For the equipment to work correct, the following changes have to be made in the service menu.
1. Open service menu (Shift Home)
- Servicemenue
- Password BMS 95
2. Select Preview menu
3. Select Permanent Preview
„ON“ during Callibration
„OFF“ for Normal Work after callibration !!!!
07 Aug 2002 Manual for OEC_7700 Service-Setup B345_01.doc

3. Callibration
Generator is adjusted
- mechanical Position
- KV and mA
Mechanical Callibration „Slot Collimator“
open IRIS Collimator to mount the „Collimator Center tool“ in the Collimator DAC-8 Unit
switch AIMING CROSS „ON“ = Ctrl + „L“
adjust Slot Collimator Center to the AMING cross Center (during X-Ray)
fix Slot Collimator and control correct position
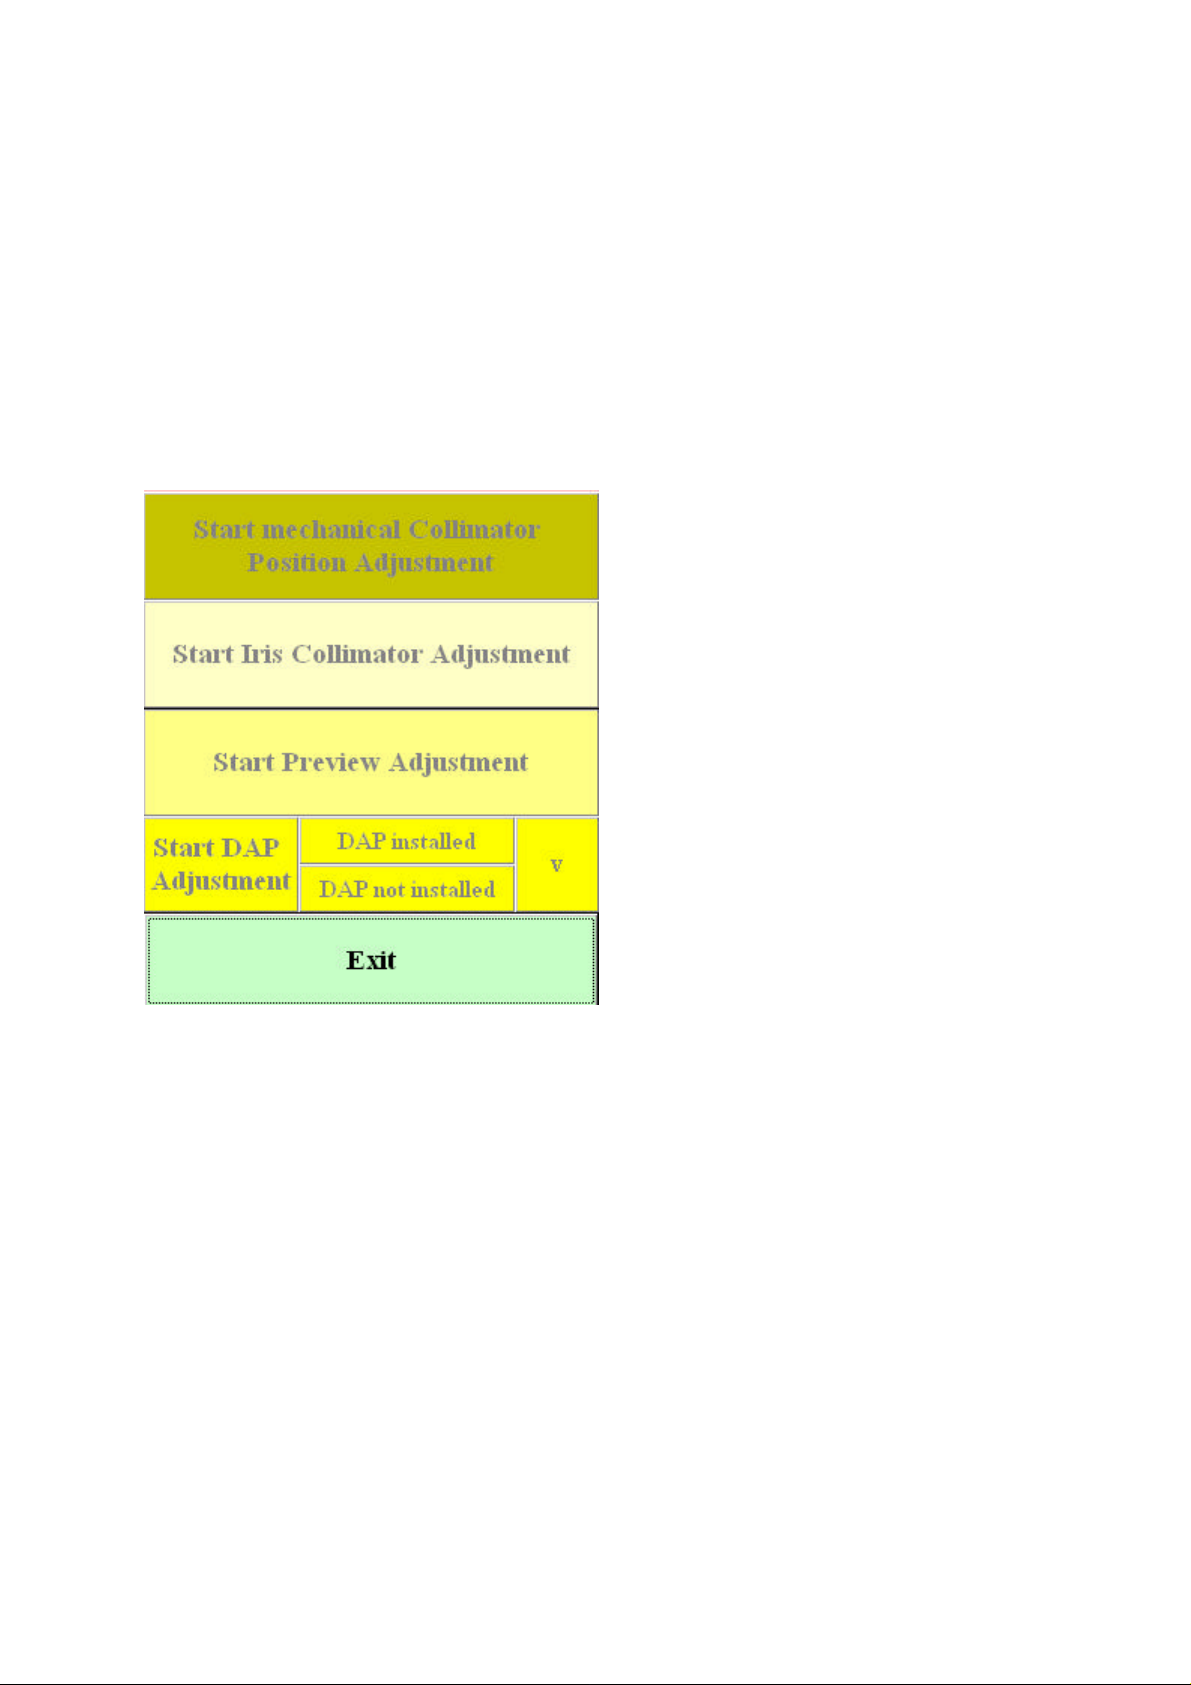
Mechanical Callibration „Iris-Collimator“
Press
from PC-SW
you see a circle
use Iris open / close Button and IRIS Collimator to adjust the right position during X-Ray
fix Iris Collimator and control correct position
07 Aug 2002 Manual for OEC_7700 Service-Setup B345_01.doc

Iris Collimatior Adjustment
press
you will see
Start Callibration with Button „Start (MIN/MAX)“
during the next 5-10 sec. the min. Position and the max Position from the Iris Collimator will automaticly found
from the Software
if not
MIN < 100 and MAX > 900
than press Start (Min/Max) again (maybe 5 times)
please press “Next (Normal Mode)”
07 Aug 2002 Manual for OEC_7700 Service-Setup B345_01.doc

Press „START“ Button after select the Normal Mode
Use „Close Iris“ and „Open Iris“ Buttons or Collimator Key´s from the C-Arm Keyboard to adjust the Iris
Collimator the the Position for „Normal – Mode“
(Note: Collimator position only a little bit outside the x-Ray Picture
you will see the actual Position (value 0 – 1000) behind MAX
Note you can press SAVE Button so oft you want
after save the osition you can select „NEXT (MAG 1)“
07 Aug 2002 Manual for OEC_7700 Service-Setup B345_01.doc

Press “Next (MAG 1)“
Select Hadn Mode or MAG Mode from the C-Arm Keyboard
adjust the Iris Position
save Iris Position
Press “Next (MAG 2)“
Select Hand Mode and MAG Mode from the C-Arm Keyboard
adjust the Iris Position
save Iris Position
Press “Next (FILM)“
Select Hand Mode and MAG Mode from the C-Arm Keyboard
adjust the Iris Position to 21.1 cm – 21,3 cm
save Iris Position
and press
IRIS Callibration for each Mode is now finish
07 Aug 2002 Manual for OEC_7700 Service-Setup B345_01.doc

4. Preview Adjustment
Press „Start (200)“
07 Aug 2002 Manual for OEC_7700 Service-Setup B345_01.doc

Use Collomator Button´s to adjust Slot Collimator and Iris Collimator to the Preview Line
Step 1 Step 2 Step 3
after adjustment press Button „Save (200)“
Start (36)
Use Collomator Button´s to adjust Slot Collimator and Iris Collimator to the Preview Line
Step 1 Step 2
Press „Save (36)“
Press „finish“
Preview Adjustment is now finish
Select Permanent Preview : „OFF“ (see: Monitorcart settings for Preview)
NOTE: B345 Version is now Change from nc to c ( not callibrated to callibrated)
07 Aug 2002 Manual for OEC_7700 Service-Setup B345_01.doc

5. DAP Adjustment
„DAP installed“ or „DAP not intaslled “ is aktive after connection to B345
if „DAP installed“ selected than IPS unit start all nesessary communication for DAP
if „DAP not installed“ selected than IPS unit will not start communication for DAP
press „Start calibration“
07 Aug 2002 Manual for OEC_7700 Service-Setup B345_01.doc

Enter Area example „90 cm²“ messured on II
Reset all DAP displays
Dosesmessurement
System 7700 Series make a new patient“
System 7700 Compact press power on and Image store
Select reset DAP
than pess “confirm Reset all DAP displays”
07 Aug 2002 Manual for OEC_7700 Service-Setup B345_01.doc

select 75 kV manual
Please make X-RAY (messure external 2500µG)
after X-RAY off
please enter external messured DOSE Value
07 Aug 2002 Manual for OEC_7700 Service-Setup B345_01.doc

EXAMPLE “80”
press “Set new correction value”
System will save Mean value, toleranc and correction value to B345
Test correction value
pree „test correction value“
07 Aug 2002 Manual for OEC_7700 Service-Setup B345_01.doc

Enter Area
Example „90cm²“
“confirm Reset of all DAP displays
07 Aug 2002 Manual for OEC_7700 Service-Setup B345_01.doc

start X-RAY
Enter external messured Dose
Example „79“
pree „Analyse correction value“
for this example Valuation: Display errer = -2%
07 Aug 2002 Manual for OEC_7700 Service-Setup B345_01.doc
 Loading...