

Page 1

INSTRUCTION MANUAL
USB/Bluetooth Speaker Box
Model No.:PA6528D
Read this booklet thoroughly before using and save it for future reference
Unit must be fully charged before use
Page 2
1
Safety information and Warnings
CAUTION
Symbol Definitions
DANGER
- Indicates an imminently hazardous situation, which, if not avoided, will result in
death or serious injury. This symbol appears only in the most extreme situations.
WARNING:
TO PREVENT FIRE OR SHOCK HAZARD DO NOT USE THIS PLUG WITH AN EXTENSION
CORD, RECEPTACLE OR OTHER OUTLET UNLESS THE BLADES CAN BE FULLY
INSERTED TO PREVENT BLADE EXPOSURE. TO PREVENT FIRE OR SHOCK HAZARD.
DO NOT EXPOSE THIS APPLIANCE TO RAIN OR MOISTURE.
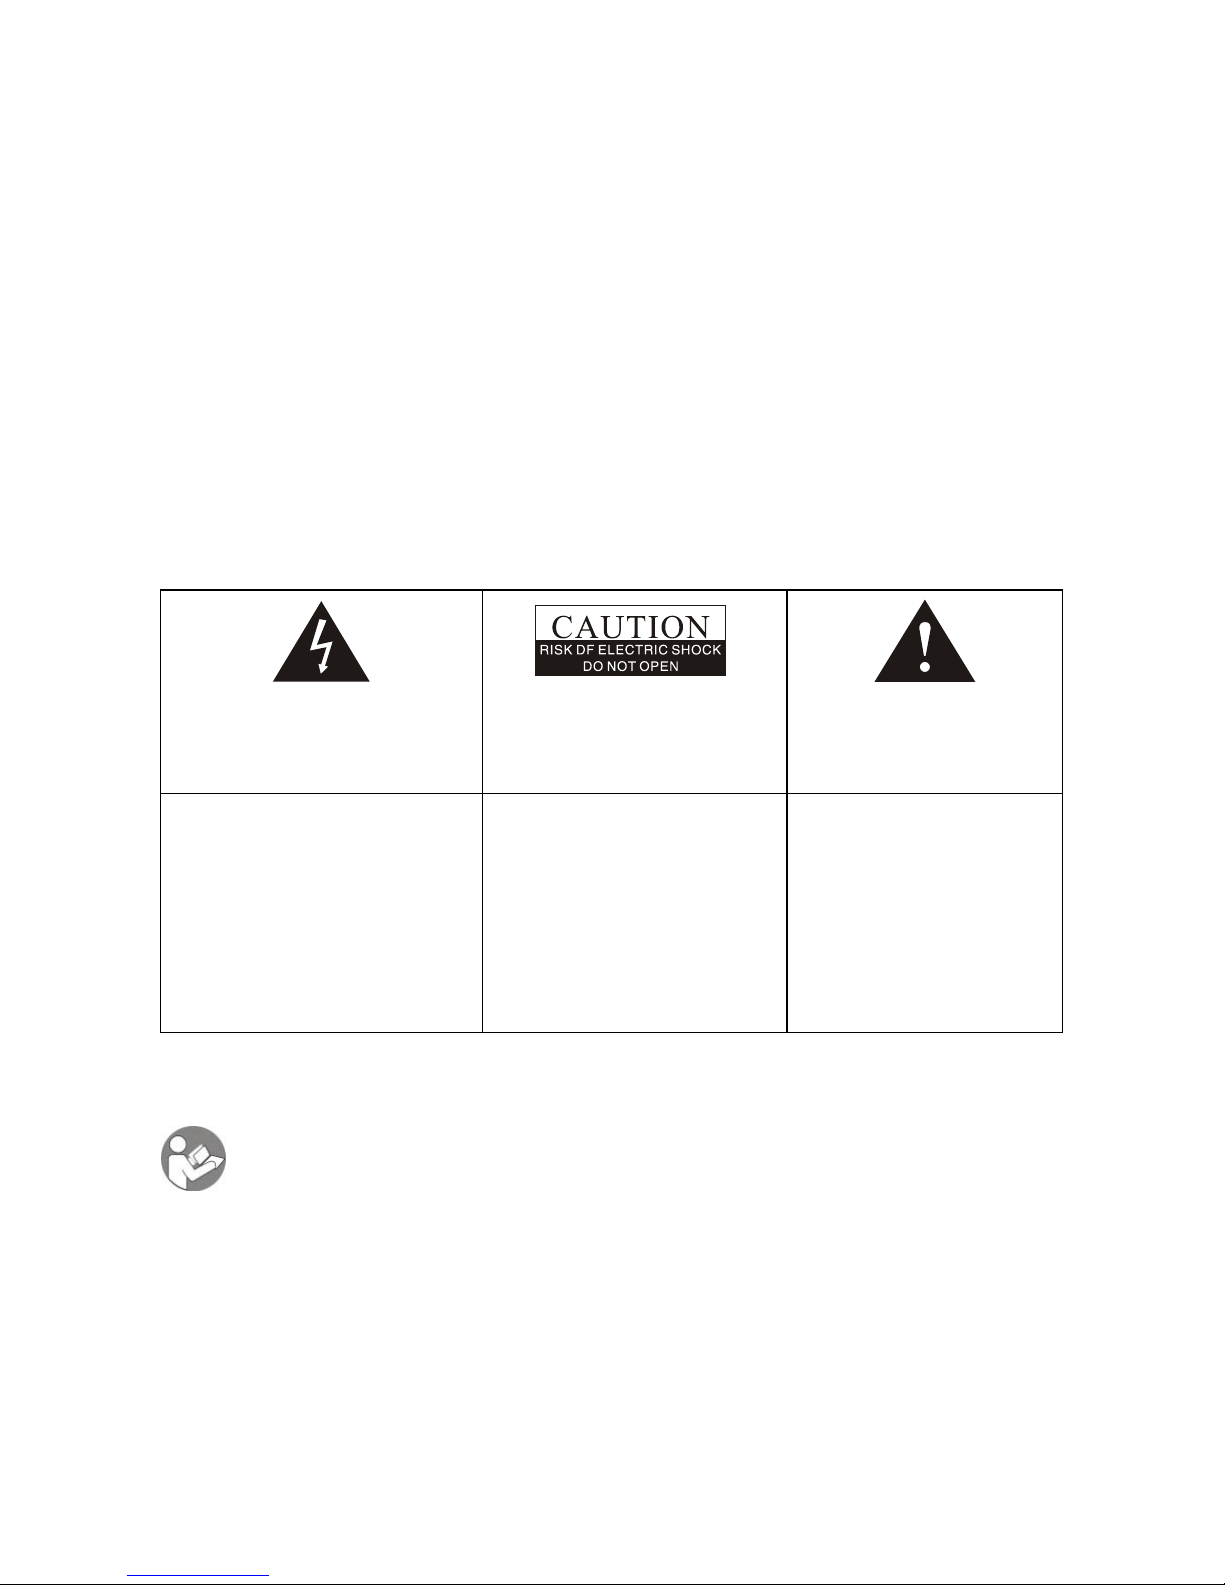
This lightning flash with
arrowhead symbol, within an
equilateral triangle, is intended
to alert the user to the presence
of insulated dangerous voltage
within the products enclosure
that may be of sufficient
magnitude to constitute a risk of
electric shock presents.
Warning: to reduce the risk of
electric shock, do not remove
cover (or back ) no user serviceable part inside. Refer
servicing to qualified service
personnel.
The exclamation point
within an equilateral
triangle is intended to alert
the user to the presence of
important operating and
maintenance (servicing)
instructions in the literature
accompanying the
appliance.
READ ALL INSTRUCTIONS BEFORE USE
Always follow bas ic sa fe ty precautions when usi ng th is Bluetooth speaker
system with Microphone, espe cial ly when children are pres e nt.
SAFETY INSTRUCTIONS
1. Read these instructions.
2. Keep these instructions.
3. Heed all warnings.
4. Follow all instructions.
5. Do not use this apparat us n ea r wate r.
6. Clean only with dry cloth.
7. Do not block any ventilation openings. Install in accordance with the manufacture’s
Page 3

2
instructions.
8. Do not install near any heat sources such as radiators, heat registers, stoves, or other
apparatus (including amplifiers) that produce heat.
9. Do not defeat the saf ety purpose of the polarized or groundin g-t ype plu g. A po l ari ze d pl ug
has two blades with one wid er tha n the oth er. A gr ou ndin g-type plug has two blade s and a
third grounding prong. The wide blade or the third prong are provided for your safety. If the
provided pl ug does not fit int o your outlet. Con sult an electrician for replacement o f the
obsolete outlet.
10. Protect the power cord from being walked on or pinched particularly at the plugs,
convenienc e rece ptacles, and at the point wh er e it exits from the apparatus.
11. Only use attachments/accessories specified by the manufacturer.
12. Use only with the cart, stand, tripod, bracket, or table specified by the
manufacture r, or sold with the appara tus. When a ca rt is used, use c aution
when moving the cart/apparatus combination to avoid injury from tip-over.
13. Unplug the apparatus during lightening sorts or when unused for long periods of time.
14. Refer all se rvicing to qualifi ed personnel. Servicing is re quired when the apparatus has
been damaged in any way, such as po wer-supply cord or plug is dama ged. Liquid has
been spilled or objects have fallen int o the apparatus, the apparatus has been exposed to
rain or moisture do es not operate normally, or has been dropped.
15. This applianc e should not be expos ed to dri pping or sp lashin g water and no objects fil led
with liquids such as vases should be placed on apparatus.
16. The AC so cket it is used to unplu g the unit power cord and it must be easily ac cessible
every time it is necessary.
17. No flames objects, like candles, must be placed on the unit.
18. Ventilation warning: The normal ventilation of the product shall not be impeded for
intended use. Mak e sure th ere is eno ugh space a bove and besi des the hol es. Instal l the
unit in a place with suitable ventilation openings (around 7cm).
FCC NOTICE
This device complies with Part 15 of the FCC Rules. Operation is subject to the following two
conditions: (1) this device may not cause harmful interference, and (2) this device must accept
any interference received, including interference that may cause undesired operation.
Note: This equipment has been tested and found to comply with the limits for a Class B digital
device, pursuant to Part 15 of the FCC Rules. These limits are designed to provide reasonable
protection against harmful interference in a residential installation. This equipment generates,
uses and can radiate radio frequency energy and, if not installed and used in accordance with
the instructions, may cause harmful interference to radio communications. However, there is no
guarantee that interfere nc e will not occ ur in a particular installati on. If this eq uipment does
cause harmful interference to radio or television reception, -which can be det e rm i ned b y turni n g
the equipment off and on, the user is encouraged to try to correct the interference by one or
more of the following measures:
Reorient or relocate the receiving antenna.
Increase the separation between the equipment and receiver.
Connect the equipment into an outlet on a circuit different from that to which the receiver is
connected.
Consult the dealer or an experienced radio/TV technician for help.
Page 4

3
CAUTION ON MODIFICATIONS
Any changes or modifications not expressly approved by the grantee of this device may void the
authority granted by the FCC to operate the equipment.
WARNING: Changes or modifications not expressly approved by the party responsible for
compliance could void the user's authority to operate the equipment.
This equipment complied with FCC radiation exposure limits set forth for an uncont rolled
environment.
Page 5

4
Guide to the Appliance
Top View
1. 6.5mm AUX IN JACK
2. 6.3mm MIC JACK 1
3. 6.3mm MIC JACK 2
4. USB PORT 1
5. USB PORT 2
6.10/M./FOLD.+ BUTTON
7. LIGHT BUTTON
8. 10/M./FOLD.- BUTTON
9. ECHO BUTTON
10. EQ BUTTON
11. FUNCTION BUTTON
12.
/TUN.- BUTTON
13.
/TUN.+ BUTTON
14. P-MODE/M. BUTTON
15.
/PAIR/SCAN BUTTON
16. LCD DISPLAY
17. PAIR INDICATOR
18. SUPER BASS BUTTON
19. POWER ON/OFF BUTTON
20. CHARGE INDICATOR
21. MIC VOL. CONTROL
22. VOLUME CONTROL
Front and Back view
23. HANDLE
24. SPEAKERS
25. DISCO LED LIGHT
26. TWEETERS
27. FM ANTENNA
28. VENTILATION HOLES
29. AC SOCKET
30. DECORATION LEDS
Page 6

5
POWER SOUR C E
This unit works with rechargeable lead-acid battery (the battery capacity 4000mAh). Fully
charge the unit (around 7 hours) before using the product for the first time. The playback time
has about 2hours after full charging. Unplug the AC Power cord from the AC socket to work on
the battery pack after fully charged. Plugging the AC Power cord while the battery pack is
attached initiates the charging of this batter y, the charge LED indicator lights red during
charging, when the battery is fully charged the indicator will turn to green. When the unit is with
low battery, the LED indicator will flash in red.
Warning: Do not ch an ge the batte r y, on l y high-qualified personnel can perform this operation.
OPERATION INSTRACTION
BASIC FUNCTION
TURNING THE UNIT ON/OFF
Press the power ON/OFF button to switch the unit on/off.
SETTING THE FUNCTION MODE
To change the function modes,
press the FUNCTION button repeatedly to choose
USB1/USB2/BLUETOOTH/AUX/RADIO function.
ADJUSTING THE VOLUME
1. Rotate the VOLUME knob on the unit to increase or decrease the music volume.
2. Rotate the MIC VOL. knob on the unit to increase or decrease the microphone volume.
BASS ADJUSTMENT
Press the SUPER BASS button on unit to increase the bass effect.
EQUALIZER (EQ) FUNCTIO N
This unit has a built-in equalizer system, Press the EQ button on unit to select a setting that best
matches the music style: FLAT, CLASSIC, ROCK, POP and JAZZ.
MICROPHONE ECHO ADJUSTMENT
Press the ECHO button on unit turn on or off the microphone echo effect.
FLASHING LIGHT
There are 5 modes for the DISCO LED lighting. Press the LIGHT button to choose
the light modes.
L-1: By default mode, blue LED will be on constantly when it is selected.
L-2: Blue LED will be on flashing mode.
L-3: Red LED will be on constantly.
L-4: Red LED will be on flashing mode.
L-5: 7 colors LED will be on flashing mode.
There are 3 modes for the decoration LED lighting around the speakers. Press and
hold the LIGHT button to choose the light modes.
E-1: By default mode, blue LED will be on constantly when it is selected.
E-2: Red LED will be on constantly.
Page 7

6
E-3: Blue and red LED flashing alternatively.
RADIO OPERA TION
Listen to FM radio broadcasts. Press the FUNCTION button on the unit, the display reads FM
and the radio frequency.
Note: in order to get the best reception, extend the FM ANT. on the rear of the unit before use to
its full length.
TUNING TO A RADIO STATION
If you know the station frequency that you want to tune to directly:
• Tune to a station by press the
/TUN.+ or /TUN.- button repeatedly. The station
frequency is shown on the display.
To tune to a preset station:
• To tune to the next preset station, press the 10/M./FOLD.+ button.
• To tune to the previous preset, press th e 10/M./FOLD.- button.
AUTO PRESET MEMORY / SCAN
To scan for stations within reception range and save them to preset memory automatically,
press and hold the PLAY/PAUSE/PAIR/SCAN button. After the unit is finished scanning, the
unit will automatically tune to preset number 1 (P01).
MANUAL PRESET MEMORY OPERATION
Choose which stations to save in preset memory instead of scanning automatically.
1. Use the
/TUN.+ or /TUN.- button to tune to the station that you want to save
as a preset (e.g., 93.1).
2. Press the P-MODE/M. button. “P01” will flash on the display to indicate that you
are saving the station as Preset Memory 01. (To change the preset memory
number, press the 10/M./FOLD.+ or 10/M./FOLD.- buttons.)
3. Press the P-MODE/M. button to finish saving the station (e.g., P01 is now set to
93.1).
4. To save another station, repeat steps 1 to 3. You may save up to 30 FM stations.
USB OPERATION
This unit provides two USB ports for music playback.
1. Press the FUNCTION button on unit to select “USB1” or “USB2” mode.
2. Plug the USB memory stick to the USB port on top of the unit. Playback will start
automatically from Track 1.
3. To pause playback, press the PLAY/PAUSE/PAIR/SCAN button on unit. The playing time
will flash on the display.
4. To resume playback, press the PLAY/PAUSE/PAIR/SCAN button again.
5. To select a desired track, press the
or button respectively during playing until the
desired track appea rs on the display. The unit will start pl a y autom ati c ally.
Page 8

7
6. To search for a particular passage during playback, press and hold the or button to
scan the current playing track at high speed until desired point (passage) appears, then
release the button for normal playback mode.
7. To select a song which track number exceeds 10, press the 10/M./FOLD.+ or 10/M./FOLD.-
button each time to skip forward/backward 10 tracks, then press the
or button to
select desired track.
8. To select a desired folder (if the USB contains more than one folder), press and hold the
10/M./FOLD.+ or 10/M./FOLD.- button each time to skip forward/backward a folder, then
press the
or button to select desired track.
Importa nt: The USB port is intended for dat a tr an s f er only, other devi c es c a nn ot b e us e d
with this USB connection. The use of USB extension cords is not recommended. Don’t
plug the USB fr om th e uni t when playing or reading the USB device.
REPEAT PLAY
You can play one track or all tracks on the USB repeatedly.
To Repeat a Si ngl e Tra c k
1. Press P-MODE/M. button on unit during play, the display will sho w “
” and the current track
will be played over an ove r again.
2. To cancel repeat play, press P-MODE/M. button on unit until “
” disappears from the display.
To repeat all the Tracks
1. Press P-MODE/M. button on unit until the “ ” shows steadily on the display, all tracks on
the USB will be played over and over again.
2. To cancel repeat play, press the P-MODE/M. button on unit until “ ” disappears from the
display.
To repeat the folder (only for USB w hic h c o nt ains more than o ne fo lder)
1. Press the P-MODE/M. button on unit until “ FOLDER” shows steadily on the display,
the current folder will be repeated over and over again.
2. To cancel repeat play, press the P-MODE/M. button on unit until “ FOLDER”
disappears from the display.
RAND O M PLAY
Press the P-MODE/M. button on unit in play mode till the “RAND” shows steadily on the display,
the random play wil l start from next track automatically. Press the P-MODE/M. button on unit
again until the “RAND” disappears from the display to cancel.
BLUETOOTH OPERATION
1. Press the FUNCTION button on unit t o switc h to BLUE TO OTH func tion , the L CD will dis pla y
“bt” and the pair indicator will flash at high speed.
2. Turn on th e Blu etooth functi on on th e device , sca n the uni t “KP686BT” and connect, th e n
input the pass word 0000 if required, the pai r indicator k eep light up to i ndicate conne ction
done, and the display will show “bt”. Press Play to start playback.
3. Rotate the VOLUME knob on the unit or adjust the volume on the external device to
increase or decrease the music volume to your desired level.
4. Press and hold the PLAY/PAUSE/PAIR/SCAN button to disconnect Bluetooth.
Note: The Bluetooth works best within 10 meters in open air.
Page 9

8
AUX-IN OPERATION
1. Press the FUNCTION button on unit to select the “AUX” mode.
2. Connect your audio device to the AUX IN jack on the top panel of the unit with an AUX IN
cable.(audio cable is not included)
3. Rotate the VOLUME knob on the unit or adjust the volume on the external device to increase
or decrease the music volume to your desired level.
4. Control the playback with your audio device.
MIC JACK OPERATION
Microphone input is available in all modes.
1. Connect your microphone to the 6.3mm MIC JACK found on the top panel of the unit.
2. Rotate the MIC VOL. knob on the unit to increase or decrease the microphone volume.
3. Press the ECHO Button to turn on or off the echo effect of the microphone.
Page 10

9
Technical Specifications
GENERAL
Power Requirements AC100-240V~60/50Hz
Power consumption 33W
Power output 30W X 2
FM frequency FM 87.5-108mHz
AUX in jack 3.5mm
Microphone jack 6.3mm
Work temperature 5°C - +35°C
Bluetooth
Communicati on system Bluetooth Standard version 2.1+EDR
Reception Range 10 meter (line-of-sight distance)
Compatible Bluetooth profiles Advanced Audio Distribution Profile (A2DP)
ACCESSORIES
Instruction Manual x 1pc
AC Cord x 1pc
Note: Specifications are subject to change for continuous imp rovement withou t prior notice.
- The apparatus shall not be exposed to dripping or splashing and that objects filled with
liquids, such as vases, shall not be placed on the apparatus.
Product specifications are subject to change wit hout notice.
- the MAINS plug is used as the disconnect device, the disconnect device shall remain readily
operable.
Minimum 7 cm distances around the apparatus for sufficient ventilation;
The ventilation should not be impeded by covering the ventilation openings with items, such
as newspapers, table-cloths, curtains, etc;
No naked flame sources, such as lighted candles, should be placed on the apparatus;
Attention should be drawn to the environmental aspects of battery disposal;
The use of apparatus in moderate climates.
CAUTION:
Danger of explosion if battery is incorrectly replaced. Replace only with the same or
equivalent type.
Symbols placed on the equipment shall be explained in the user manual, following examples
for reference:
 Loading...