

Page 1
USER INSTRUCTIONS
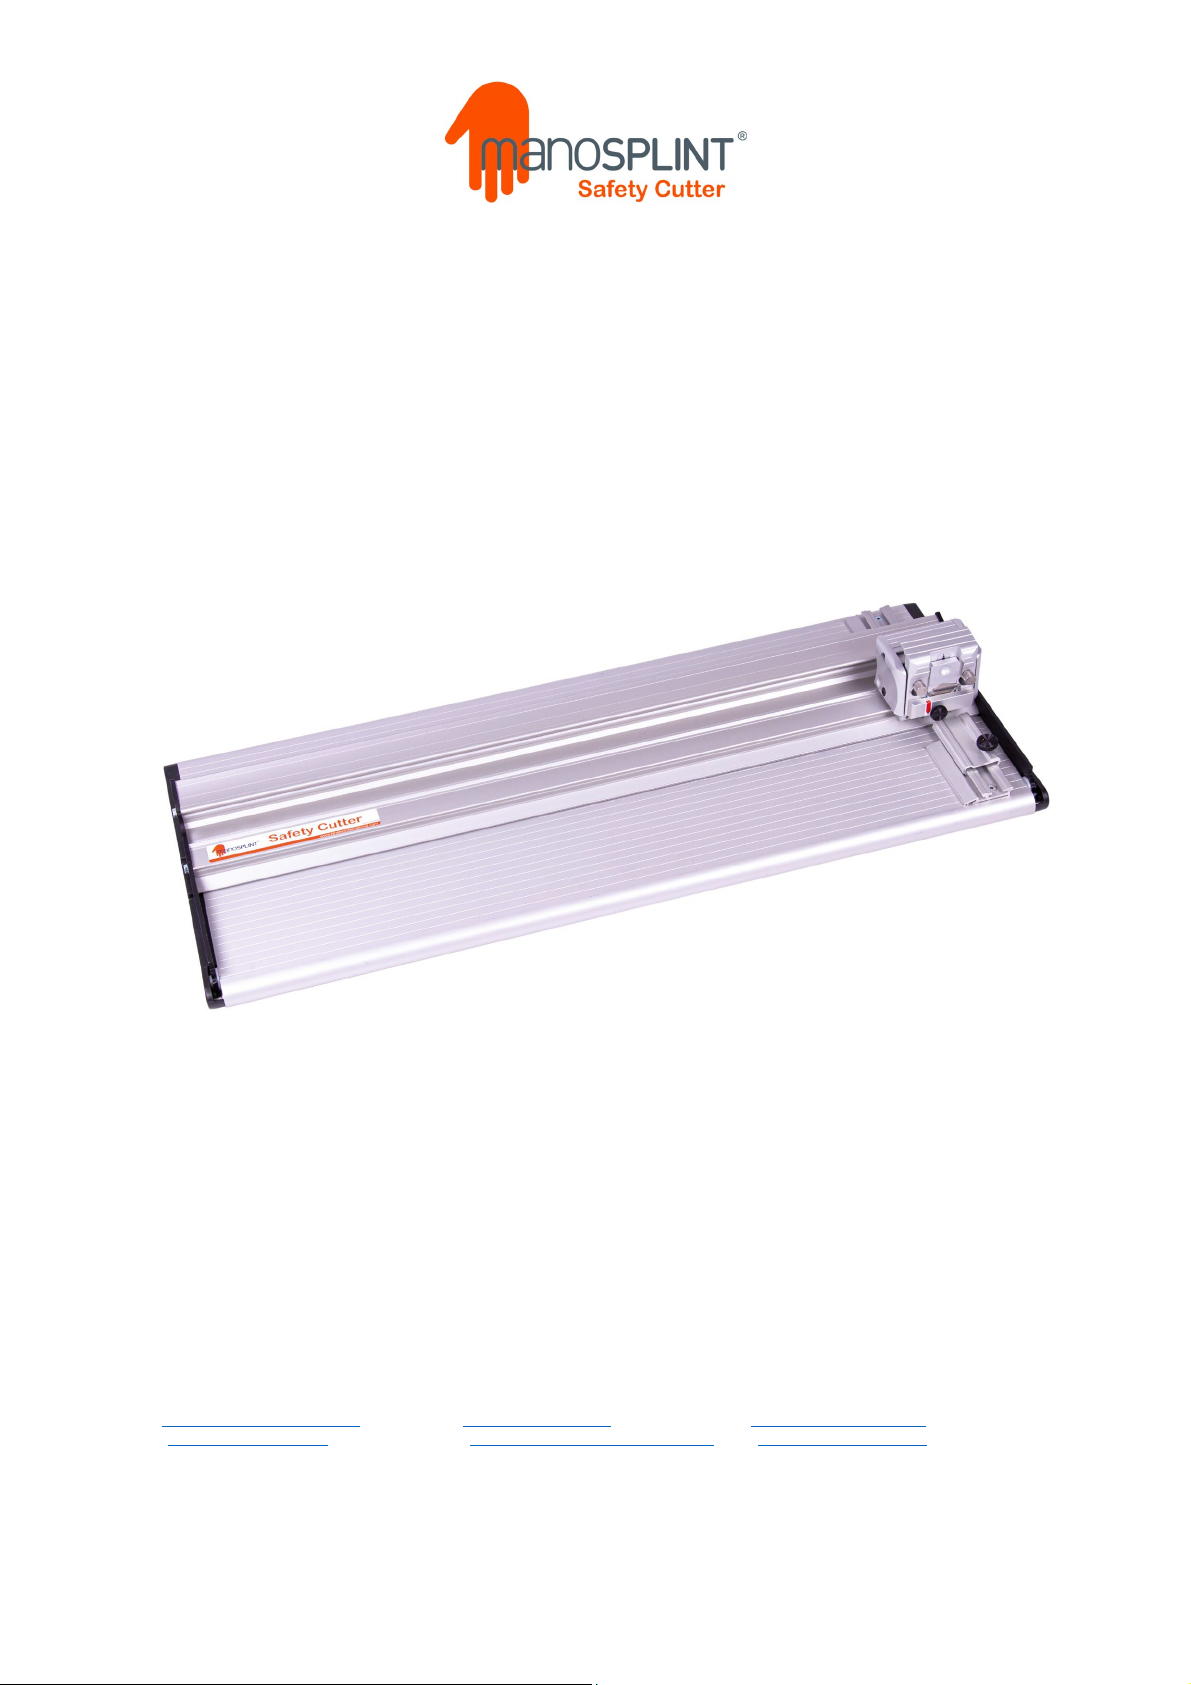
Thank you for choosing the Manosplint
® Safety Cutter. Every effort has been
made to bring you a precision engineered product with the promise of many
years of valuable service. In order to obtain maximum benefit from your
machine please read these instructions carefully. For advice and assistance
or replacement parts please contact your relevant Kinetec office.
PRODUCT CODE: M40SAB66M
PRODUCTDESCRIPTION: MANOSPLINT SAFETY CUTTER
Distributed by:
UK & ROI: France & International: USA & Canada:
Kinetec Medical Products UK Ltd Kinetec SAS Kinetec USA
Unit E Manawey Industrial Estate Zone Industrielle de Tournes W225N16708 Cedra Park Court
13 Holder Road Rue Maurice Perin Jackson
Aldershot F-08090 Tournes WI 53037
GU12 4RH France USA
United Kingdom
T: +44 (01252) 931980 T: +33 324 29 85 05 T: +1 (262) 677 1248
E: enquiries@kinetecuk.com E: contact@kinetec.fr E: sales@kinetecusa.com
W: www.kinetecuk.com W: www.kintetecinternational.com W: www.kinetecusa.com
Manosplint® Safety Cutter: User Manual
Page 2
1. Contents
2. Safety & Preparation
2.1 Installation Recommendations & Safety
3. Set-Up
3.1 Blades and Blade Holder
4. Operation
4.1 Cutting & Scoring Thermoplastics
4.2 Medium Duty Blade Holder – Replacing Blades
5. Maintenance
5.1 Cleaning & Lubrication
5.2 Adjusting the Cutter Head Sliding Bearings
6. Other Information
6.1 Warranty
1. Contents
Manosplint® Safety Cutter: User Manual
Page 3

2. Safety & Preparation
2.1 Installation Recommendations & Safety
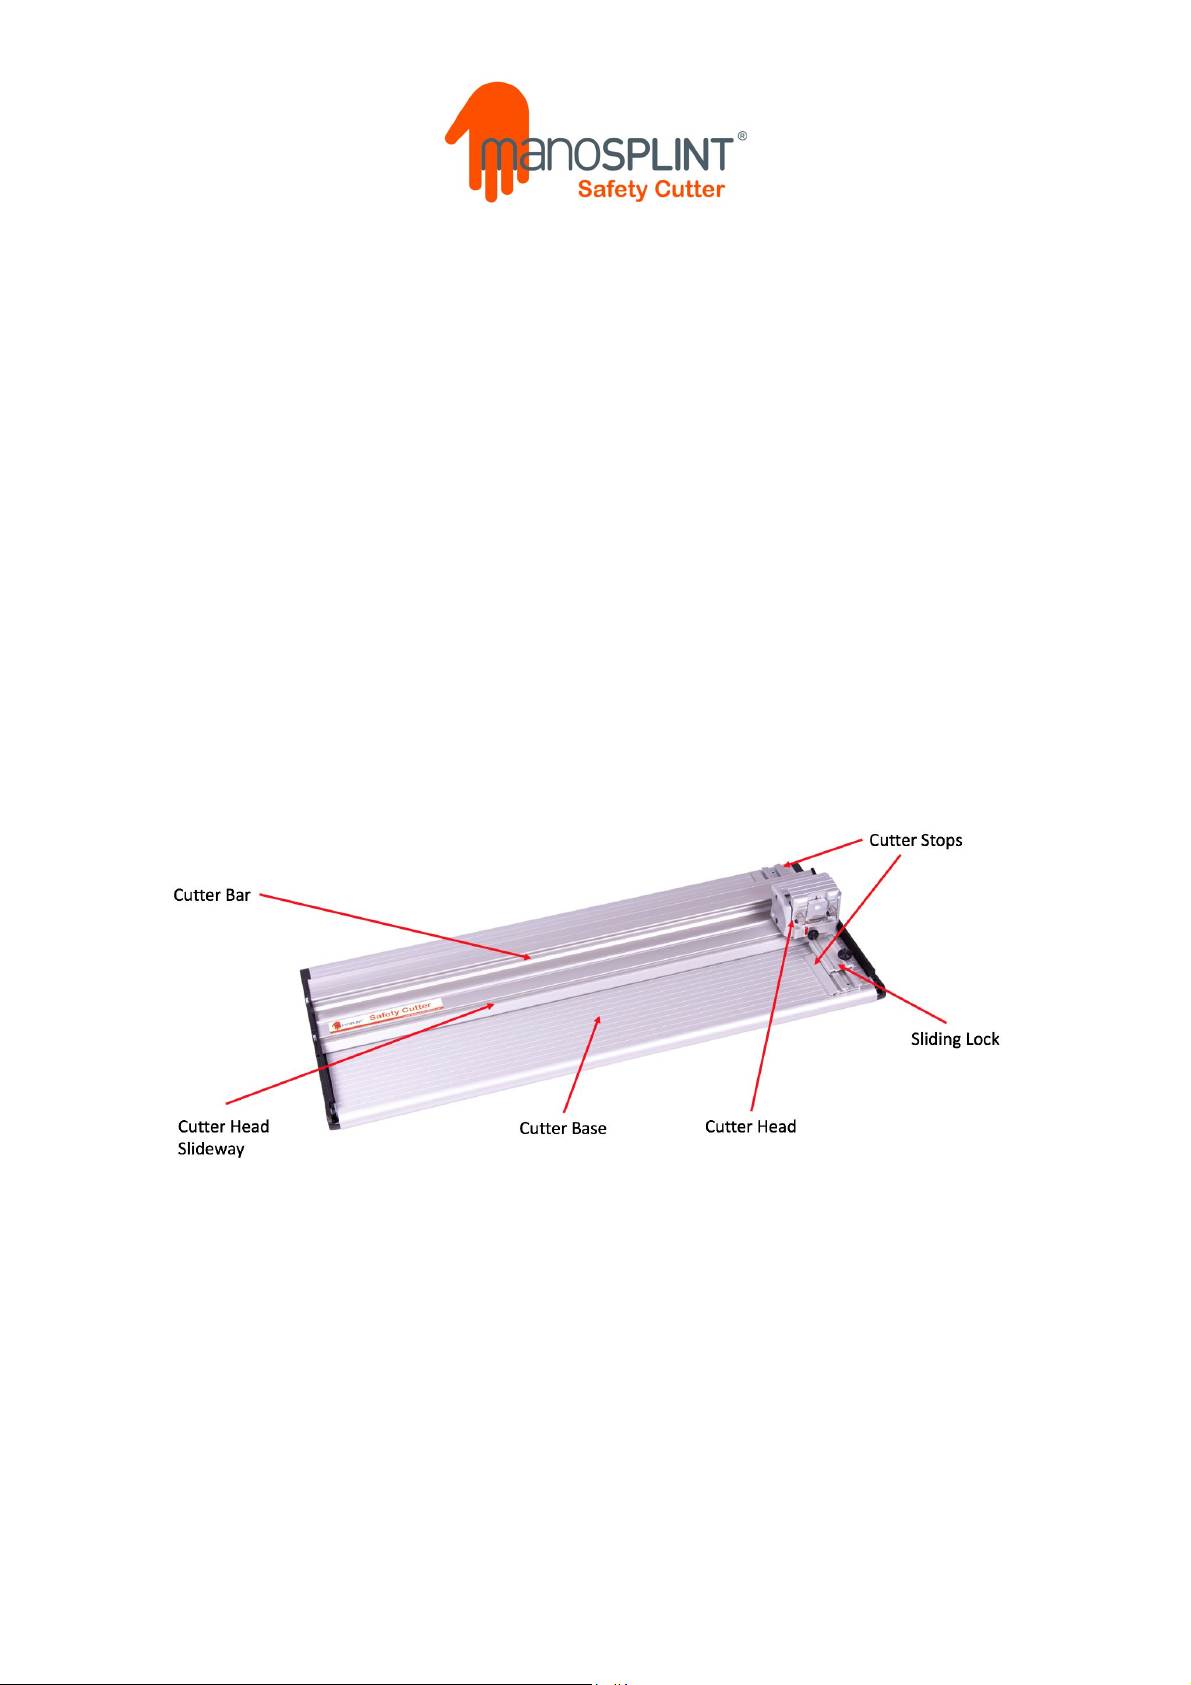
Checking the Flat Surface
Please note that it is essential that the cutter is used on a flat surface for accuracy. A warped
or bowed table top can induce a twist or bend in the Cutter Bar resulting in a bowed cut.
Safety
When lifting, moving or transporting the Safety Cutter, please ensure that the Sliding Lock is
engaged with the Cutter Head and the locking screw is tightened. This prevents the Cutter
Head from sliding and the Cutter Bar from lifting.
The blade must be removed before cleaning the Safety Cutter.
Do not place your fingers near the blade when using the Safety Cutter.
Do not use the Safety Cutter if there are any signs of damage to the Cutter Head or Cutter
Bar assembly.
Care should be taken when storing the Safety Cutter to ensure that the Cutter Head is
secured and cannot be damaged.
Extreme care should be taken when changing blades as they are very sharp. Please dispose
of used blades safely using a sharps bin whenever possible.
3. Set-Up
3.1 Blades & Blade Holder
Medium Duty Blades
The Safety Cutter has been supplied with Medium Duty utility blades which are the most
appropriate option for cutting thermoplastic materials. The Safety Cutter is supplied with a
pack of 100 of these blades as standard.
The vertical action Cutter Head reliably controls the blade depth and eliminates the need for
heavy downward hand pressure when cutting thermoplastic materials. The Cutter Head and
blades provide a smooth consistent cutting action.
Blades should be replaced or reversed when cutting becomes difficult because the blade
has become blunt.
The Medium Duty utility blades are double ended so can be switched round before disposal.
(See Operation 4.2 for Replacing Medium Duty Blades)
Manosplint® Safety Cutter: User Manual
Page 4

4. Operation
4.1 Cutting
Positioning of the Safety Cutter on the Cutting Surface
Place the Safety Cutter on a level surface (table, worktop). Position the Safety Cutter at a
comfortable position to allow you to get as close as possible and above the Cutter Head so
that you are not reaching too far and can apply a firm downward pressure with your palm.
Inserting Thermoplastics into the Safety Cutter
Having marked your thermoplastic with the start point from which to make your cut, lift the
Cutter Bar and insert your plastic, pushing it up against the two Cutter Stops. This will ensure
that your cut is ‘square’ to the material and easier to cut.
Aligning Cutter Head
Align the red arrow on the Cutter Head with the cutting start point. The red arrow provides a
clear visual guide to the tip of the utility blade. This is important if you are scoring the plastic
before cutting – depending on plastic thickness (see below).
Depressing the Cutter Head and Cutting
The Safety Cutter has unidirectional Medium Duty utility blades which are designed for
cutting thermoplastic materials. The best ergonomic position is to place your palm on top of
the Cutter Head, depress and engage with the plastic. Push the Cutter Head away from you
towards the Cutter Stops keeping the Cutter Head depressed.
For thinner plastics (1.6mm, 2.0mm) with firm pressure on the Cutter Head, the blade should
go through the plastic at the first attempt and the plastic will cut in one movement.
For thicker plastics (2.4mm, 3.2mm) you may need to score the surface of the plastic first with
2 – 4 movements and then the final movement should cut completely trough the plastic
material.
If you are cutting the full length of thicker plastic we recommend dropping the blade onto
the top of the plastic approximately 2mm from the edge for your first 2-4 scoring movements
and then only positioning the blade before the plastic for the final cutting movement.
Thermoplastics – Dealing with Different Thicknesses/Toughness
Consideration should be given to the thickness and toughness of the thermoplastic that you
are cutting. Thin materials (for example 1.6mm, 2.0mm) may be cut with one stroke of the
Cutter Head. Thicker materials such as 2.4mm or 3.2mm may need to be scored 2 to 4 times
before the final cut is performed.
Manosplint® Safety Cutter: User Manual
Page 5

Blade Height
The Safety Cutter has been supplied with a pin in the Cutter Head that controls the height of
the blade and prevents it from running along the bottom of the cutting channel. This helps to
prevent the tip of the blade from wearing or getting damaged by incorrect blade setting
whilst providing a perfect cutting height.
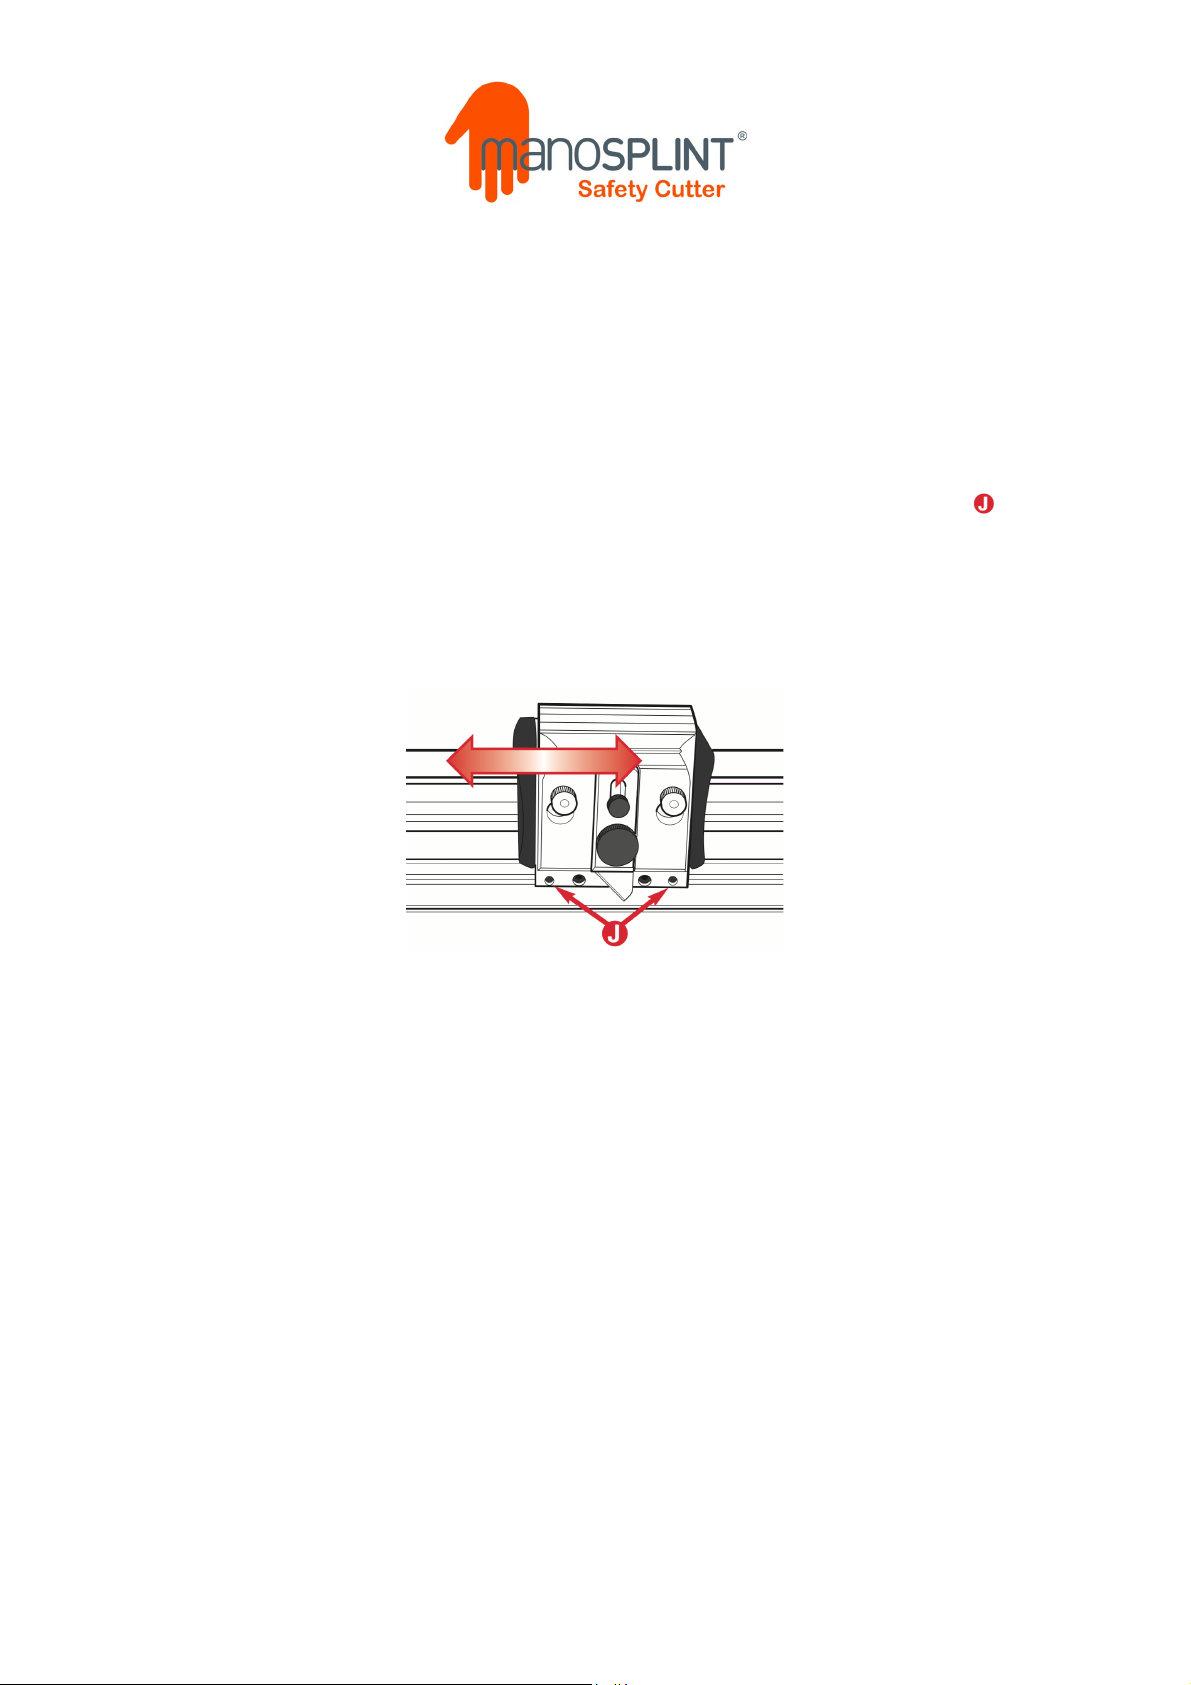
Storage
When storing the Safety Cutter move the Cutter Head to the end of the rail and engage the
Sliding Lock in the depression beneath the blade. Once this has engaged, tighten the screw
on top of the Sliding Lock. This will prevent the Cutter Head and Cutter Bar from moving
during transportation and storage.
Making the Safety Cutter Ready for Use
To make the Safety Cutter ready for use, undo the screw on the Sliding Lock slightly and pull
away from the Cutter Head. Tighten the screw on the Sliding Lock when it is withdrawn away
from the Cutter Head to keep it secure.
4.2 Blade Holder – Replacing the Blade
Fitting a New Blade
Remove the magnetic blade guide by releasing the Blade Clamping Knob .
Place the new blade onto the guide ensuring that the blade notches are properly located
and the back face of the blade is lying flat on the Blade Guide. (We recommend placing
the blade with the etched description ‘Medium Duty’ facing outwards so when it needs to
be replaced, it can first be reversed to make use of both ends of the blade).
Manosplint® Safety Cutter: User Manual
Page 6

Lower the Blade Guide into position feeding the blade behind the Clamping Bar.
Slide the Blade Guide down as far as it will go and secure in place using the Blade Clamping
Knob .
5. Maintenance
5.1 Cleaning & Lubrication
It is good practice to keep a dust sheet over the cutter if it is not to be used for extended
periods. In any event, regularly clean it with a dry cloth or to remove any stubborn stains use
a cloth dampened with a little water or detergent. In a clinic setting, the device may be
cleaned with an anti-bacterial wipe, but please avoid the yellow silicon strips on the
underside of the Cutter Bar and on the surface of the Cutter Base.
Should the Cutter Head Slideway require lubrication, use a silicon spray or silicon
impregnated sponge.
Please note! Do not use oil or solvents to lubricate or clean the cutter because the plastic
components and bearings will be damaged.
Manosplint® Safety Cutter: User Manual
Page 7
5.2 Adjusting the Cutter Head Sliding Bearings
The bearings that control the sliding motion of the Cutter Head are manufactured from a
high grade polymer and under normal use will last for an extremely long time. As they settle
into position you may find a slight amount of side play which can be removed by tightening
the two adjustment screws.
Tightening the Adjustment Screws
Place the long end of the 2mm Allen key provided into either of the two screw heads and
very gradually tighten it with one hand whilst moving the Cutter Head up and down the
Cutter Head Slideway with the other. Once you feel the sliding motion start to tighten undo
the screw very slightly so the Cutter Head slides easily.
Repeat this process with the second screw. Further fine adjustment may be needed to
achieve an easy sliding movement with zero side play.
Liability
Kinetec accepts no liability if the product is not assembled or used in the correct way, in
accordance with instructions.
6. Other Information
6.1 Warranty
The Manosplint Safety Cutter has a 5 year warranty.
6.2 Pack Contents
The Safety Cutter is supplied with a pack of 100 of Medium Duty blades, 2mm Allen Key and
User Instructions.
6.3 Video
For videos of the Safety Cutter being used and instructions, please visit: ….
Manosplint® Safety Cutter: User Manual
Page 8

Distributed by:
UK & ROI: France & International: USA & Canada:
Kinetec Medical Products UK Ltd Kinetec SAS Kinetec USA
Unit E Manawey Industrial Estate Zone Industrielle de Tournes W225N16708 Cedra Park Court
13 Holder Road Rue Maurice Perin Jackson
Aldershot F-08090 Tournes WI 53037
GU12 4RH France USA
United Kingdom
T: +44 (01252) 931980 T: +33 324 29 85 05 T: +1 (262) 677 1248
E: enquiries@kinetecuk.com E: contact@kinetec.fr E: sales@kinetecusa.com
W: www.kinetecuk.com W: www.kintetecinternational.com W: www.kinetecusa.com
Manosplint® Safety Cutter: User Manual
 Loading...