

Page 1
WARRANTY INFORMATION
English: For warranty information, go to manhattanproducts.com/warranty.
Deutsch: Garantieinformationen finden Sie unter manhattanproducts.com/warranty.
Español: Si desea obtener información sobre la garantía, visite manhattanproducts.com/warranty.
Français: Pour consulter les informations sur la garantie, visitez manhattanproducts.com/warranty.
Polski: Informacje dotyczące gwarancji znajdują się na stronie manhattanproduc ts.com/warranty.
Italiano: Per informazioni sulla garanzia, accedere a manhattanproducts.com/warranty.
En México : Póliza de Gara ntía Manhat tan — Datos del imp ortado r y responsab le ante el consum idor IC Intra com México, S. A.P.I. de C.V. • Av.
Interce ptor Ponien te # 73, Col. Parque Indu strial La Jo ya, Cuautit lán Izcalli, Es tado de Méxi co, C.P. 54730, México. • Tel. (55)1500- 4500
La pres ente gara ntía cubr e los sigui entes pro ductos c ontra cua lquier de fecto de f abric ación en sus m aterial es y mano de ob ra.
A. G arantiz amos los pr oducto s de limpie za, aire co mprimid o y consumi bles, por 6 0 dias a par tir de la fe cha de entr ega, o por el t iempo en qu e
se agote t otalmen te su conten ido por su pr opia fun ción de uso, l o que suced a primero .
B. Garant izamos l os produc tos con pa rtes móv iles por 3 añ os.
C. Garan tizamos lo s demás produ ctos por 5 años (p roduct os sin partes m óviles), bajo las si guientes co ndicion es:
1. Todos los pro ductos a que se r eere esta ga rantía, amp ara su cambio f ísico, sin ning ún cargo para el co nsumidor.
2. El comerc ializ ador no t iene ta lleres d e ser vicio, d ebido a qu e los pro duct os que se g aranti zan no c uentan c on repa racio nes, ni re facc iones,
ya qu e su garant ía es de camb io físico .
3. L a garantía cubre exclusivamente aquellas partes, equipos o sub-ensambles que hayan sido instaladas de fábrica y no incluye en ningún caso el
equ ipo adici onal o cual esquier a que hayan si do adicio nados al mi smo por el us uario o dis tribui dor.
Para hace r efec tiva es ta garan tía bast ará con pr esenta r el produ cto al di strib uidor en el d omicil io donde f ue adqui rido o en el d omicil io de IC Intra com Méx ico , S. A.P.I . de C.V., junt o con los acc esori os conte nidos en s u empaqu e, acomp añado de su p óliza d ebidam ente lle nada y sell ada por la c asa
vendedora (indispensable el sello y fecha de compra) donde lo adquirió, o bien, la factura o ticket de compra original donde se mencione claram ente el
modelo, número de s erie (cuan do apliqu e) y fecha de adquisic ión. Est a garantía no es válid a en los sig uientes c asos: Si el p roduct o se
hubiese
utiliz ado en con dicio nes dist intas a la s norma les; si el pr oduc to no ha sido o perad o confor me a los ins truc tivos de u so; o si el pr oduct o
ha sido alterado
o trata do de ser rep arado por e l consumi dor o terce ras pers onas.
© IC Intra com. All ri ghts res erved. M anhatta n is a tradem ark of IC Int racom, re gistere d in the U.S. an d other cou ntries .
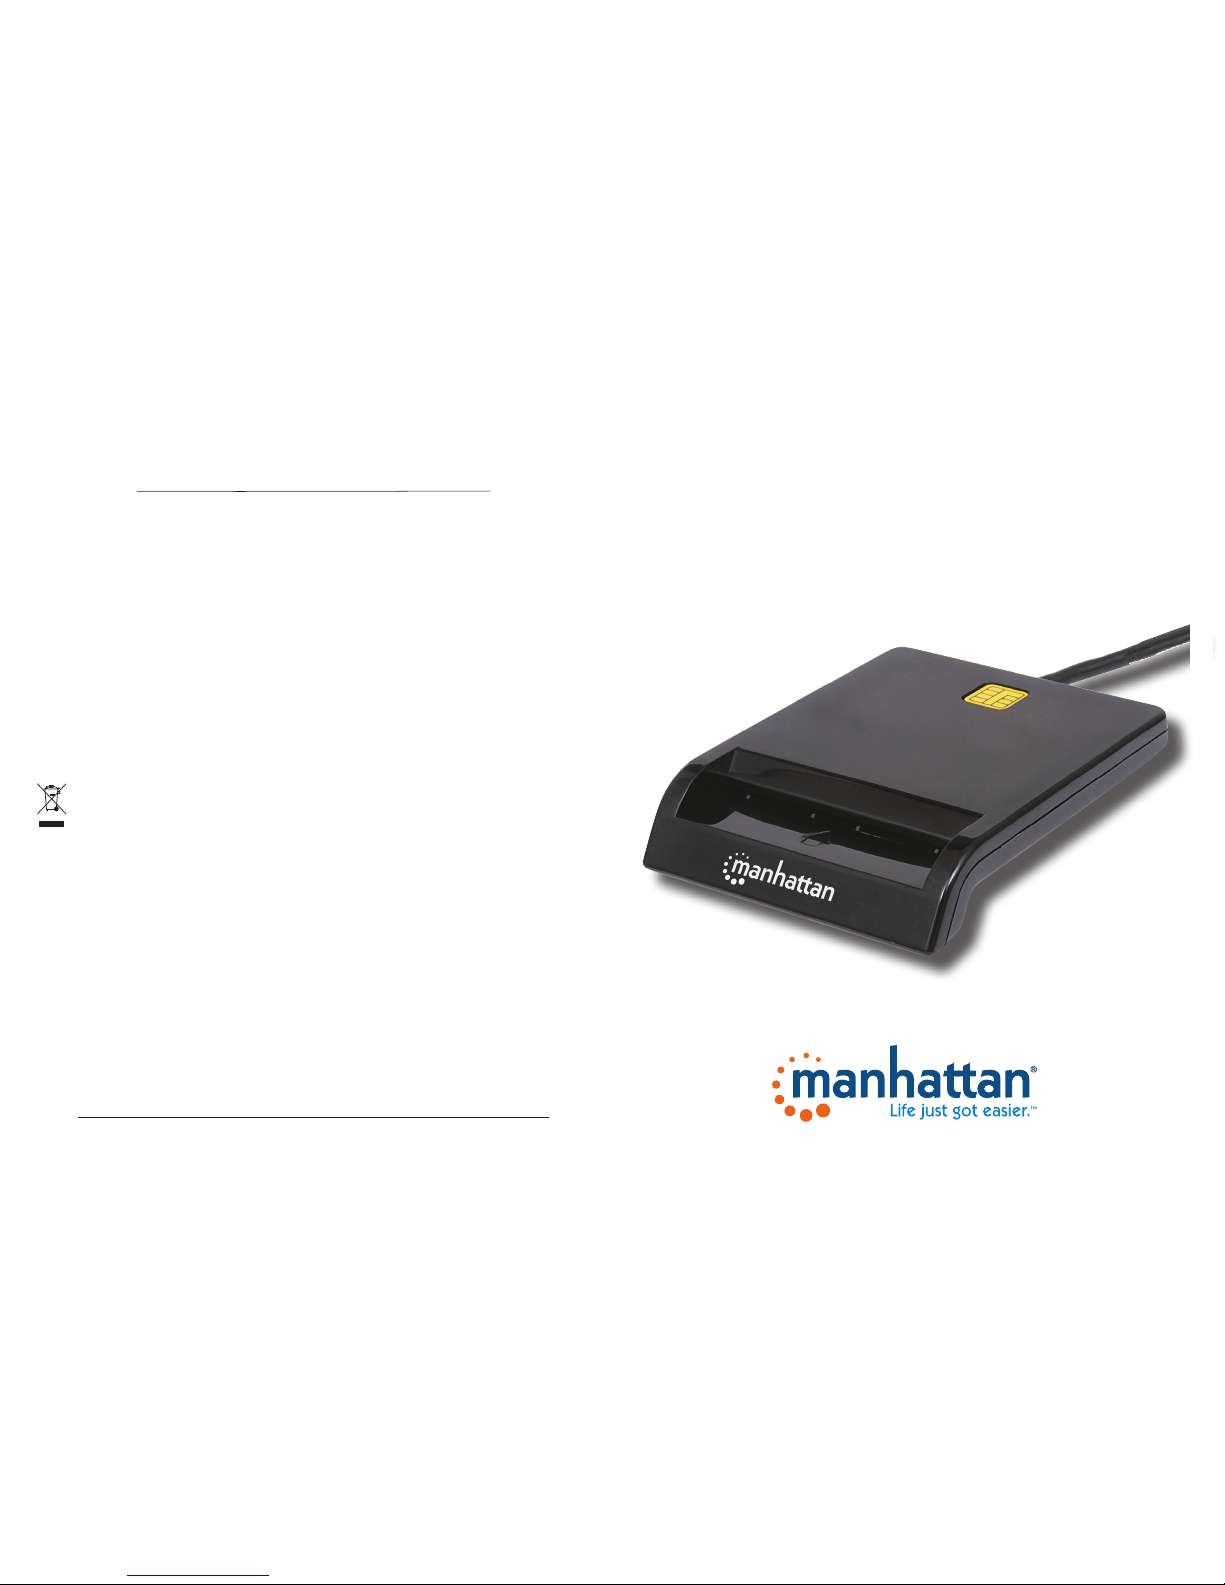
SMART CARD READER
QUICK INSTALL GUIDE
M O D E L 1017 76
manhattanproducts.com
Englis h: This sy mbol on the prod uct or i ts pack aging ind icates t hat this
produc t shall not be tr eated as househ old waste. Inst ead, it should be
taken to an a pplicab le collec tion point f or the rec ycling of el ectrica l and elec tronic e quipmen t. By ensu ring this p roduc t is disposed o f corre ctly, you w ill help p revent p otentia l negat ive con-
sequen ces to the env ironment an d human healt h, which cou ld
otherwise be caused by inappropriate waste handling of this product. If
your equipment contains easily removable batteries or accumulators,
dispose of these separately according to your local requirements. The
recyc ling of mater ials will help t o conserve na tural reso urces. For mor e
detail ed inform ation about r ecycling o f this produ ct, contac t your loca l
city offi ce, your hou sehold wa ste dispo sal serv ice or the sh op where yo u
purcha sed this pr oduct . In countr ies outsi de of the EU: If yo u wish to dis card th is product, c ontact you r local author ities and ask f or the correc t
manner of disposal.
Deutsch: Dieses auf dem Produkt oder der Verpackung angebrachte
Symbol zeigt an, dass dies es Produkt nicht mit dem Hausmüll entsorgtwerden darf. In Übereinstimmung mit der Richtlinie 2002/96/EG
des Europ äischen Pa rlaments un d des Rates über El ektro - u nd Elektronik-Altgeräte (WEEE) darf dieses Elektrogerät nic ht im normalen
Hausmü ll oder dem G elben Sac k entsor gt werden. Wenn Sie diese s
Produk t entsorgen möchten, bringen Sie es bitte zur Verkaufsstelle
zurück oder zum Recycling-Sammelpunkt Ihrer Gemeinde.
Español: Este s ímbolo en el prod ucto o su embalaje indic a que el producto no debe tratarse como residuo doméstico. De conformidad con
la Direc tiva 2002/96/CE de la UE sobre resi duos de aparatos eléctricos
y el ectróni cos (R AEE), e ste pr oducto eléct rico n o pued e des echarse se
con el res to de residuos no clasificados. Deshágase de este producto
devolv iéndol o a su punto de v enta o a un pun to de reco lecció n municip al
para su reciclaje.
Français :: Ce symbole sur Ie produit ou son emballage signifie que ce
produit ne doit pas être traité comme un déchet ménager. Conformément à la Directive 2002/96/EC sur les déchets d ’équipements élec-
triques et électro niques (DEEE), ce produit électrique ne doit en aucun
cas êtr e mis au rebut so us forme de dé chet munici pal non trié. Ve uillez
vous débarrasser de ce produit en Ie renvoyant à son point de vente
ou au point de ramas sage lo cal dans votre municipalité, à de s fins de
recyclage.
Italiano: Questo simbolo sui prodotto o sulla relativa confezione indica
che il pro dotto non v a trattat o come un rifiu to domesti co. In ottemp eranza all a Diret tiva UE 20 02/96/ EC sui rifi uti di app arecc hiatur e elett riche
ed e lettro niche (RAEE ), ques ta pr odotto ele ttrico no n deve es sere
smalti to come rifiut o municipale m isto. Si prega d i smaltire il p rodotto
riportandolo al punto vendita o al punto di raccolta municipale locale
per un opportuno riciclaggio.
Polski: Jeśli na produkcie lub jego opakowaniu umieszczono ten symbol, wówc zas w czasie utyliz acji nie wolno wyrzucać tego produktu
wraz z odpa dami ko munalnymi . Zgodn ie z D yrekt ywą Nr 2002/9 6/WE
w s prawie zuży tego sprzęt u el ektryc znego i elektro niczne go ( WEEE),
niniejszego produktu elek trycznego nie wolno usuwać jako nie posortowanego odpadu komunalnego. Prosimy o usuniecie niniejszego
produk tu poprzez j ego zwrot do p unktu zaku pu lub oddanie do m iejscowego komunalnego punktu zbiórki odpadów przeznaczonych do
recyklingu.
WASTE ELECTRICAL & ELECTRONIC EQUIPMENT
Disposal of Electric and Electronic Equipment (applicable in the European Union and other European countries with separate collection systems)
For specifications, go to manhattanproducts.com.
Die Spezifikationen finden Sie auf manhattanproducts.com.
Para más especificaciones, visite manhattanproducts.com
Vous trouvez les spécifications sur manhattanproducts.com
Pełną s pecy fikację pr oduktu z najdzie cie Państ wo na str onie
manhattanproducts.com.
Per ulteriori specifiche, visita il sito manhattanproducts.com.
Important: Read before use. • Importante: Leer antes de usar.
Page 2
MAN-101776-QIG-ML-1114-01-0
Polski: Czy tnik kart Smart
Français: Lecteur d e carte à puce
Uwaga: Nin iejszy doku ment przed stawia pods tawowe kroki
potrzebne do uruchomienia urządzenia. Aby uzyskać instrukcję
uży tkownika ora z specyfik ację techni czną, zapoz naj się z
zawar tością doł ączonej pł yty CD.
1 Podłącz z integrowany z c zytni kiem kabel USB do w olnego
portu komputera. Zaświeci się dioda sygnalizując zasilanie
urządzenia.
2 Umieść do łączoną pł ytę CD w napę dzie CD/DVD komp utera.
Jeśli pojaw i się systemow y Kreator zn ajdowania nowe go
sprzętu, wciśnij Anuluj.
3 Po pojawieniu s ię głównego o kna instala cji wciśnij Install
Driver lub ur uchom z pł yty „au torun.exe”.
4 Po pojawieniu s ię okna insta lacji sterow nika wciśnij Ye s.
5 Po pojawieniu się komunik atu „Please re-pl ug…”, wciśnij
OK.
6 Po pojawieniu się komunikatu o konieczności ponownego
uruchomienia komputera, wciśnij Yes. Uwaga: Po
ponownym uruchomieniu komputera można zweryfikować
instalację sterownika przechodząc do Menadżera urządzeń
/ Czyt niki kart Sm art i potw ierdzić, że zn ajduje się tam
urządze nie „EZUSB PC /SC Smart Car d Reader”.
7 Czerwon a dioda świec i, gdy do czy tnika wło żona jest kar ta.
Italiano: Lettor e di Smart Card
Printed on recycled paper.
Español: Lector de Tarjetas Inteligentes
Nota: Es ta guía le prese nta los pasos b ásicos para con figurar
y operar e ste disposit ivo. Para más det alles y espec ificacion es,
refiérase al Manual de Usuario dentro del CD adjunto.
1 Conecte el cab le en un puerto USB d e su computado ra. El
L ED indica que la ta rjeta está e ncendida.
2 Para instalar el cont rolador, insert e el CD la unidad de CD-
R OM. Si se muestr a la pantalla de bi envenida del asis tente,
h aga clic en Cancelar para continuar con la instalación.
3 En la pantalla de in stalación, ha ga clic en Instalar
Controlador o ejecute “autorun.exe”.
4 Cuando se mues tre un cuadro de d ialogo, haga clic e n Si.
5 Un aviso le solic itará recone ctar el disp ositivo, haga cli c en
Aceptar.
6 Cuando le pida reiniciar haga clic en Si. Nota: Des pués de
reiniciar, puede verificar la instalación en el administrador
d e dispositivo s ubicando en la li sta a “EZUSB PC /SC Smart
C ard Reader”.
7 El LED encenderá cuando una tarjeta sea insertada.
Remarqu e: Ce guide prés ente les étape s d’instal lation de base
pour l’uti lisation de ce d ispositif. Pou r des détails s upplémentaires e t des spécifi cations, veui llez lire le manu el utilisate ur
sur le CD inc lus.
1 Branchez le câb le intégré à un po rt USB de votre o rdinateur.
La DEL s’allume p our afficher que la c arte est al imentée.
2 Pour installer le pilote, insérez le CD d’installation inclus
da ns votre lecteur CD- ROM. Si l’assistant d’i nstallation
au tomatique de Window s s’ache, cliquez sur Annuler
pour continuer.
3 Quand l’écran d ’installat ion s’affiche, cliq uez sur Installer le
pilote ou lancez “autorun.exe.”
4
Quand l’écr an d’instal lation de pilot e s’affiche, clique z sur Oui.
5 Quand le message “Veuillez reconnecter...” s’affiche, cliquez
sur OK.
6 Quand le message “Voule z-vous redémarre r votre ordinateur
maintenant?” cliquez sur Oui. Remarque: Après le
redémarrage de votre ordinateur, vous pouvez vérifier
l’installation en accédant Gestionnaire de périphérique /
Lecteur s de carte à pu ce et confirman t que “Lecteu r de carte
à puce EZUSB PC /SC” s’affiche.
7 La DEL s’allume quand une carte est insérée.
Nota: Que sta guida fo rnisce gli elem enti basilar i per impost are
e rendere operativa la periferica. Per ulteriori informazioni e
dettagli funzionali, fare riferim ento al manuale d’istruzione
presente nel CD incluso.
1 Collegare i l cavo alla por ta USB del comput er. Il LED si illumina
ad indicar e che il lettor e è acceso.
2 Per installa re i driver, inser ire nel letto re il CD di sett aggio
incluso nella confezione. Se compare sullo schermo il
messaggio di benvenuto relativo al nuovo hardware rilevato,
cliccare Cancella per continuare con l’installazione.
3 Quando compare la videata relativa all’installazione, cliccare
Installa Driver o avviar e l’ “autorun.exe.”
4 Appena compare sullo schermo la finestra relativa al
settag gio dei Driver, cli ccare Si.
5 Quando viene visuali zzato il prompt “Ple ase re-plug...”,
cliccare OK.
6 Appena viene sugger ito di riavviare il comp uter (“Do you
want to res tart your co mputer now?” = vu oi riavviar e il tuo
compute r ora?) cliccare Si. Not a: Dopo che il com puter è
stato ri avviato, è pos sibile verific are l’inst allazione dei d river
andando s u Gestione pe riferich e / Lettori di Sm art Card e
confer mare che il “Let tore di Smar t Card EZUSB PC /SC” sia
presente nella lista.
7 Il LED si illumin a quando una car d è inserita.
REGULATORY STATEMENTS
FCC Class B
This equ ipment has b een teste d and found to co mply with t he limits fo r a Class B digi tal device, p ursuant to P art 15 of Feder al Communi cations Co mmission ( FCC) Rule s. Thes e limit s are d esigned to prov ide rea sonable protect ion aga inst har mful i nterfer ence in a resid ential i nstallat ion. Th is equip ment
genera tes, uses a nd can radi ate radio f requenc y energy, a nd if not ins talled an d used in acco rdance wi th the ins tructi ons may cau se harmfu l interf erence
to radio c ommunic ations . However, the re is no guar antee th at inter ference w ill not occ ur in a par ticular i nstall ation. If t his equip ment doe s cause ha rmful
inter ference t o radio or te levisio n recept ion, whic h can be det ermine d by turnin g the equi pment off an d on, the use r is encour aged to tr y to corr ect the i nterfe rence by on e or more of th e followi ng measur es: reori ent or relo cate the re ceiving a ntenna; inc rease th e separat ion betw een the equ ipment an d the
rec eiver ; conne ct th e equip ment to an outle t on a circ uit di ere nt fro m the rec eiver ; or cons ult th e deale r or an exp erie nced ra dio/ TV tec hnic ian for help.
CE / R&TTE
Engl ish: T his dev ice co mplie s with the req uire ment s of R&TT E Direc tiv e 1999/5/ EC.
Deu tsch: Diese s Gerä t ensp rich t der Dir ekt ive R&T TE Dire kti ve 1999/5 /EC.
Esp añol: Este di spos itivo cumpl e con lo s requ erimi ento s de la Dir ect iva R&T TE 1999/ 5/EC.
Fran çais : Cet app arei l sati sfai t aux ex igen ces de la direc tive R&TTE 19 99/5/CE .
Pols ki: Ur ządz enie sp ełn ia wym agani a dyre kty wy R&T TE 1999/ 5/EC.
Ita liano : Ques to disp osit ivo è con for me alla D iret tiva 19 99/5/E C R&TTE .
All trade marks an d trade nam es are the p ropert y of their r espec tive owne rs.
Alle Marken und Markennamen sind Eigentum Ihrer jeweiligen Inhaber.
Todas las marc as y nom bres comer ciale s son pr opie dad de s us resp ect ivos d ueños .
Toute s les ma rque s et noms comme rciau x sont la prop riét é de leur s pro priét aire s resp ect ifs.
Wszy stk ie znak i towa rowe i na zwy h andlo we nal eżą do i ch wła ścic ieli.
Tutt i i march i regi stra ti e le do minaz ioni c omme rcial i sono d i prop riet à dei lor o risp ett ivi pro prie tari .
Deutsch: Smart Card Reader
Hinweis: Diese Kurzanleitung zeigt die grundlegenden
Installationsschritte zur Einrichtung und Inbetriebnahme
dieses G eräts. Weitere Inf ormationen und d ie Spezika-
tionen finden Sie im Handbuch auf der beiliegenden CD.
1 Schließen Sie das integ rierte Kabel an eine n USB-Port Ihres
Computers an. Die leuchtende LED zeigt die ordnungsgemäße
Stromversorgung der Karte an.
2 Um die Treiber zu ins tallieren, legen Sie di e beiliegende CD
in Ihr L aufwerk ein. Wird de r automat ische Installa tions-
assiste nt von Windows gestar tet, klicken Sie auf Abbrechen.
3 Wenn der Installation sassistent von der CD st artet, klicken
Sie auf Treiber installieren. Sollte er nic ht starten ,
doppel-
klicken Sie auf die “auto run.exe” im CD-Verzei chnis.
4 Wenn der Installationsbildschirm eingeblendet wird, klicken
Sie auf Ja.
5 Bei der Meldung “Bitte schließen Sie das Gerät erneut an”,
klicken Sie au f OK.
6 Bei der Frage “M öchten Sie Ihre n Computer jet zt neu
starte n?” klicken Sie au f Ja. Hinweis: Nach dem N eustart ,
können Sie die Treiberinstallation überprüfen, indem Sie
un ter Geräte-mana ger / Smart Card Reader s nach dem
Eintrag “E ZUSB PC/SC Smar t Card Reade r” suchen. Is t dieser
vorhanden, wurde die Karte ordnungsgemäß installiert.
7 Die LED leuchtet, wenn eine Karte eingelegt wird.
Note: This gui de presents the b asic steps to set up and
operate t his device. For op erational de tails and spec s, refer
to the user m anual on the encl osed CD.
1 Plug the built-in cab le into a USB port on your comp uter.
Th e yellow LED lights to indi cate the card has powe r.
2 To install t he driver, insert the en closed Setup CD in yo ur
CD -ROM drive. If the Welcome to the Foun d New Hardware
Wi zard screen dis plays, click Cancel to continue.
3 When the Install sc reen displays, cli ck Install Dri ver or
r un “autorun.exe.”
4 When the Driver Set up screen display s, click Yes.
5 When the “Please re-p lug...” prompt displays, cli ck OK.
6 When prompted wit h “Do you want to restar t your
c omputer now?” clic k Yes. Note: After your computer
re -boots, you ca n verify the drive r installation by go ing to
D evice Manager / Sm art Card Read ers and confirm ing
t hat “EZUSB PC/S C Smart Card Re ader” is liste d.
7 The yellow LED lights wh en a card is inserte d.
North & Sou th America
IC Intracom Americas
550 Commerce Blvd.
Oldsmar, FL 34677
USA
Asia & Afric a
IC Intracom A sia
4-F, No. 77, Sec. 1, Xintai 5th Rd.
Xizhi Dist. , New Taipei City 221
Taiw an
Europe
IC Intracom Europe
Löhbacher St r. 7
D-58553 Halver
Germany
 Loading...