

Page 1

Getting Started Guide
BEFORE GETTING STARTED
1. Open the package and check your accessories.
Main Unit
The Handheld Experts!
#1 in Route Delivery Software!
Standard Baery
Antenna (RX only)
Screwdriver
DC Adapter
USB CableEarphones
AC Adapter (Oponal)
Wireless Charging
2. Installing the Baery Pack
1) Using the supplied screw driver, unscrew the six screws
on the back cover.
2) Insert baery with the arrows visibile and poinng down
towards the boom of the handheld.
3) Replace back cover and be sure to ghten the screws firmly but not too ght. Note: If you do not see the baery in your
package materials, then your baery has already been installed
into your device.
3. Connecng the Power Adapter to Charge the Handheld
1) Connect the USB power cable to the AC or DC power
adapter with the larger connector.
2) Insert power adapter into either an AC/DC outlet.
3) Gently open the cover to the USB port on the right side of
the handheld. Insert the smaller end of the power cord
into the USB port.
Advantage Route Systems, Inc. - 3201 Liberty Square Parkway Turlock, CA 95380 USA - 1.209.632.1122 - Toll Free (USA) 888.294.7688 - www.AdvantageRoute.com - Sales@AdvantageRoute.com
Page 2

OVERVIEW
Front Facing
Camera
Walkie Talkie
Flashlight
Volume Control
Emergency
Baery Cover Indentaon
Rear Facing
Camera
Speaker
Ear phone
Jack Connector
USB Port
SIM #1 (Micro)
USING PERIPHERALS
Pung in the SIM/SD Card
1) Turn off device, remove back cover, and
remove baery.
2) Insert a correctly oriented SIM card, metal side
down. You can use either slot for the SIM card.
3) If you would like to use an SD card for external
storage, insert the card into the provided slot.
4) Replace baery.
5) Put the baery cover back in place
Note: Never remove the SIM/SD card when an
external power supply is connected. This may
cause damage to the card or to your phone.
Camera
Reset
Power On/Off
SIM #2 (Micro)
Micro SD Card
Advantage Route Systems, Inc. - 3201 Liberty Square Parkway Turlock, CA 95380 USA - 1.209.632.1122 - Toll Free (USA) 888.294.7688 - www.AdvantageRoute.com - Sales@AdvantageRoute.com
Page 3

SETTING UP YOUR DEVICE
1. Seng Up Wi-Fi
1) Turn the power on to your device.
2) Navigate to the Sengs icon from the main screen.
3) Move the Wi-Fi slider to the “on” posion (to the right).
4) Select “Wi-Fi” and then select your access point.
5) Enter the security key for your connecon (if secured).
2. Seng Up Bluetooth
Note: You will need to complete these steps if you are
using a Bluetooth printer such as the PTB2/3 or BT4.
1) Navigate back to the Sengs screen select and slide the
Bluetooth slider to the ”on” posion (to the right)
2) Under “Available Devices”, choose your printer.
3) If you are not sure which listed device is your printer,
print a test page to get the info. You can do this by turning
the printer OFF, then hold down the feed buon and turn
the printer ON. Once it is on, let go of the Feed buon and
the test page will print. Generally the name or model number
will be near the top.
4) Enter your device’s PIN. The PIN will either be 1234 or 0000.
3. Security
1) Navigate back to the Sengs icon and access the
Security icon
2) Slide “Unknown Sources” slider to “on” posion
This step is necessary in order to allow you to receive
updates from Route Manager, as these updates are not
available in your Google Play Store.
INSTALLING THE APPLICATION
All devices purchased through Advantage Route Systems will have already
completed the steps below.
1. Download
1) Open a new web browser
2) Type your download server into the web addres bar
3) The download screen will appear and show progress of
download. Wait unl complete.
RMA Server: sh003.ars247.com:46001
RM2000 Server: sh003.ars247.com:46101
2. Install
1) When asked if you would like to install this applicaon, select “Next”
2) Select Install then “open”
3) When asked if you would like to download data from your server,
select “Yes”
4) Enter your server informaon. For assistance, contact Advantage Route
Systems at the phone number below.
Advantage Route Systems, Inc. - 3201 Liberty Square Parkway Turlock, CA 95380 USA - 1.209.632.1122 - Toll Free (USA) 888.294.7688 - www.AdvantageRoute.com - Sales@AdvantageRoute.com
Page 4
Adva
g
a
1994
hand
e
many
r
e
p
u
BATTERY PRODUCT SAFETY USER AND PRODUCT SAFETY
The Handheld Experts!
Lithium-ion battery packs may get hot, explode, ignite and/or
cause serious injury in case of misuse. Please follow the safety
warnings listed below:
1) Do not throw the battery into fire. Do not expose the
battery to high temperatures.
2) Do not connect the positve battery pack with negatve
battery pack to each other with any metal object (like wire).
3) Do not carry or store battery pack together with metal
objects.
4) Do not pierce the battery pack with nails or drills, strike the
battery pack with a hammer, step on the battery pack or
otherwise expose it to strong impacts, shocks or excessive
force.
5) Do not expose battery pack to liquid or allow the battery
contacts to get wet.
6) Do not disassemble or modify the battery pack. The battery
pack contains safety and protec!on measures, which, if
damaged, may cause the battery pack to generate heat,
explode or ignite.
7) Do not discharge the batteries outside the handheld. Do
not use the battery in a device other than the hanheld or
series battery chargers because the battery pack can become
damaged, and the life expectancy reduced. If the device
causes any abnormal current to flow, it may cause the battery
pack to become hot, explode or ignite and cause serious
injury.
8) In the event the battery pack leaks and the fluid gets into
one's eye, do not rub the eye. Rinse well with water and
immediately seek medical care. If let untreated,the battery
fluid could cause damage to the eye.
1) Never use strong pressure on the screen or subject it to severe
impact, as the LCD panel can crack and possibly cause personal injury.
If the LCD panel is broken, never touch the liquid inside, because the
liquid irritates the skin.
2) Use only the original approved AC adapter with the device. Use of an
unapproved AC Adapter could result in electrical problems,or even
cause a re or electrical shock to the user.
3) Do not disassemble the handheld. Servicing should be done by
Authorized Suppliers only. If the device or accessories are damaged
due to improper handling, unauthorized repair or warranty seals
are broken, the warranty will be void.
4) Make regularly back-ups of all important data.
5) Under no circumstance will the Manufacturer (or its agents) be liable
for any direct, indirect, consequen
from the use or inability to use both the hardware and so
and/or any data loss, even if the Manufacturer (or its agents) has been
informed about the possibility of such damages.
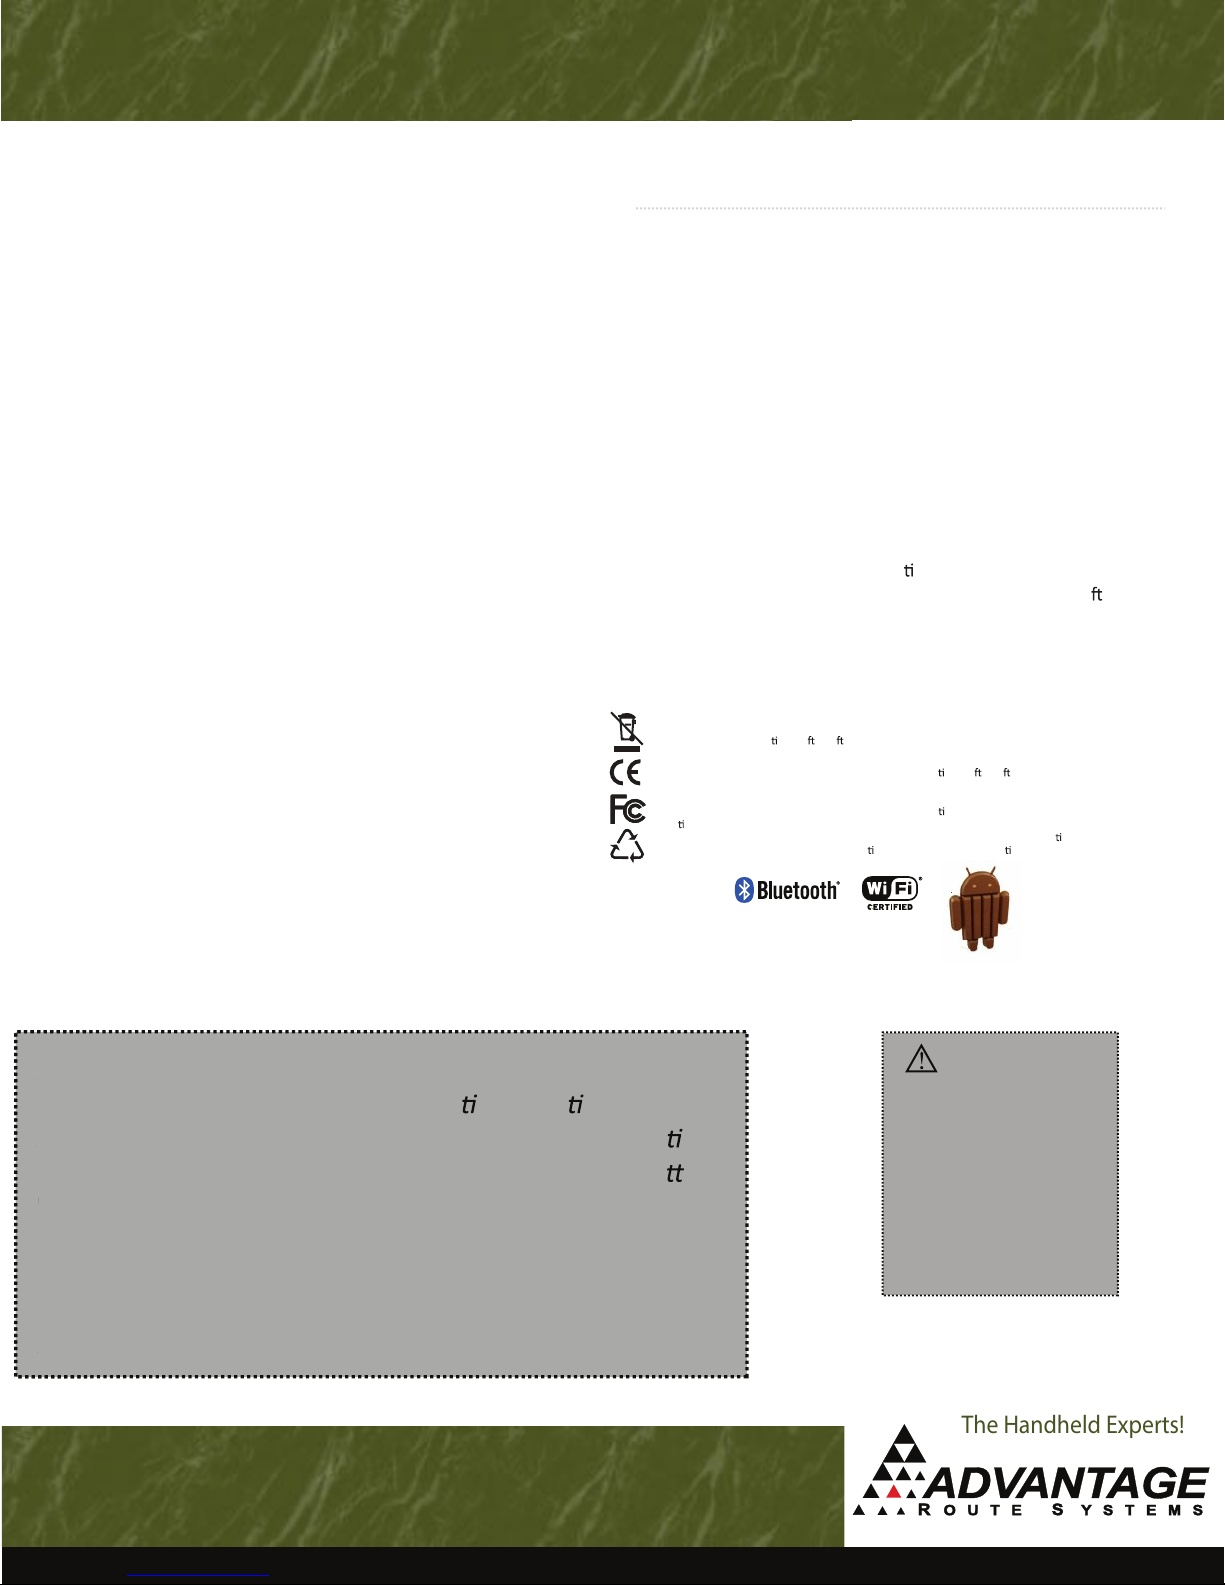
Do not th row this produc t in the home w aste bin. For p roper end-o f-life trea tment consult th e
Env ironmental c are sec
For CE, FC C and other DoC's, consult the Regulatory sec
This devic e complies W ith part 15 o f the FCC rule O pera on is subject t o the follow ing two
ons. (1)This d evice may not ca use harmful int erference. ( 2)This device m ust accept any
condi
int erferenc e received . Including in terferen ce that ma y cause undesi red opera
WPP
CFR 1040.10 and 1040. 11 except fo r devia
on of p: // p.sccltd.c om.tw
al or incidental damages arising
ware
on of p: // p.sccltd.c om.tw
ons pursu ant to Laser No c e No. 50, Dat e June 24 2007.
on. Com plies with 2 1
Advantage Route Systems of Turlock, California, USA is a
global distributor of route automa
lob
on solu ons. Since
1994, ARS has been the leader in route accoun ng,
handhelds, GPS and other applied technologies for Bo
Water, Water Treatment, Ice, Propane, Oil Recycling and
at
led
many more industries. With an installed base of over 5,000
routes in 45 countries, ARS consistently brings quality
out
products to the market for progressive companies. Its 24 X
rod
7 world-wide customer service center is second to none.
wo
Advantage Route Systems, Inc. - 3201 Liberty Square Parkway Turlock, CA 95380 USA - 1.209.632.1122 - Toll Free (USA) 888.294.7688 - www.AdvantageRoute.com - Sales@AdvantageRoute.com
CAUTION:
The device will be powered
on when you install the
baery pack. Charge the
baery for at least 4 hours.
Do not turn on the device for
the first me unl the baery
is charged for at least 4
hours. Always charge the
baeries in a
(32F-104F) environment
temperature.
6C-40C
#1 in Route Delivery Software!
Dec 2014
 Loading...