

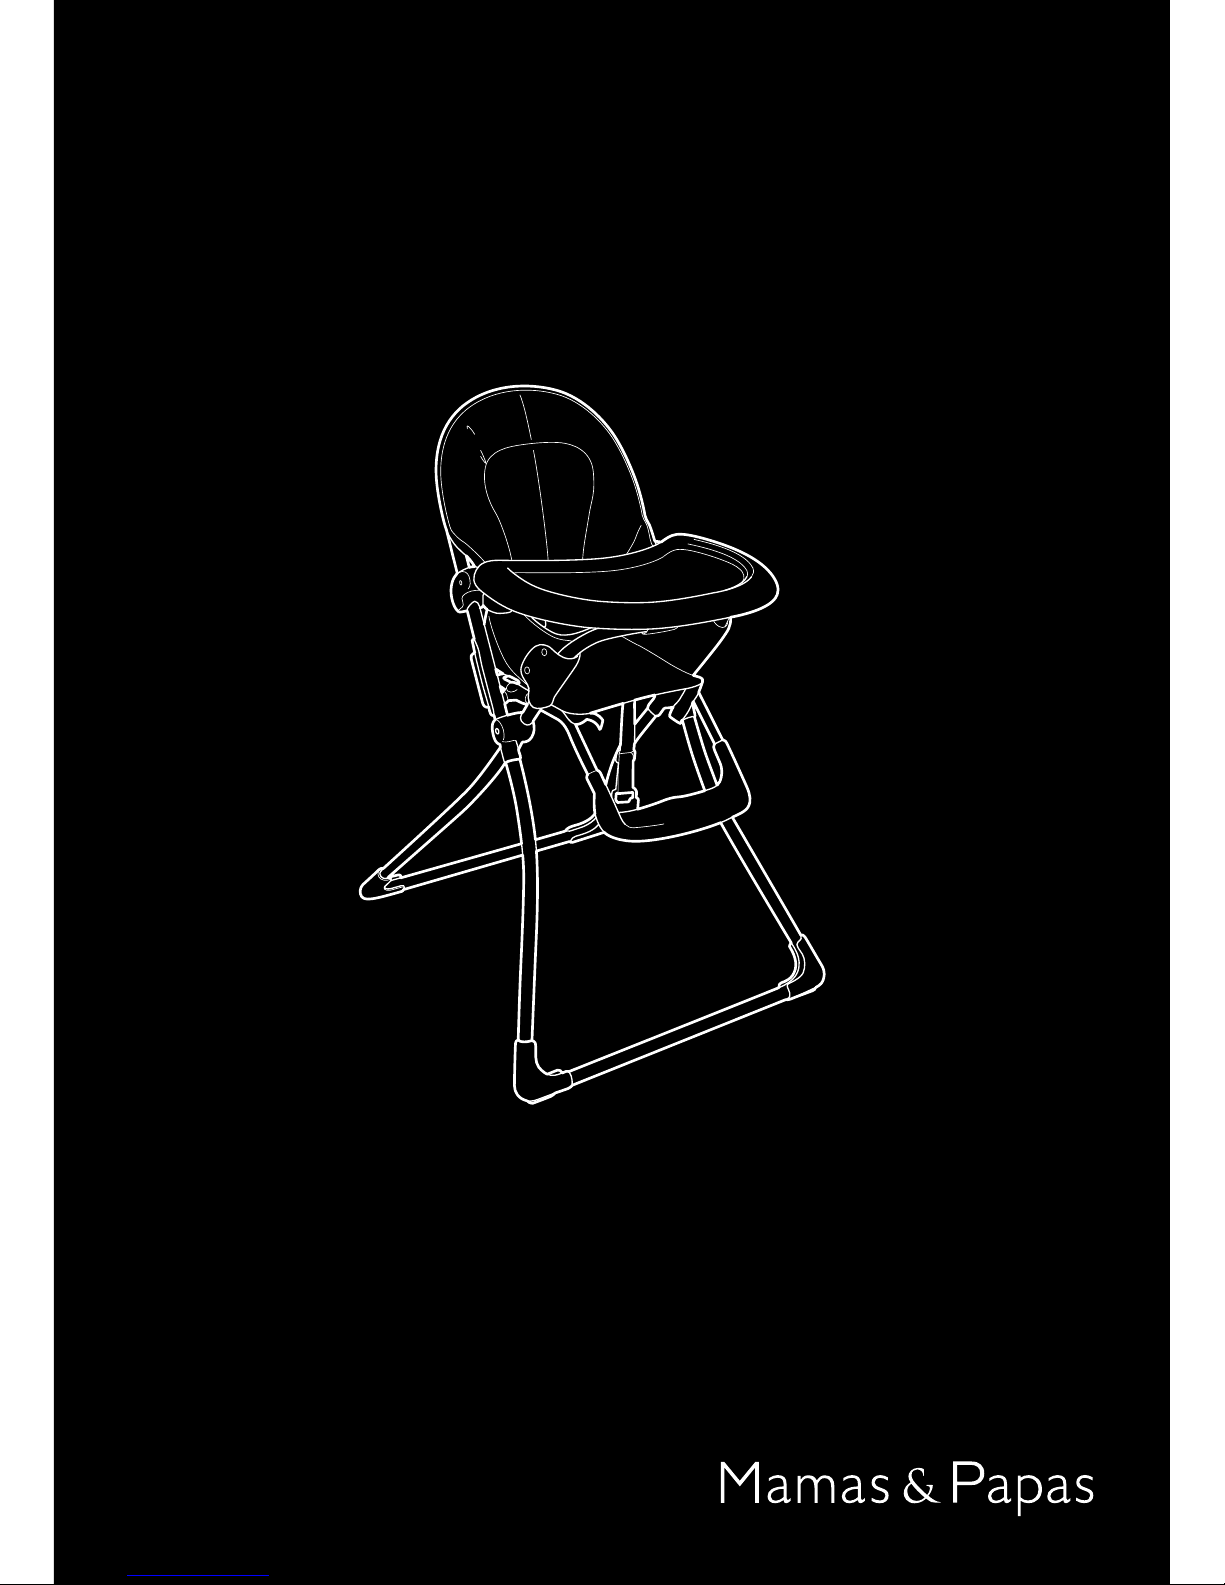
Mamas & Papas san remo highchair, bon bon highchair Instructions Manual
– 1–
instructions
san remo highchair
IMPORTANT : Please read instructions carefully
and keep for future reference
HC026:V3/06/06
© Mamas & Papas (Holdings) Ltd. 2006
– 2–
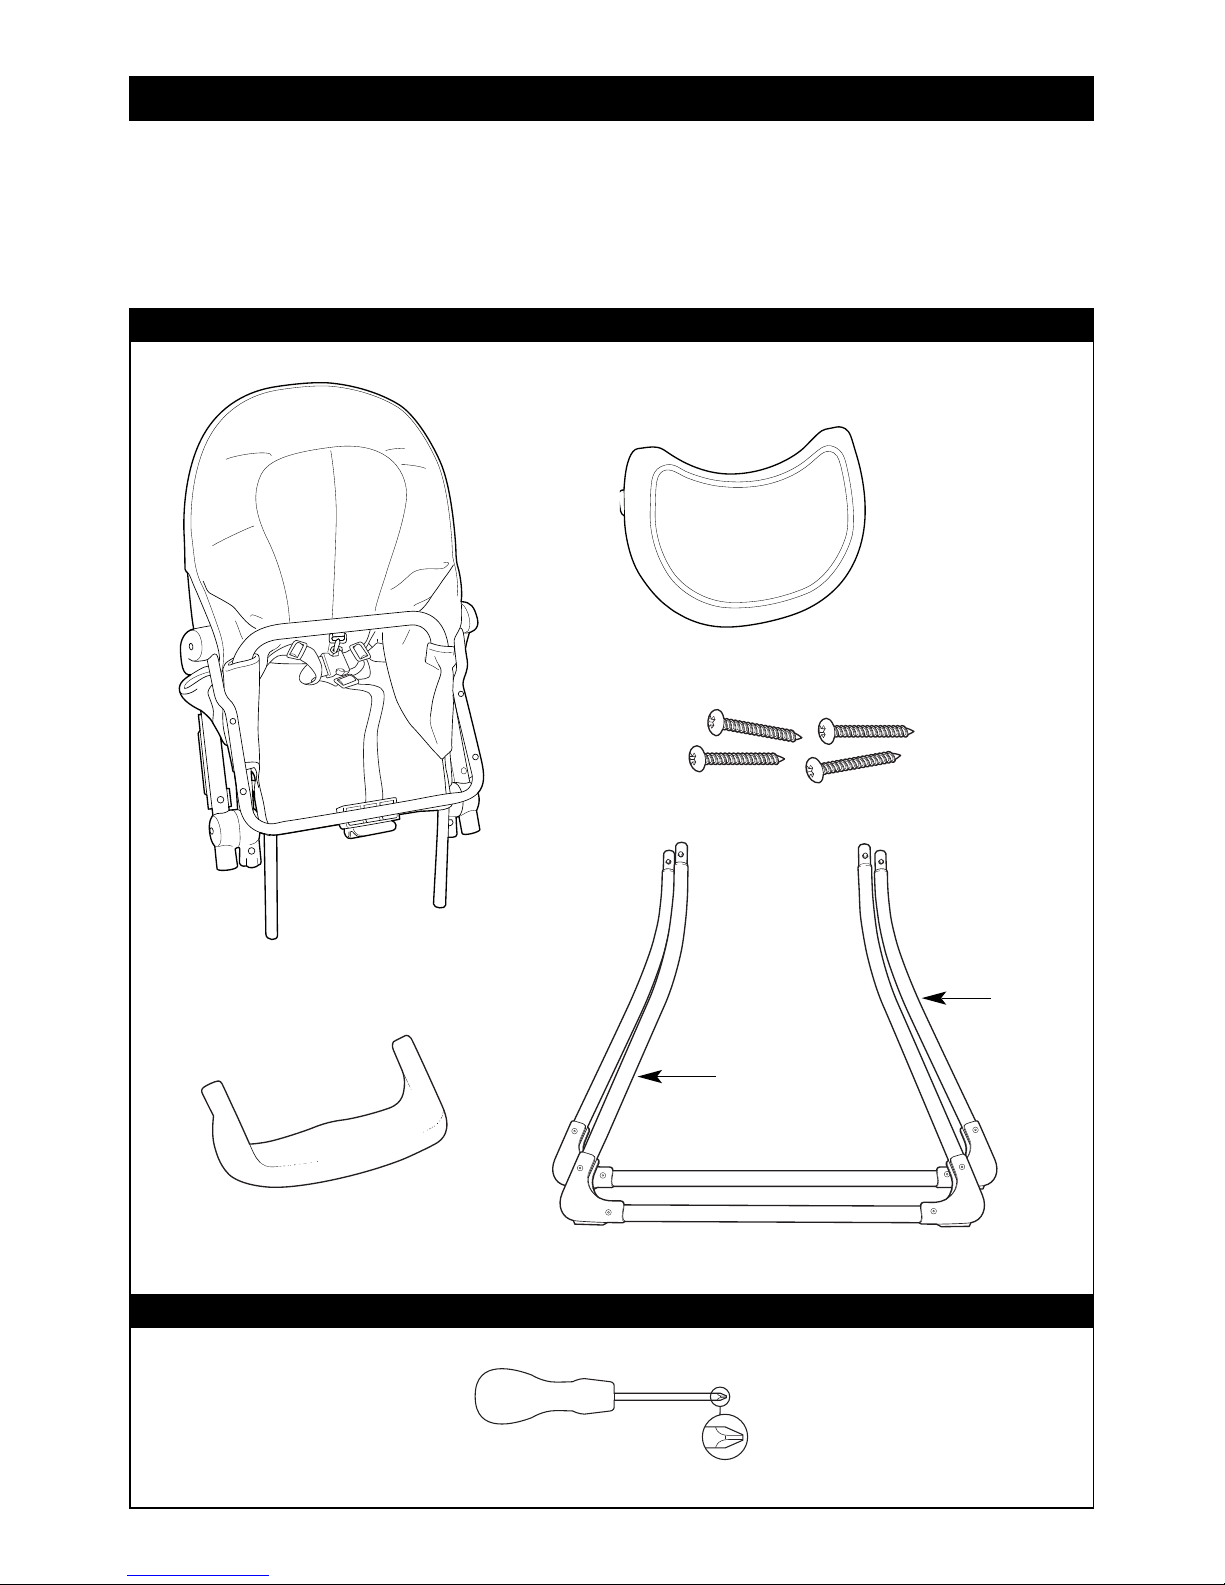
SAN REMO HIGHCHAIR
COMPONENTS
Seat
Tray
IMPORTANT: READ CAREFULLY AND RETAIN FOR FUTURE REFERENCE
• Do not discard any packaging until you have all the components.
• Read the instructions before constructing the product then follow them step by step.
Back
legs
Front
legs
TOOLS NEEDED
Footrest
Cross-head
screwdriver
Screws

– 3–
Cross-head screwdriver.
Position the seat unit
flat on a level work
surface with the back of
the seat facing down.
Position the tray face
down on the front of
the seat, then rotate
the tray frame on the
seat unit over the
underside of the tray.
ATTACHING THE TRAY
Align the lugs on the
underside of the tray
with the holes in the
tray frame and slot
them together.
Secure the tray to the
tray frame using the
four screws provided.
Tray frame
– 4–
Cross-head screwdriver.
Position the seat and
tray unit flat on a level
work surface with the
tray facing down.
Slot the footrest onto
the ends of the metal
frame.
Depress the two locking
buttons on the frame.
Push the footrest onto
the frame until the
buttons lock into the
holes on the footrest.
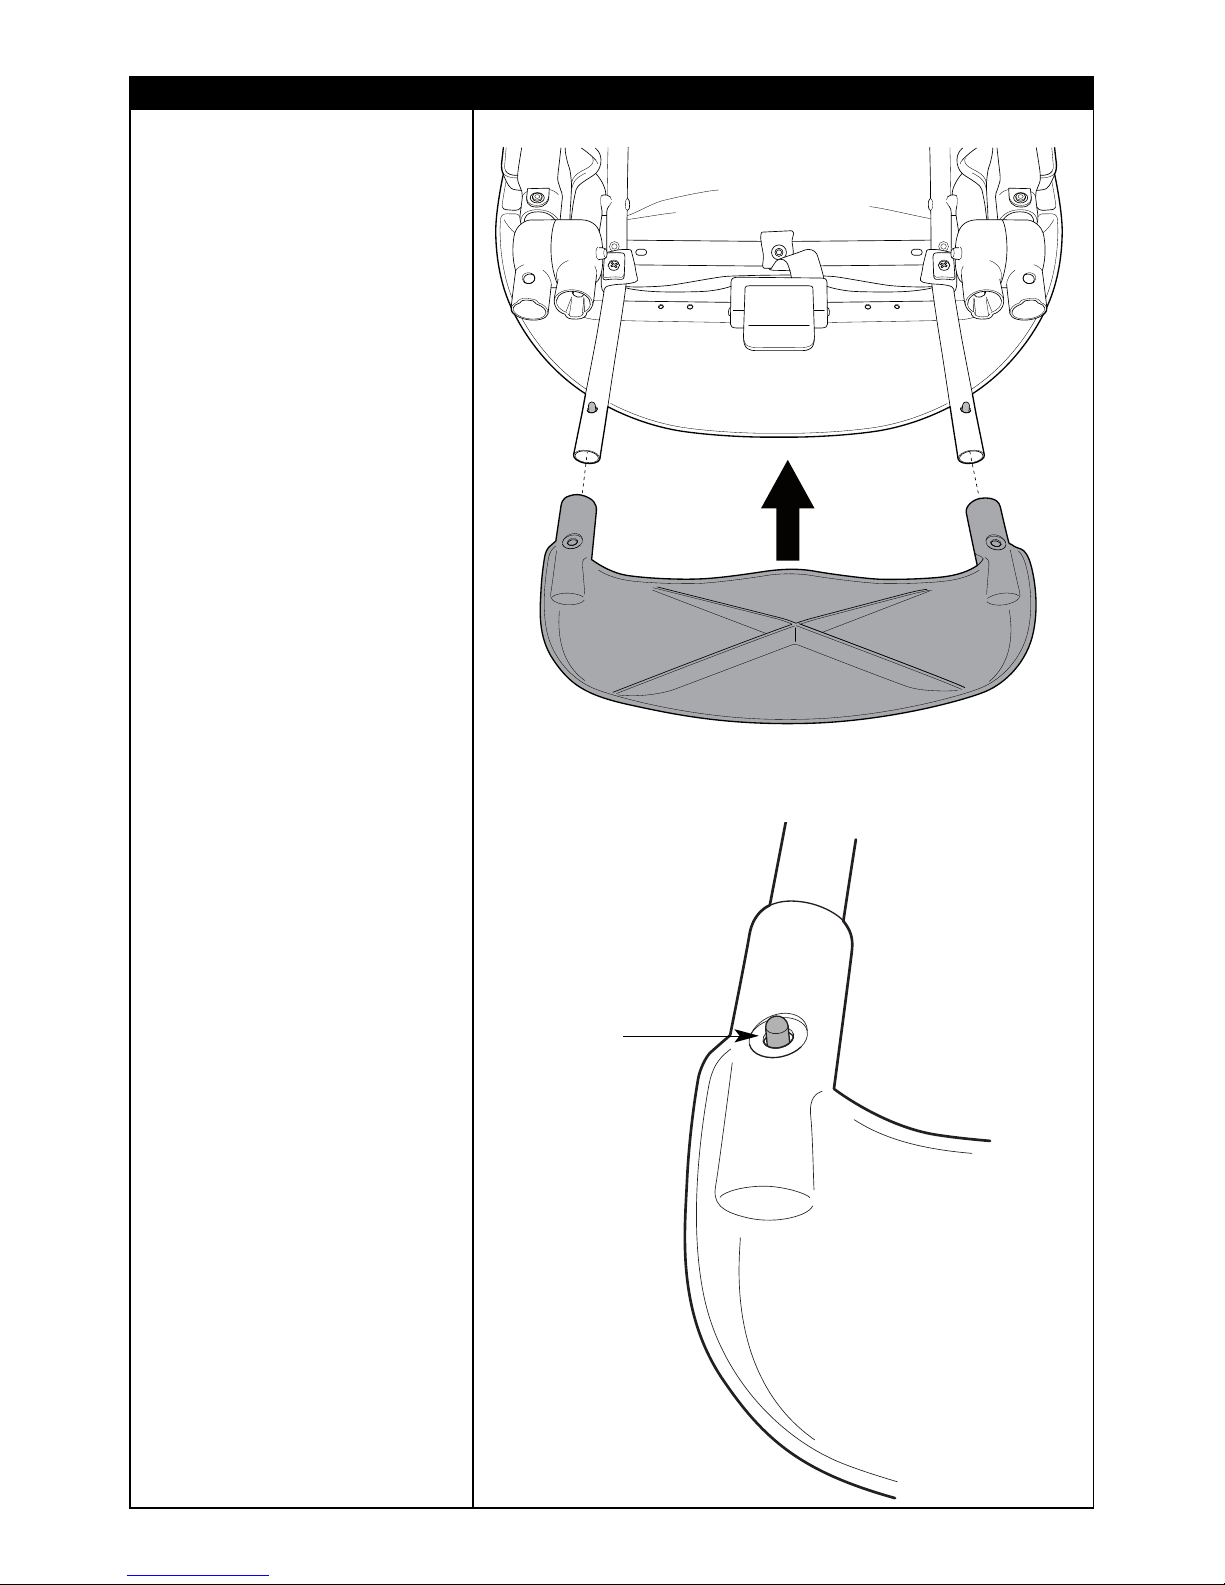
ATTACHING THE FOOTREST
Ensure that the locking
buttons are correctly
engaged. The locking
buttons must protrude
through the holes in the
footrest.
Locking
button
 Loading...