

MallinCam SDI Camera User Manual

MALLINCAM SDI Camera
[Version 1.0]
Michael Burns
Rock Mallin
[MALLINCAM SDI User Manual]
This document will introduce you to the wonders of the MallinCam SDI Camera. It will
include instructions on how to connect the Mallincam SDI to your computer along
with explanations of the camera’s various settings. Imaging techniques with the
various hardware and software options will be covered along with how to broadcast
the output of the Mallincam SDI camera on the Internet. The standard Composite
Video output will be discussed along with hints and suggestions on how to resolve any
problems that you encounter with this camera. Enjoy the adventure with Rock Mallin’s
Mallincam SDI Video camera, which will introduce you to the amazing field of Real
Time Mallincam SDI video imaging and broadcasting.
Revision Sheet
Revision History
SDI User Manual Page i

Version
Date
Revision Description
1.0
11/16/2014
Template Creation for MALLINCAM SDI Camera
Revision Sheet
SDI User Manual Page ii

Table of Contents
Contents
Revision History ..................................................................................................................................... i
Table of Contents .......................................................................................................................... 0
1. Introduction ........................................................................ 3
The Contents of the MALLINCAM SDI Package .................................................................. 4
MallinCam SDI Deluxe Package ........................................................................................................... 4
The Camera (Just the Facts) ................................................................................................... 5
The Camera (its Anatomy) ....................................................................................................... 6
2. Making Connections ............................................................ 7
The MALLINCAM SDI Camera (Connection Diagram) ........................................................ 7
Composite Video ................................................................................................................................... 7
SDI Video .............................................................................................................................................. 8
Power ..................................................................................................................................................... 8
Connecting the MALLINCAM SDI to your Computer for Video. ....................................... 9
Composite Video: .................................................................................................................................. 9
Software Requirements: ..................................................................................................................... 9
Hardware Requirements ..................................................................................................................... 9
Attaching the Video Cable to MALLINCAM SDI Camera ............................................................. 10
3. Operating the MALLINCAM SDI .......................................... 11
The MALLINCAM SDI Camera OSD Settings .................................................................... 14
4. Understanding the OSD ...................................................... 17
On Screen Display (OSD) Menu ........................................................................................... 17
MENU MAIN ..................................................................................................................................... 17
FOCUS ADJ ....................................................................................................................................... 17
LENS ................................................................................................................................................... 18
ELC.................................................................................................................................................. 18
NORMAL ...................................................................................................................................18
DEBLUR .....................................................................................................................................18
ALC ................................................................................................................................................. 19
INDOOR .....................................................................................................................................19
OUTDOOR .................................................................................................................................19
DEBLUR .....................................................................................................................................19
EXPOSURE ........................................................................................................................................ 20
BRIGHTNESS............................................................................................................................20
SHUTTER ..................................................................................................................................20
AUTO..................................................................................................................................................... 21
MANUAL .............................................................................................................................................. 21
FLICKER .............................................................................................................................................. 21
SENS-UP .....................................................................................................................................22
AGC.............................................................................................................................................22

MALLINCAM SDI User Manual November 11, 2014
BACKLIGHT ..................................................................................................................................... 23
BLC .............................................................................................................................................23
HLC .............................................................................................................................................24
DAY&NIGHT .................................................................................................................................... 24
MODE .........................................................................................................................................25
IR-LED .......................................................................................................................................26
ANTI-SAT. .................................................................................................................................26
EXTERN S/W.............................................................................................................................26
AGC THRES ..............................................................................................................................26
AGC MARGIN...........................................................................................................................26
DELAY .......................................................................................................................................26
WHITE BAL ...................................................................................................................................... 27
AUTO ..........................................................................................................................................27
AUTOext .....................................................................................................................................27
PRESET ......................................................................................................................................28
MANUAL ...................................................................................................................................28
DNR ..................................................................................................................................................... 29
IMAGE ............................................................................................................................................... 29
SHARPNESS ..............................................................................................................................30
GAMMA .....................................................................................................................................30
COLOR GAIN ...........................................................................................................................30
MIRROR ....................................................................................................................................30
FLIP ............................................................................................................................................30
D-ZOOM .....................................................................................................................................31
ACE .............................................................................................................................................31
DEFOG .......................................................................................................................................31
SHADING ...................................................................................................................................32
PRIVACY ................................................................................................................................ ...32
MOTION ............................................................................................................................................ 32
SENSITIVITY ............................................................................................................................33
WINDOW TONE .......................................................................................................................33
DET H_POS ...............................................................................................................................33
DET V-POS ................................................................................................................................33
DET H-SIZE ...............................................................................................................................33
DET V-SIZE ...............................................................................................................................33
MOTION OSD ...........................................................................................................................34
ALARM ......................................................................................................................................34
SDI User Manual Page 1

MALLINCAM SDI User Manual November 11, 2014
SYSTEMING ..................................................................................................................................... 34
COM. ...........................................................................................................................................35
IMAGE RANGE ........................................................................................................................35
OUTPUT MODE .......................................................................................................................35
MONITOR .................................................................................................................................36
FRAME RATE ...........................................................................................................................36
CVSB ...........................................................................................................................................36
LANGUAGE ..............................................................................................................................36
COLORBAR ..............................................................................................................................37
RESET ........................................................................................................................................37
5. Appendix ........................................................................... 38
Appendix A – Installing the MCV ........................................................................................... 38
Appendix B Connecting to Night Skies Network .................................................................. 41
Appendix C – Connecting Serial to Mallincam SDI ............................................................ 48
What you Need .................................................................................................................................... 48
What to Do ........................................................................................................................................... 49
Appendix D – Displaying SDI on your Computer................................................................ 50
Magewell SDI Dongle (XI100DUSB-SDI) ......................................................................................... 50
BlackMagic UltraStudio SDI ............................................................................................................... 51
Appendix E – First Aid for the Mallincam SDI ..................................................................... 52
The Image from the MALLINCAM SDI is jumping all over the place ............................................... 52
When I have my Video Software connect to my Mallincam through my MCV-1 adapter I only see a
Blue screen. .......................................................................................................................................... 52
Appendix F – Settings Template ........................................................................................... 53
Appendix G – Notes ................................................................................................................ 54
SDI User Manual Page 2

MALLINCAM SDI User Manual November 11, 2014
1. Introduction
Welcome to the world of the Mallincam SDI Camera. Your purchase will provide
you with years of discovery and adventure as you view, record, share, and
broadcast the wonders of the Solar System. The Mallincam SDI is a professional
video camera that can provide broadcast quality live images in the HD-SDI
format along with standard quality video for non-broadcast needs.
The Mallincam SDI camera uses a true HD sensor and SDI Digital output for
unsurpassed image quality. At 2.1 MP sensor, the all Ceramic Panasonic Sensor
use the latest in Technology offered by Panasonic using the new 1/3 Inch 2.1 MP
High Speed Maicovicon MOS sensor making it ideal for planetary, Lunar and
Solar Imaging under live condition on a monitor or through the SDI
uncompressed Digital format for image recording.
This document will guide you in the connection options of the Mallincam SDI to
your computer, along with recommendations on configuring the camera for
specific Solar System objects. This manual is the work of the MallinCam
Mallincam SDI users before me. I have borrowed their ideas and even some of
their documents and have placed them in the manual so that we have
everything is in one place. Special thanks to Jack Huerkamp for all the
preliminary work he has done with this camera.
So thank you for your purchase, and let the adventure begin
SDI User Manual Page 3
MALLINCAM SDI User Manual November 11, 2014
The Contents of the MALLINCAM SDI Package
Depending upon the MALLINCAM SDI Model purchased, the contents may vary,
but all MALLINCAM SDI Deluxe cameras include the following standard
equipment:
MallinCam SDI Deluxe Package:
Mallincam SDI camera body
BNC to RCA adapter
1.25" eyepiece adapter
SVBS 10 meter cable
120 volts AC to 12 volts DC Regulated power supply
These attachments will provide you with the ability to connect the Mallincam SDI
Video camera to your telescope, power it using to a 120V AC power source, and
displaying your image on any device that accepts analog or SDI video. See the
Appendix for a list of other accessories available for the Mallincam SDI Camera.
SDI User Manual Page 4

MALLINCAM SDI User Manual November 11, 2014
Model
MALLINCAM SDI
Image Sensor
Panasonic 1/3 Inch 2.1 MP High Speed Maicovicon MOS sensor
CCD Pixels:
2010 (H) X 1108 (V) Total Pixels 2.75μm × 2.75μm (V) Pixel size
1944 (H) X 1092 (V) Active Pixels
CCD Size:
1/3“ , 5.59mm (H) × 4.68mm (V)
Video Output Format:
NTSC or PAL
HD-SDI Video
BNC Female Connector
Composite Video
BNC Female Connector
Gain Control:
Auto/Manual
Exposure Control:
Auto/Manual
Auto Iris:
ELC, ALC
Fix Shutter
(seconds)
1/60000, 1/30000, 1/16000, 1/8000, 1/4000, 1/2000, 1/1000, 1/500,
1/240, 1/120, 1/60, 1/30
Extended Shutter
OFF, X2, X3, X4, X5, X6, X7, X8
Gamma Selection
0.45, 0.50, 0.55, 0.60, 0.65
White Balance
-Automatic
-Manual
Communication
Protocol
Pelco
Operating
Temperature
-25C to +50C ( -13oF to 122oF)
Power Supply
12±1V DC at 1A
Dimensions
4 inches (L) x 2.5 inches (W) x 2.5 inches (H)
Weight
10.2 ounces
The Camera (Just the Facts)
The MallinCam SDI Camera is a video camera that provides near Real Time
images of brighter Deep Sky Objects, Planetary, Lunar, and Solar. This instrument
contains the following specifications:
SDI User Manual Page 5
MALLINCAM SDI User Manual November 11, 2014
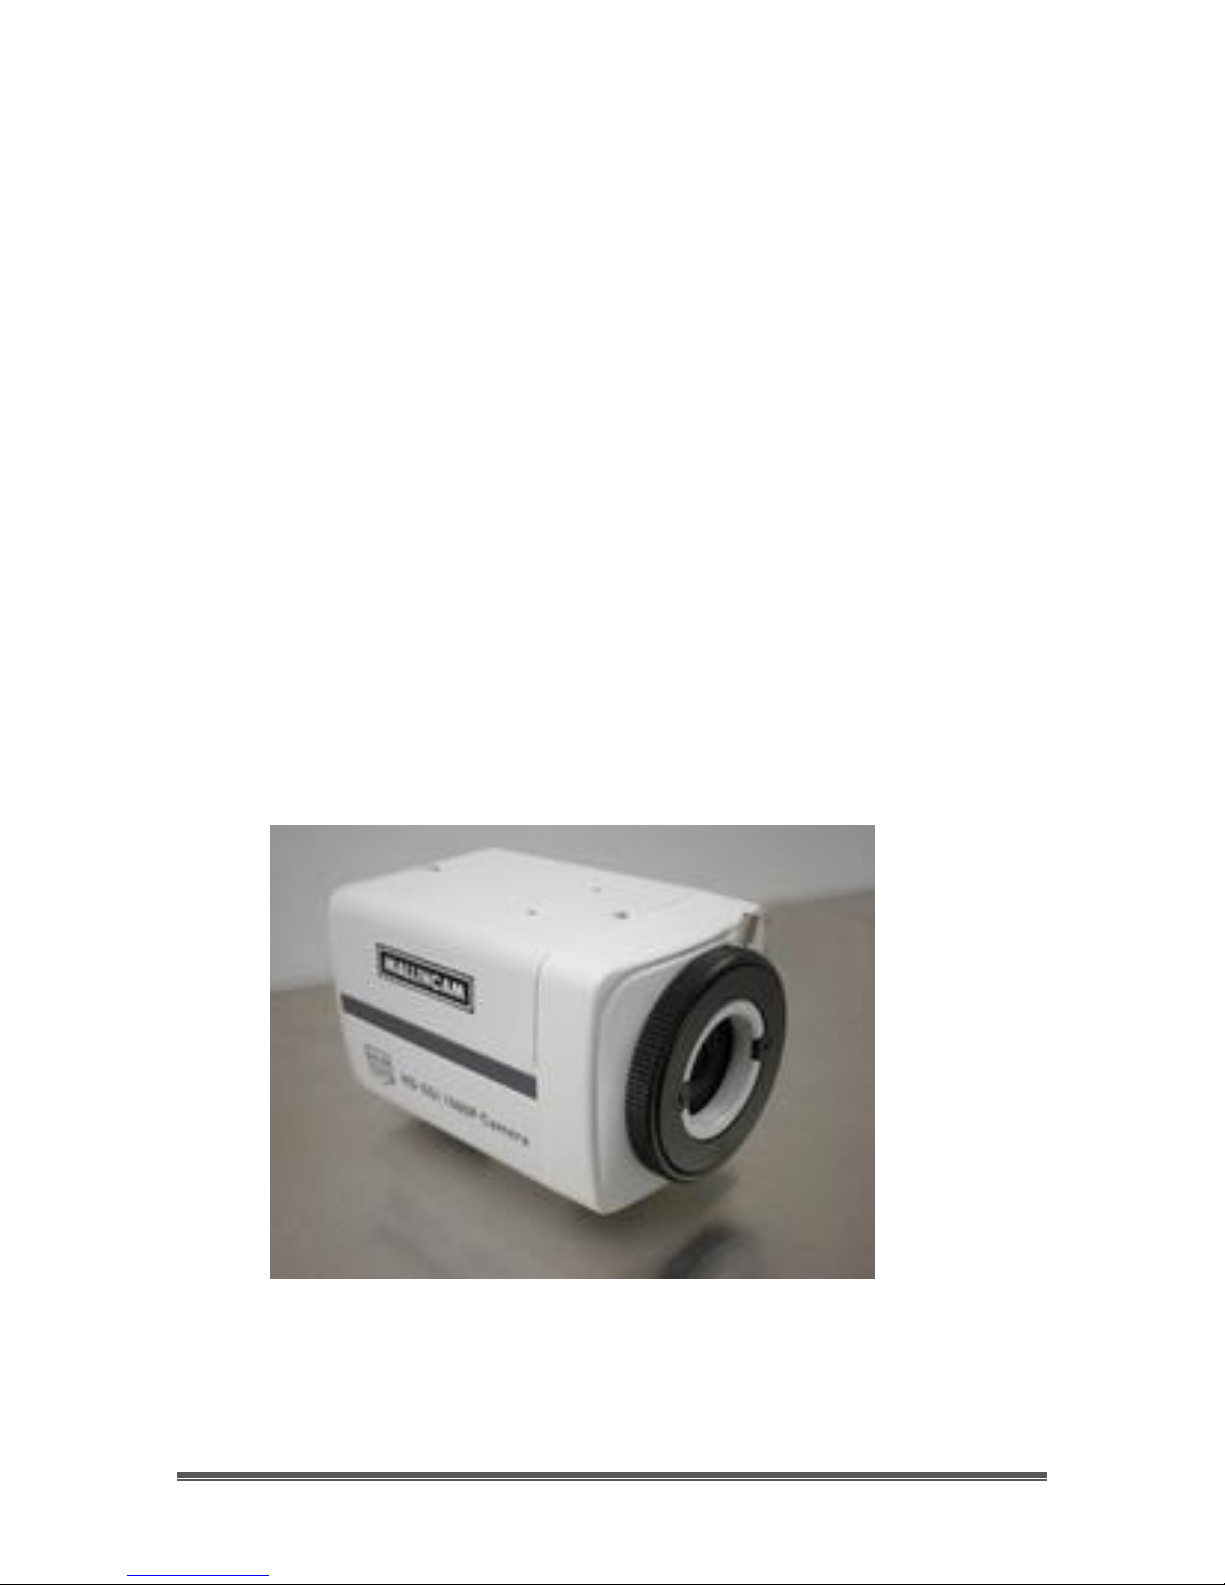
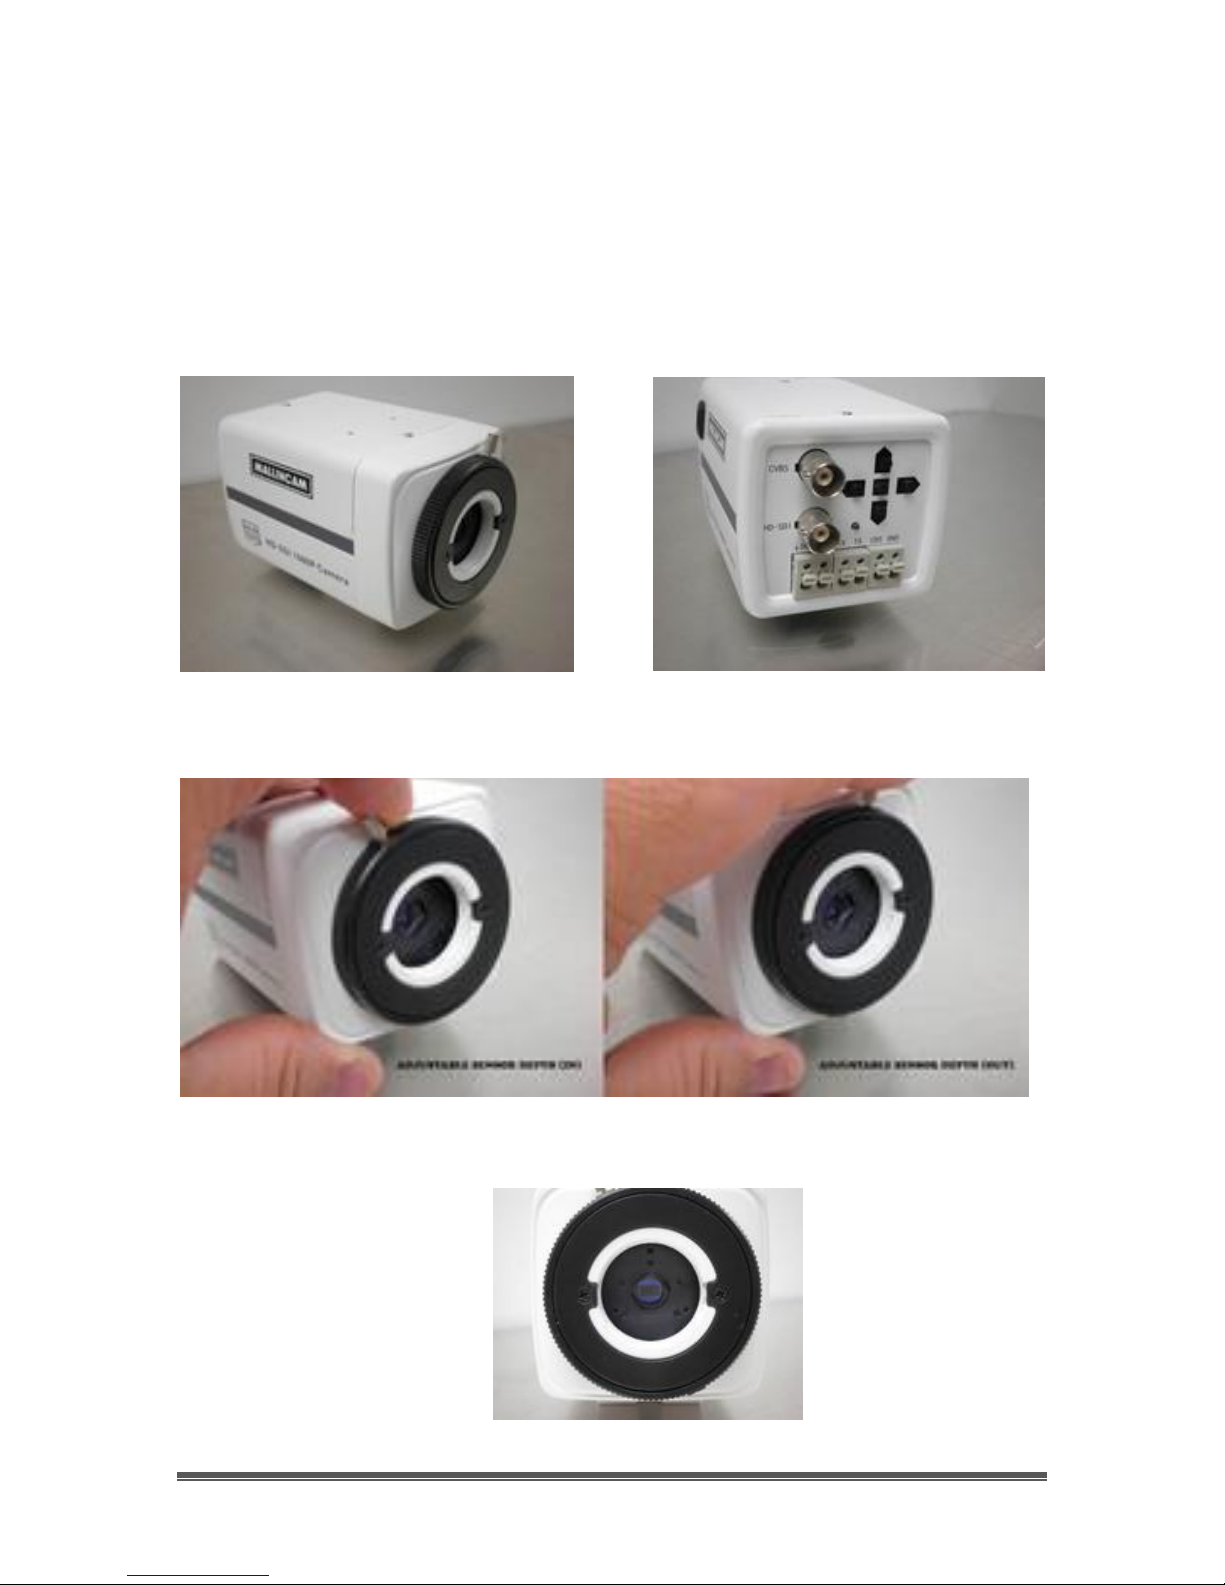
The Camera (its Anatomy)
The Mallincam SDI camera is a rectangular based camera with a rear
connection ports for power, video and communications and a front c-mount
opening. It is 4” long by 2.5” tall and 2.5” wide. The camera weighs in at about
11 ounces (290 grams).
SDI User Manual Page 6
MALLINCAM SDI User Manual November 11, 2014
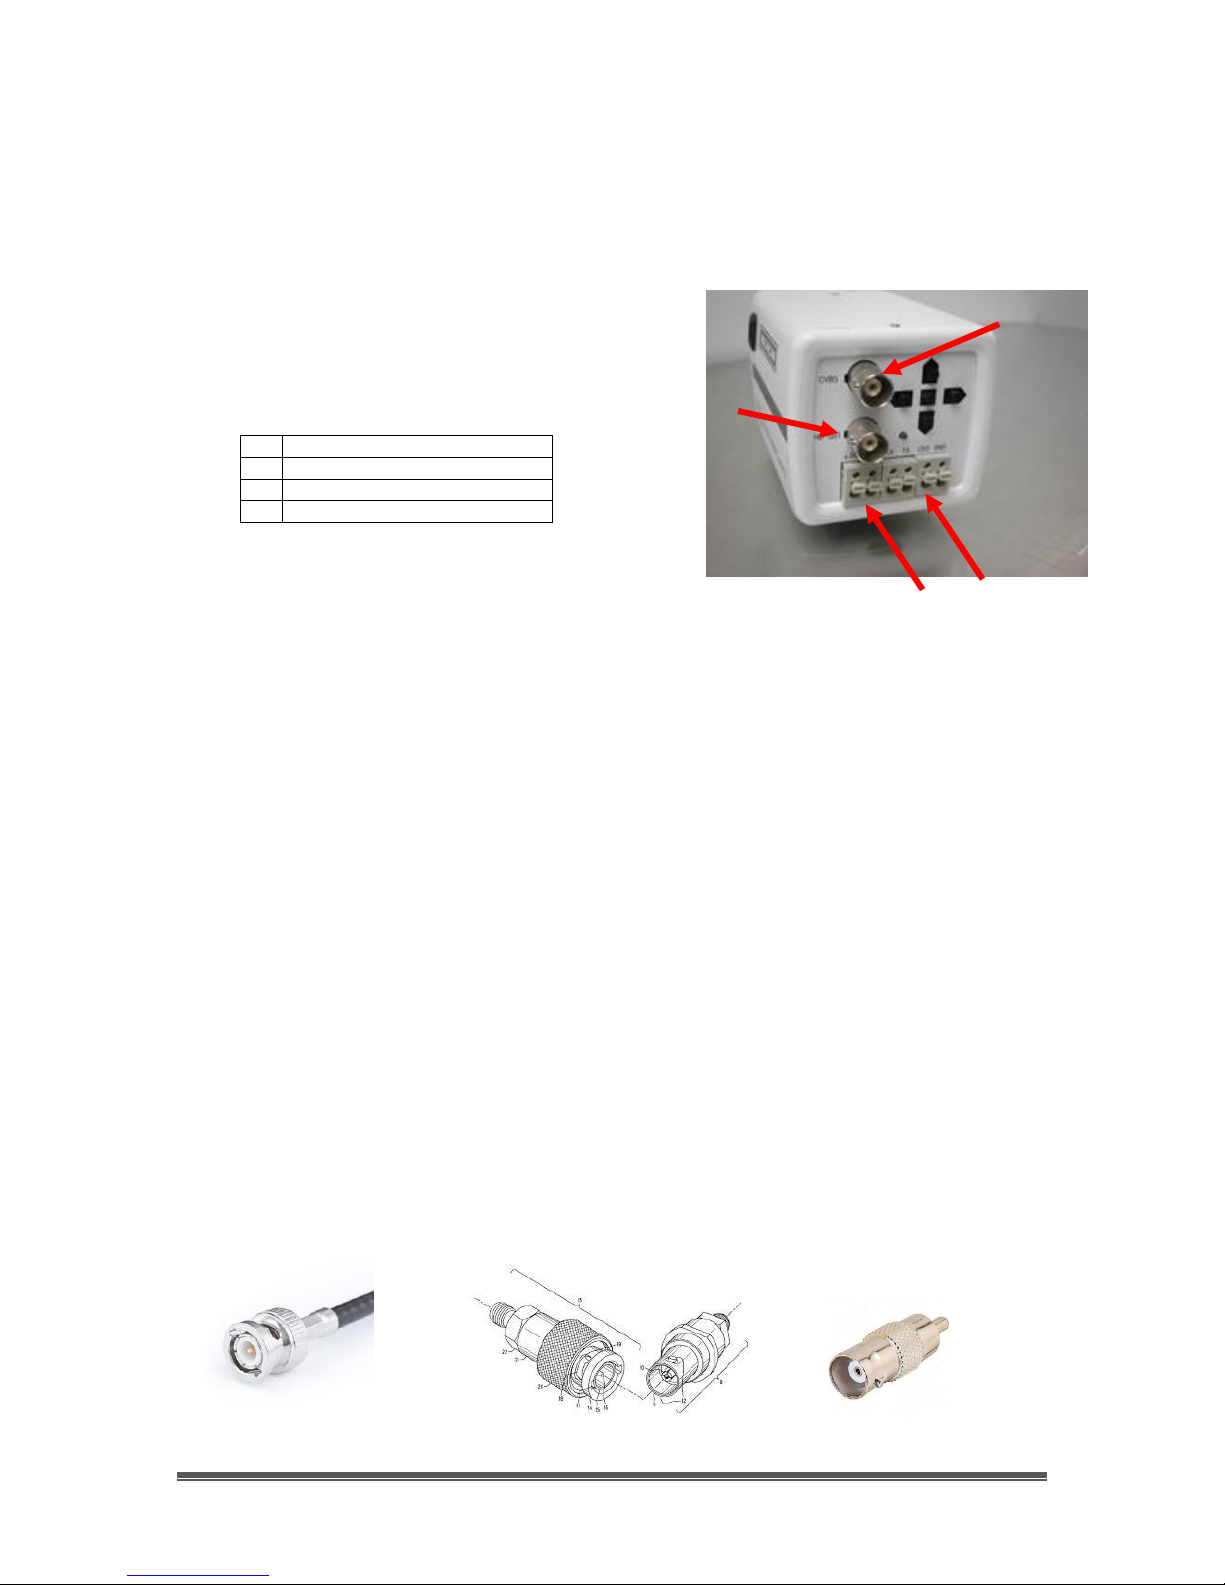
1
Composite Video Out (BNC)
2
SDI Video Out (BNC)
3
12V Power in (12V)
4
RS485 Communication
①
②
③
④
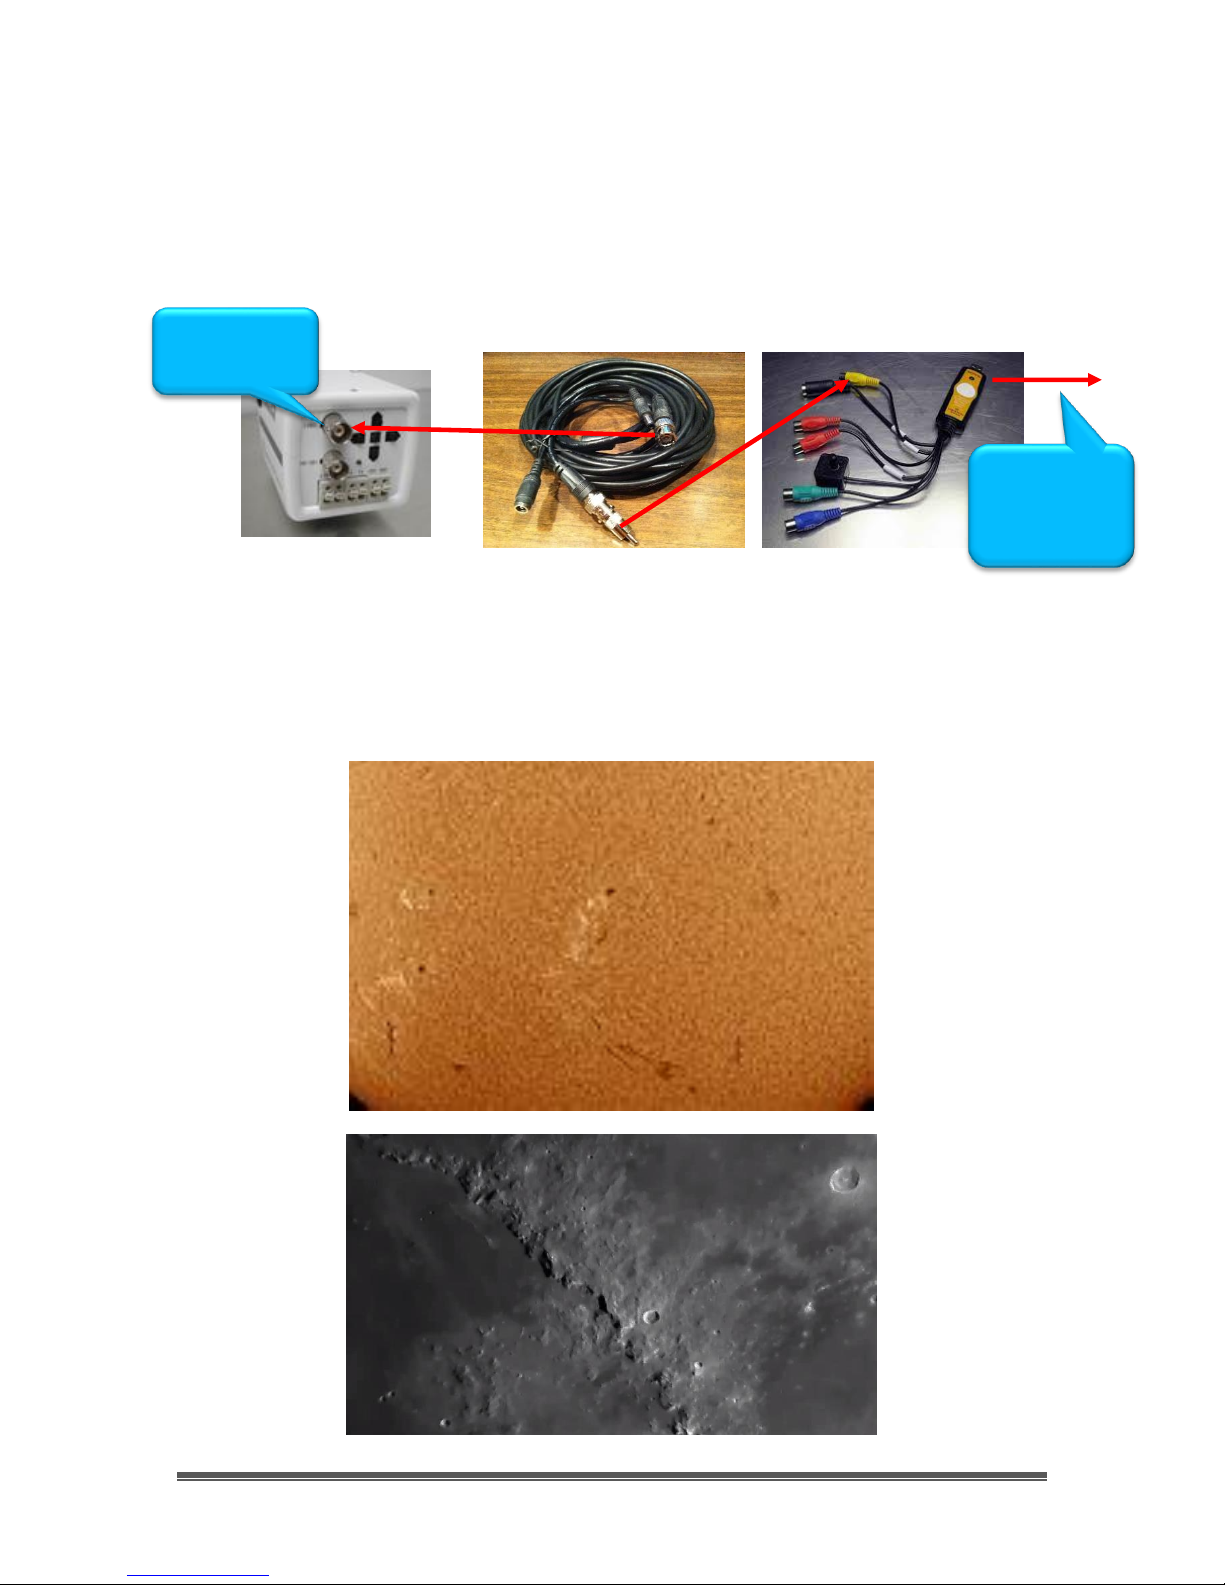
2. Making Connections
The MALLINCAM SDI Camera
(Connection Diagram)
Connecting the Mallincam SDI to Monitor
The MallinCam SDI provides two video outputs: Composite and SDI both of which
utilize a BNC connector. Since composite and SDI signals are different formats,
with HD-SDI packing a lot of data, different types of video cable are
recommended. Rock provides the composite cable with the Deluxe Package,
which you can use for both composite and SDI, but if you require a long length
of cable for SDI output, you can Google SDI cables to locate a supplier of
dedicated SDI cable for you to use. This dedicated SDI cable will provide the
best image possible with the Mallincam SDI.
Composite Video
The Composite Signal is obtained by connecting the included 10m MallinCam
Video Cable from the Video-Out adapter of the camera (see ① in the
connection diagram) to the Composite Video-In Adapter on your monitor (since
in most monitors, the Composite Video-In connector is a RCA style, MallinCam
provides a BNC to RCA adapter to facilitated that connection) or composite
adapter on your Video Capture Device (MCV-1) if you are using a computer.
To connect, just align the two little openings on the BNC cable (male) with the
two notches on the adapter’s BNC (female) connector, push and twist so the
notches slide into place. This locks the connector to the Mallincam cable.
SDI User Manual Page 7

MALLINCAM SDI User Manual November 11, 2014
Red cable
to Positive
Black cable
to Negative
Back of Mallincam SDI.
See ③ on Connection
diagram.
Included Mallincam
Power Cable.
Included Mallincam 12V
DC Power Adapter.
SDI Video
The SDI Signal is obtained by connecting the included 10m MallinCam Video
Cable (or dedicated SDI cable) from the SDI-Out adapter of the camera (see ②
in the connection diagram) to the SDI Video-In Adapter on your SDI monitor
(since SDI input standard is the BNC, there is no need to use the included BNC to
RCA adapter) or SDI adapter on your Video Capture Device (BlackMagic SDI
Ultra Studio, Magewell SDI) if you are using a computer.
To connect, just align the two little openings on the BNC cable (male) with the
two notches on the adapter’s BNC (female) connector, push and twist so the
notches slide into place. This locks the connector to the cable.
Power
The Mallincam SDI camera requires 12V 1amp power either from an AC to DC
converter or 12V DC power supply. Just connect the two power connect cables
into the matching two Power Input plugs on the back of the Mallincam SDI. The
other end plugs into the Power In connecter on the end of the 10m cable on the
included Mallincam dual power/video cable.
SDI User Manual Page 8
MALLINCAM SDI User Manual November 11, 2014
Connecting the MALLINCAM SDI to your
Computer for Video.
Composite Video:
Requirements:
Computer with video display software such as AMCAP.
USB Video capture adapter such as MallinCam MCV.
Mallincam dual power/video cable.
MALLINCAM SDI AC to DC power adapter.
MALLINCAM SDI camera.
Software Requirements:
You will need any software package that can display an image from your video
capture device. Some suggestions are:
AMCAP
SharpCap
SplitCam
ManyCam
WebCamMax
Each software has its pros and cons, depending upon what you require the
software do. Using SplitCam, ManyCam, or WebCamMax will make it easier to
broadcast your images on Night Skies Network (see section Connecting the Night
Skies Network (NSN)) if that will be a direction you are thinking of taking.
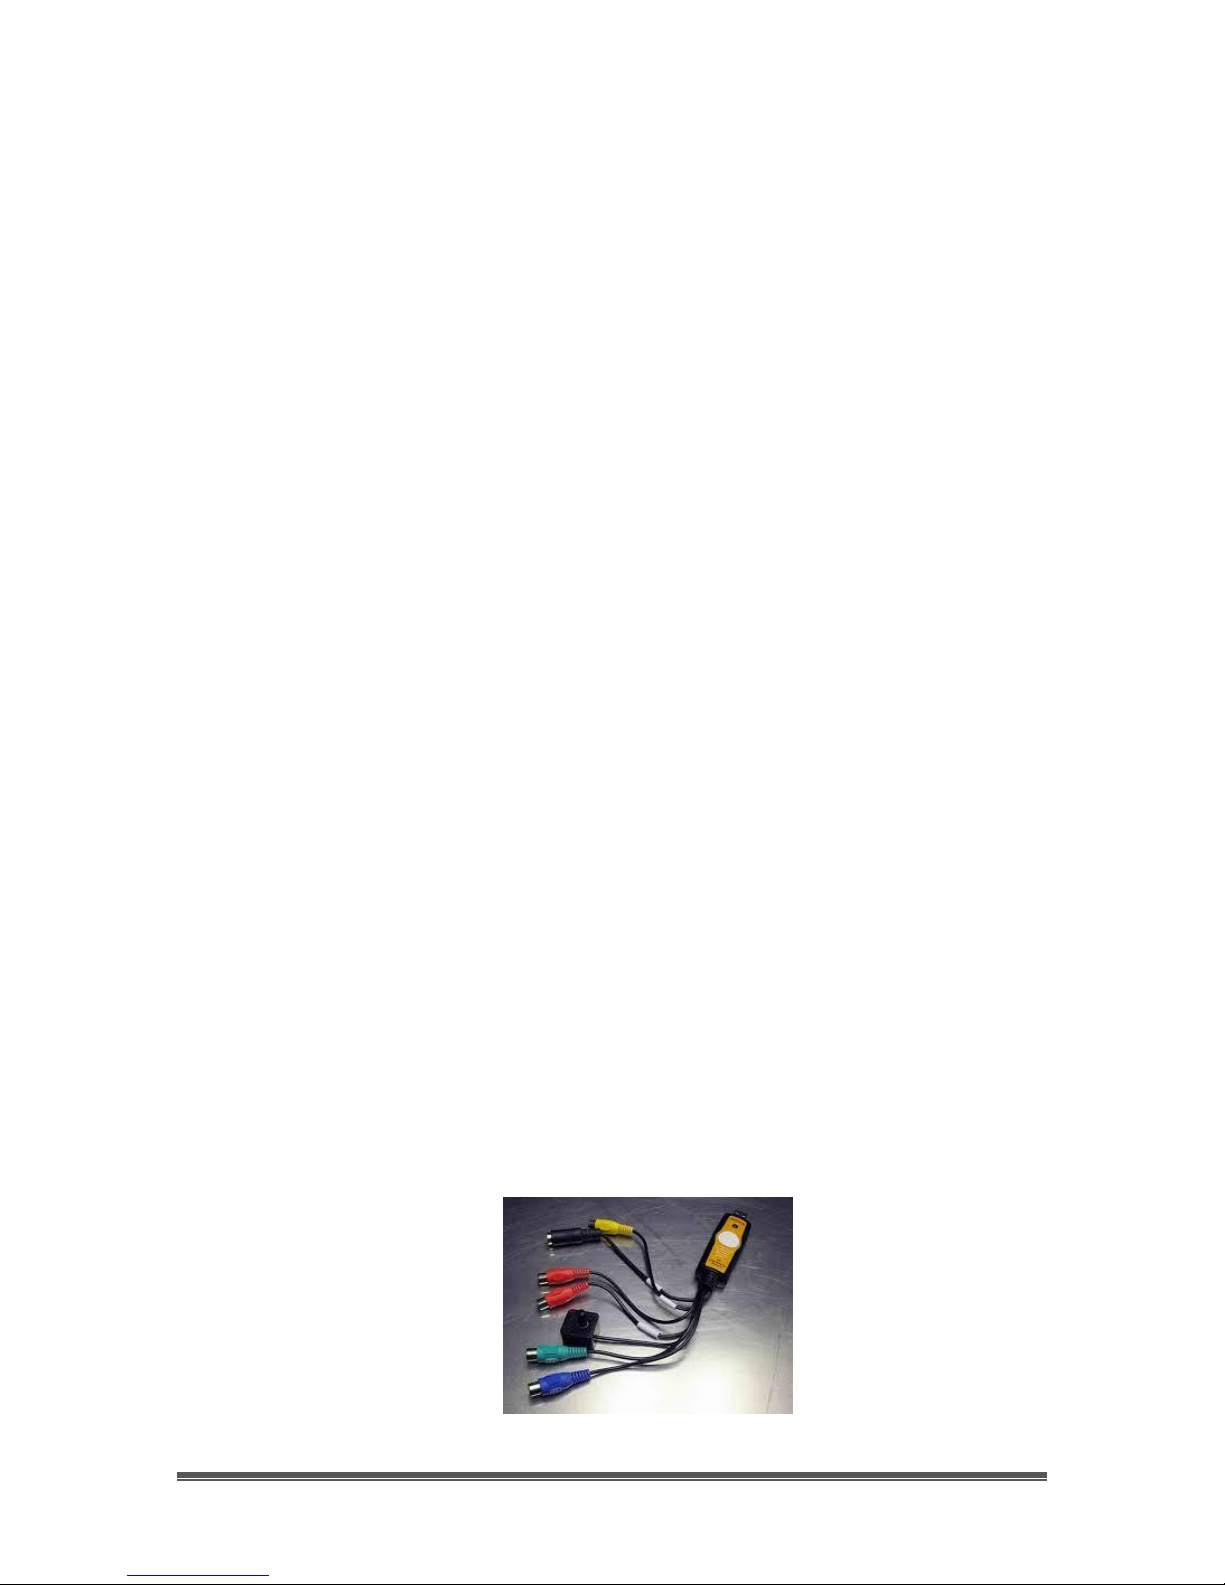
Hardware Requirements
A USB Video Capture Device, such as MallinCam’s MCV. This device will
allow the output from the MALLINCAM SDI (composite) to be captured
and displayed by the software (see Installing the MCV in Appendix).
SDI User Manual Page 9
MALLINCAM SDI User Manual November 11, 2014
To USB Port
Computer
To CVBS
Port on SDI
Attaching the Video Cable to MALLINCAM SDI Camera
Now you attach the Malincam SDI 10m composite cable (RCA adapter
attached) to the USB Video Capture Device (MCV) that you are using for video
input and attach the other end of the 10m cable to the CVBS connecter (BNC)
on the MALLINCAM SDI Camera to allow for capture of the video signal.
Now all we need to do is start the video display software of your choice to
display the image. Remember what ever software choice you made to display
the image from the Mallincam SDI Camera, it will have an option that allows you
to choose the Video Capture Adapter’s driver (x2828 for MCV). Once you
chosen the driver, you should now see an image of what the Mallincam SDI
Camera is capturing in the video window of your software.
on
SDI User Manual Page 10
MALLINCAM SDI User Manual November 11, 2014
Upon Powering up the SDI Camera, its Menu will revert back to the last
time you saved the settings. That is, when you last used the EXIT
command on the On Screen Menu.
3. Operating the MALLINCAM SDI
Now is the time to do a quick check of the MALLINCAM SDI Camera to see if you
can obtain a video signal. This walk through assumes you have a monitor with a
Composite input capabilities (or a Laptop with a Video Capture Device
attached and configured along with Video Display Software). Place your
MALLINCAM SDI Camera on your telescope and point the telescope at a
recognizable object. Power up your MALLINCAM SDI Camera and monitor (start
your Video Display Software if you are using a Computer). It is best to check out
your MALLINCAM SDI Camera in the daytime, so you can more easily check out
the connections.
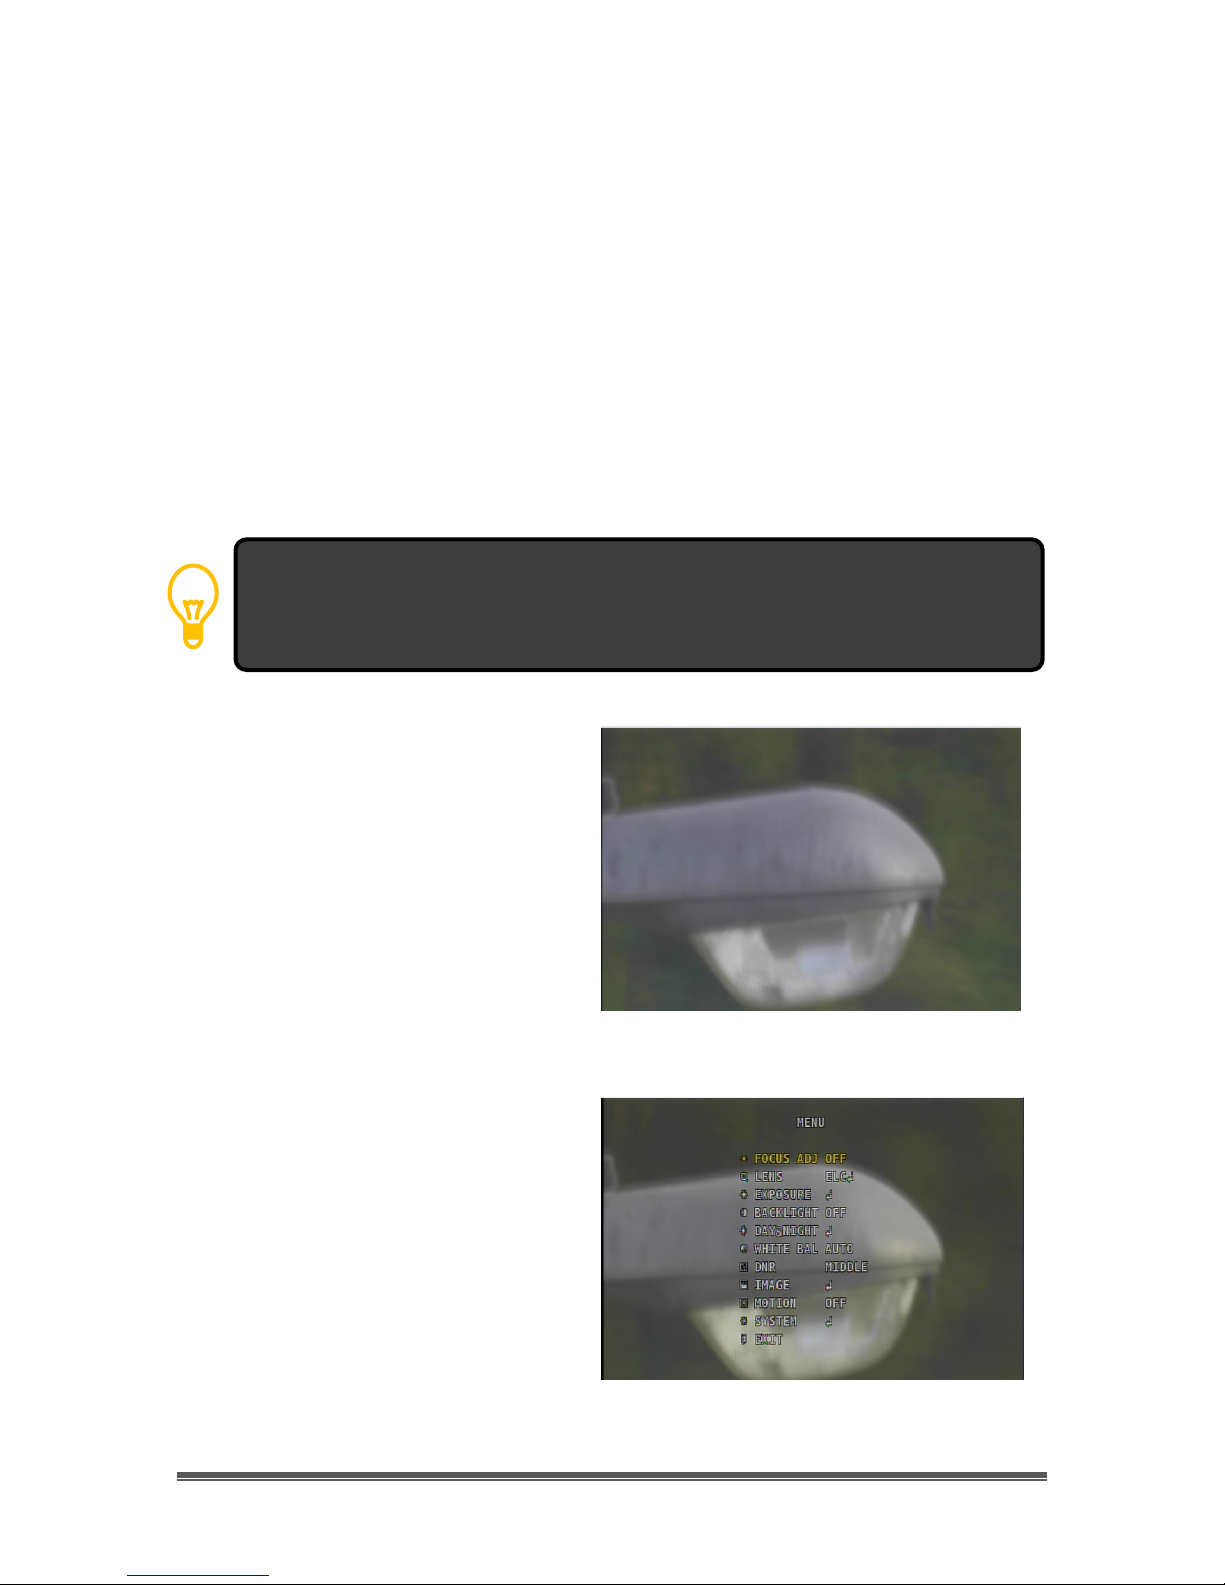
If you have connected everything
correctly you should be seeing an
image either on your monitor or in the
image window of your computer’s
display software. Use the focus of the
telescope to bring the image to
focus.
Press and release the Centre Button
on the back of the MALLINCAM SDI.
You should see the camera’s On
Screen Menu pop-up on top of your
image with FOCUS ADJ Highlighted.
SDI User Manual Page 11
MALLINCAM SDI User Manual November 11, 2014
Note: There are two ways of fine tuning the brightness, contrast of the image. The
first is using the SDI Camera Menu settings, and the second is using the brightness
and contrast controls on your monitor (or software controls in your video capture
software) the camera.
We want to adjust the Brightness and the Exposure of the Mallincam SDI to improve
the image on the screen. With some experience with your software (or monitor),
you will use a combination of MallinCam SDI controls, and Software controls to
produce the best possible image.
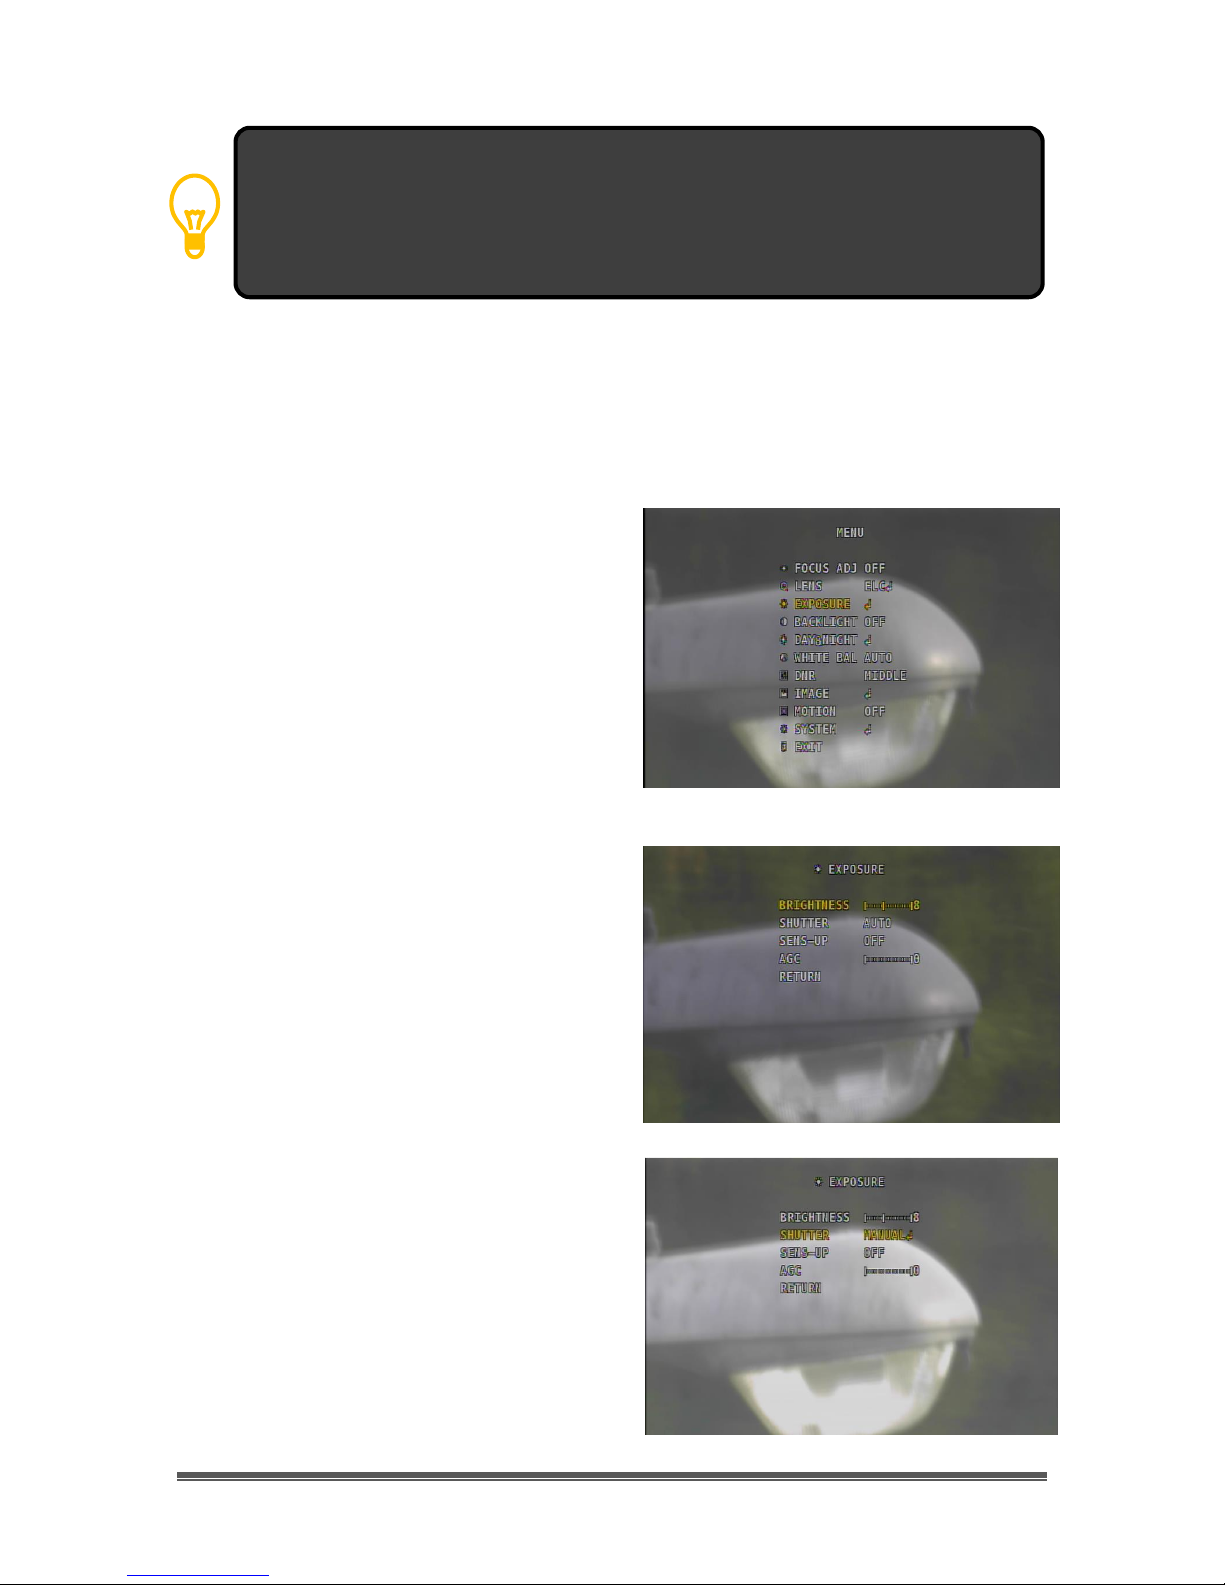
Press on the Down Button and the OSD
Menu should highlight the LENS selection.
Press the down button once more to
highlight the EXPOSURE selection.
Now press the Centre Button on the back
of the Mallincam SDI and you will be
presented with the EXPOSURE Sub-Menu.
The BRIGHTNESS selection will be
highlighted. Using the Left or Right Button
on the back of the camera, experiment
with adjusting the brightness of the
image.
Press the Down Button to now select the
SHUTTER selection (it should say AUTO)).
Press on the Right Button until the choice
changes to MANUAL. Now press on the
Centre Button to enter into the Manual
Shutter Sub-Menu.
SDI User Manual Page 12
MALLINCAM SDI User Manual November 11, 2014
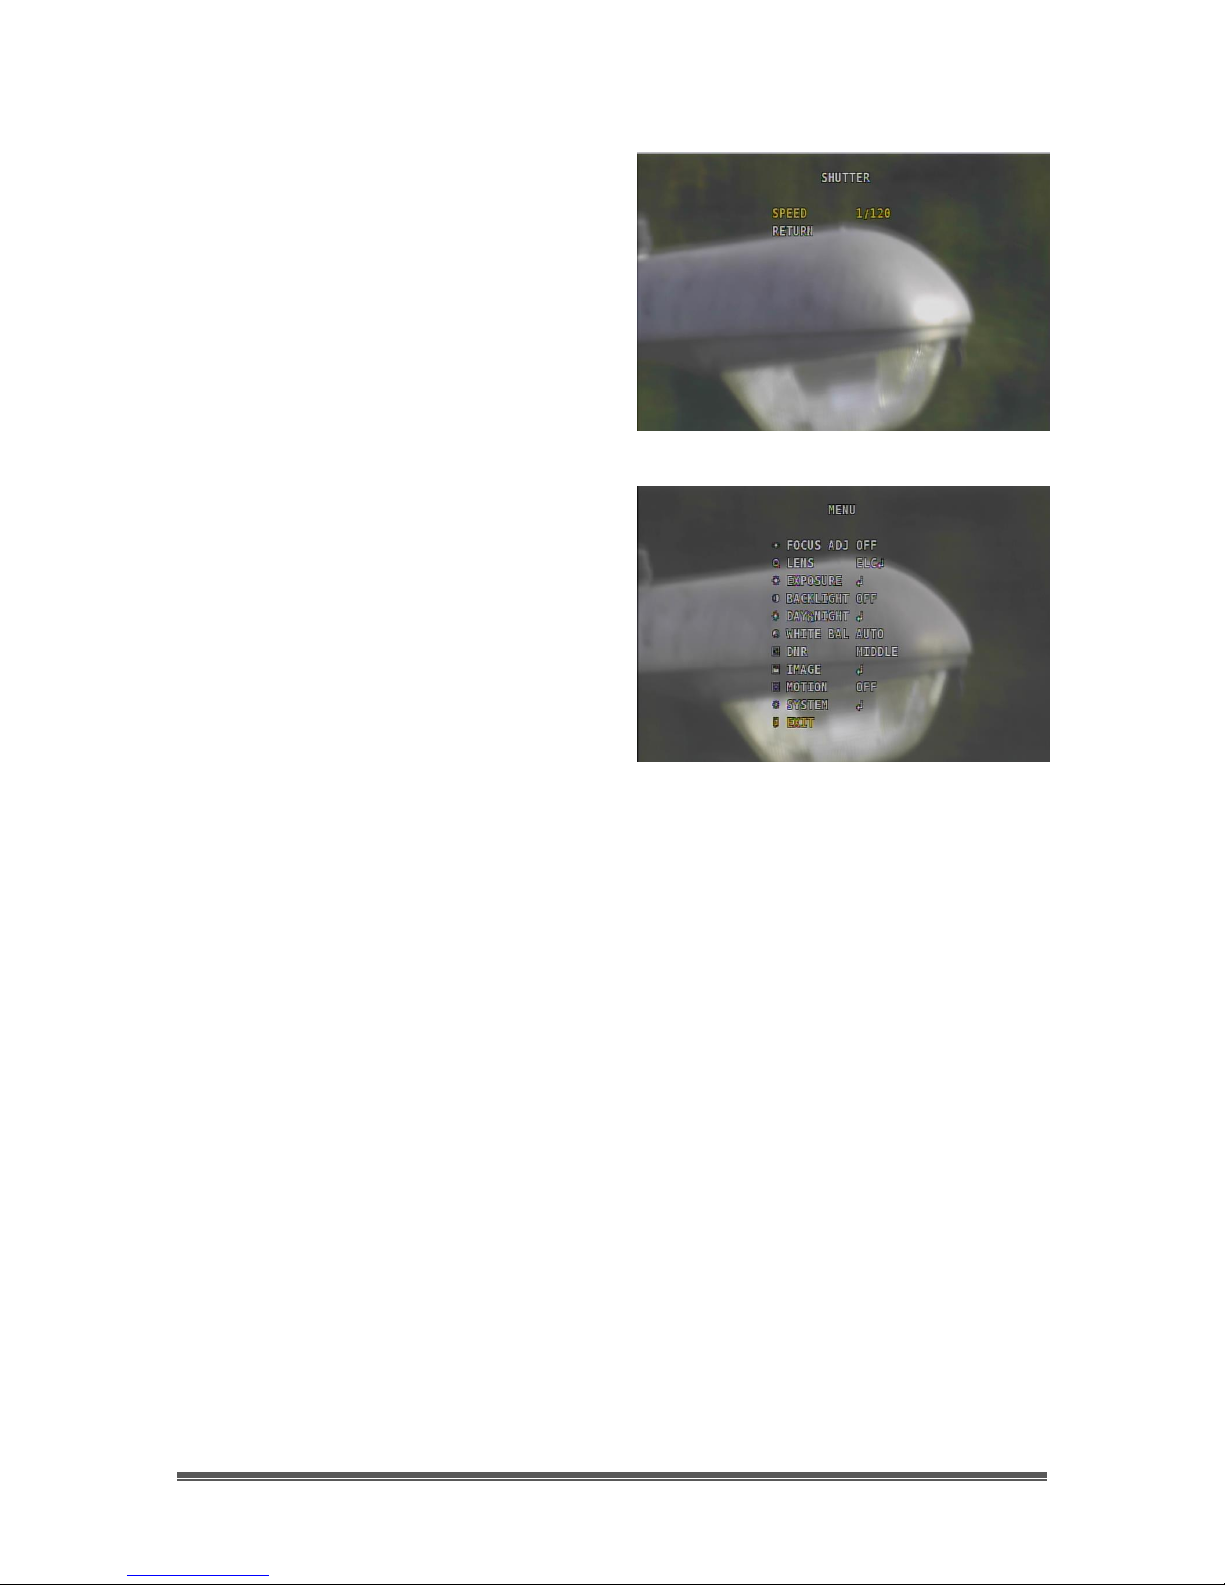
With the Shutter Sub-Menu displayed,
press the Left or Right Button to change
the shutter time. Notice how the time
effects the image. In the image to the
right, I have set my Shutter to 1/120.
Now press the Down Button to highlight
the RETURN selection, and Press the
Centre Button to return to the previous
Exposure Menu.
On the Exposure Menu, press the Down
Button enough times to highlight the
RETURN selection and then press the
Centre Button. You should now be at the
Main Menu.
By pressing the Down Button, highlight the
EXIT selection (the bottom choice). Now
press the Centre Button. The OSD Menu will
shut off, and the camera will save the
current settings internally.
You should now recognize how easy it is to move through the Menu system of the
Mallincam SDI. Now is a good time to review the detailed explanations of the on
screen selections. Don’t be afraid to experiment to see how a specific control
affect your image. The more comfortable you become at manipulating the
controls in the day time the easier it will be when you are under the night sky.
The MallinCam SDI is an imaging camera whose capabilities are in the hands of
the user. As you will discover, when you become more confident with the
camera, that your images will be the result of the combination both artistic
prowess and scientific skill. Both of these attributes will become enhanced as
your journey progresses and suggestions and advice from fellow explorers
sharpen your skills and enrich your adventure.
One of the first pieces of advice we can offer you is that every user environment
is different, the variety of outside obstacles, and sky brightness combined with
the ever changing weather and seeing conditions makes it impossible to
determine the precise setting for the SDI Camera. What we can do is provide
suggestions that will get you started in the right direction. We recommend that
you experiment and tweak the settings that we offer to see what works best for
you. Patience will be your best friend as you learn what the Mallincam SDI can
do, and what you can adjust. Do not be afraid to visit Night Skies Network or the
Mallincam Group on Yahoo and ask questions.
SDI User Manual Page 13

MALLINCAM SDI User Manual November 11, 2014
The MALLINCAM SDI Camera OSD Settings
The following table will guide you in locating a specific OSD or On Screen Display
image control. Once you get the hang of locating the settings, it will be worth
your time to peruse the Chapter Understanding the OSD to get a deeper
comprehension how the adjustments will affect your image.
Always remember the suggested settings are a recommendation, as your
viewing condition will affect the image, so don’t be afraid to experiment.
SDI User Manual Page 14
MALLINCAM SDI User Manual November 11, 2014
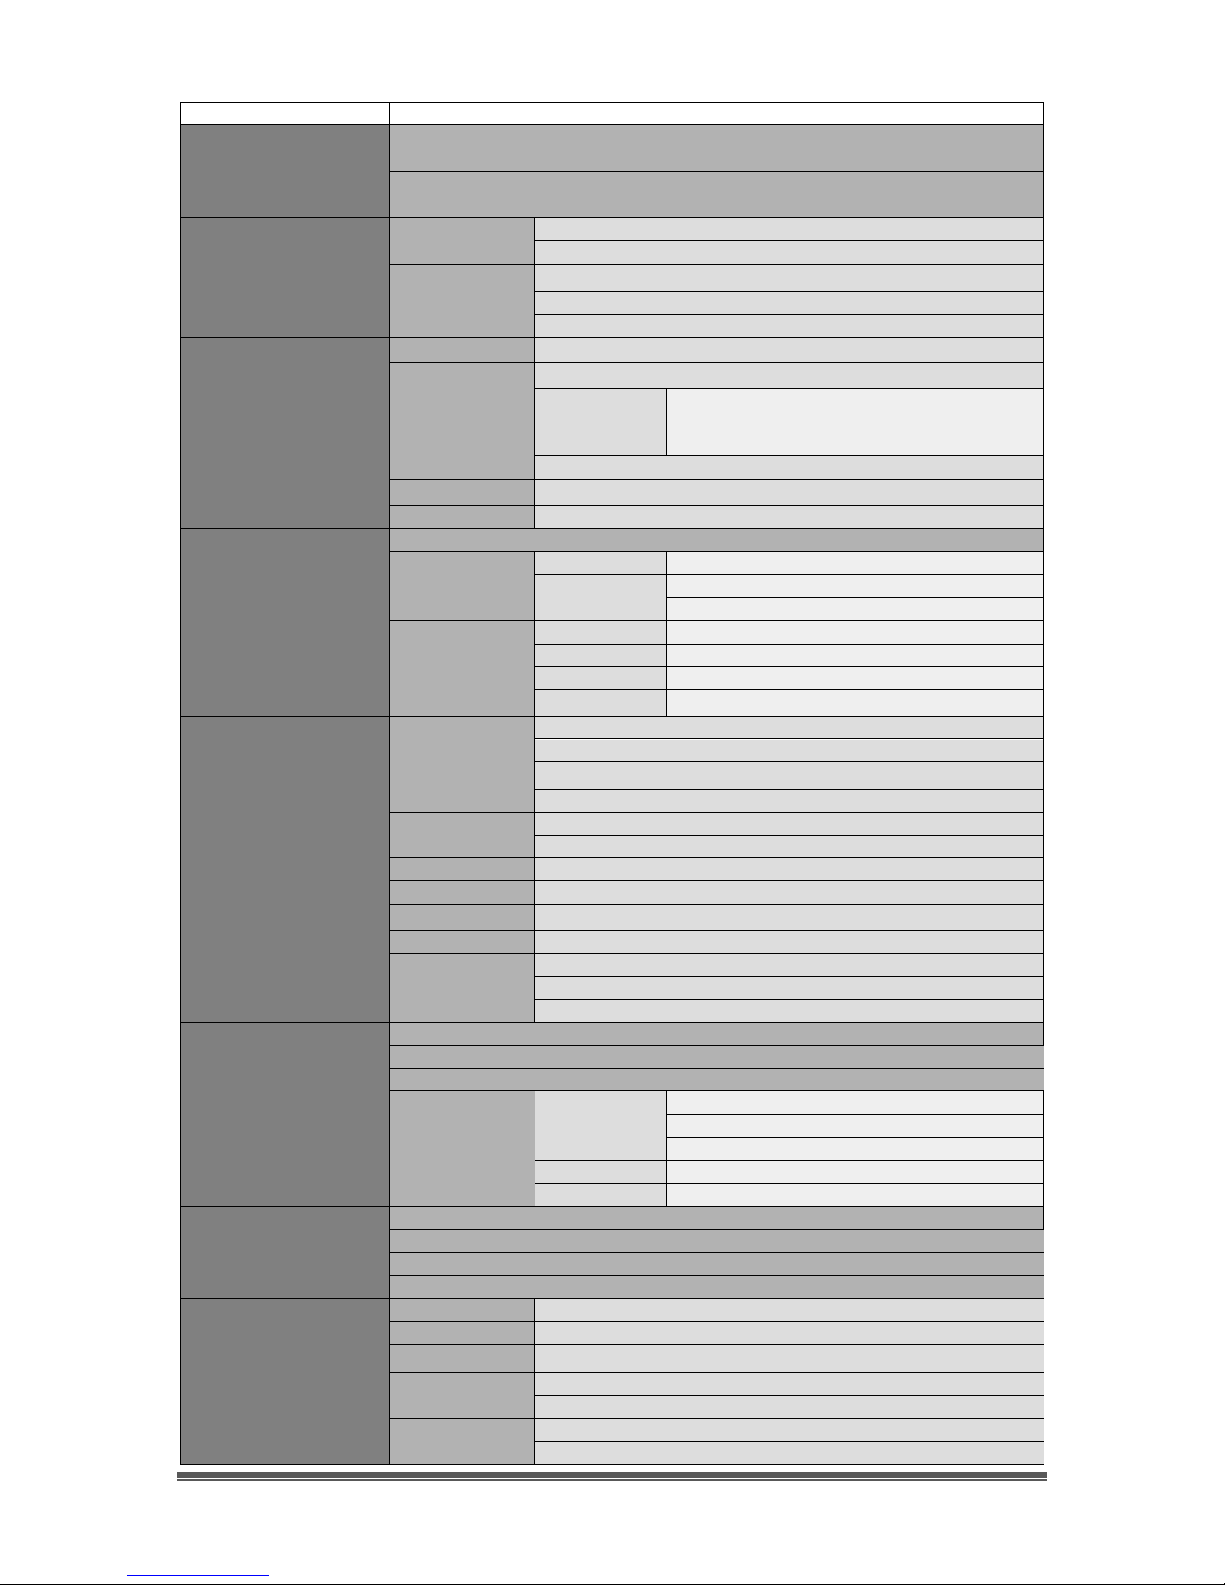
Menu Choice
Sub Menu
FOCUS ADJ
ON
OFF
LENS
ELC
NORMAL
DEBLUR
ALC
INDOOR
OUTDOOR
DEBLUR
EXPOSURE
BRIGHTNESS
0 to 20
SHUTTER
AUTO
MANUAL
1/60000, 1/30000, 1/16000, 1/8000, 1/4000,
1/2000, 1/1000, 1/500, 1/240, 1/120, 1/60,
1/30
FLICKER
SENS-UP
OFF, X2, X3, X4, X5, X6, X7, X8
AGC
0 TO 20
BACKLIGHT
OFF
HLC
LEVEL
0 TO 20
MODE
ALL DAY
NIGHT ONLY
BLC
H-POS
0 TO 20
V-POS
0 TO 20
H-SIZE
0 TO 20
V-SIZE
0 TO 20
DAY&NIGHT
MODE
COLOR
B&W
EXTERN
AUTO
IR LED
OFF
ON
ANTI-SAT
0 TO 20
EXTERN S/W
NONE
AGC THRES
0 TO 20
AGC MARGIN
0 TO 20
DELAY
LOW
MIDDLE
HIGH
WHITE BAL
AUTO
AUTOext
PRESET
MANUAL
KELVIN
LOW
MIDDLE
HIGH
R-GAIN
0 TO 20
B-GAIN
0 TO 20
DNR
OFF
LOW
MIDDLE
HIGH
IMAGE
SHARPNESS
0 TO 10
GAMMA
0.45, 0.50, 0.55, 0.60, 0.65
COLOR GAIN
0 TO 20
MIRROR
ON
OFF
FLIP
ON
OFF
SDI User Manual Page 15
 Loading...