

Page 1
www. m a l e k k o h e a v y i n d u stry. c o m
814 SE 14TH AVENUE
PORTLAND OR 97214
USA
Page 2

THICKEN MANUAL V.1
TABLE OF CONTENTS
BASIC OPERATION AND SAFETY 3
DESCRIPTION 4
OVERVIEW 5
EXPRESSION PEDAL AND CV ASSIGNMENT 6
REMOVING EXPRESSION OR CV ASSIGNMENT 7
8SPREAD MODE SELECTION
WARRANTY 9
PG. 2
Page 3

THICKEN MANUAL V.1
BASIC OPERATION AND SAFETY
1. Connect to an industry standard 9 Volt DC power supply!Incorrect voltage and
AC power supplies will damage your pedal and void the manufacturer’s warranty!
We also recommend using our Malekko 9 Volt Wall Wart, available through our
website.
2. Do not use this apparatus near water.
3. Clean only with dry cloth.
4. Do not block any ventilation openings. Install in accordance with the manufacturer’s instructions.
5. Do not install near any heat sources such as radiators, heat registers, stoves, or
other apparatus (including amplifiers) that produce heat.
6. Protect the power cord from being walked on or pinched particularly at plugs,
convenience receptacles, and the point where they exit from the apparatus.
7. Unplug this apparatus during lightning storms or when unused for long periods
of time.
8. No user serviceable parts inside. Refer all servicing to qualified service personnel. Servicing is required when the apparatus has been damaged in any way, such
as power-supply cord or plug is damaged, liquid has been spilled or objects have
fallen into the apparatus, the apparatus has been exposed to rain or moisture, does
not operate normally, or has been dropped.
9. WARNING:To reduce the risk of fire or electric shock, do not expose this apparatus to rain or moisture.
10. Refer to labels on the unit, including bottom cover, or other markings and
pertinent information.
PG. 3
Page 4

THICKEN MANUAL V.1
DESCRIPTION
THICKEN is a three-stage effect combining two sweepable short delays and a sweeping chorus able to
create richer, fatter sounds capable of punchy single notes all the way to thick syrupy goodness.
The SPREAD features two modes: sweepable tripling delays or random delays.
Three CHORUS controls: Level, Rate and Depth.
Add the ability to assign an expression pedal to your own combinations and settings within these features
and in one sweep, you can dial your tone from sweet arpeggio triples to thick undulating chords!
Features include:
Spread level
Control over Spread function (either sweepable delays or random delays)
Chorus level
Control over Chorus functions (Rate and Depth)
Preamp level
Assignable expression pedal/cv control to any combination of all parameters and settings
PG. 4
Page 5
THICKEN MANUAL V.1
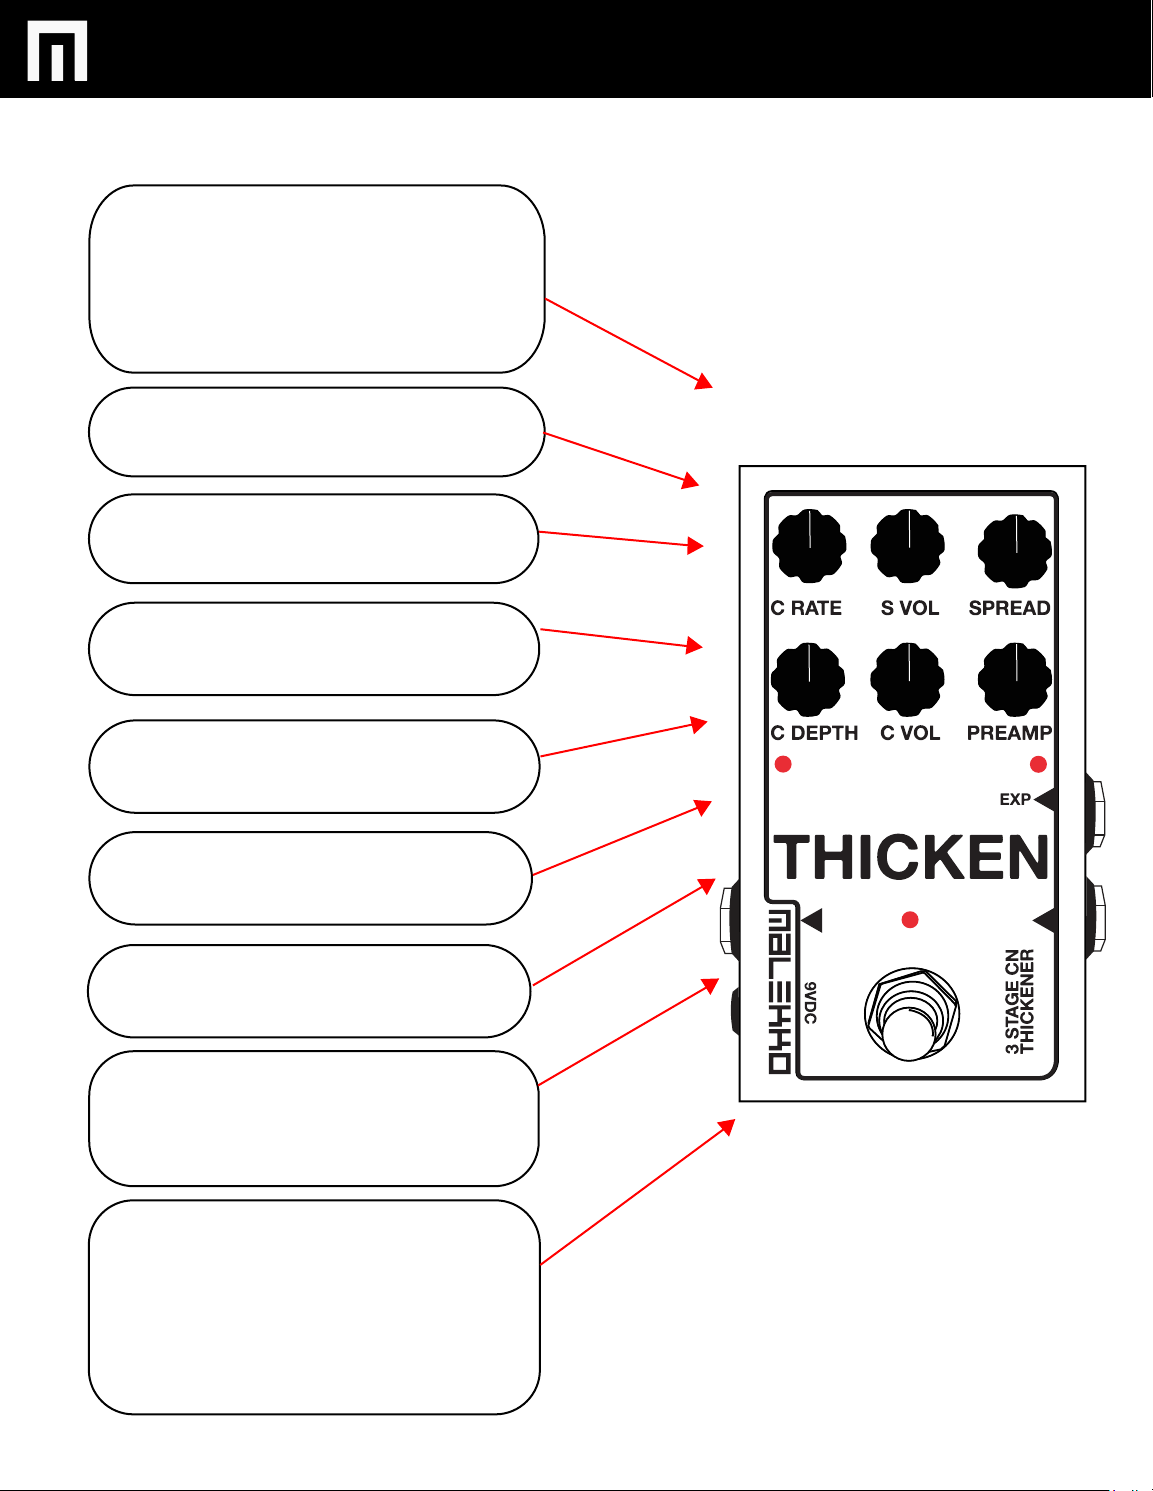
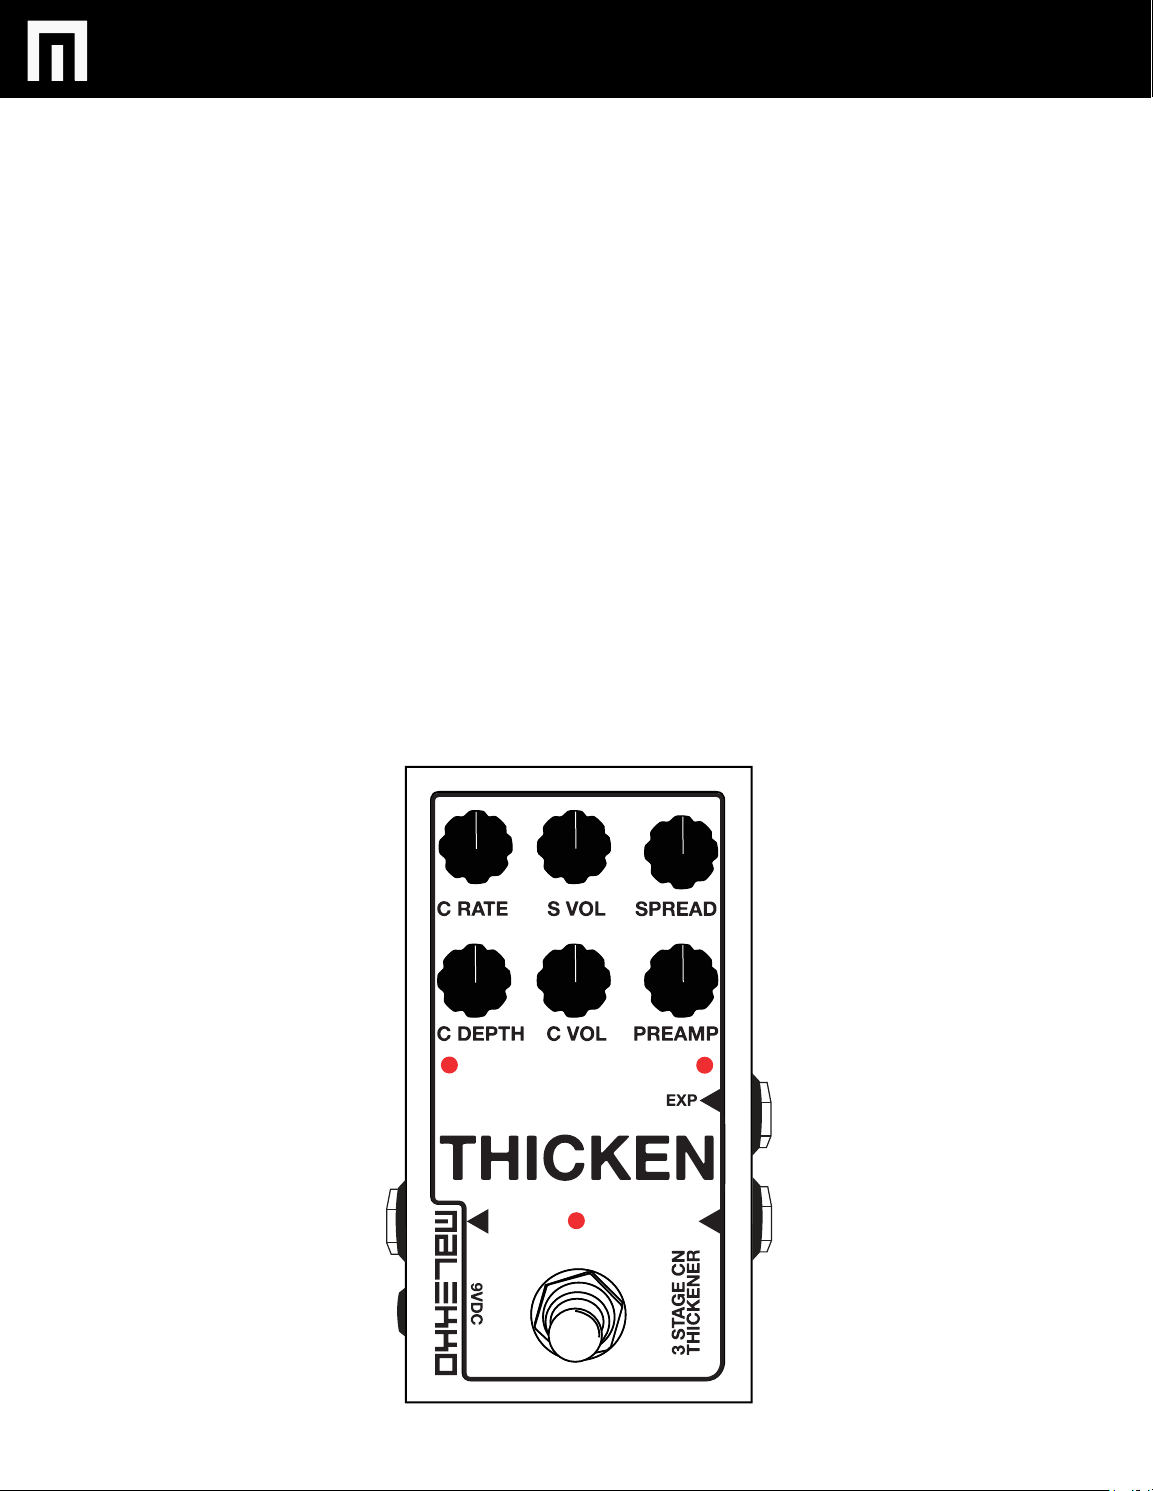
OVERVIEW
SPREAD:
DELAY MODE:
Controls exponential delay times. CCW is two very
fast delays. CW is two longer delays; the 2nd
delay is exponentially longer than the 1st.
RANDOM MODE:
CCW to CW: smooth to aggressive sounding.
S VOL:
Adjust SPREAD volume.
C RATE:
Adjust CHORUS rate
C DEPTH:
Adjust CHORUS depth
C VOL:
Adjust CHORUS volume
PREAMP:
Input gain control. PREAMP must be up for
signal to pass to SPREAD or CHORUS
LEDs:
Effect on/off
Input clipping, CHORUS rate
OUTPUT JACK:
1/4” mono out.
9vDC JACK:
Standard neg-tip 2.5mm barrel connector
EXPRESSION/CV INPUT JACK:
Expresson pedal input for remote control of any
combination of parameters. Both positive or
negative sweep can be assigned simultaneously.
CV input will also control all parameters.
INPUT JACK:
1/4” mono in.
PG. 5
Page 6
THICKEN MANUAL V.1
EXPRESSION PEDAL AND CV CONTROL
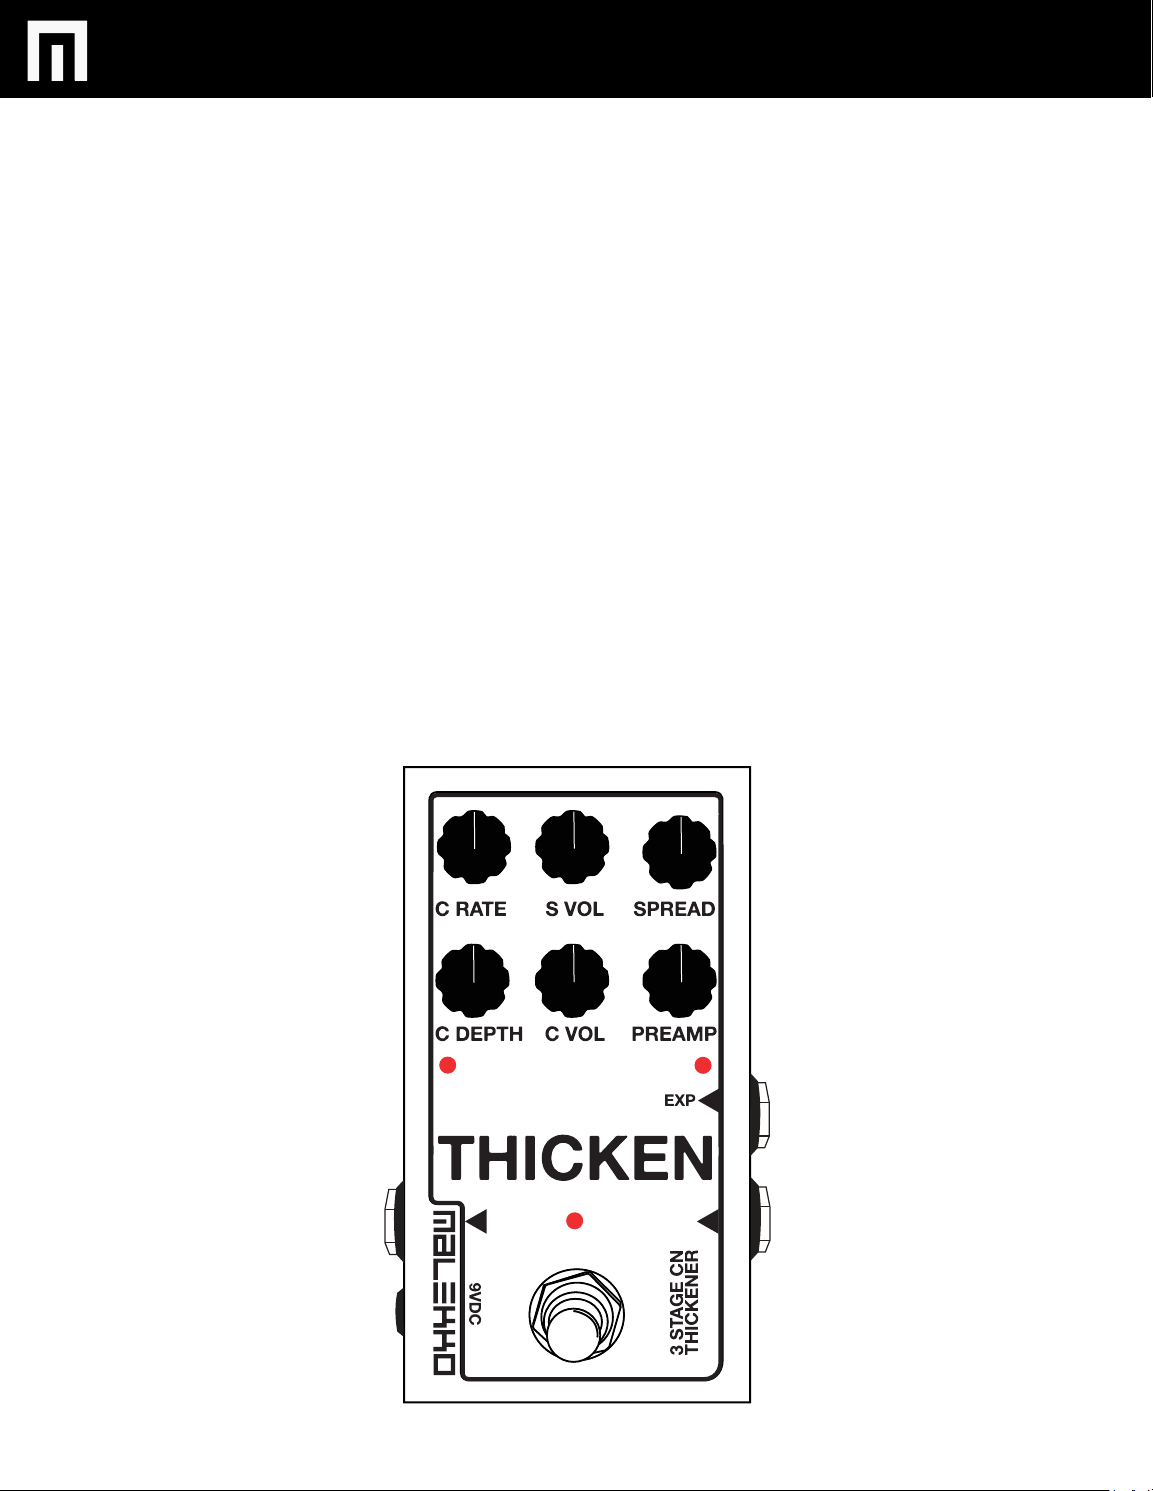
1. With the effect on, hold down the stomp switch.
While holding the stomp switch down, turn any (or a combinaton of all) of the
2.
following controllable effect knobs: SPREAD, S VOL, C RATE, C DEPTH,
C VOL, and PREAMP. This will activate assignment to expression pedal or
cv control. You must turn a selected knob completely left to activate a
clockwise sweep or all the way right to activate a counterclockwise sweep.
3.
Release the stomp and now the assignment has been made; this assignment
will stay that way until you change it, regardless of unplugging the power or
not. Your expression pedal or cv input will now adjust the selected controls.
4.
You can define the range of the effect assigned to the EXP/CV control by
changng the knob setting. FOR INSTANCE: Starting at 12 o’clock, setting the
knob counterclockwise (anticlockwise) to 7 o’clock will give you maximum
positive sweep for that effect. Or setting the knob clockwise to 2 o’clock will
give you less overall negative sweep range for that effect.
5.
A SETTING EXAMPLE: Hold down the stomp switch and turn the C RATE knob
from a 12 o’clock position counterclockwise to the left. Release the stomp switch.
Now your expression pedal will control the chorus rate, from slow to fast.
Turning the C RATE knob setting toward 12 o’clock will now reduce the overall
range of the EXP/CV sweep.
For a clockwise expression pedal
or CV controlled sweep, turn knob
all the way left while holding down
the stomp switch. After the trurn is
made, release the stomp switch.
For a counterclockwise expression
pedal or CV controlled sweep,
turn knob all the way right while
holding down the stomp switch.
After the turn is made, release
the stomp switch.
PG. 6
Page 7
THICKEN MANUAL V.1
REMOVING EXPRESSION PEDAL
AND CV CONTROL ASSIGNMENT
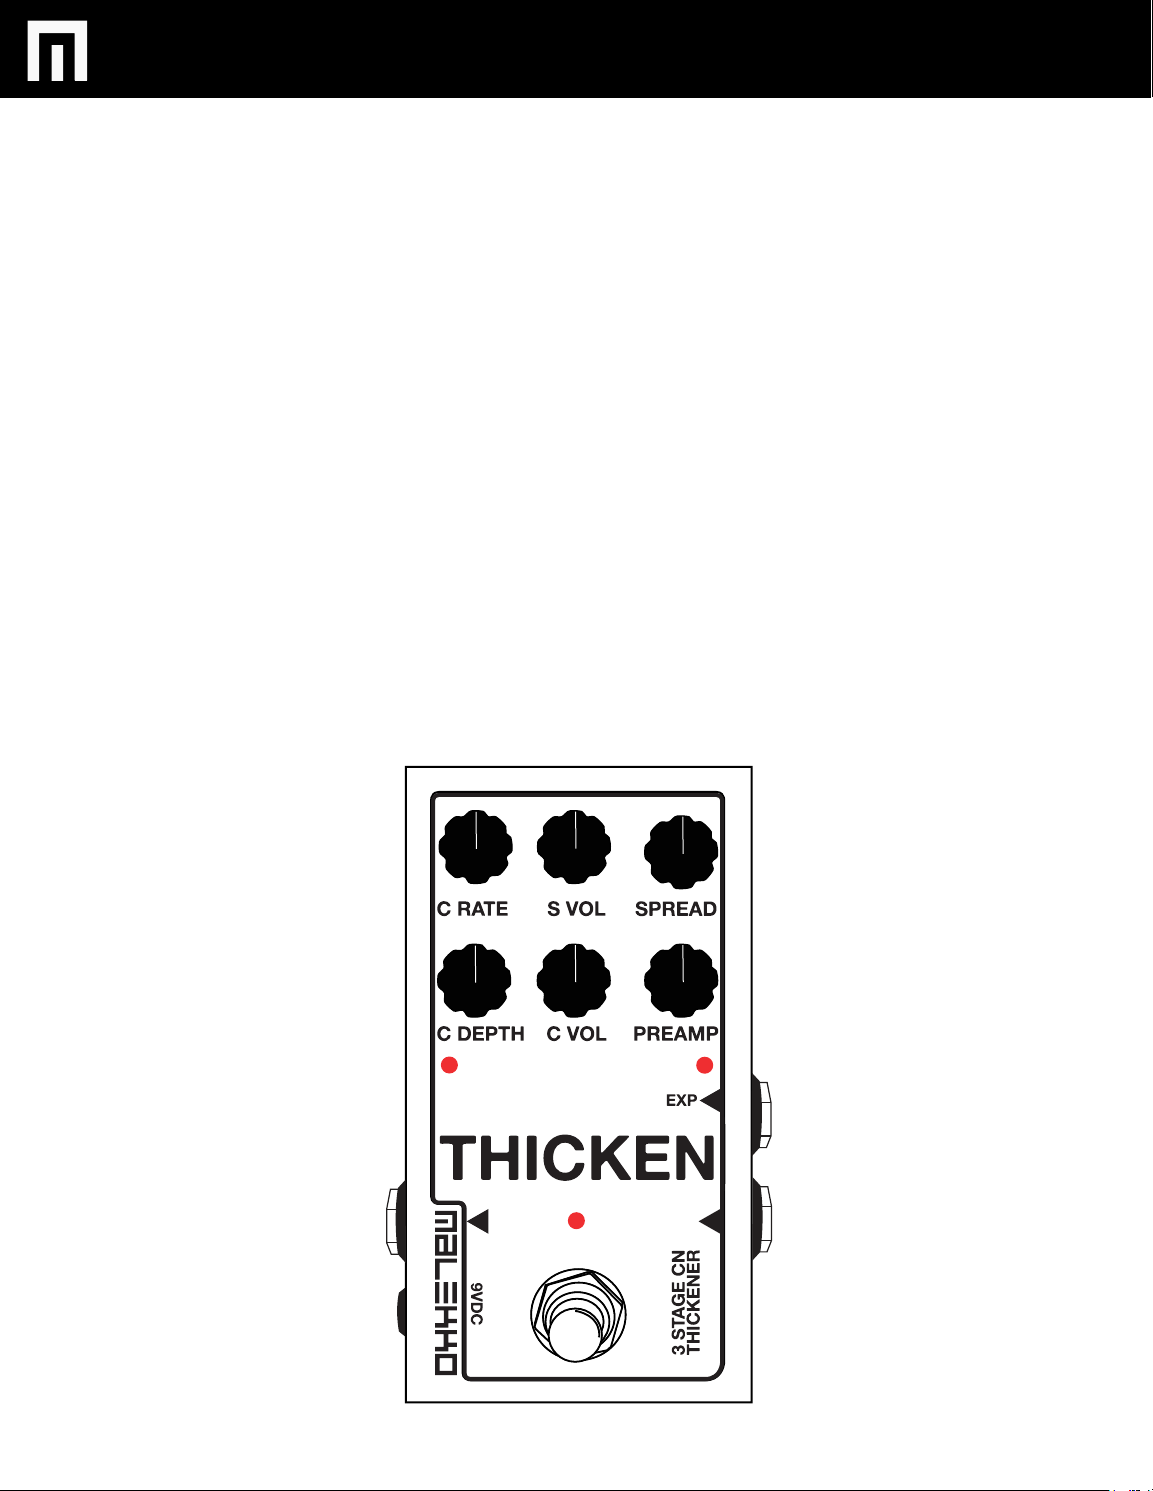
1. Hold down the stomp switch.
With the stomp down, sweep the knob with the assigned setting all the way CCW then
2.
set to 12 o’clock.
3.
Release the stomp. Now that parameter is no longer assigned to the EXP/CV control
and it is in manual mode.
NOTE: Unplugging the EXP/CV input will put the pedal in manual mode, but the
assignments remain until you zero them out.
PG. 7
Page 8
THICKEN MANUAL V.1
SPREAD MODE SELECTION
1. Hold down the stomp switch.
Connect power plug to pedal.
2.
Release the stomp. Now the SPREAD mode has changed to either sweepable delays
3.
or random delays.
NOTE: The SPREAD mode assignment will remain until you change it.
PG. 8
Page 9

THICKEN MANUAL V.1
WARRANTY
This product is covered by the Malekko Heavy Industry warranty, for one year following the date of
purchase. This warranty covers any defect in the manufacturing of this product. This warranty does
not cover any damage or malfunction caused by incorrect use – such as, but not limited to, power
cables connected backwards, excessive voltage levels, or exposure to extreme temperature or
moisture levels. The warranty covers replacement or repair, as decided by Malekko Heavy Industry.
Please visit our website malekkoheavyindustry.com to obtain full warranty information and to
register your product for coverage.
PG. 9
 Loading...