

Page 1
ENGLISH
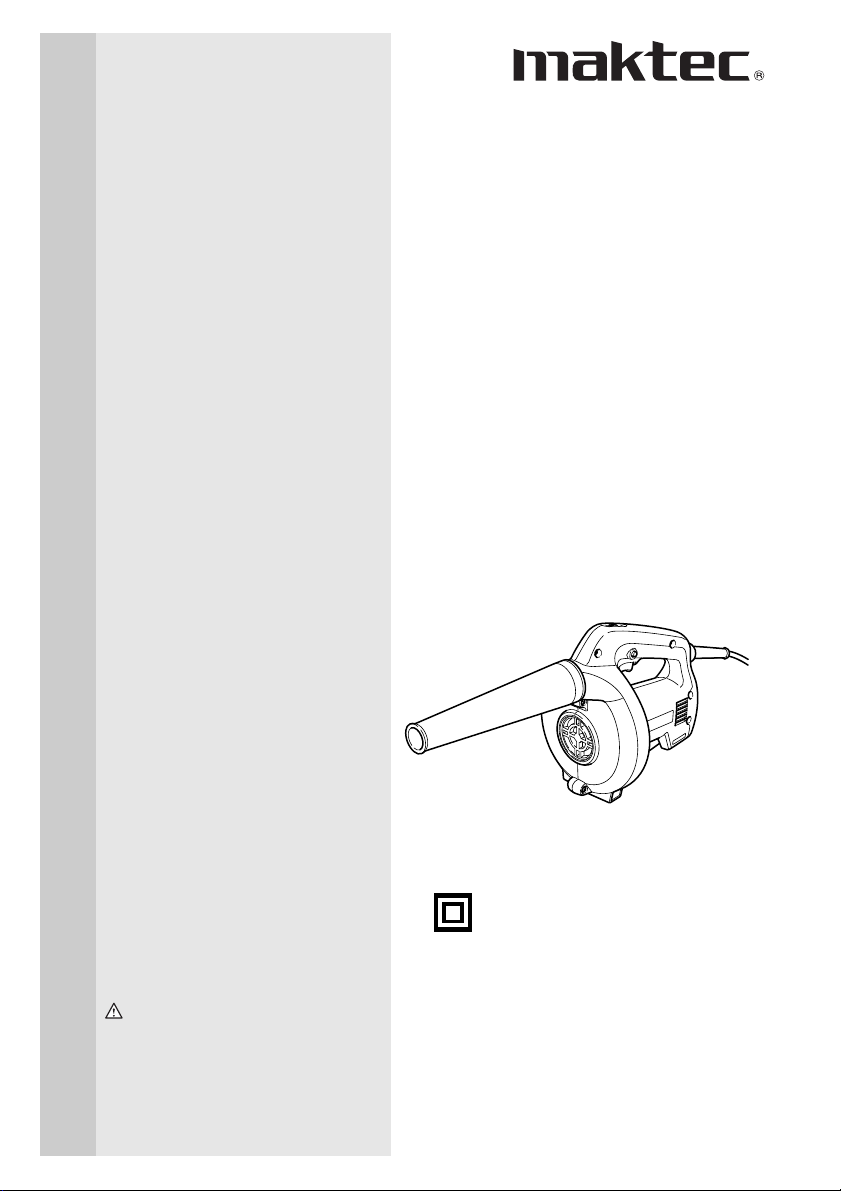
Blower
MODEL MT400
DOUBLE
INSULATION
INSTRUCTION MANUAL
WARNING:
For your personal safety, READ and UNDERSTAND before using.
SAVE THESE INSTRUCTIONS FOR FUTURE REFERENCE.
006292
Page 2
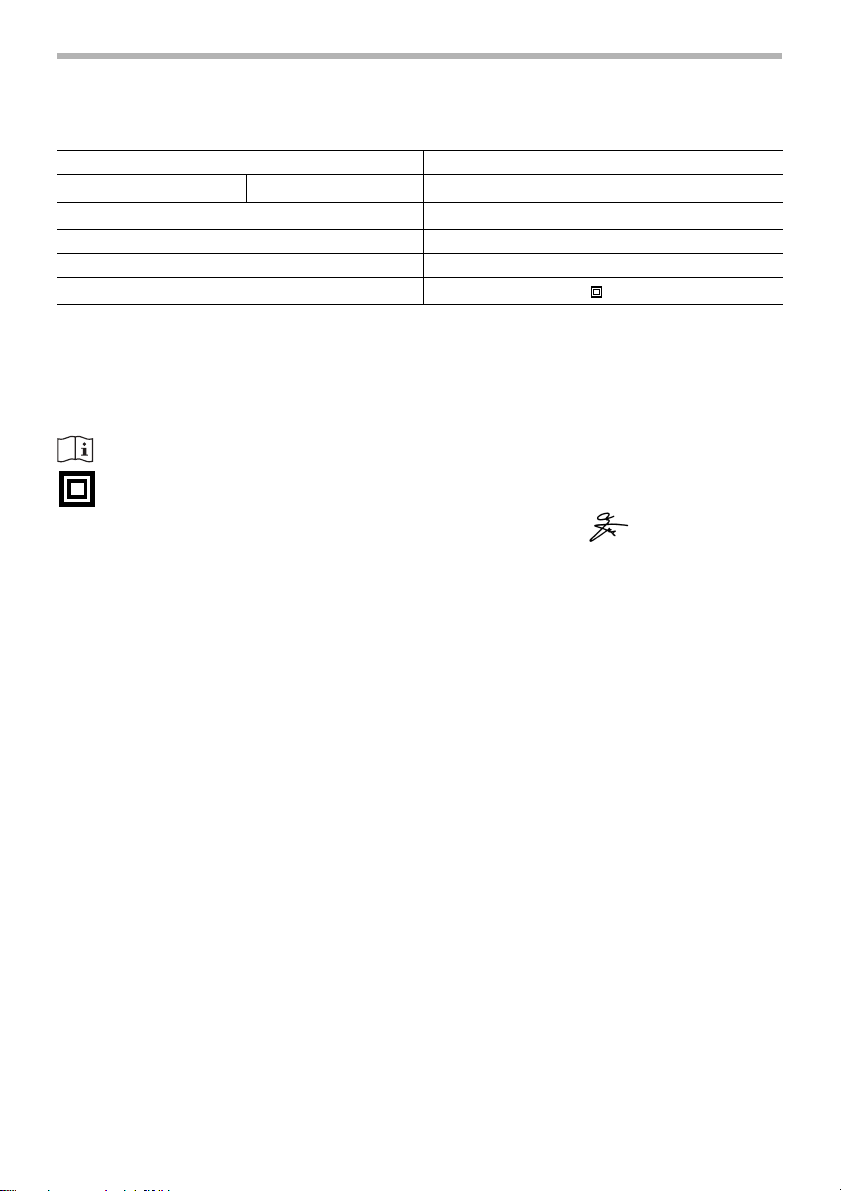
SPECIFICATIONS
Model MT400
Capacities Max. air volume
No load speed (min-1)
Overall length 428 mm
Net weight 1.3 kg
Safety class
• Due to our continuing programme of research and development, the specifications herein are subject to change
without notice.
• Note: Specifications may differ from country to country.
SYMBOLS
The following show the symbols used for the tool. Be
sure that you understand their meaning before use.
...................Read instruction manual.
...................DOUBLE INSULATION
END201-1
EC-DECLARATION OF CONFORMITY
We declare under our sole responsibility that this product
is in compliance with the following standards of standardized documents, EN60745, EN55014, EN61000 in
accordance with Council Directives, 73/23/EEC, 89/336/
EEC, 98/37/EC.
Intended use
The tool is intended for blowing dust.
Power supply
The tool should be connected only to a power supply of
the same voltage as indicated on the nameplate, and
can only be operated on single-phase AC supply. They
are double-insulated in accordance with European
Standard and can, therefore, also be used from sockets
without earth wire.
MAKITA INTERNATIONAL EUROPE LTD.
Michigan Drive, Tongwell, Milton Keynes, Bucks MK15
8JD, ENGLAND
Responsible manufacturer:
Makita Corporation Anjo Aichi Japan
For European countries only
Noise and Vibration
The typical A-weighted noise levels are
sound pressure level: 89 dB (A)
sound power level: 100 dB (A)
Uncertainty: 3 dB(A)
– Wear ear protection. –
The typical weighted root mean square acceleration
value is not more than 2.5 m/s
These values have been obtained according to
EN60745.
2
.
1.3 - 2.4 m3/min.
8,500 - 16,000
/II
Yasuhiko Kanzaki CE 2005
Director
2
Page 3

GENERAL SAFETY RULES GEA001-2
WARNING:
Read all instructions. Failure to follow all instructions listed below
may result in electric shock, fire and/or serious injury. The term
“power tool” in all of the warnings listed below refers to your mainsoperated (corded) power tool or battery-operated (cordless) power
tool.
SAVE THESE INSTRUCTIONS
Work area safety
1. Keep work area clean and well lit. Cluttered
and dark areas invite accidents.
2. Do not operate power tools in explosive
atmospheres, such as in the presence of
flammable liquids, gases or dust. Powe r
tools create sparks which may ignite the dust
or fumes.
3. Keep children and bystanders away while
operating a power tool. Distractions can
cause you to lose control.
Electrical safety
4. Power tool plugs must match the outlet.
Never modify the plug in any way. Do not
use any adapter plugs with earthed
(grounded) power tools. Unmodified plugs
and matching outlets will reduce risk of electric shock.
5. Avoid body contact with earthed or
grounded surfaces such as pipes, radiators, ranges and refrigerators. There is an
increased risk of electric shock if your body is
earthed or grounded.
6. Do not expose power tools to rain or wet
conditions. Water entering a power tool will
increase the risk of electric shock.
7. Do not abuse the cord. Never use the cord
for carrying, pulling or unplugging the
power tool. Keep cord away from heat, oil,
sharp edges or moving parts. Damaged or
entangled cords increase the risk of electric
shock.
8. When operating a power tool outdoors,
use an extension cord suitable for outdoor use. Use of a cord suitable for outdoor
use reduces the risk of electric shock.
Personal safety
9. Stay alert, watch what you are doing and
use common sense when operating a
power tool. Do not use a power tool while
you are tired or under the influence of
drugs, alcohol or medication. A moment of
inattention while operating power tools may
result in serious personal injury.
10. Use safety equipment. Always wear eye
protection. Safety equipment such as dust
mask, non-skid safety shoes, hard hat, or
hearing protection used for appropriate conditions will reduce personal injuries.
11. Avoid accidental starting. Ensure the
switch is in the off-position before plugging in. Carrying power tools with your finger
on the switch or plugging in power tools that
have the switch on invites accidents.
3
Page 4

12. Remove any adjusting key or wrench
before turning the power tool on. A wrench
or a key left attached to a rotating part of the
power tool may result in personal injury.
13. Do not overreach. Keep proper footing
and balance at all times. This enables better control of the power tool in unexpected situations.
14. Dress properly. Do not wear loose cloth-
ing or jewellery. Keep your hair, clothing,
and gloves away from moving parts.
Loose clothes, jewellery or long hair can be
caught in moving parts.
15. If devices are provided for the connection
of dust extraction and collection facilities,
ensure these are connected and properly
used. Use of these devices can reduce dust-
related hazards.
Power tool use and care
16. Do not force the power tool. Use the cor-
rect power tool for your application. The
correct power tool will do the job better and
safer at the rate for which it was designed.
17. Do not use the power tool if the switch
does not turn it on and off. Any power tool
that cannot be controlled with the switch is
dangerous and must be repaired.
18. Disconnect the plug from the power
source and/or the battery pack from the
power tool before making any adjustments, changing accessories, or storing
power tools. Such preventive safety mea-
sures reduce the risk of starting the power
tool accidentally.
19. Store idle power tools out of the reach of
children and do not allow persons unfamiliar with the power tool or these instructions to operate the power tool. Power
tools are dangerous in the hands of untrained
users.
20. Maintain power tools. Check for misalign-
ment or binding of moving parts, breakage of parts and any other condition that
may affect the power tools operation. If
damaged, have the power tool repaired
before use. Many accidents are caused by
poorly maintained power tools.
21. Keep cutting tools sharp and clean. Prop-
erly maintained cutting tools with sharp cutting edges are less likely to bind and are
easier to control.
22. Use the power tool, accessories and tool
bits etc. in accordance with these instructions and in the manner intended for the
particular type of power tool, taking into
account the working conditions and the
work to be performed. Use of the power tool
for operations different from those intended
could result in a hazardous situation.
Service
23. Have your power tool serviced by a quali-
fied repair person using only identical
replacement parts. This will ensure that the
safety of the power tool is maintained.
4
Page 5

ADDITIONAL SAFETY RULES ENB096-1
1. Always use protective goggles, a cap and mask
when using the blower.
2. Never point the nozzle at anyone in the vicinity
when using the blower.
3. Warning – Electric shock could occur if used on
wet surfaces. Do not expose to rain. Store
indoors.
4. Never block suction inlet and/or blower outlet.
Increased motor revolution may cause dangerous fan breakage.
5. The blower is not intended for use by young
children or infirm persons without supervision.
6. Young children should be supervised to ensure
that they do not play with the blower.
SAVE THESE INSTRUCTIONS
5
Page 6
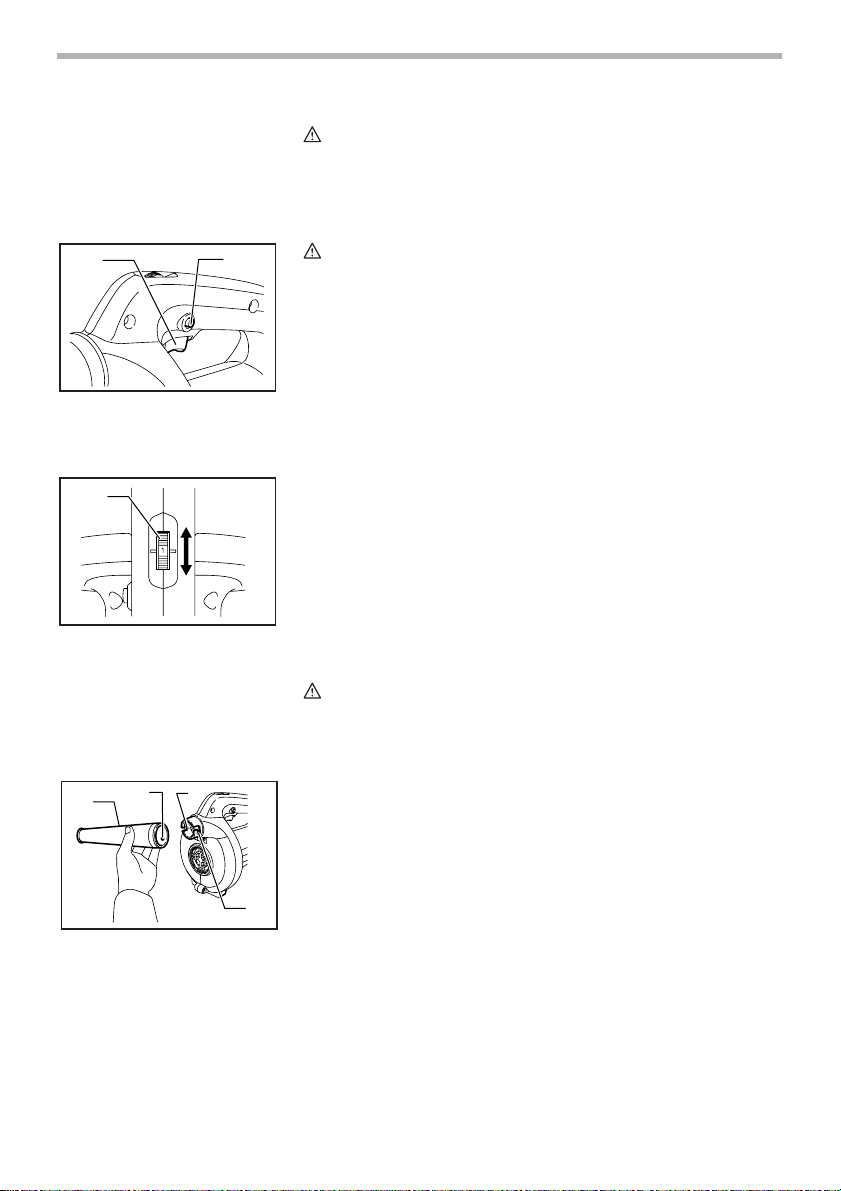
FUNCTIONAL
DESCRIPTION
1
1. Switch trigger
2. Lock button
1
B
A
1. Air volume adjusting dial
2
CAUTION:
• Always be sure that the tool is switched off and unplugged before
adjusting or checking function on the tool.
Switch action
006293
006294
CAUTION:
• Before plugging in the tool, always check to see that the switch trigger
actuates properly and returns to the “OFF” position when released.
To start the tool, simply pull the switch trigger. Release the switch trigger to
stop.
For continuous operation, pull the switch trigger and then push in the lock button.
To stop the tool from the locked position, pull the switch trigger fully, then
release it.
Air volume adjusting dial
Air speed and volume can be adjusted without positive stops by turning the air
volume adjusting dial
To obtain high speed and increase volume, turn the air volume adjusting dial to
the A direction shown in the figure (for the bigger number). Turn the air volume
adjusting dial to the B direction (for the smaller number) to obtain low speed
and to decrease the air volume
ASSEMBLY
2
1
1. Nozzle
2. Pin
3. Blower outlet
4. Notch
CAUTION:
• Always be sure that the tool is switched off and unplugged before
carrying out any work on the tool.
006295
3
Installing or removing the nozzle
Align the pin protruding inside the nozzle with the notch on the tool, push the
nozzle to the blower outlet and then securely turn the nozzle clockwise.
To remove the nozzle, turn counterclockwise and pull it out.
4
6
Page 7
1
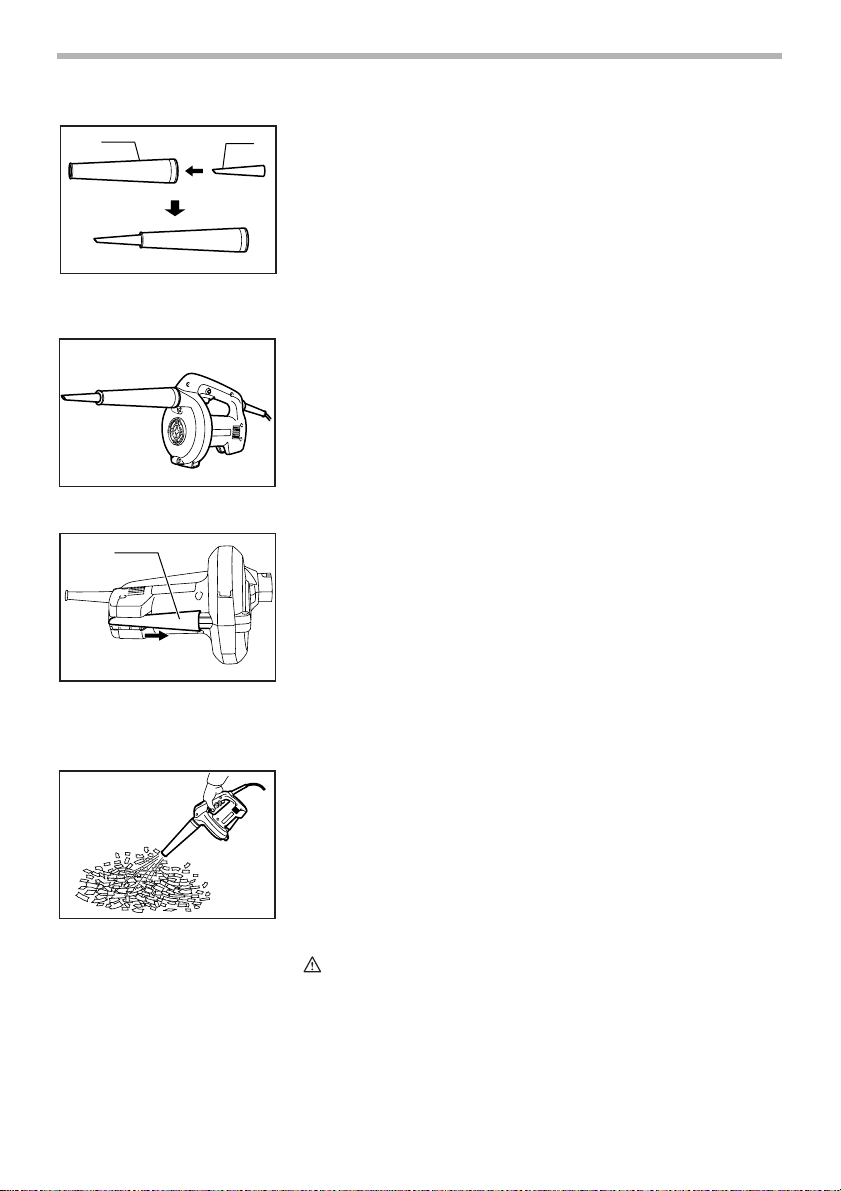
1. Nozzle
2. Sash nozzle
1
1. Sash nozzle
006296
Installing the sash nozzle
Sash nozzle is convenient for operation in a sash rail, corner or tight place
2
between cabinets. Secure the sash nozzle by inserting it into the nozzle from
the back of the nozzle.
006297
Install the nozzle with the attached sash nozzle.
006298
Sash nozzle storage
When not in use, the sash nozzle can be conveniently stored at the bottom of
the tool as shown in the figure.
OPERATION
MAINTENANCE
006299
Blowing
Point the tool to the object to be blown off and turn on the tool.
CAUTION:
• Always be sure that the tool is switched off and unplugged before
attempting to perform inspection or maintenance.
To maintain product SAFETY and RELIABILITY, repairs, carbon brush inspection and replacement, any other maintenance or adjustment should be performed by Makita Authorized Service Centers, always using Makita
replacement parts.
7
Page 8

884601-226
Makita Corporation Anjo, Aichi, Japan
 Loading...