

Page 1
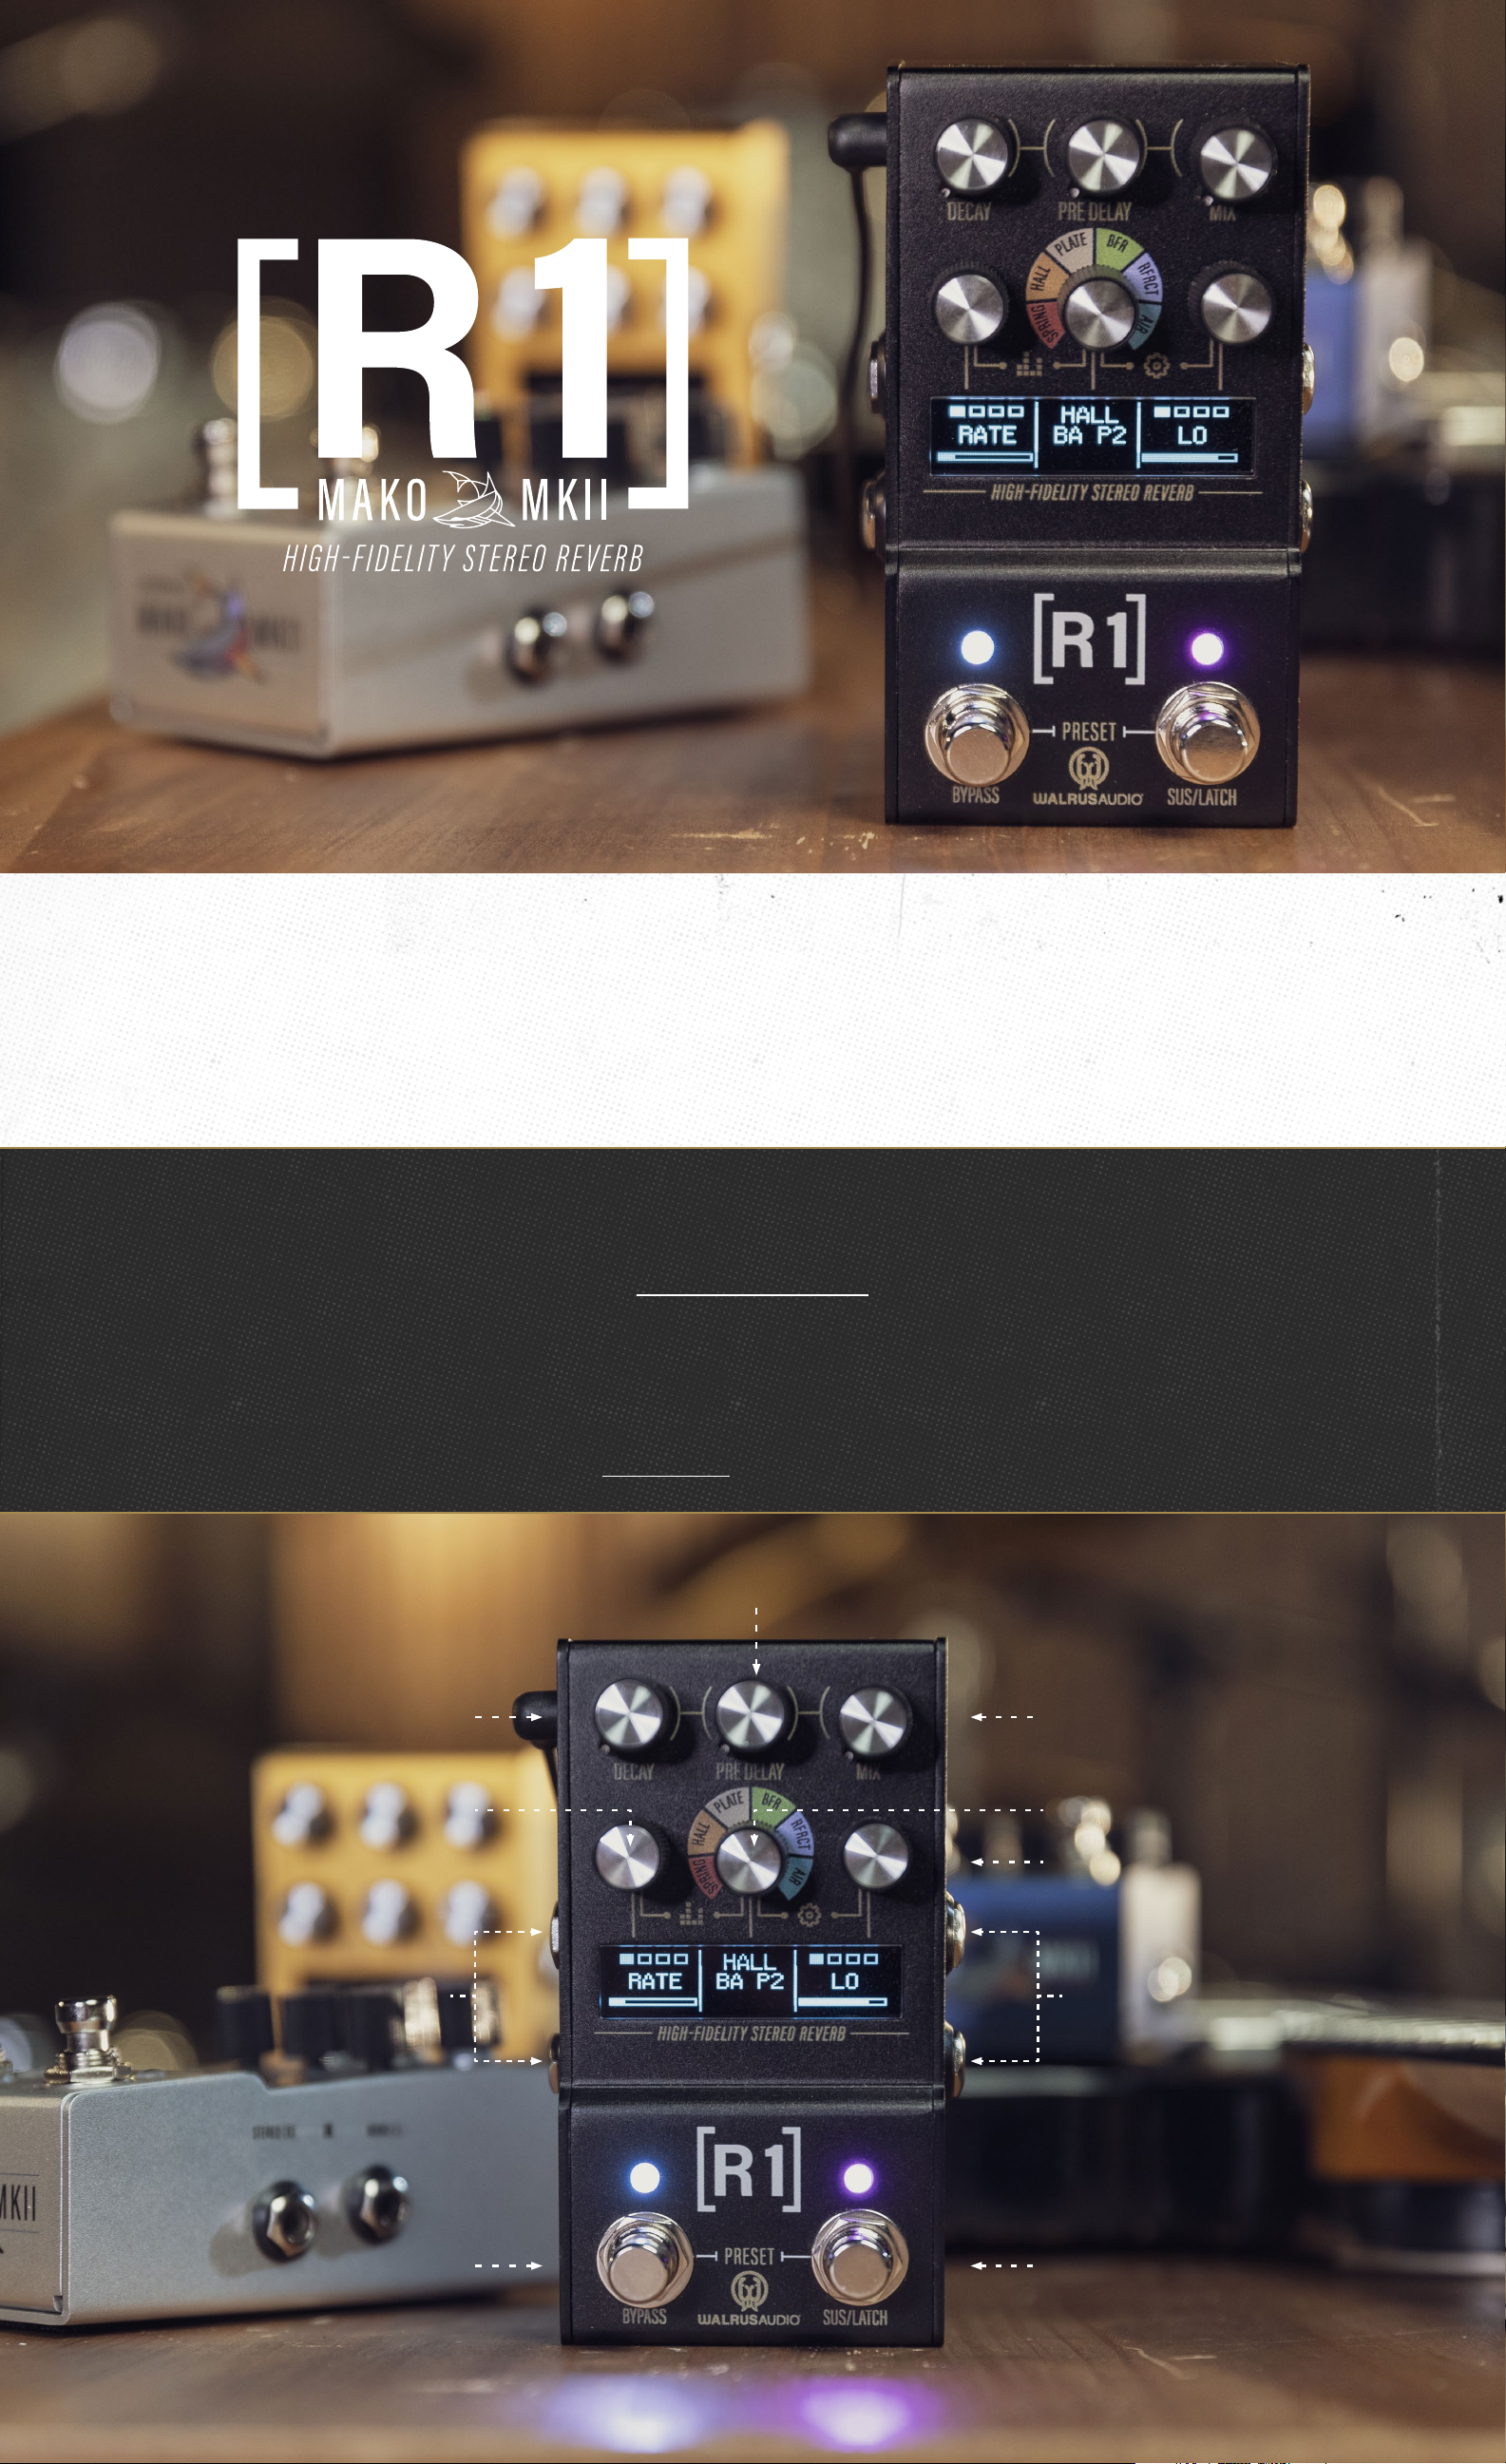
The R1 is an extremely powerful and versatile multi-function reverb with six customized, studioquality programs - Spring, Hall, Plate, BFR, RFRCT (Refract), and Air. Every program has the option
to be tuned and tweaked from short and subtle room sounds to massive washes of experimental
euphoria. The R1 is your architect for new songs and textures to create and inspire.
9 volt DC, Center Negative • 300mA min*
*The use of an isolated power supply is recommended for powering all Walrus Audio Pedals.
Daisy chain power supplies are not recommended.
Got questions or need a repair?
Email [email protected] to talk with a real live human about your Walrus gear!
This product comes with a limited lifetime warranty.
Click Here for more info.
CONTROLS
LEFT ENCODER
DECAY
PRE-DELAY
MIX
MIDDLE ENCODER
RIGHT ENCODER
LEFT LEFT
INPUT JACKSOUTPUT JACKS
RIGHT RIGHT
BYPASS SWITCH SUSTAIN/LATCH
SWITCH
Page 2
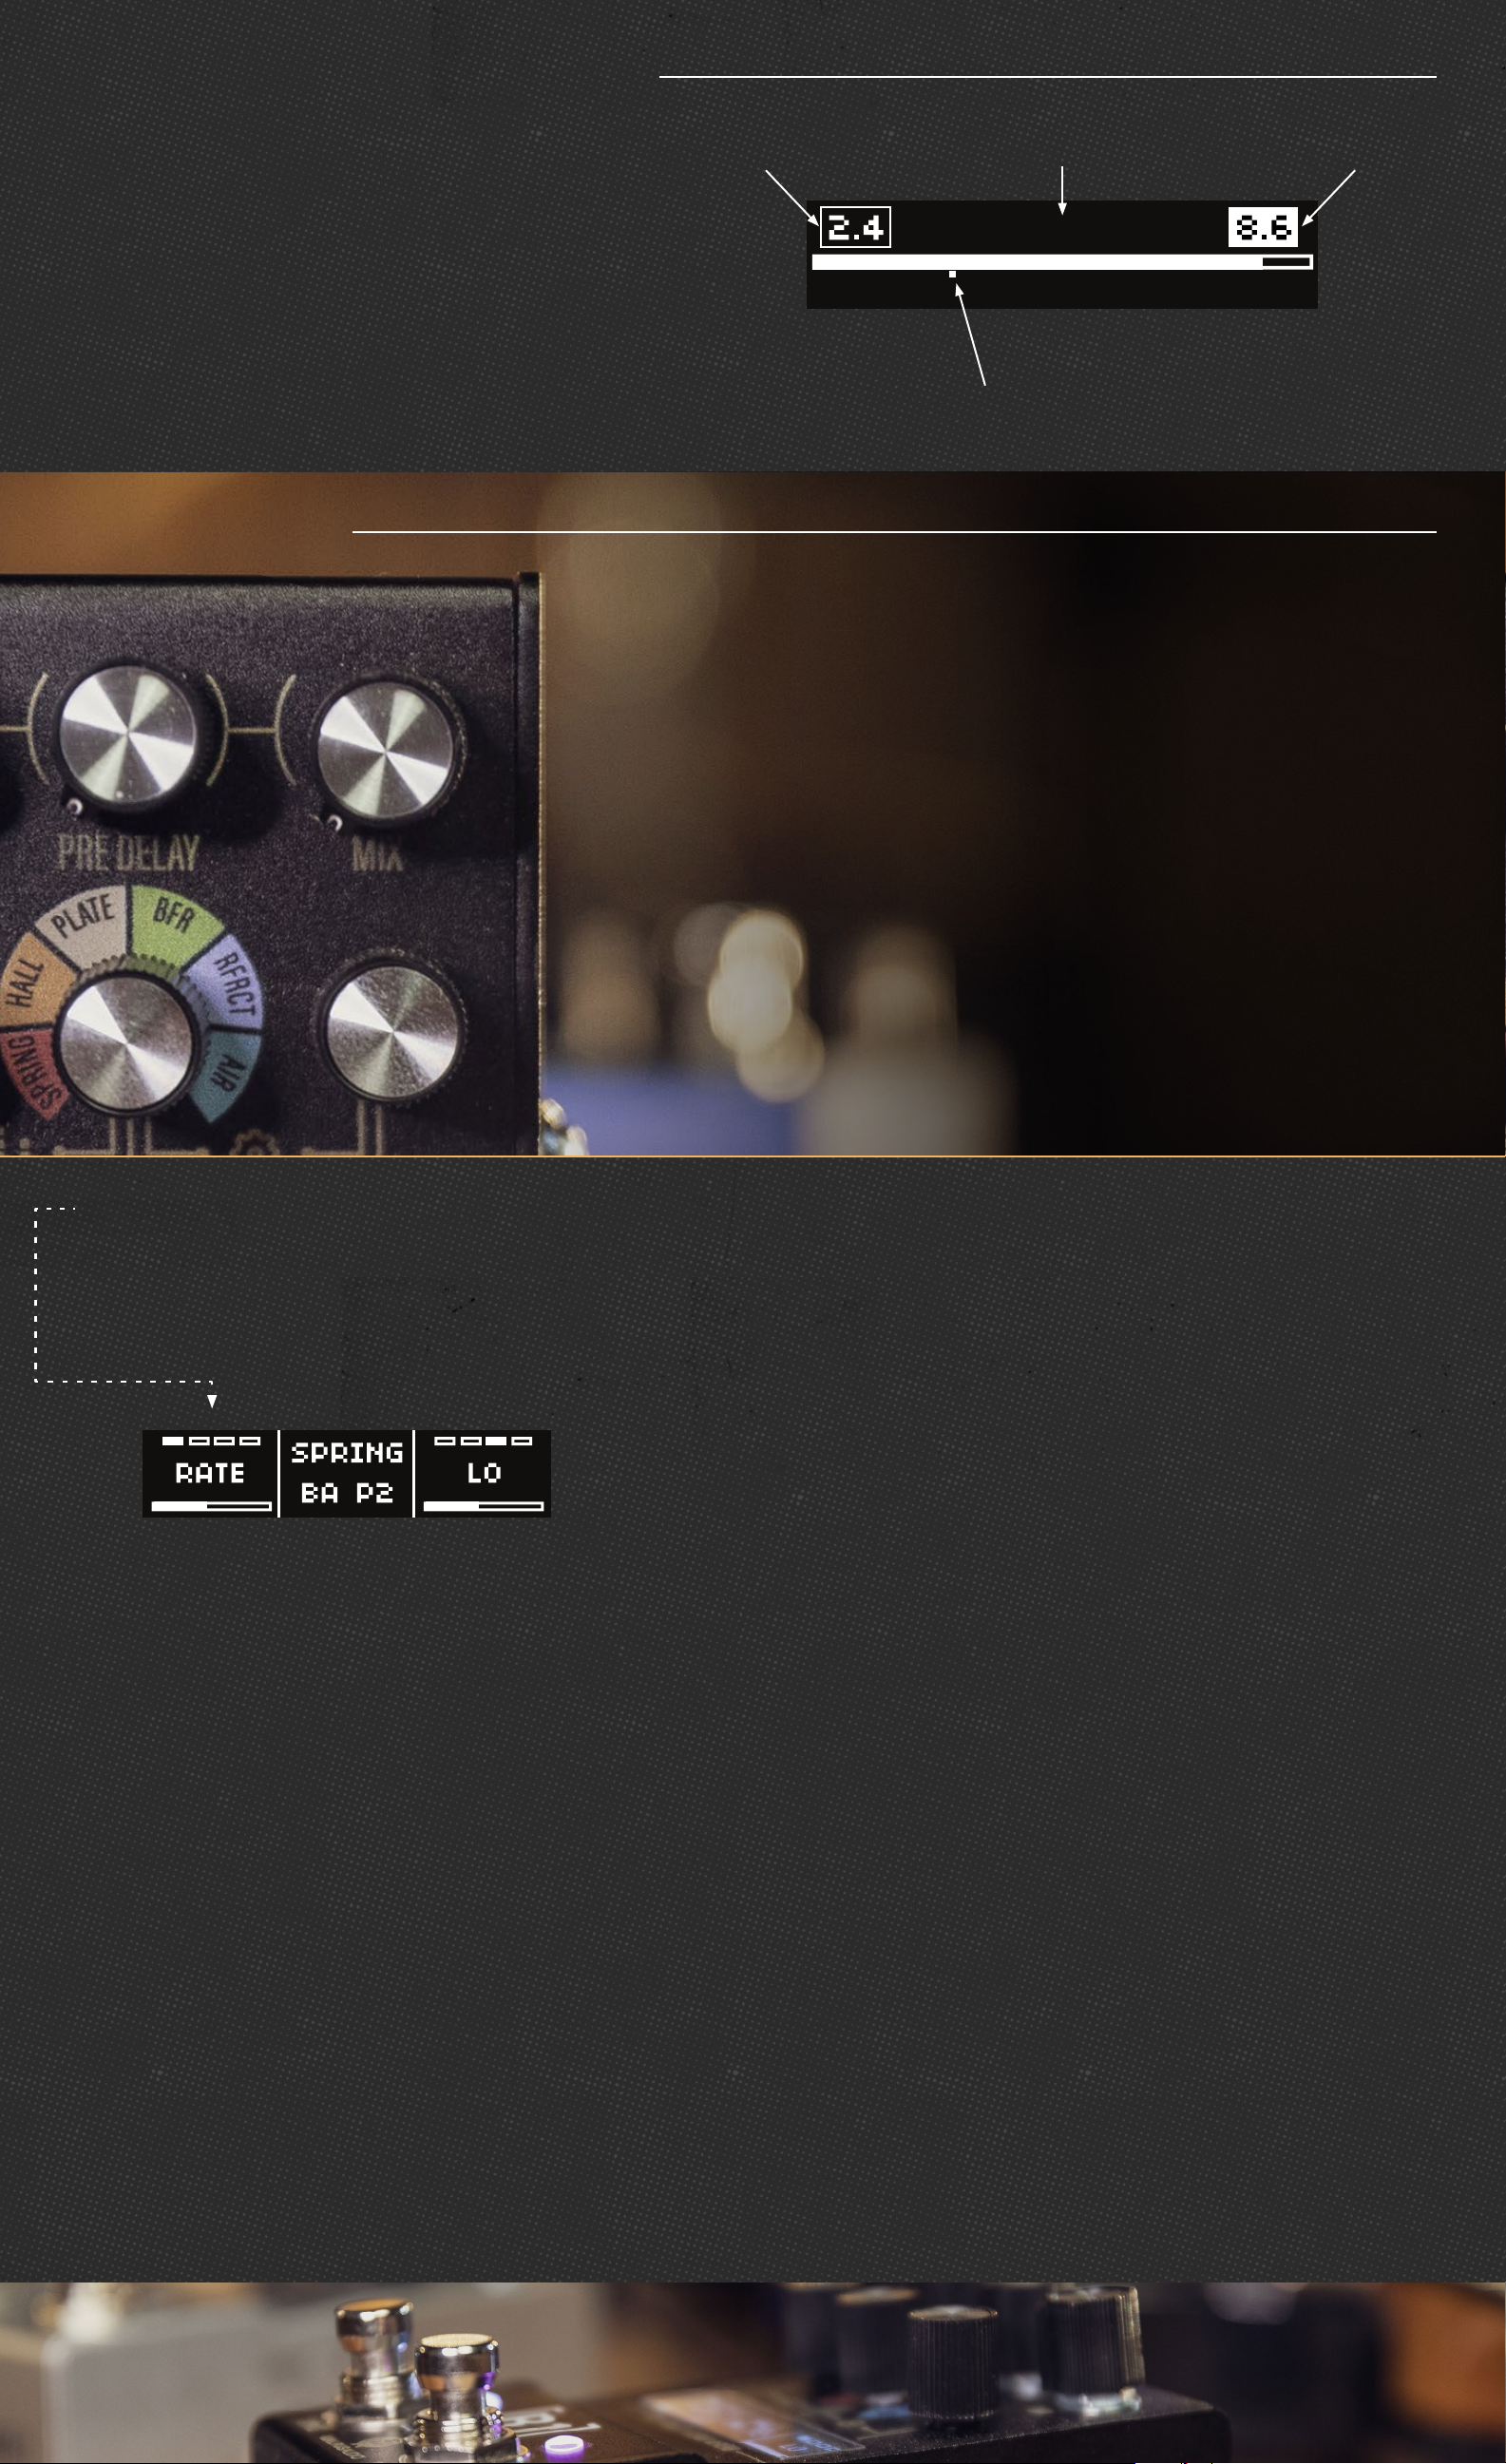
ADJUSTING PARAMETERS
When adjusting any knob parameter, you will
see a bar appear on the screen. The higher
you turn up a parameter, the fuller the bar
will appear. The top left number is your stored
preset value. The top right number shows the
value of where the knob is currently set. The dot
below the bar shows you the last value used
before turning the knob.
CONTROLS
DECAY - The Decay knob sets the length of the reverb decay. Set this
control lower for short natural sounding decays or higher for longer more
ethereal-sounding reverbs.
PRESET
VALUE
NAME OF PARAMETER
BEING ADJUSTED
DECAY
LAST VALUE USED
CURRENT VALUE
WHERE KNOB IS SET
PRE DELAY - Adjust the amount of pre-delay applied to your guitar
signal before it enters the reverb. Pre-delay is useful for shaping how
the reverb responds to your playing. At low (short) pre-delay settings,
the reverb is heard almost immediately after you play a note. As you
increase the pre-delay, the reverb is delayed a small amount to provide
some separation between the notes you are playing and the reverb
signal.
MIX - The Mix knob sets the ratio of dry to wet signal. At minimum, no
reverb is heard. At maximum, no dry signal is heard. Equal parts dry
and reverb can be found around the 3 o’clock position.
LEFT ENCODER - The Left encoder offers creative control over various ways to fine-tune each reverb program
allowing you to creatively shape things like modulation, diffusion, ducking, and more. Cycle through each
option by pressing down on the encoder until you reach the desired control, then turn the encoder knob to
adjust. Alternatively, press and hold down the encoder and then turn to scroll through options then release
to select. Note that not every option listed below will apply to every program.
RATE: Adjust the speed of the modulation applied within the reverb.
DEPTH: Adjust the amount of the modulation applied within the reverb.
D/S (DUCK/SWELL): Rotate the Left encoder clockwise to apply a ducking effect to the reverb trails. The
reverb signal will temporarily “duck” down to allow for just your dry signal to pass through. As you stop
playing new notes and the ducking releases, your reverb will gently mix back in with your dry signal.
Rotate the Left encoder counterclockwise to apply a volume envelope applied to your wet signal as it
passes through the R1 creating a gentle volume swell. This helps create unique moments of cinematic
ambiance. The higher the swell number determines how long it takes to fade in the guitar and reverb
signal after you play. To turn this swell effect off, return the D/S number to 0.
DIFFUSE: Controls the amount of diffusion applied to the reverb, at minimum less diffusion is applied,
at maximum, more diffusion is applied for softer reverb trails. Note: Diffusion control is replaced with
Shimmer control in the Air program only.
SHIMMR (SHIMMER): Applies to Air program only. Turn the Right encoder clockwise to increase the
amount of shimmer apparent in the reverb decay.
OCTTYP: (Octave Type): This applies to the Air Program only. Use this function to choose if the shimmer
effect happens pre or post the reverb tank.
Page 3
RIGHT ENCODER - Use the Right encoder to fine-tune the EQ of the
reverb decay. Cycle through each option by pressing down on the
encoder until you reach the desired control, then turn the encoder
knob to adjust. Alternatively, press and hold down the encoder and
then turn to scroll through options then release to select. Note that
not every option listed below will apply to every program.
LO: Adjust the amount of low frequencies in the reverb. Turn
up for a thicker reverb and down for a thinner sound.
HIGH: Adjust the amount of high frequencies in the reverb.
Turn up for a brighter sound and down for a darker sound.
SIZE: Sets the acoustic space size of the reverb. At minimum
you can “shrink” the reverbs to sound like a smaller space with
a bit higher pitch tonality, and at maximum you can “stretch”
out the reverbs to sound like a large space with a bit lower
tonality..
FB EQ: A bipolar filter that uses two individual high and
low shelves to attenuate lows above 0.5 display setting and
attenuate highs below the 0.5 display setting. In other words,
set low for a darker or high for a brighter reverb decay. No
effect at noon setting
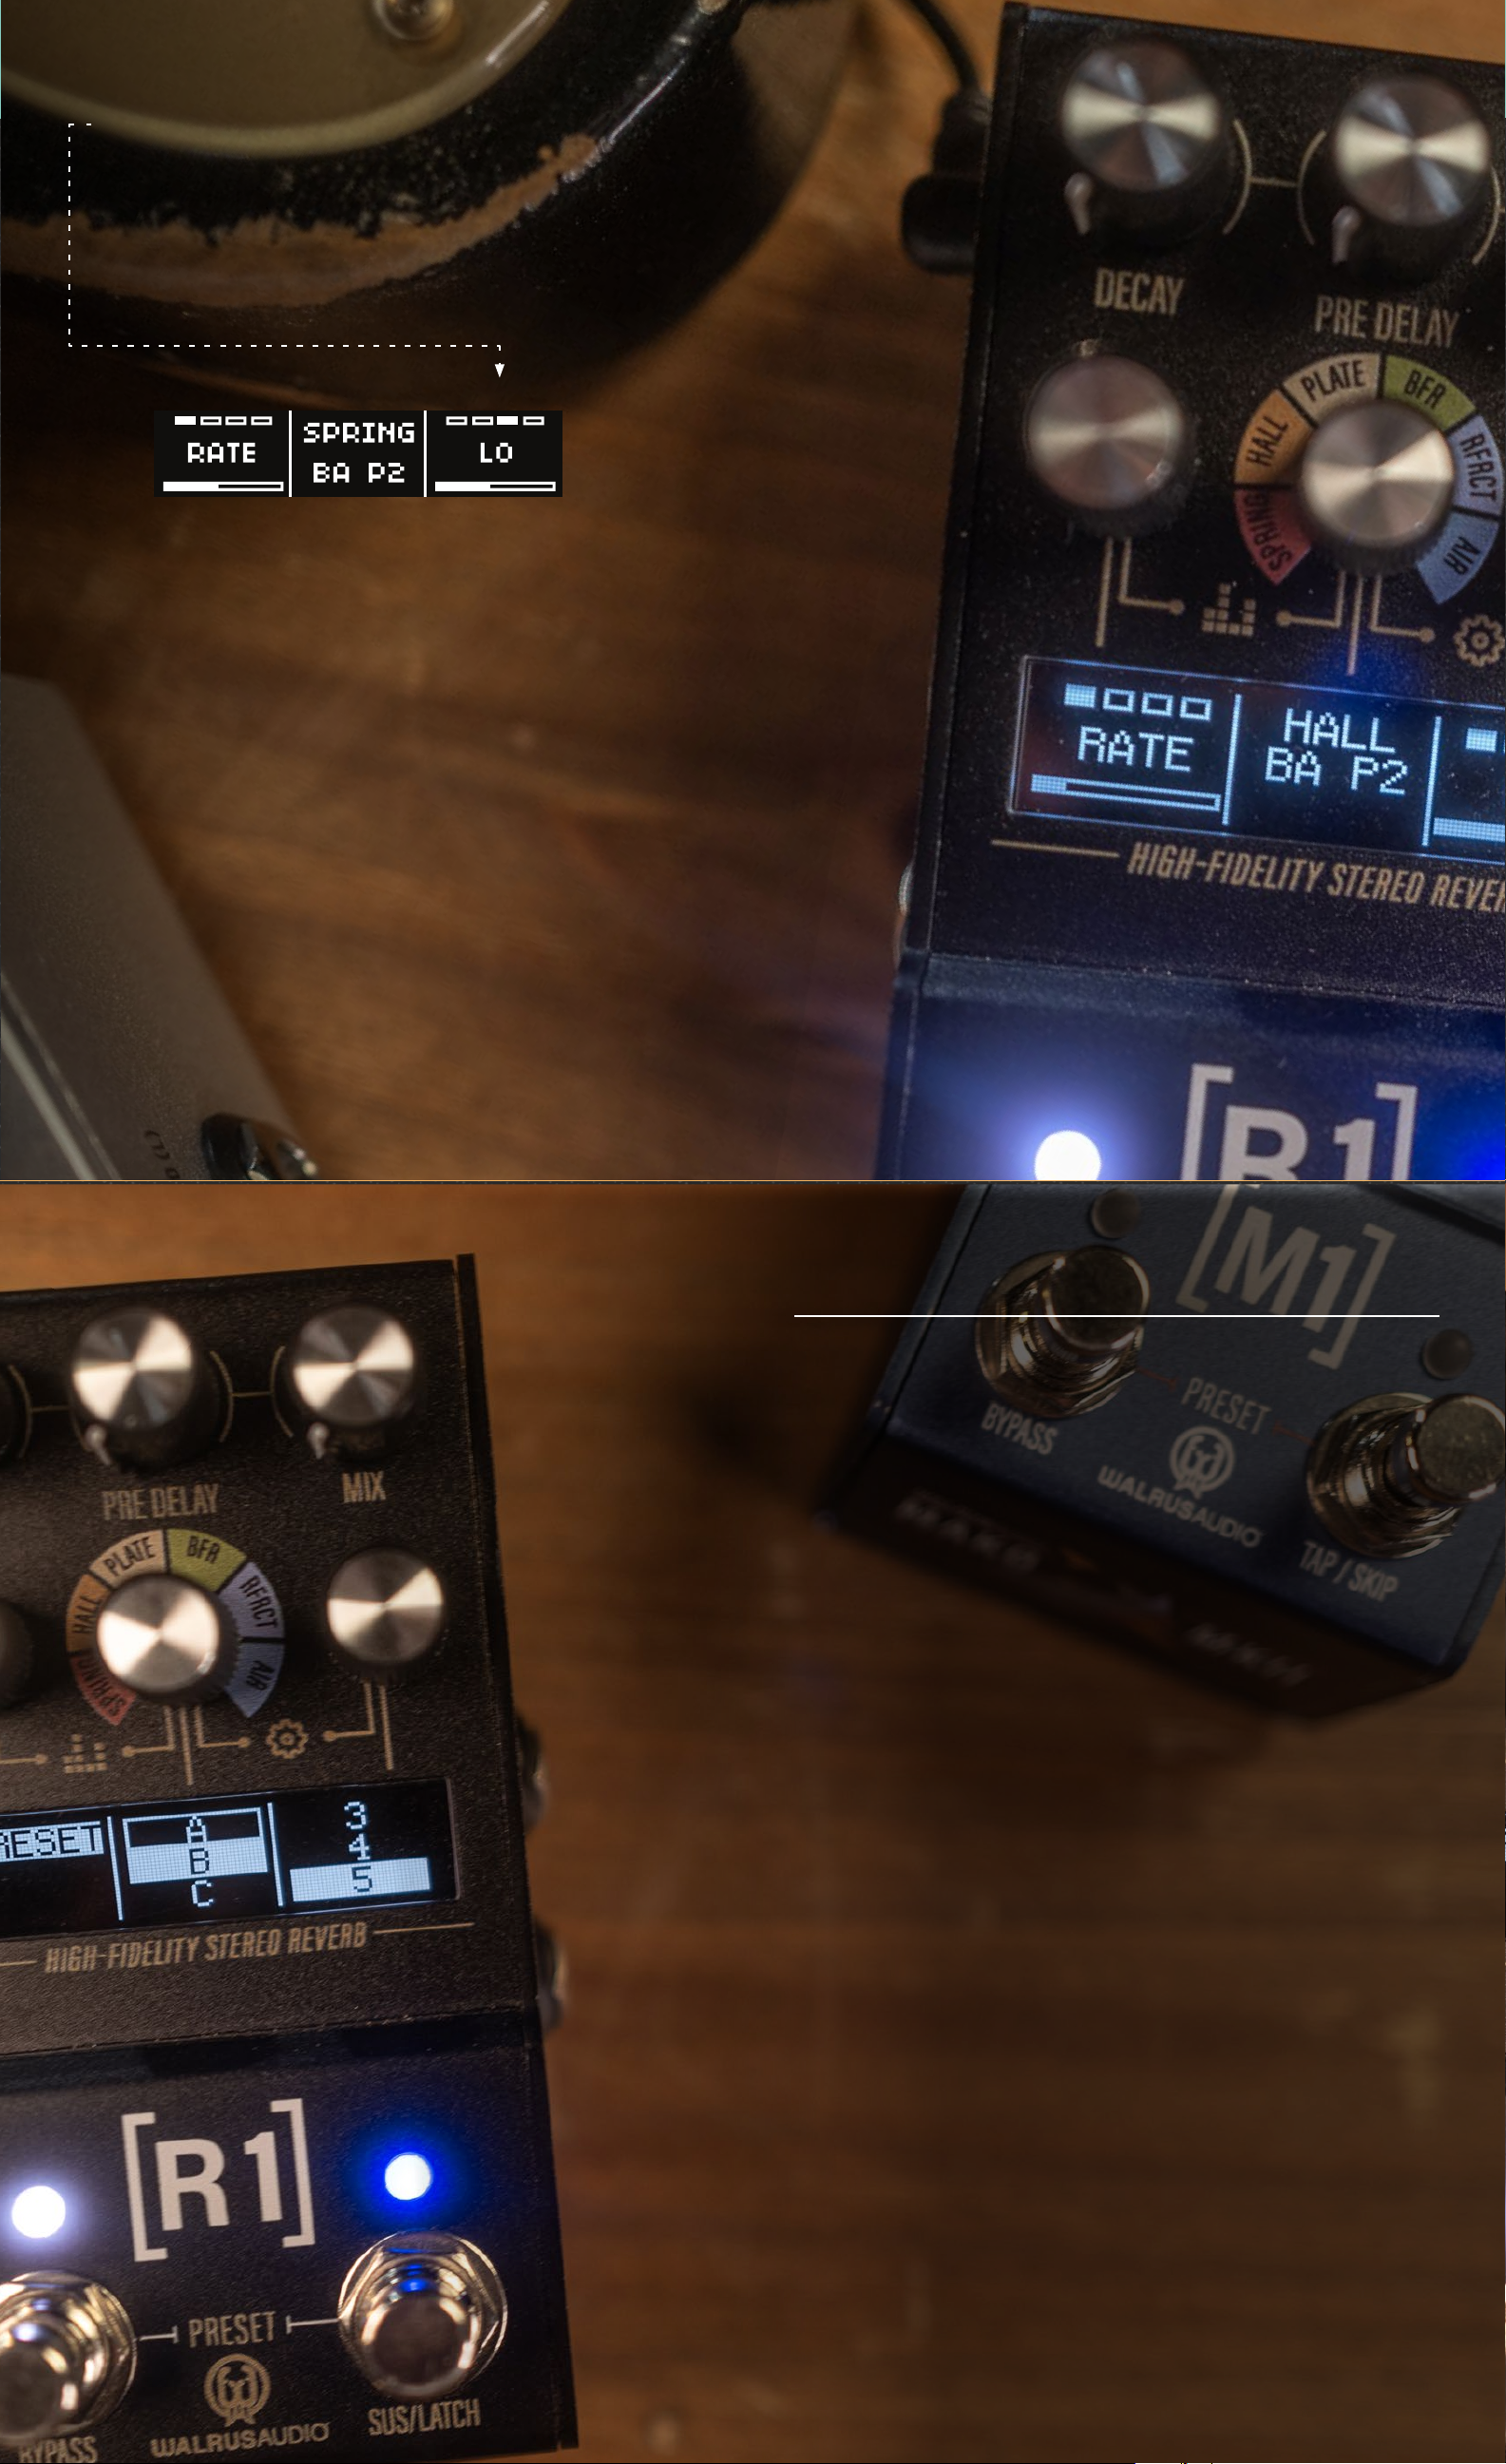
PRESETS
The pedal includes 128 total preset slots. Good luck using them all!
Access them by pressing the Left and Center encoders simultaneously.
The first 9 presets are accessible from the pedal in Banks A, B, and C
and can be cycled through three at a time by pressing both stomp
switches simultaneously. All 128 are accessible by manually selecting
in the preset menu or via MIDI Program Change messages, which are
outlined in the MIDI section.
o To recall a preset bank:
1. Enter the global sound menu by pressing the Left and Center
encoders simultaneously.
2. With “Preset” highlighted in the first column, turn the Center
encoder to select the preset bank.
Press down on the Center encoder to select the bank.
3. Scroll through the presets in that bank by turning the Right
encoder. Press down on the Right encoder to select your preset
number.
4. Press the Left and Center encoders simultaneously to exit
the menu.
o To save a preset:
1. Scroll to the preset color (red, green, blue) in the bank you want
to save a new sound by pressing Bypass and Sus/Latch
simultaneously.
2. Using the knobs and switches, dial in the desired modulation
sound. The Rate LED will turn purple indicating the preset has
been modified.
3. To save, hold down the Bypass and Tap switches until the preset
LED blinks. The preset is now saved and the LED will return to the
preset color.
Page 4
PRESET COPY/PASTE
Any preset can be copied and placed into another preset slot. While
in the preset menu, press and hold down the Right encoder for three
seconds to enter the copy/paste menu. You will have the following
options:
• COPY:
1. Scroll to the preset you want to copy then press and hold
down the Right encoder to open the copy/paste menu.
2. Select copy.
3. The menu will now return to the preset menu.
• PASTE:
1. Scroll to the preset you want to paste then press and hold
down the Right encoder to open the copy/paste menu.
2. Scroll to the Paste option. You will now see the number of
the slot that you have copied and will be replacing in the
new slot.
3. Select Paste to confirm. The menu will now return to the
preset menu.
• OVERWRITE:
1. Overwrite saves the current parameter values into the
preset (this is the same thing as pressing and holding both
stomp switches to save a preset).
• SWAP:
1. Scroll to the preset you want to swap then press and hold
down the Right encoder to open the copy/paste menu.
2. Scroll to the Swap option and press down on the Right
encoder to select Swap. This will return you to the preset
menu.
3. Scroll to the preset slot you wish to swap with and press and
hold down the Right encoder to enter the preset/swap
menu.
4. Scroll to the Swap option. You will now see the number of
the slot that you will be swapping presets with.
5. Press down on the Right encoder to confirm. The menu will
now return to the preset menu.
• BACK: Returns to the preset menu without making changes.
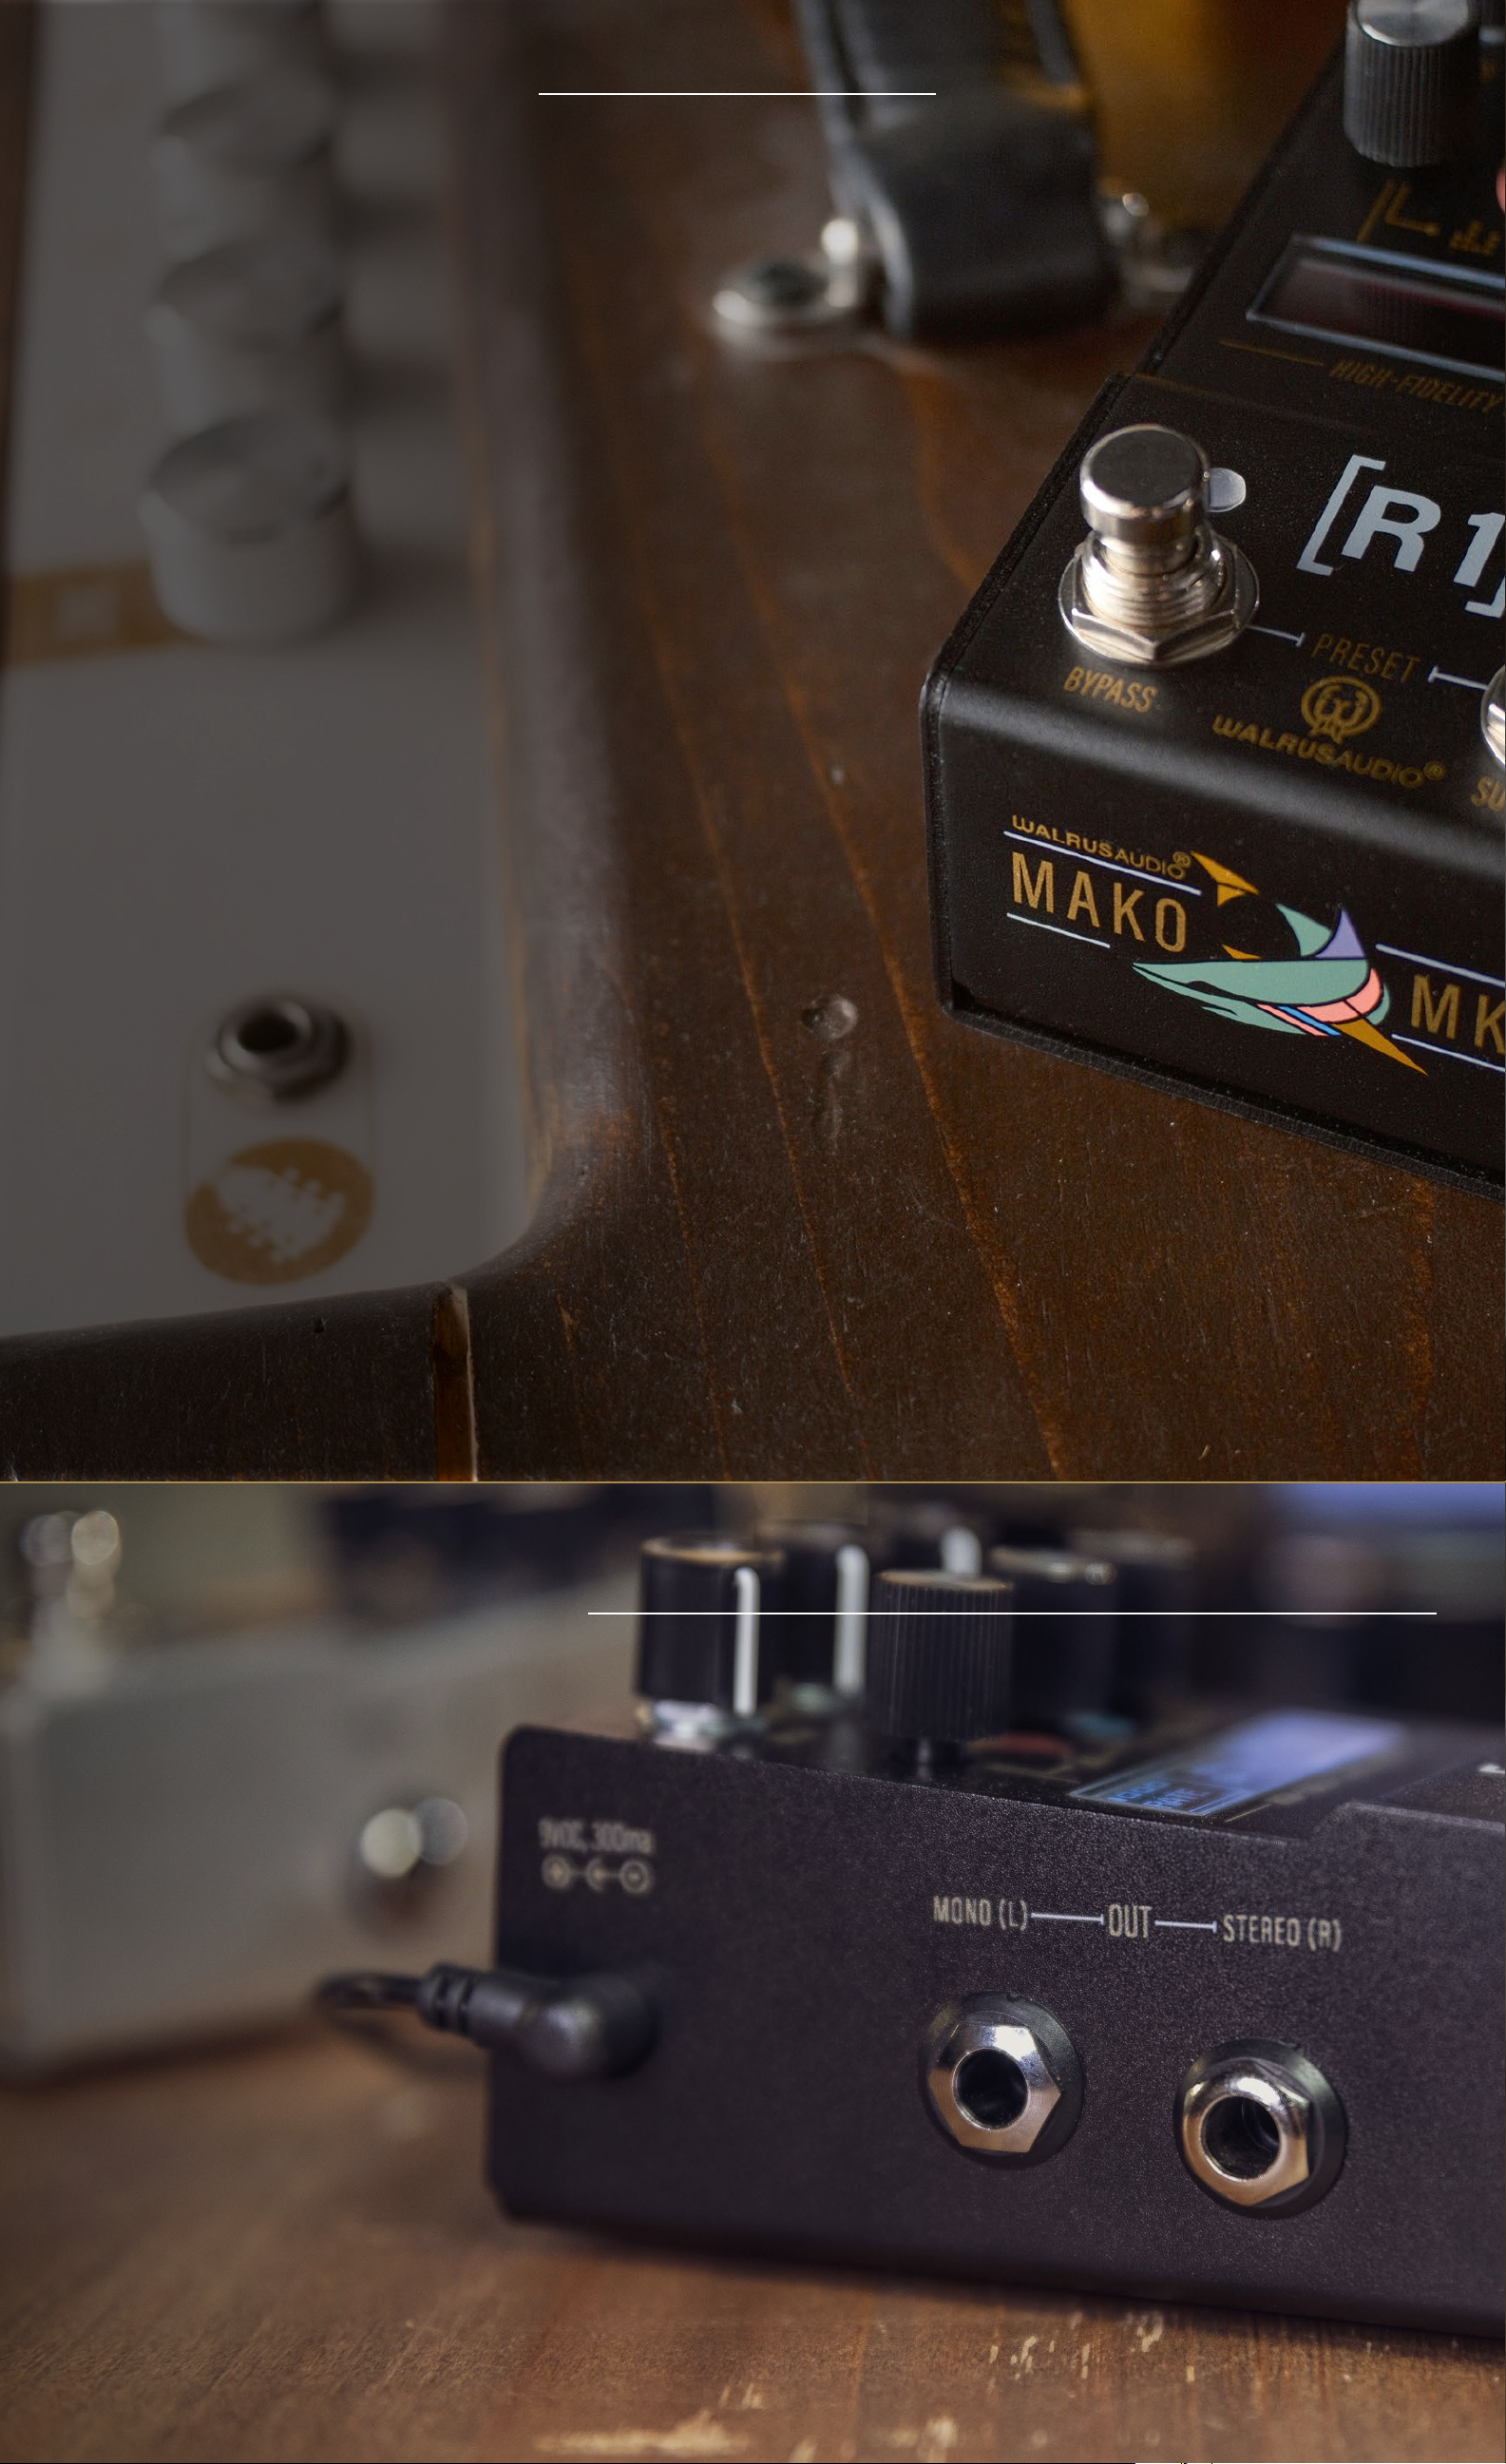
INPUTS AND OUTPUTS
The R1 offers multiple input and output
configurations and features true bypass circuity.
• Mono In / Mono Out
• Mono In / Stereo Out
• Stereo In / Stereo Out
USB-C - Used to update firmware via computer through
walrusaudio.io and a web browser using Chrome.
Page 5
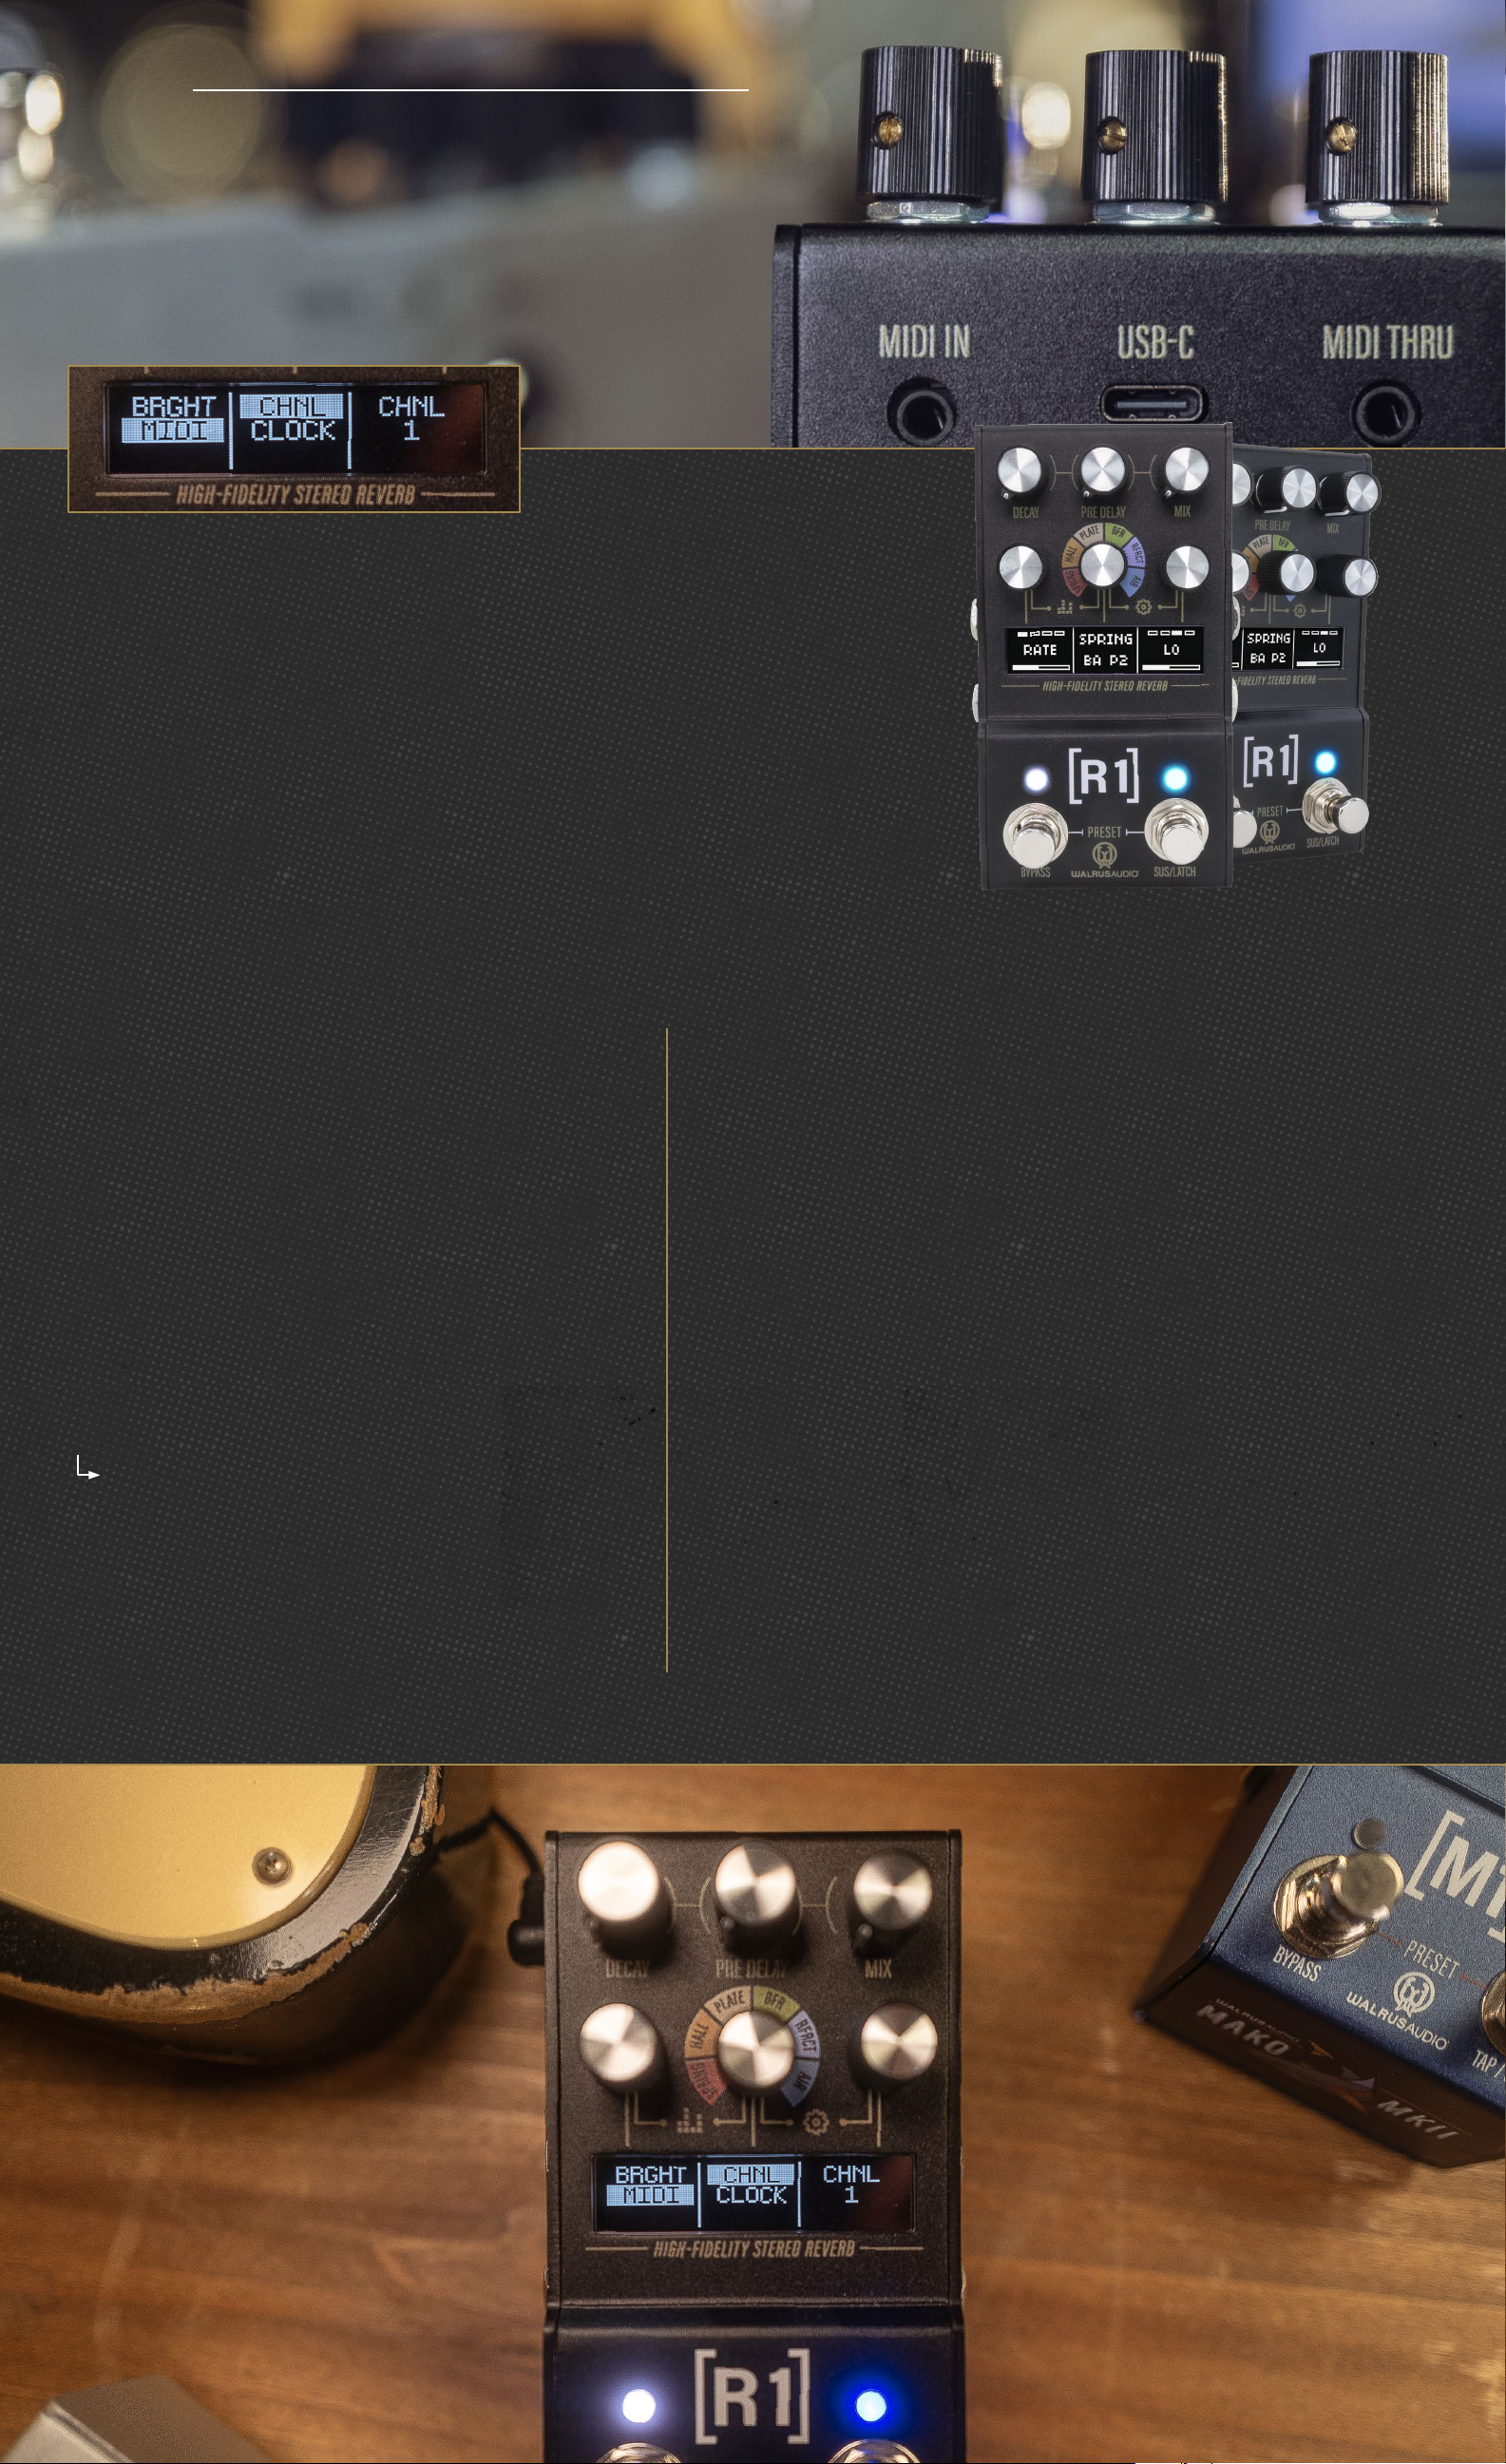
MIDI
The R1 can be controlled via standard MIDI messages.
Simply connect your MIDI controller to the R1 MIDI
“IN”. Downstream MIDI devices can be connected to
the MIDI “THRU” which simply lets all incoming MIDI
messages pass through to your other devices. The R1
ships with the MIDI channel set to 1 by default.
PRESET
Bank A (Red) 0
Bank A (Green) 1
Bank A (Blue) 2
Bank B (Red) 3
Bank B (Green) 4
Bank B (Blue) 5
Bank C (Red) 6
Bank C (Green) 7
Bank C (Blue) 8
Accessible via MIDI 0-127
o MIDI CC – Most parameters on the R1 can be controlled via MIDI CC messages. The list below shows all
applicable MIDI CC numbers and their associated parameters and control values.
PARAMETER /
MIDI CC # / VALUES / MIDI Range
MIDI PROGRAM CHANGE (PC)
o MIDI In – Connect upstream MIDI devices or your MIDI
Decay 3 0.0 - 1.0 0-127
controller to the M1 MIDI “IN”.
Pre Delay 9 0.0 - 1.0 0-127
Mix 14 0.0 - 1.0 0-127
Rate 15 0.0 - 1.0 0-127
Depth 20 0.0 - 1.0 0-127
Swell 21 0.0 - 1.0 0-127
Duck 22 0.0 - 1.0 0-127
EQ Low 23 0.0 - 1.0 0-127
EQ High 24 0.0 - 1.0 0-127
Size 25 0.0 - 1.0 0-127
Diffuse 26 0.0 - 1.0 0-127
(Shimmer amount for Air program)
Feedback EQ 27 0.0 - 1.0 0-127
Program 28 0 - 5 0 - 5
Bypass 30 0 || 1 0 || 127
Sustain 31 0 || 1 0 || 127
Time 80 0 || 1 0 || 127
o MIDI Thru – Connect downstream MIDI devices to the M1
MIDI “THRU”.
o MIDI PC – Presets on the M1 are able to be recalled via MIDI
program change messages. To recall a preset, simply send
a program change message corresponding to the desired
preset to be recalled on the M1 MIDI channel.
Octave Type 81 0.0 - 1.0 0 - 127
Page 6

PROGRAMS
SPRING
The Spring program emulates an excited spring reverb commonly found in tube amps with loads of
bouncy drip. Easily go from subtle to full-on surf rock and beyond. Experiment with the decay knob to
get more than normal amounts of reverb not found in traditional amp spring reverb tanks.
SPRING PARAMETERS LEFT ENCODER
1. RATE - Modulation Rate
2. DEPTH - Modulation Depth
3. D/S (DUCK/SWELL) - Rotate encoder
left for ducking or right for swell.
4. DIFFUSE - Change diffusion amount
in the reverb.
SPRING PARAMETERS RIGHT ENCODER
1. LO
2. HIGH
3. SIZE - Change the “acoustic space”
size of the reverb.
4. FB EQ - Add highs above 0.5, add
lows below 0.5. At 0.5 no change is
applied.
HALL
The Hall program provides the acoustics of large live sound spaces like concert halls to arenas. Longer
decays and higher Size settings (via the right encoder) result in a massive wash of ambiance. Shorter
decay and lower Size settings allow for a more intimate reverb expression.
HALL PARAMETERS LEFT ENCODER
1. RATE - Modulation Rate
2. DEPTH - Modulation Depth
HALL PARAMETERS RIGHT ENCODER
1. LO
2. HIGH
3. D/S (DUCK/SWELL) - Rotate encoder
left for swell or right for ducking.
4. DIFFUSE - Change diffusion amount
in the reverb.
3. SIZE - Change the “acoustic space”
size of the reverb.
4. FB EQ - Add highs above 0.5, add
lows below 0.5. At 0.5 no change is
applied.
PLATE
The Plate program emulates a smooth analog plate reverb with nice even diffusion inspired by
famous plates like the EMT 140.
PLATE PARAMETERS LEFT ENCODER
1. RATE - Modulation Rate
2. DEPTH - Modulation Depth
3. D/S (DUCK/SWELL) - Rotate encoder
left for swell or right for ducking.
4. DIFFUSE - Change diffusion amount
in the reverb.
PLATE PARAMETERS RIGHT ENCODER
1. LO
2. HIGH
3. SIZE - Change the “acoustic space”
size of the reverb.
4. FB EQ - Add highs above 0.5, add
lows below 0.5. At 0.5 no change is
applied.
BFR
BFR is a no holds barred, big, f______, reverb. This is more than a giant arena reverb. It’s a hall-esque
reverb with rich and lush decay in a vast cavern filled with choirs of angels.
BFR PARAMETERS LEFT ENCODER
1. RATE - Modulation Rate
2. DEPTH - Modulation Depth
3. D/S (DUCK/SWELL) - Rotate encoder
left for swell or right for ducking.
4. DIFFUSE - Change diffusion amount
in the reverb.
BFR PARAMETERS RIGHT ENCODER
1. LO
2. HIGH
3. SIZE - Change the “acoustic space”
size of the reverb.
4. FB EQ - Add highs above 0.5, add
lows below 0.5. At 0.5 no change is
applied.
Page 7
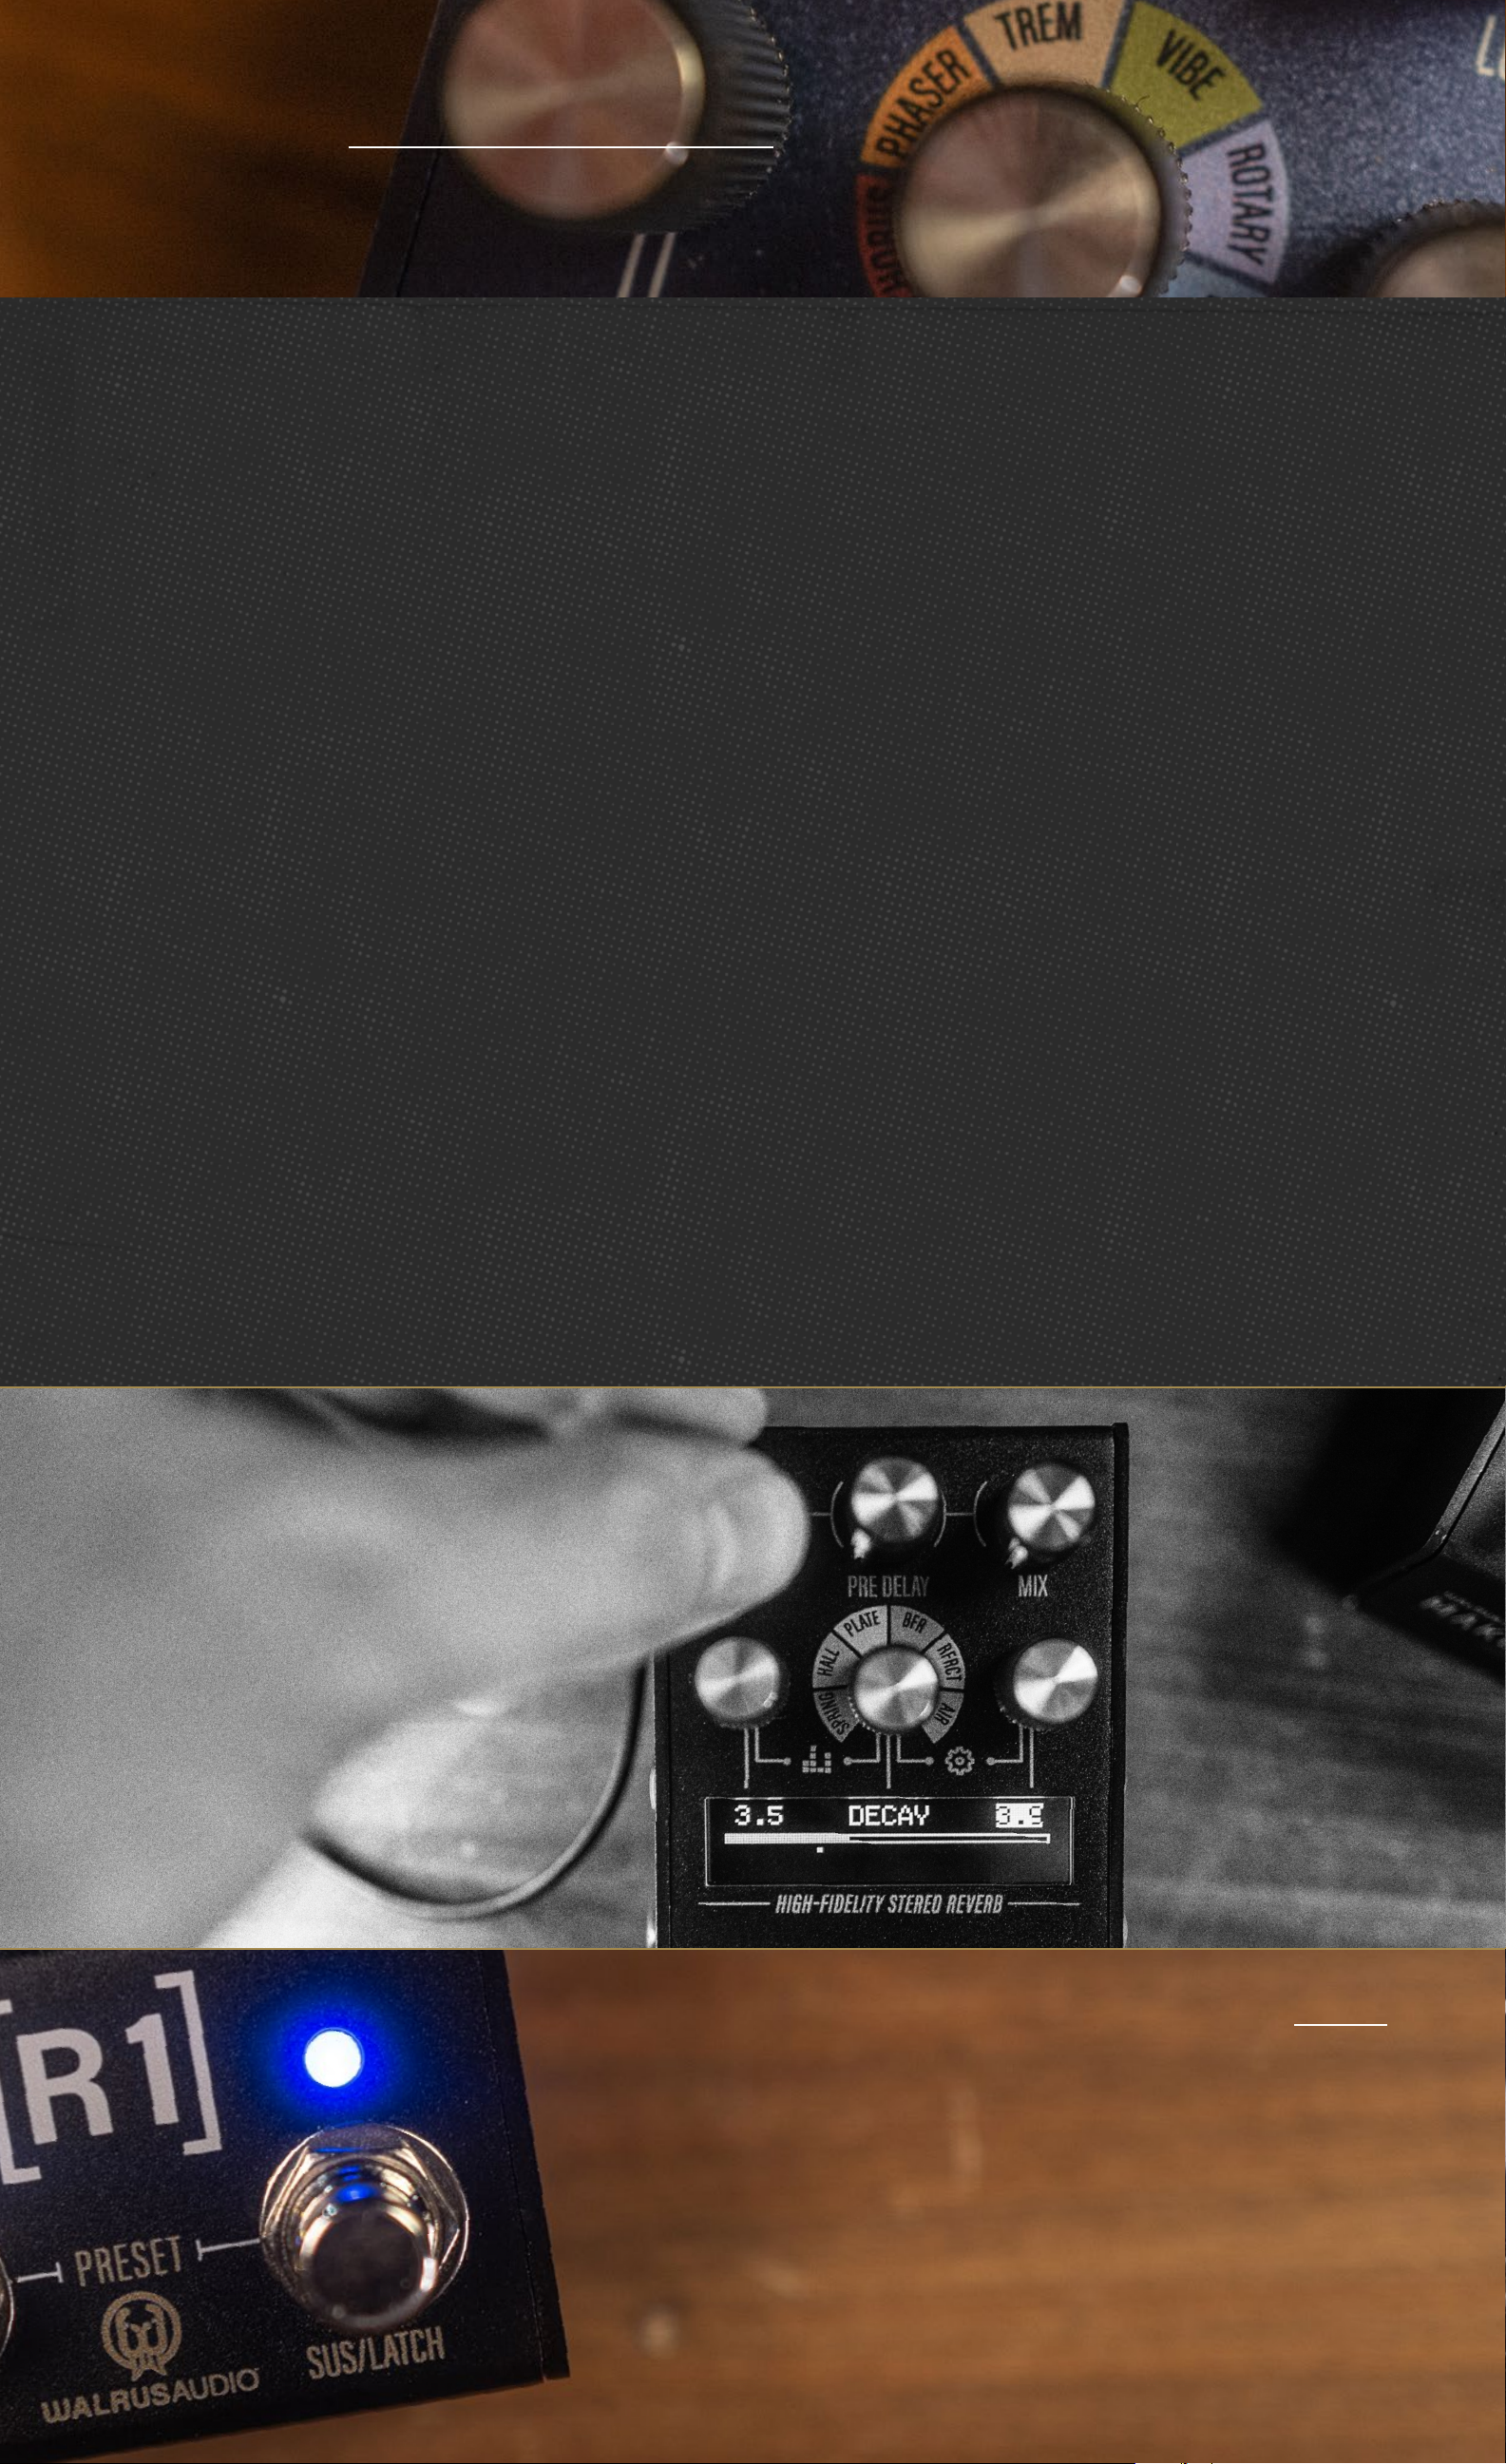
PROGRAMS
RFRCT
The RFRCT program allows for lovely, charming, and glitch-like textures by generating a granular delay
module with a controllable amount of reverb. Use the diffuse control to set the Reverb amount from
dry to largely diffused. The Rate control under the Left encoder sets how often new grains are triggered.
The Depth control under the Left encoder sets modulation applied to the grains, including reversing,
re-generating more grains, and modulation.
RFRCT PARAMETERS LEFT ENCODER
1. RATE - Frequency of new grains generated.
2. DEPTH - Modulation applied to grains.
3. DIFFUSE - Change diffusion amount
in the reverb.
3. D/S (DUCK/SWELL) - Rotate encoder
left for swell or right for ducking.
RFRCT PARAMETERS RIGHT ENCODER
1. LO
2. HIGH
3. SIZE - Set delay time for grains.
Increase for extended buffer size and
audible choppiness.
4. FB EQ - Add highs above 0.5, add
lows below 0.5. At 0.5 no change is
applied.
AIR
The Air program offers a larger diffused reverb with a subtle shimmer but has a more “crisp” clarity to
its decay. Explore slow-building sounds that don’t get in the way of your playing. Air complements keys
and synths as well.
AIR PARAMETERS LEFT ENCODER
1. RATE - Modulation Rate
AIR PARAMETERS RIGHT ENCODER
1. LO
2. DEPTH - Modulation Depth
3. D/S (DUCK/SWELL) - Rotate encoder
left for swell or right for ducking.
4. SHIMMER - Change the amount of
shimmer in the reverb.
2. HIGH
3. SIZE - Change the “acoustic space”
size of the reverb.
4. FB EQ - Add highs above 0.5, add
lows below 0.5. At 0.5 no change is
applied.
MOMENTARY SUSTAIN / LATCH
The Sus/Latch switch allows you to momentarily sustain the
current reverb sound by pressing and holding on the switch.
You can also latch the sound by clicking this switch on and
clicking again to unlatch. Due to the powerful architecture
of the R1, anytime you sustain a reverb, your guitar signal is
rerouted through an identical reverb so anything you play
over the sustained sound will have the same reverb applied
to it that was sustained.
Page 8
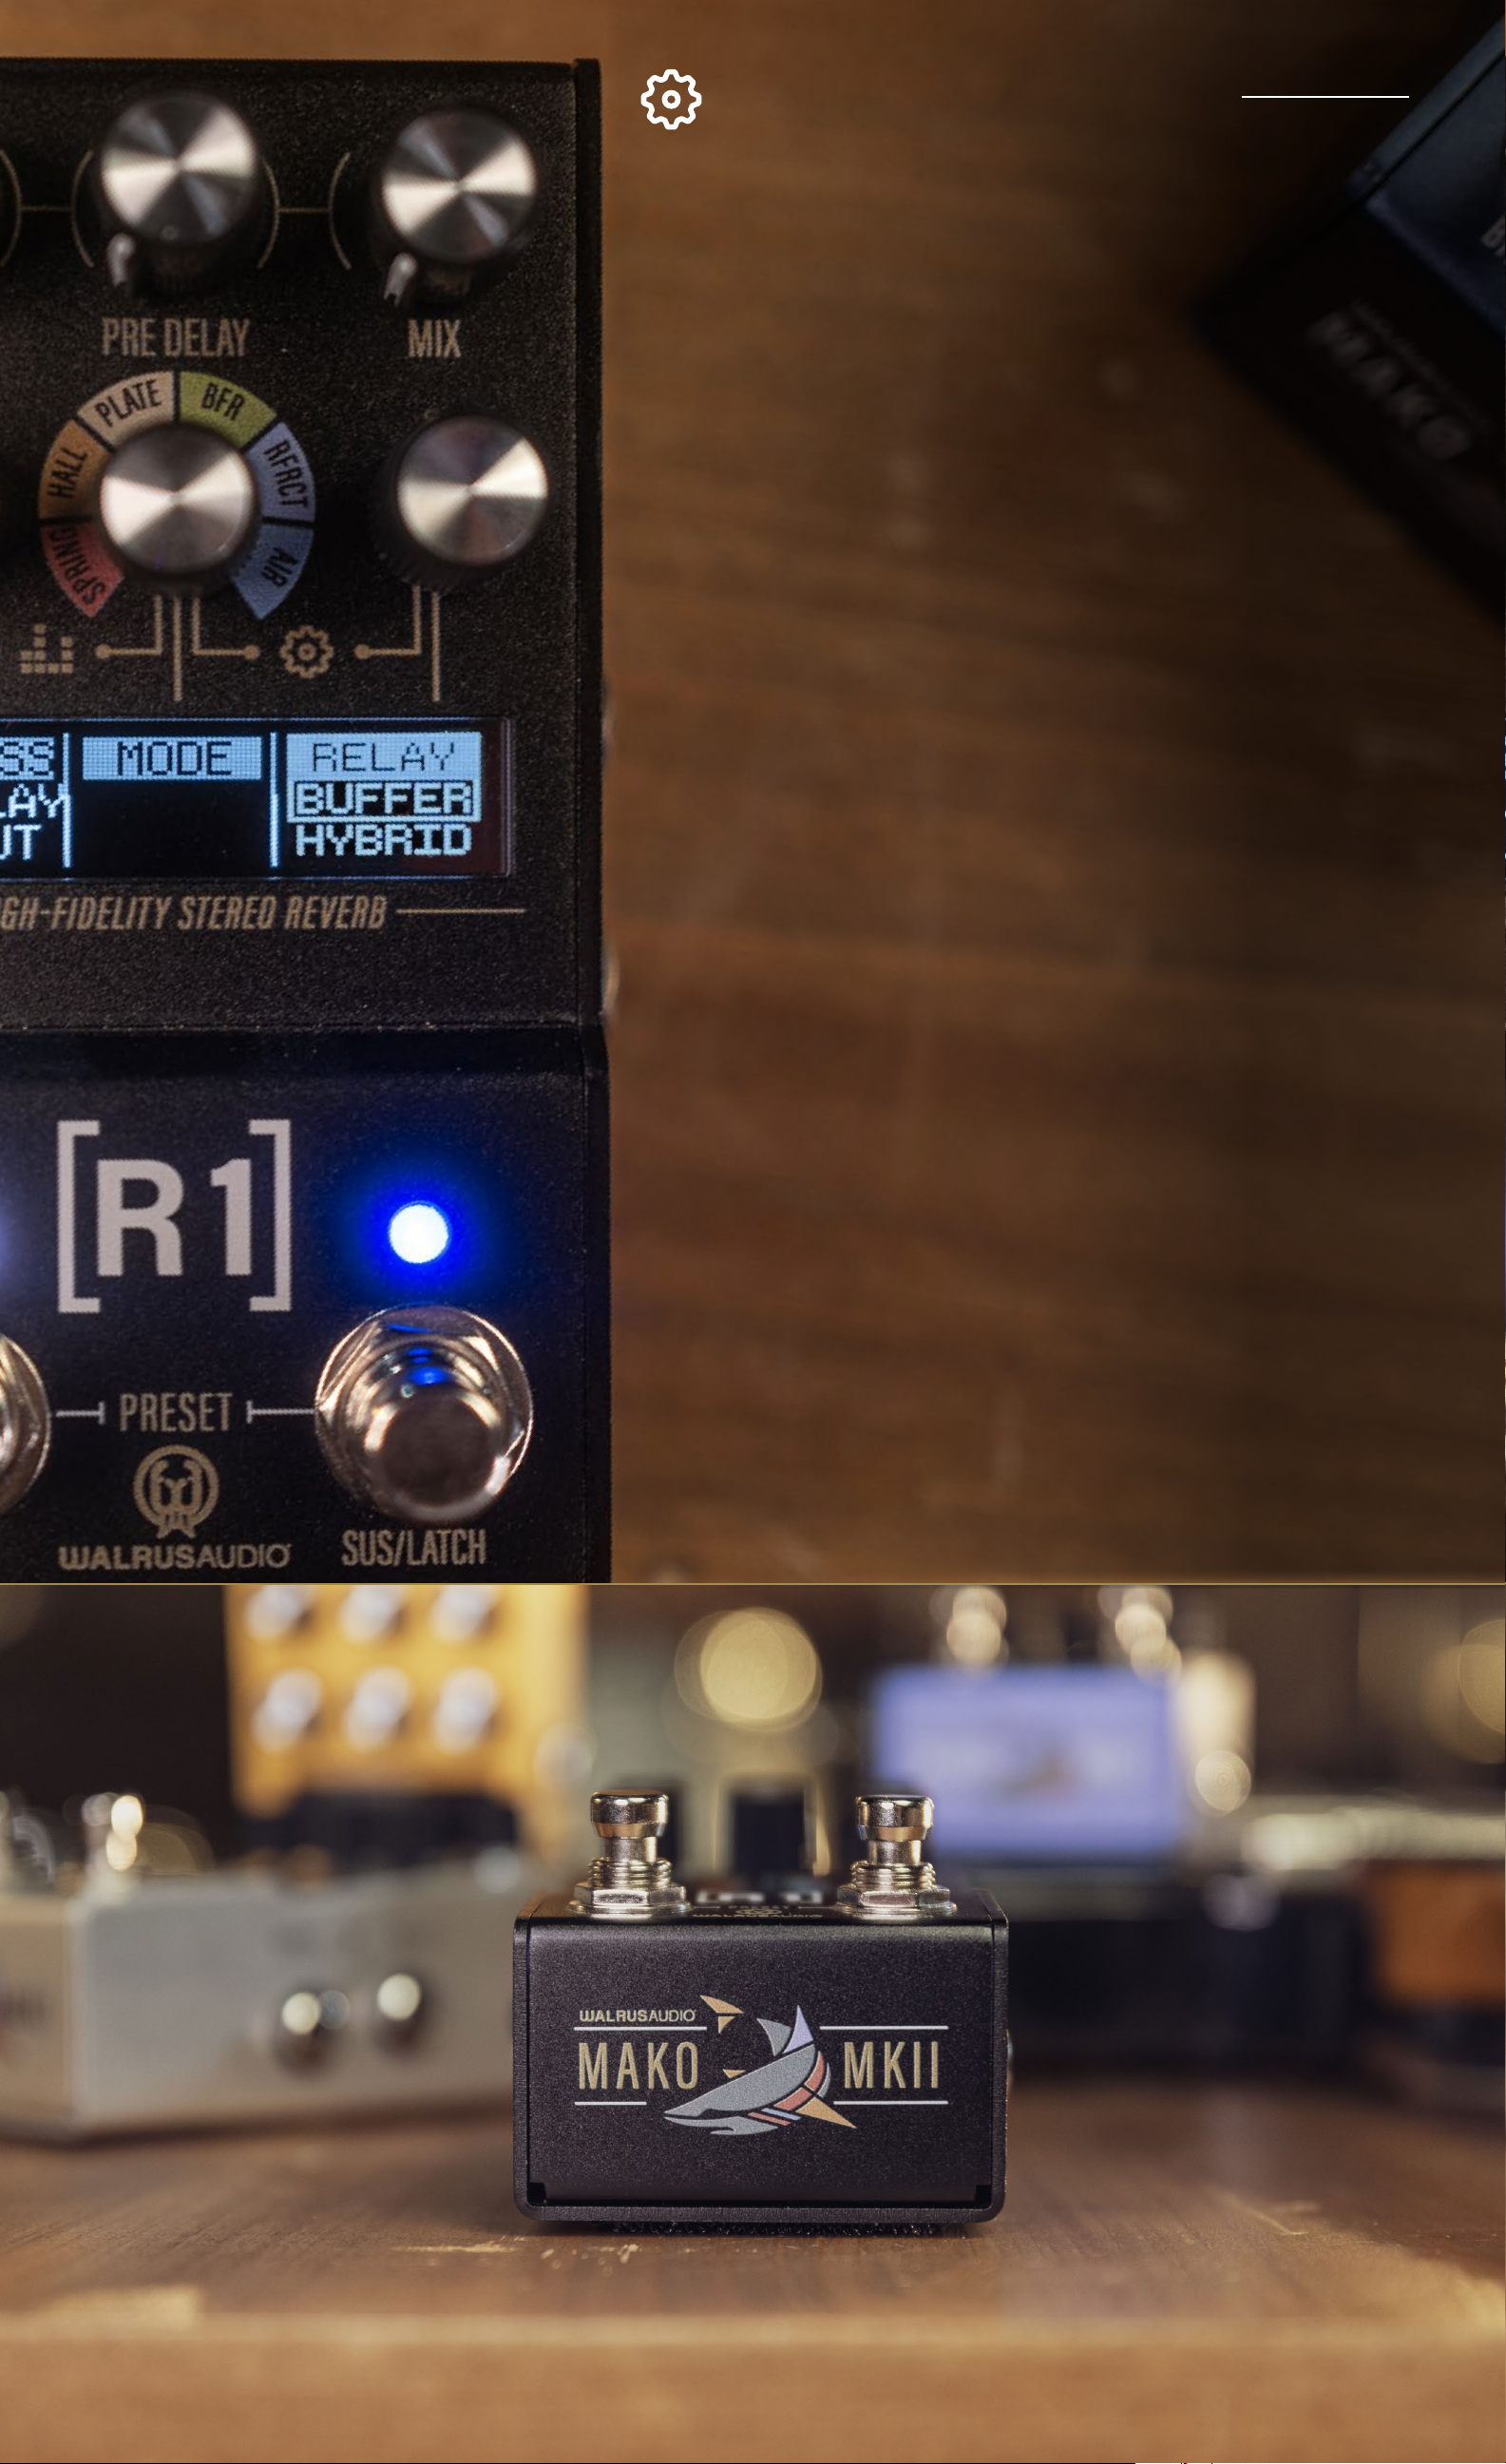
GLOBAL PREFERENCES
Access the global settings menu by simultaneously pressing
down on the Middle and Right encoders. Each encoder
then cycles through the column of options directly below it
on the screen.
Note that the solid white bar behind the text indicates
which row of text you have selected.
Press down on the Right encoder to confirm your selection
in the 3rd column. Press down on the Middle and Right
encoders again to return to the home screen.
Bypass Mode
The R1 offers three bypass modes. Relay Bypass, Hybrid
Bypass, and Buffer Bypass.
In Relay Bypass mode, the R1 uses relays to bypass the pedal.
In Hybrid Bypass mode, the R1 uses relays to bypass the
pedal after the reverb decay dies out. Use this mode to keep
trails on after bypassing.
In Buffered Bypass mode, the R1 locks the relays on and
uses the DSP to bypass the pedal. Use this mode to keep
trails on after bypassing.
The R1 ships in Hybrid mode by default.
About
Shows the current firmware version.
Display
Adjust the screen brightness level.
MIDI
Chnl - Select MIDI channel.
Page 9
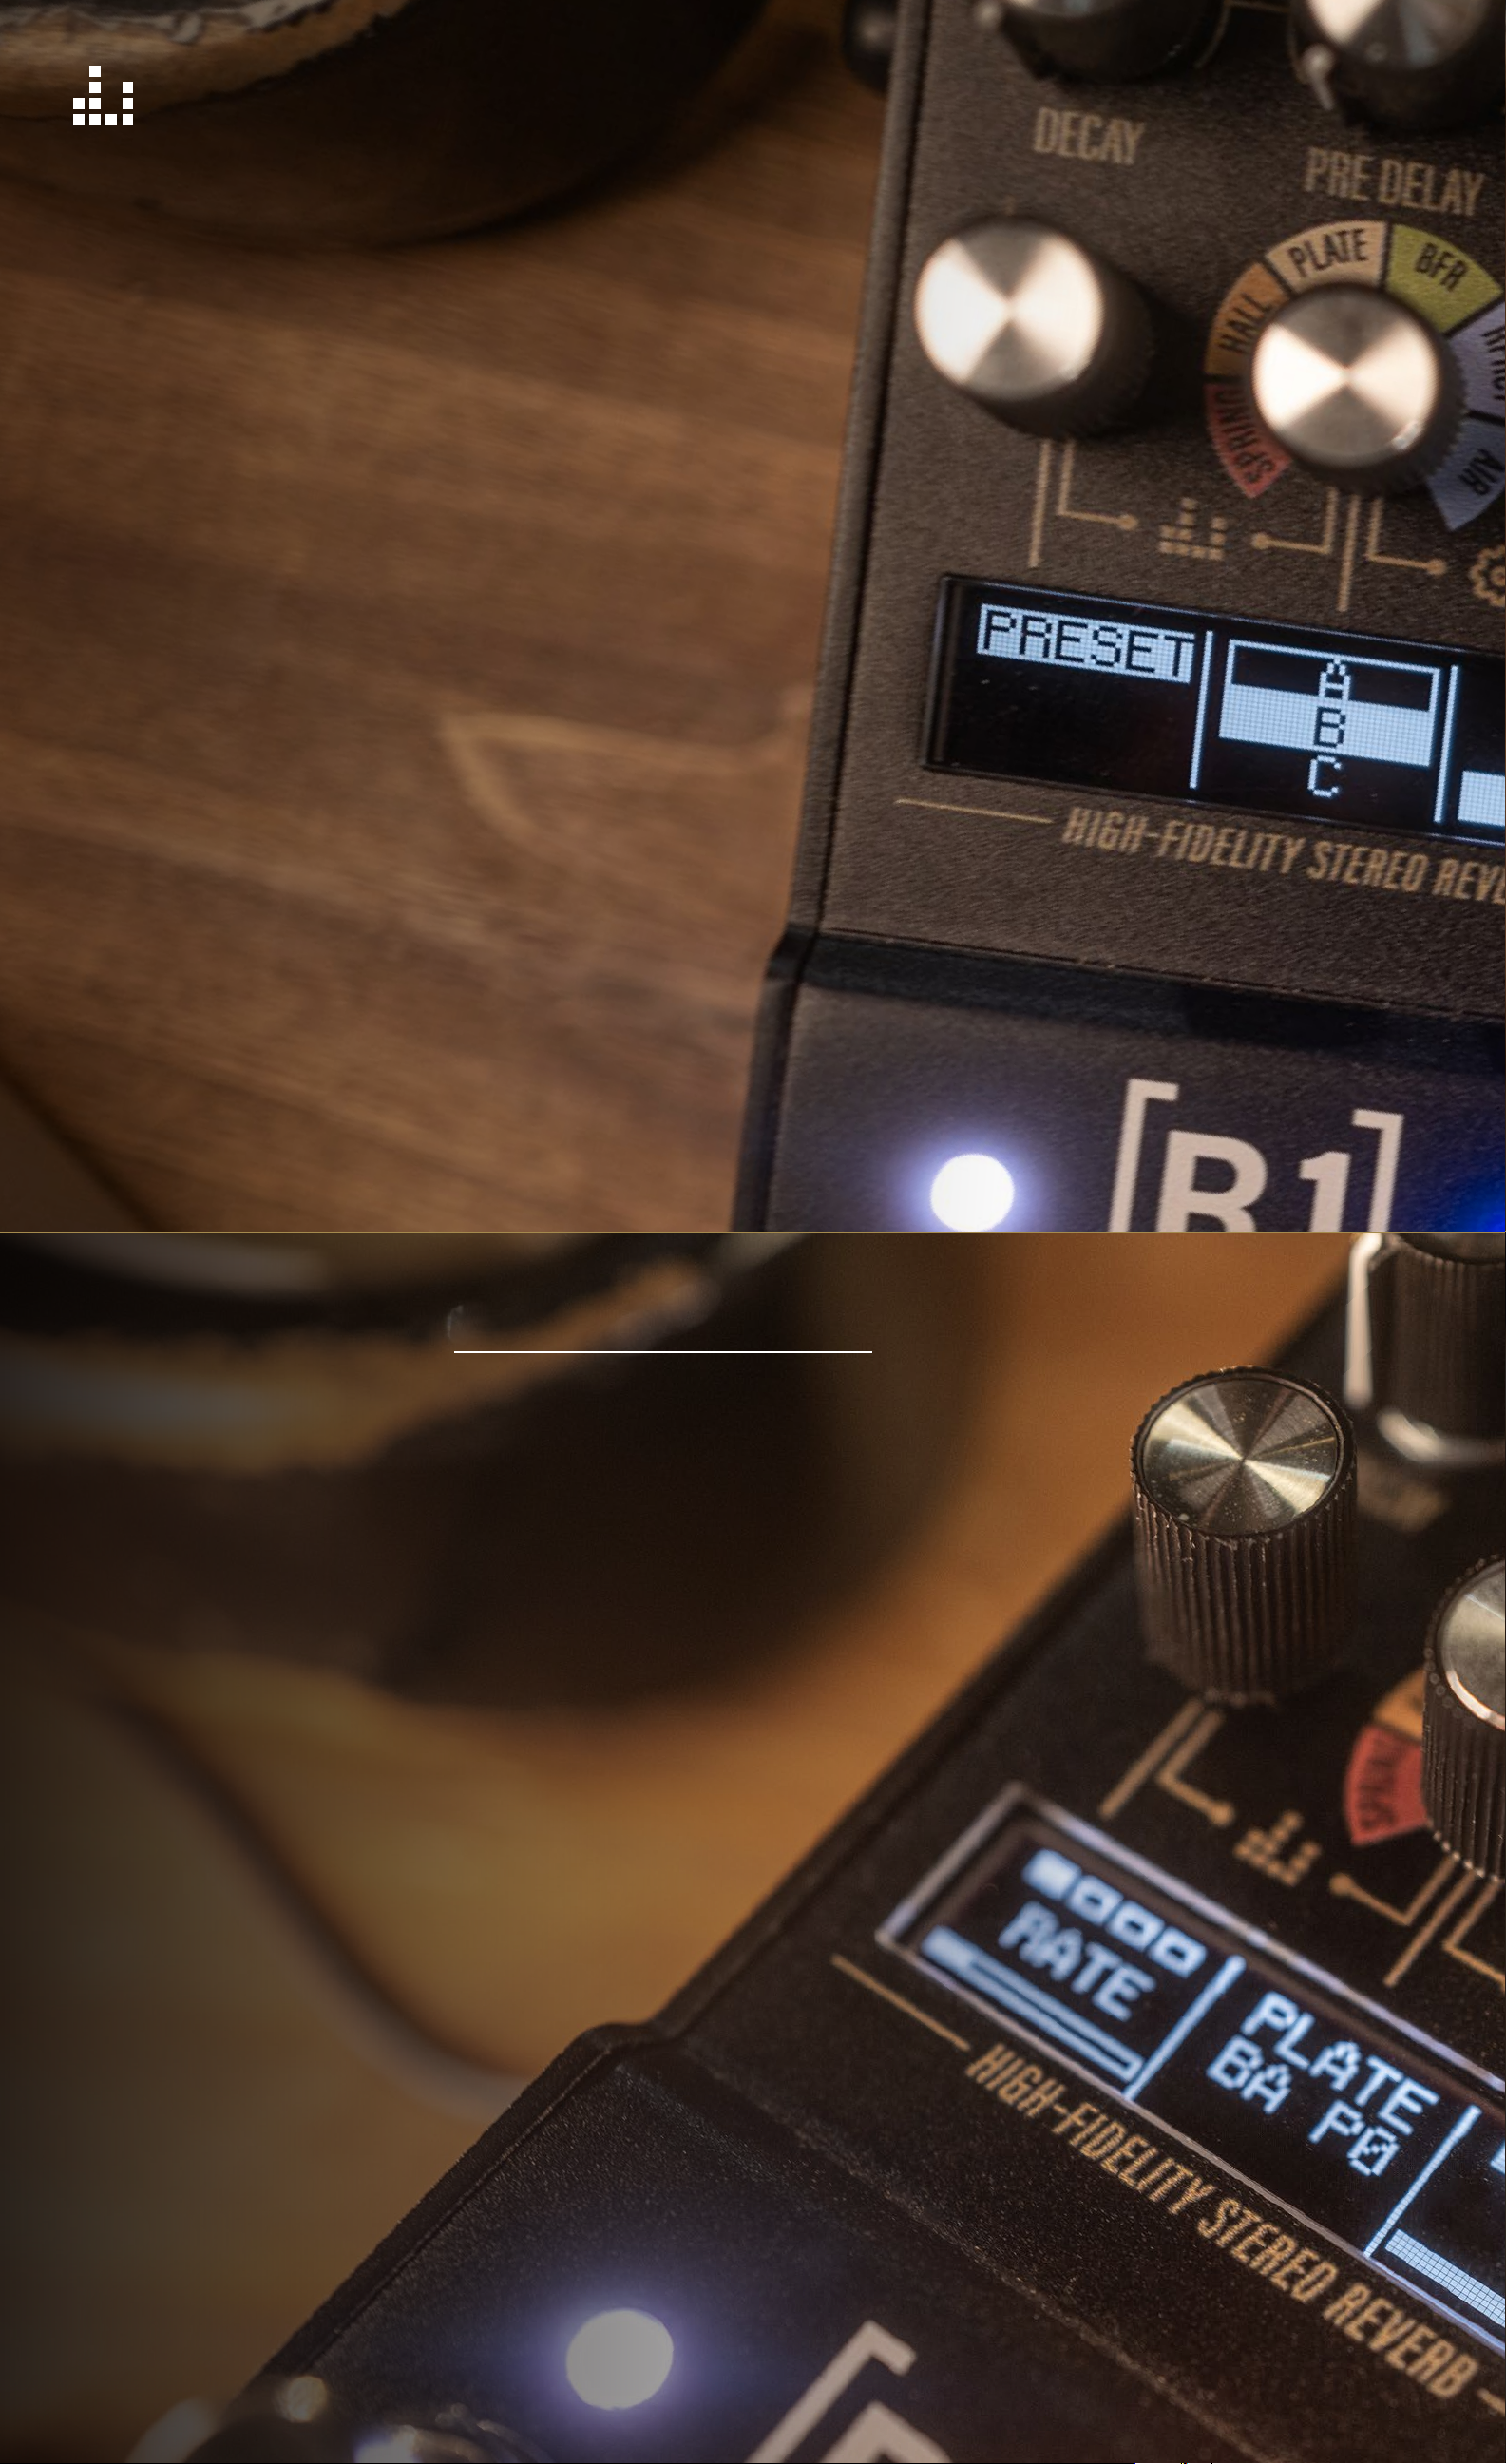
GLOBAL SOUND PREFERENCES
Access the global sound settings menu by simultaneously
pressing down on the Left and Middle encoders. Each
encoder then cycles through the column of options directly
below it on the screen.
Note that the solid white bar behind the text indicates
which row of text you have selected.
Press down on the Right encoder to confirm your
selection in the 3rd column. Press down on the Left and
Middle encoders again to return to the home screen.
Preset
Manually select the bank and preset slot you wish
to use. After selecting a bank, presets can be cycled
through by pressing the Bypass and Boost switches
simultaneously. Each bank can store three presets. Up
to 128 can be used via MIDI.
FACTORY RESET
Use the following procedure to restore the pedal to its factory
settings.
1. Hold both stomp switches while applying power. The
screen will read “Factory reset, hold both stomps 10
seconds.”
2. After 10 seconds the screen will read “Factory reset, now
resetting, release both stomps.”
3. Release both stomp switches. After releasing the stomp
switches the screen will read “Factory reset, now resetting,
keep power on.”
4. Next, the display will read “Updating preset storage.” This
will take about 45 seconds. Once the pedal is done, the
screen will return to the home screen and the Bypass LED
will return to white and the Sus/Latch LED will return back
to red.
Note: Performing a factory reset will cause any custom stored
presets to be erased back to the factory default.
Page 10

WALRUSAUDIO.IO
Walrusaudio.io is a simple interface to update your
pedal’s firmware.
*Note - Connecting a USB C cable to your R1 allows
you to access firmware updates using your computer
with a Chrome-based web browser.
TECHNICAL INFO
Input Impedance: 1.1M Ohms
Output Impedance: 220 Ohms
Frequency Response: 20Hz To 20kHz
Inputs: 2, 1/4” unbalanced TS
Outputs: 2, 1/4” unbalanced TS
USB Type C: For firmware updates via
walrusaudio.io
Power Requirement: Isolated 9VDC,
center-negative, 300mA minimum
Size Including Knobs/Jacks:
Height: 2.48” / 63.15mm
Width: 2.9” / 74.33mm
Depth: 4.89” / 124.37mm
Weight: .8 lbs
 Loading...