

Makita HR2400 User guide
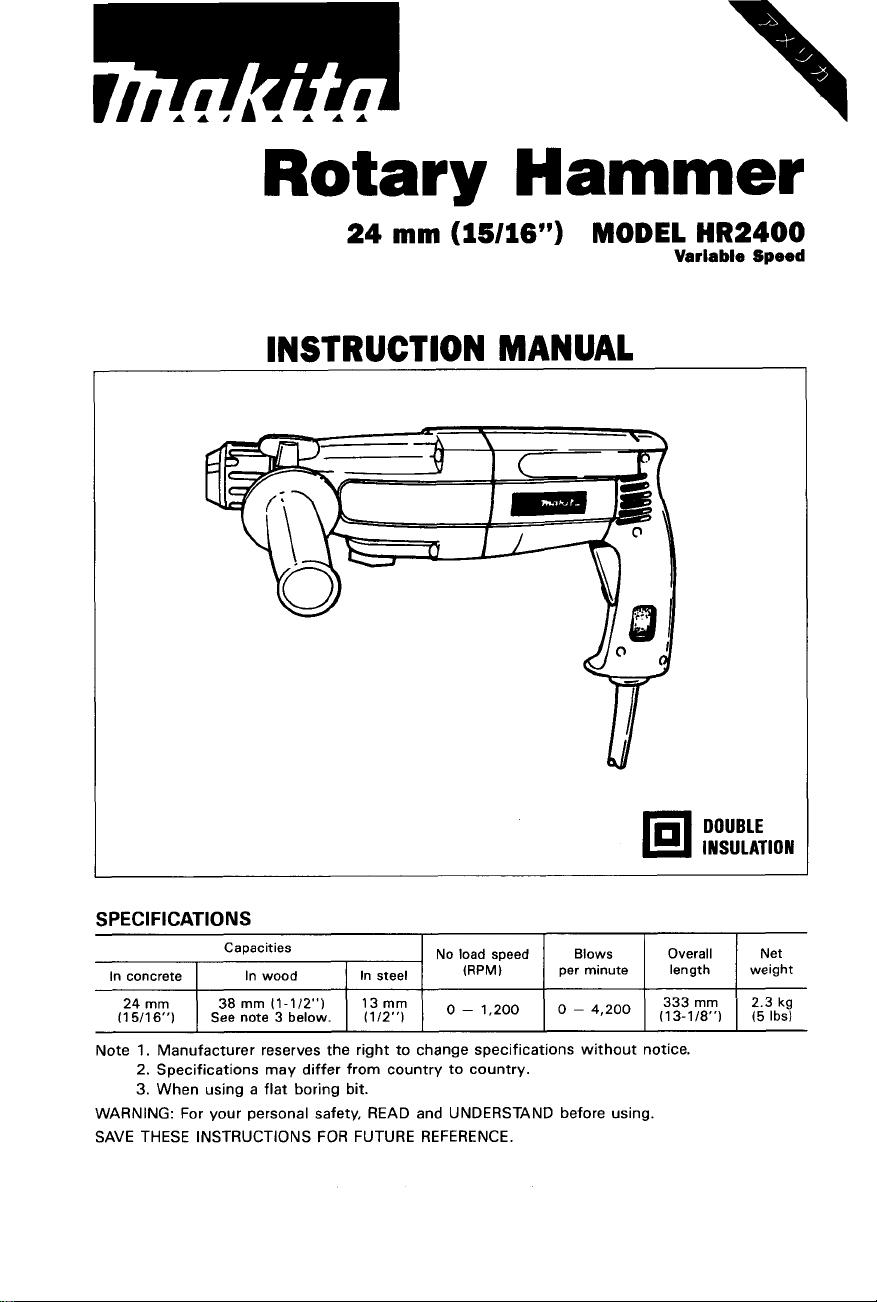
Rotary Hammer
24
mm
(15/16")
INSTRUCTION MANUAL
MODEL
Variable
HR2400
Speed
SPECIFICATIONS
Capacities
In
concrete In wood
38
mm
24
mm
(15/16")
Note
1.
Manufacturer reserves the right to change specifications without notice.
2.
Specifications may differ from country to country.
3.
When using a flat boring bit.
WARNING: For your personal safety, READ and UNDERSTAND before using.
SAVE THESE INSTRUCTIONS FOR FUTURE REFERENCE.
See
note 3 below.
(l-l/2'') 13
In
(112")
steel
mm
No
load speed
(RPM)
-
1r200
1
Blows
per minute weight
-
4,200
I
E;;:
333
(13-1/8")
DOUBLE
INSULATION
1
Net
mm
2.3
(5
kg
Ibs)
IMPORTANT
SAFETY
WARNING:
WHEN USING ELECTRIC TOOLS, BASIC SAFETY
INSTRUCTIONS
(For
All Tools)
PRECAUTIONS SHOULD ALWAYS BE FOLLOWED TO REDUCE
OF
THE RISK
FIRE, ELECTRIC SHOCK, AND PERSONAL
INJURY, INCLUDING THE FOLLOWING:
READ ALL INSTRUCTIONS.
KEEP WORK AREA CLEAN. Cluttered areas and benches invite injuries.
1.
2.
CONSIDER WORK AREA ENVIRONMENT. Don't use power tools
or wet locations. Keep work area well
Don't use tool
KEEP CHILDREN AWAY. All visitors should be kept away from work area.
3.
Don't let visitors contact tool or extension cord.
STORE IDLE TOOLS. When not
4.
or
locked-up place - out of reach of children.
5.
DON'T FORCE TOOL.
it
was intended.
6.
USE RIGHT TOOL. Don't force small tool or attachment to do the job of a
heavy-duty tool. Don't use tool for purpose not intended.
DRESS PROPERLY. Don't wear loose clothing or jewelry. They can be caught
7.
in moving parts. Rubber gloves and non-skid footwear are recommended
when working outdoors. Wear protective hair covering to contain long hair.
USE SAFETY GLASSES. Also use face
8.
dusty.
DON'T ABUSE CORD. Never carry tool by cord or yank
9.
receptacle. Keep cord from heat, oil, and sharp edges.
SECURE WORK. Use clamps or a vise to hold work. It's safer than using
IO.
your hand and
DON'T OVERREACH. Keep proper footing and balance at all times.
11.
MAINTAIN TOOLS WITH CARE. Keep tools sharp and clean for better and
12.
safer performance. Follow instructions for lubricating and changing accessories. Inspect tool cords periodically and if damaged, have repaired by authorized service facility. Inspect extension cords periodically and replace if
damaged. Keep handles dry, clean, and free from oil and grease.
DISCONNECT TOOLS. When not
13.
ing accessories, such as blades, bits, cutters.
in
presence of flammable liquids
in
It
will
do the job better and safer at the rate for which
it
frees both hands to operate tool.
lit.
Don't expose power tools to rain.
or
gases.
use, tools should be stored
or
dust mask if cutting operation is
in
use, before servicing, and when chang-
in
it
to disconnect from
in
damp
dry, and high
2
14.
REMOVE ADJUSTING KEYS AND WRENCHES. Form habit of checking to
see that keys and adjusting wrenches are removed from tool before turning
it
on.
15.
AVOID UNINTENTIONAL STARTING. Don’t carry plugged-in tool with finger
on switch. Be sure switch is OFF when plugging
16.
OUTDOOR USE EXTENSION CORDS. When tool is used outdoors, use only
extension cords intended for use outdoors and
17.
STAY ALERT. Watch what you are doing, use common sense. Don’t operate
in.
so
marked.
tool when you are tired.
18.
CHECK DAMAGED PARTS. Before further use of the tool, a guard or other
part that is damaged should be carefully checked to determine that
operate properly and perform its intended function. Check for alignment of
moving parts, binding of moving parts, breakage of parts, mounting, and
any other conditions that may affect its operation. A guard or other part
that is damaged should be properly repaired or replaced by an authorized
service center unless otherwise indicated elsewhere
in
this instruction
manual. Have defective switches replaced by authorized service center. Don’t
use tool
19.
GUARD AGAINST ELECTRIC SHOCK. Prevent body contact with grounded
if
switch does not turn
it
on and off.
surfaces. For example; pipes, radiators, ranges, refrigerator enclosures.
20.
REPLACEMENT PARTS. When servicing, use only identical replacement parts.
21.
POLARIZED PLUGS.
a polarized
plug
polarized outlet only one way.
reverse the plug.
the proper outlet. Do not change the plug
To
reduce the risk of electric shock, this equipment has
(one blade is wider than the other). This plug
If
If
it
still does not
the plug does not
fit,
contact a qualified electrician to install
in
any way.
fit
fully
in
will
the outlet,
fit
it
will
in
a
VOLTAGE WARNING: Before connecting the tool to a power source (receptacle,
outlet, etc.) be sure the voltage supplied is the same as that specified on the
nameplate of the tool. A power source
for the tool can result in SERIOUS INJURY to the user
the tool.
If
in doubt, DO NOT PLUG IN THE TOOL. Using a power source with
with
voltage greater than that specified
-
as well as damage to
voltage less than the nameplate rating is harmful to the motor.
3
ADDITIONAL SAFETY RULES
1.
Wear a hard hat (safety helmet), safety glasses andlor face shield.
highly recommended that you wear a dust mask, ear protectors and thickly
padded gloves.
2.
Be sure
3.
Under normal operation, the tool is designed to produce vibration. The screws
can come loose easily, causing a breakdown or accident. Check tightness
of screws carefully before operation.
4.
In
tool warm up for several minutes by operating
loosen
is difficult.
5.
Always be sure you have a firm footing.
Be sure no one is below when using the tool
6.
Hold
7.
Keep hands away from moving parts.
8.
Do
9.
Do
fly out and injure someone seriously.
IO.
When drilling or chipping into walls, floors or wherever "live" electrical wires
may be encountered,
Hold the tool by the insulated grasping surfaces to prevent electric shock
if you drill or chip into a "live" wire.
1
1.
Do
they may be extremely hot and could burn your skin.
the
bit is secured
cold weather or when the tool has not been used for a long time, let the
up
the lubrication. Without proper warm-up, hammering operation
the
tool firmly with both hands.
not leave the tool running. Operate the tool only when hand-held.
not point the tool at any one
not touch the bit or parts close to the bit immediately after operation;
in
place before operation.
it
in
high locations.
in
the area when operating. The bit could
DO
NOT TOUCH ANY METAL PARTS
under no load. This will
OF
THE TOOL!
It
is also
SAVE THESE
4
INSTRUCTIONS.
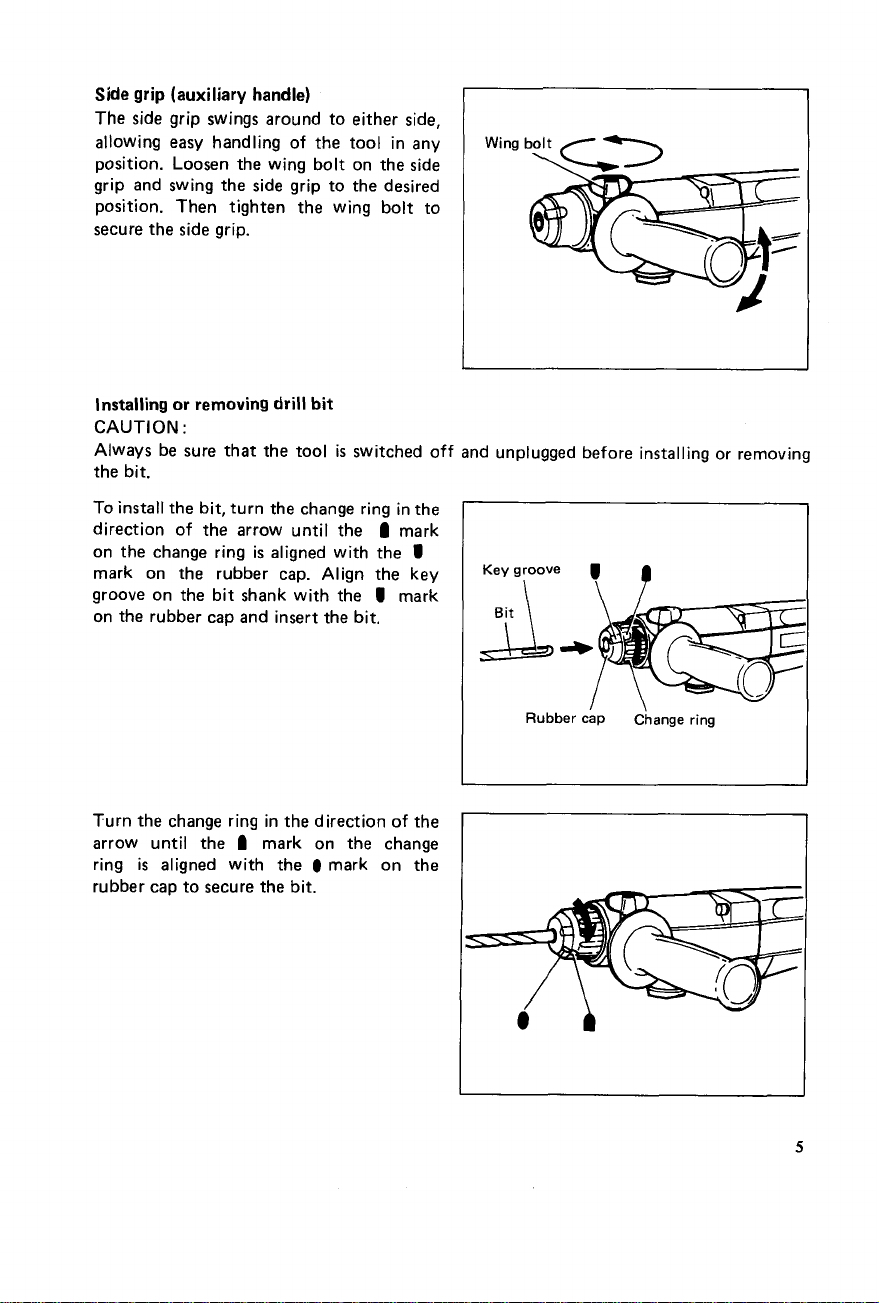
Side grip (auxiliary handle)
The
side grip swings around to either side,
allowing easy handling
of
the tool in any
position. Loosen the wing bolt on the side
grip and swing the side grip to the desired
position. Then tighten the wing bolt to
secure the side grip.
Installing or removing drill bit
CAUTION
Always be sure that the tool
:
is
switched
the bit.
To
install the bit, turn the change ring in the
of
direction
on the change ring
the arrow until the I mark
is
aligned with the
mark on the rubber cap. Align the key
groove on the bit shank with the
I
mark
on the rubber cap and insert the bit.
Wing
bolt
/
off
and unplugged before installing or removing
Turn the change ring in the direction
1
arrow until the
ring
is
aligned with the 0 mark on the
mark on the change
rubber cap to secure the bit.
of
the
Rubber
cap
C’hange ring
 Loading...