

Page 1
MODEL
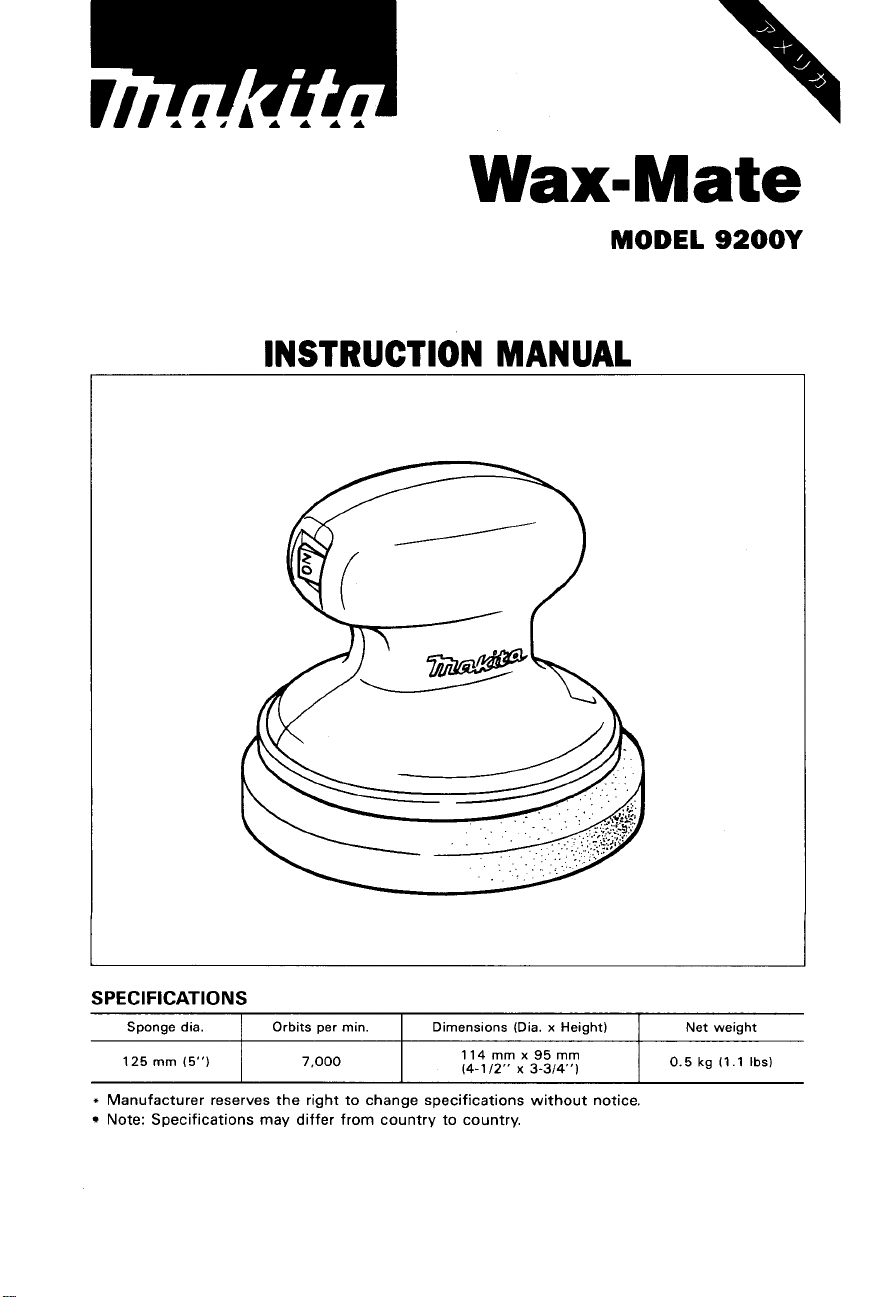
INSTRUCTION MANUAL
9200Y
SPEC
IF
I
CAT1
0
N
S
Sponge dia.
125
mm
*
Manufacturer reserves the right to change specifications without notice.
Note: Specifications may differ from country to country.
(5")
I
Orbits per min.
I
7,000
I
Dimensions (Dia. x Height)
114
mm
x
14-1
12" x
3-34',)
95
mm
I
1
Net weight
~
0.5
kg (1 1 Ibs)
Page 2
IMPORTANT
SAFETY
READ
1.
2.
3.
4.
5.
6.
7.
8.
9.
10.
11.
12.
13.
14.
ALL
KEEP WORK AREA CLEAN. Cluttered areas and benches invite injuries.
GUARD AGAINST ELECTRIC SHOCK. Prevent body contact
grounded surfaces. For example; pipes, radiators, ranges, refrigerator
enclosures.
KEEP CHILDREN AWAY. Do not let visitors contact tool or extension
cord. All visitors should be kept away from work area.
STORE IDLE TOOLS. When not
and high or locked-up place
DON'T FORCE TOOL.
which
USE RIGHT TOOL. Don't force small tool or attachment to do the job
of a heavy-duty tool. Don't use tool for purpose not intended
example
DRESS PROPERLY. Do not wear loose clothing or jewelry. They can
be caught
recommended when working outdoors. Wear protective hair covering
to contain long hair.
USE SAFETY GLASSES. Also use face or dust mask if cutting operation is dusty.
SECURE WORK. Use clamps or a vise to hold work. It's safer than using
your hand and
DON'T OVERREACH. Keep proper footing and balance at all times.
DISCONNECT TOOLS. When not
changing accessories, such as blades, bits, cutters.
REMOVE ADJUSTING KEYS AND WRENCHES. Form habit of check-
ing
to see that keys and adjusting wrenches are removed from tool
before turning
AVOID UNINTENTIONAL STARTING. Don't carry tool with finger on
switch. Be sure switch is off when plugging
STAY ALERT. Watch what you are doing. Use common sense. Do not
operate tool when you are tired.
INSTRUCTIONS.
it
was intended.
-
don't use circular saw for cutting tree limbs or logs.
in
moving parts. Rubber gloves and non-skid footwear are
it
frees both hands to operate tool.
it
on.
INSTRUCTIONS
(For
It
All
Tools)
in
use, tools should be stored
-
out of reach of children.
will do the job better and safer at the rate for
in
use, before servicing, and when
in.
in
-
with
dry,
for
L
Page 3

15.
CHECK DAMAGED PARTS.
Before further use of the tool, a guard or
other part that is damaged should be carefully checked to determine
that
it
will
operate properly and perform its intended function. Check
for alignment of moving parts, binding of moving parts, breakage of
parts, mounting, and any other conditions that may affect its opera-
tion.
A
guard or other part that is damaged should be properly repaired
by
or replaced
elsewhere
by authorized service center.
it
on
and off.
an authorized service center unless otherwise indicated
in
this instruction manual. Have defective switches replaced
Do
not use tool
if
switch does not turn
3
Page 4
ADDITIONAL SAFETY RULES
1.
Use only
2.
Operate the tool only after removing mud and sand from the car body and
sponge, or the car body will be scratched by mud and sand.
3.
Do
4.
Do
operation cannot be performed because the bottom of the sponge
move correctly as designed.
5.
Do
the sponge and scratch the car body.
6.
Do
and be damaged or cause damage to the car. Use the plastic case as explained
on page
7.
Do
and with the doors and windows closed. This can cause discoloration andlor
damage to the tool enclosures.
8.
Wipe the tool off with a soft cloth dampened
use thinner or benzine. This can cause discoloration and cracks
enclosures.
9.
Let the engine of the car idle to maintain the charge
using the tool for a long time.
12
volt
DC
power source, or the motor
not wet the tool, or the tool
not bear down the tool excessively during operation. Smooth and even
not place the tool directly on the ground.
not place the tool on the car body, the tool may fall from the car body
6.
not leave the tool
in
hot places such as a car exposed to direct sunlight
will
be damaged.
will
be damaged.
Mud
and/or sand may stick to
in
detergent solution. Never
in
in
the car's battery when
will
the tool
SAVE THESE INSTRUCTIONS.
not
4
Page 5

Installing sponge
CAUTION
Always be sure that the tool
:
is
switched off and unplugged before installing or removing
the sponge.
Simply attach the sponge to the pad, using
the Velcro sheet on the sponge and the pad.
(Note)
There
is
no problem even if the alignment
is
of the sponge and the pad
slightly off.
So
you do not have to align the center of the
sponge to the center of the pad accurately
when installing the sponge.
Velcro
\
\
Pad
Applying wax to sponge
Apply wax to the entire surface of sponge
thin and evenly.
(Note)
When applying hard or presoftened paste
wax to the sponge, use the spatula provided.
Connecting
Be sure that the tool's switch
insert
to
power source
is
off. Then
its
plug into the cigarette lighter
socket of your car.
I
For
hard or
presof tened
paste wax
Sponge
For
Plug
liquid wax
I
Cigarette lighter socket
5
Page 6

Operation
1.
Waxing
Switch on the tool. Move the tool slowly over the work surface with front to
back, side to side movement while apply-
ing light pressure to
will be applied to the work surface thin
and evenly.
(Note)
*Do
not bear down the tool excessively during operation. Smooth and even waxing
cannot be performed because the bottom of the sponge will not move correctly
designed.
*The tool may become hot during operation. This
indicate
When resting the tool, use the handy
plastic case provided
sand will not stick to the sponge.
a
problem.
the
tool
so
that
so
that mud and/or
wax
r
I
Apply
light
pressure
a
Move
slowly
is
a
normal condition and does not
as
/
Buff the dried wax by rubbing the car body surface with a clean, soft and dry cloth.
2.
Removing stubborn dirt and oil film
For removing stubborn dirt from the car body surface and oil film from the windshield,
apply the appropriate polish/cleaner for the application to the sponge and operate the
as
tool in the same manner
(Note)
When changing from the use of wax, polish or cleaner, always wash the sponge in
detergent solution before starting the next job.
6
waxing.
Plastic case
Page 7

MAINTENANCE
CAUTION
Always be sure that the tool
inspection and maintenance.
:
is
switched off and unplugged before attempting to perform
After use
Always remove the sponge from the tool
and wash the sponge in detergent solution.
a
Dry the sponge thoroughly in
shaded area.
(Note)
0
If
you
do not wash the sponge after each
use, the wax absorbed in the sponge will
dry and the sponge will become heavier,
less
porous and dirty. This could cause
greater vibration of the tool, resulting
poor finish.
0
Do not wash the sponge too harshly, or the Velcro sheet on the sponge will come off.
Wipe the tool off with the soft cloth dampened in detergent solution. Never use thinner
or benzine.
Storage
Before storing the tool, remove moisture from the tool and dry the sponge thoroughly.
(Note)
Store the tool with the sponge removed, or the sponge may be deformed.
breezy
1
I
Never
to
clean the
use
an
electric
sponge.
washer
To maintain product SAFETY and RELIABILITY, repairs, maintenance or adjustment
should be performed by Makita Authorized or Factory Service Centers, always using
Makita replacement parts.
7
Page 8

ACCESSORIES
CAUTION
These accessories or attachments are recommended for use with your Makita tool specified in this
manual. The use
The accessories or attachments should
:
of
any other accessories or attachments might present a risk
be
used only in the proper and intended manner.
of
injury to persons.
*Spatula
Part
No.
Plastic case
No.
Part
414599-3
824334-5
Waxing sponge
No.
Part
794498-8
Q
8
Page 9

WAX-MATE
Model
9200Y
Aug.-22-'91 US
P
Note: The switch and other part configurations
may differ from country to country.
9
Page 10

MODEL
92OOY
Mar.-14-'90 EN
MACHINE
Tapping
Housing
41
51
61
Switch
DC
Ball Bearing 609LB
1
Cushion
1
Motor
Note: The switch and other
Screw
Set
1Wtth Item 81
12
'4.
Rma
part
BT
4x35
specifications
may
differ from
country
to country.
71
81
91
10
11
12
Bumper
Housing
Name
1
Pad
1
Cord
2
Foot
Plats
1Ai
Set
(With Item
2)
10
Page 11

P
MAKCTA
Every Makita tool is thoroughly inspected and tested before leaving the factory. It is warranted to
be free of defects from workmanship and materials for the period of ONE YEAR from the date
original purchase. Should any trouble develop during this one-year period, return the COMPLETE
tool, freight prepaid, to one of Makita’s Factory or Authorized Service Centers.
the trouble is caused by defective workmanship or material, Makita will repair (or
replace) without charge.
This Warranty does not apply where:
repairs have been made or attempted by others:
repairs are required because
The tool has been abused, misused
alterations have been made
IN NO EVENT SHALL MAKITA BE LIABLE FOR ANY INDIRECT, INCIDENTAL OR CONSEOUENTIAL DAMAGES FROM THE SALE OR USE OF THE PRODUCT. THIS DISCLAIMER
APFiiFsioTH
MAKITA DISCLAIMS LIABILITY FOR ANY IMPLIED WARRANTIES, INCLUDING IMPLIED
WARRANTIES
AFTER THE ONE-YEAR TERM OF THIS WARRANTY.
This Warranty gives you specific legal
state to state. Some states do not allow the exclusion or Limitation of incidental or consequential
damages,
limitation on how long an implied warranty lasts,
OF
so
the above limitation or exclusion may not apply to you. Some states do not allow
LIMED
of
to
DURING-AND AFTER
“MERCHANTABILITY” AND “FITNESS FOR A SPECIFIC PURPOSE,”
ONE
Warranty Policy
normal wear and tear:
or
improperly maintained;
the tool.
THETERM OF
rights,
and you may also have other rights which vary from
so
YEAR
the above limitation may not apply to
WARRANTY
~~~~~ ~~
THIS
~.~
WARRANTY.
If
inspection
at
our option,
shows
YOU.
of
Makita
3-11
-8,
Sumiyoshi-cho,
Anjo, Aichi
Corporation
446
Japan
883735A068
PRINTED
1992 - 7
IN
JAPAN
-
N
 Loading...