

Makerfire BNF Micro FPV User Manual
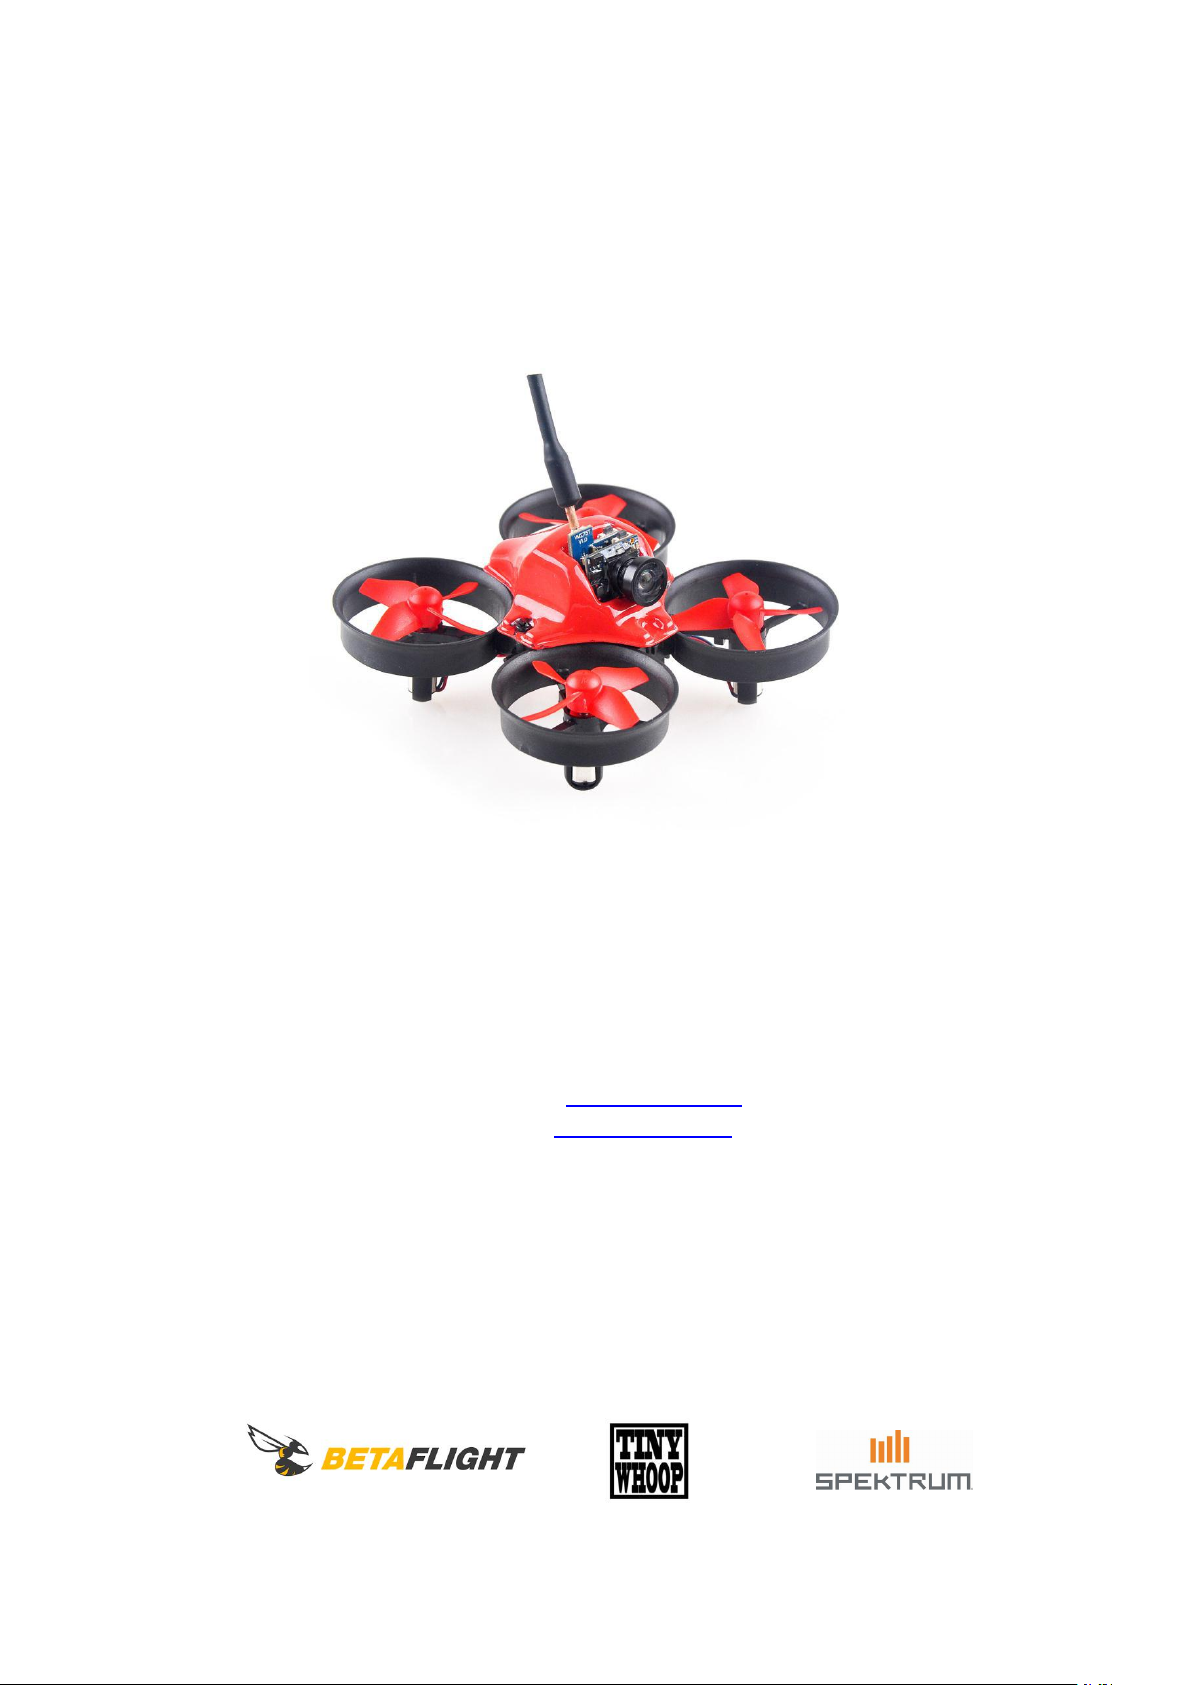
Makerfire BNF Micro FPV Racing Quad
With F303 Betaflight Flight Controller
Version 0.1
Website: www.crazepony.com
Email: info@crazepony.com

Content
Key Features
Specifications
Set up
Flash Firmware
Binding & Betaflight Setup Procedure with External FrSky RX
Note & FAQ
..................................................................................................................................................
Binding Procedure
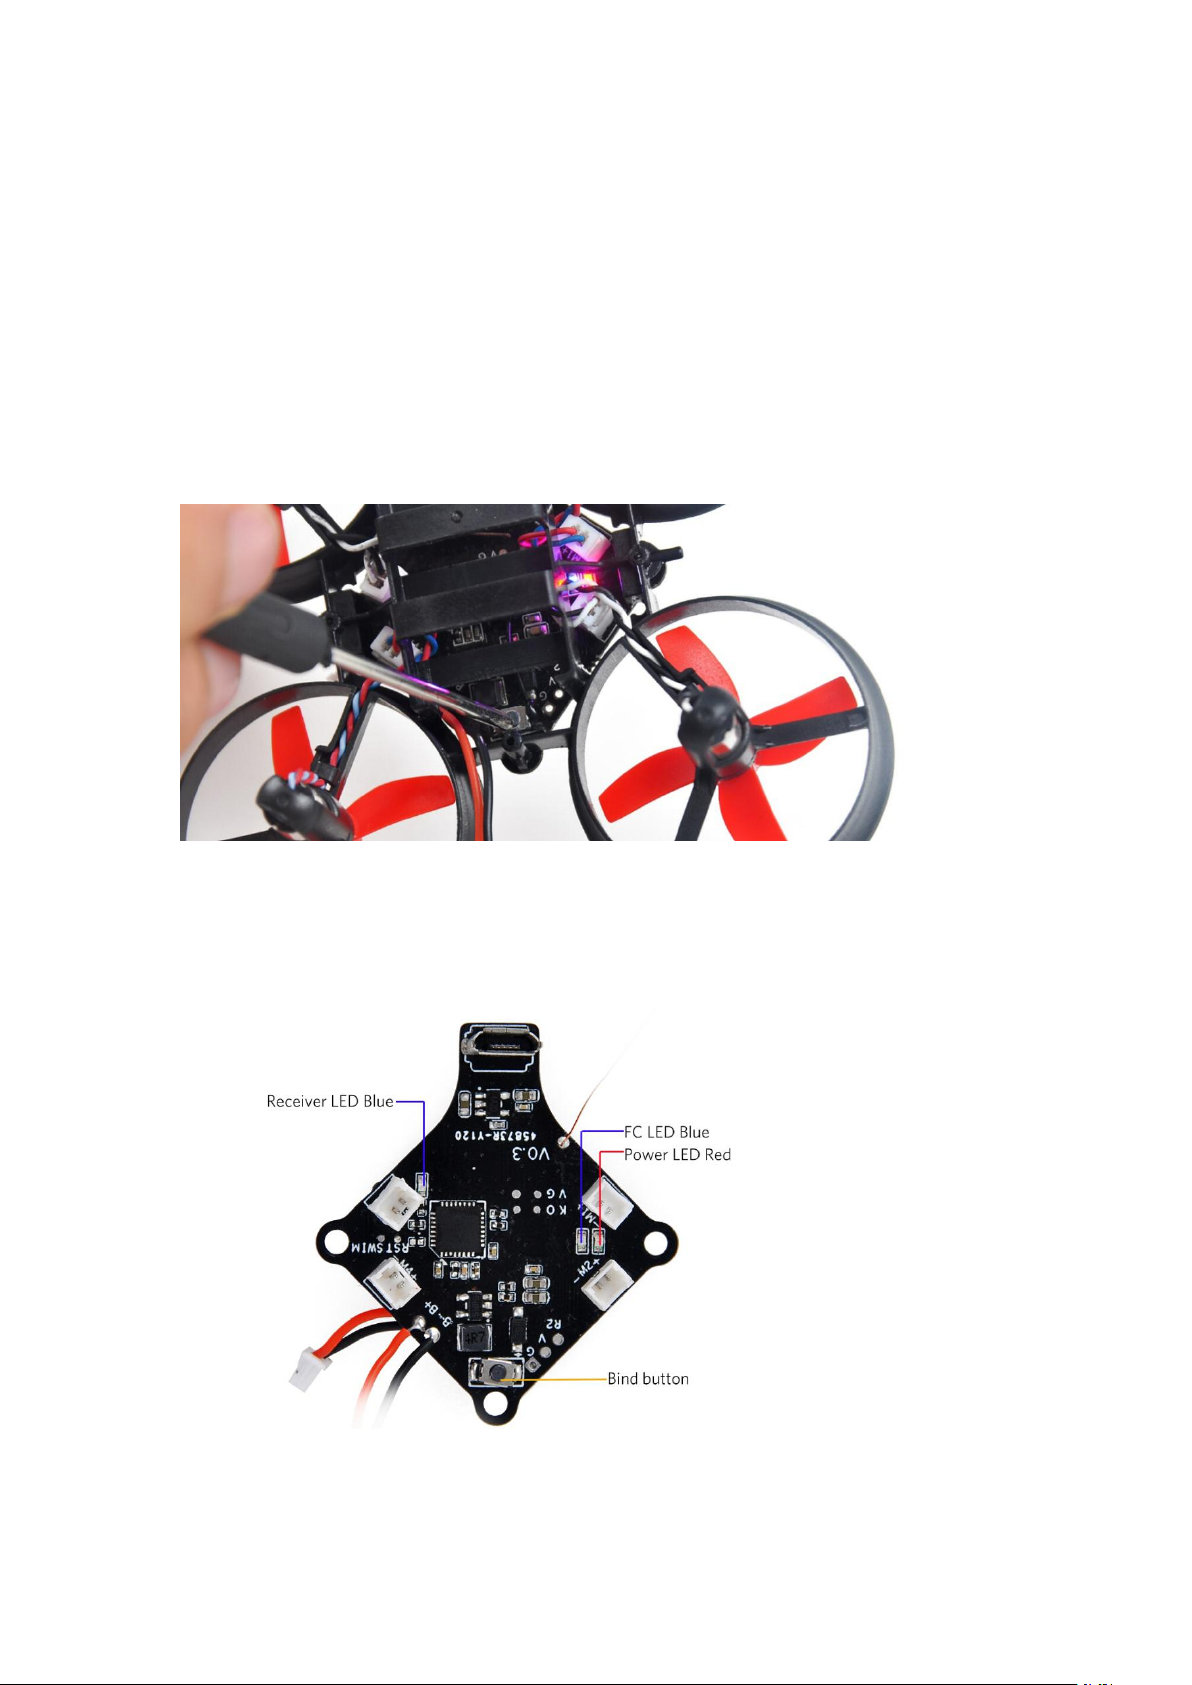
Status LED
Flight Controller Set Up
Flight Modes Settings
Accelerometer and Gyro Calibration
AIO FPV Camera Setup
Ready to Fly
.....................................................................................................................................
....................................................................................................................................
.......................................................................................................................
....................................................................................................................................
...............................................................................................................
..................................................................................................................
..........................................................................................
..............................................................................................................
...............................................................................................................................
...............................................................................................................................
......................................................................................................................................
..............................................
3
3
6
6
7
7
9
9
10
11
12
15
17

Makerfire BNF Micro FPV drone integrated F3 EVO Brushed FC ,Frsky D8 or Spektrum
Fully programmable through Betalfight, using the on board USB port, tune all the
64mm motor spacing, four carefully-tuned electric ducted fans
F3 EVO Brushed flight controller fully programmable through Betaflight
Built in native Spektrum DSM receiver, compatible with almost ALL Spektrum
5.8G AIO 25mW camera, with 10°tilt camera mount
Special 17500KV sauce edition motors, offer a nice punch
35C 200mAh 1S battery, 3 min 40 seconds flight time
Wheelbase: 64mm
Weight: 22g (without battery)
Flight Controller: F3 EVO Brushed FC with Native DSM receiver
Motor: 17500KV 6x15mm Coreless Brush Motor
Receiver: Spektrum DSM compatible native receiver
Camera and 5.8G Tx: AIO 520TVL 1/4 Inch Camera 25mW 40CH
Battery: 3.7V 200mAh Lipo battery with Pico JST connector
Flight time: 3 min 40 seconds
DSM protocol receiver, 25mW AIO camera, special sauce edition motors and 200mAh
battery, this MICRO FPV is capable of flying in the smallest of places with ease and much
more like a racing quad than a toy quad.
Key Features
parameters, PID's, and rates to your perfect settings
transmitter,like DX6/DX8/DX9/DX18 etc
Specifications
Native Spektrum DSM Receiver:
Compatible with ALL Spektrum radios or Spektrum compatible transmitter module.No
more hacks, just bind and fly!
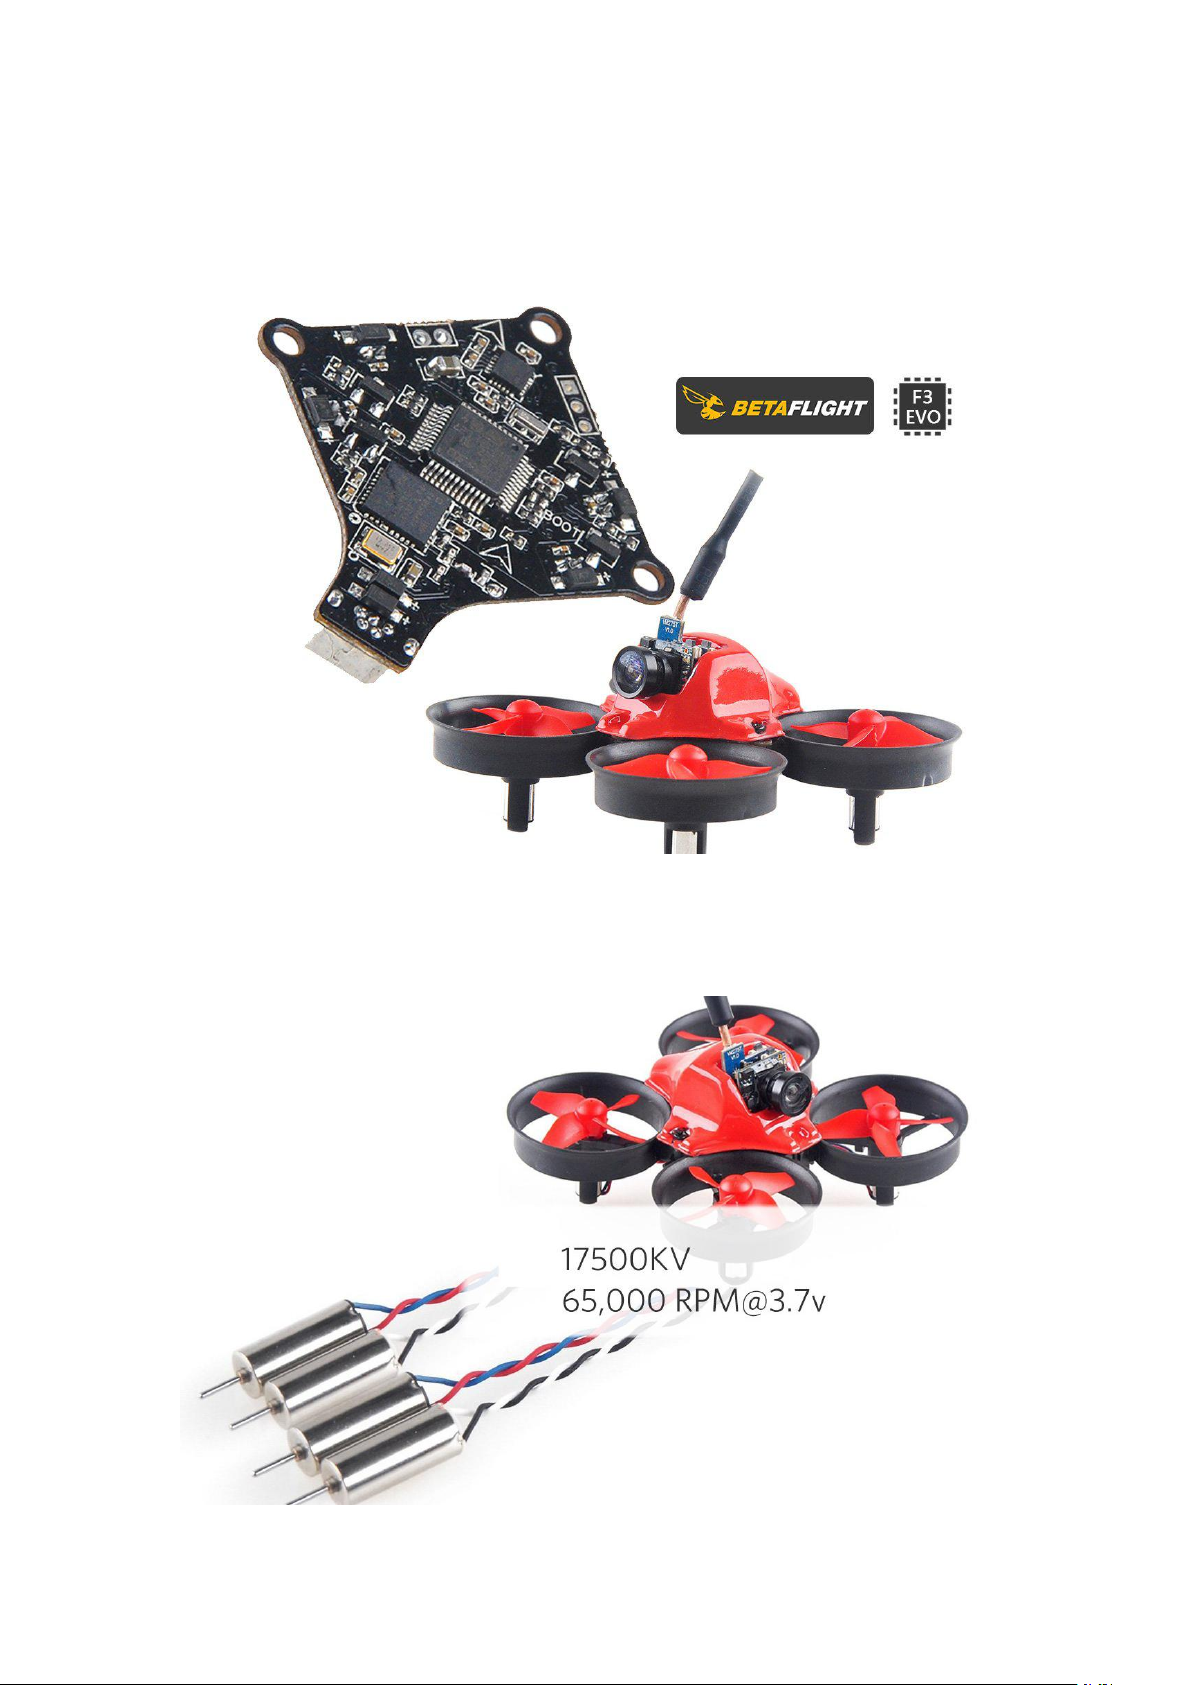
F3 EVO flight controller:
Fully programmable through Betalfight using the on board USB port! Tune all the
parameters, PID's, and rates to your perfect settings!
17500kv these motors:
Considerably more powerful than almost all of the motors used for Tiny Whoop style
aircraft,without encountering considerable oscilations.

10°tilt camera mount:
Perfect angle for Tiny Whoop flight. At this angle the pilot can still see everything ahead in
full-blown fast forward flight.
Set up
Getting set up and ready to fly is a quick and simple task.Follow these easy steps and you
will be shredding the sky in just a few minutes!
Binding Procedure
Step 1:
Click the bind-button meanwhile powering on the Drone, either by connecting the battery
or USB power. Then the receiver will enter bind mode, indicated by rapid blue receiver
LED flashing.
Step 2:
Now, on the radio, hold the bind-button while powering on the radio (or what it takes to
enter bind-mode).
Step 3:
The blue receiver LED should stop blinking when the bind is completed.
 Loading...