

http://waterheatertimer.org/Din-rail-timers-and-manuals.html
MTD8 INSTRUCTION MANUAL
Don’t connect to an appliance where the load exceeds 16 or 20 amps depending on the Model you have bought.
The Max load will be indicated on your timer and the Packaging the unit is supplied with.
Always ensure the wiring of any appliance is fully inserted into the timer outlet. If cleaning of the timer is
required, remove from the mains power and wipe timer with a dry cloth.
Do not immerse timer in water or any other liquid.
BRIEF INTRODUCTION
1. The timer has a total of 8 ON/OFF programs.
2. MANUAL ON/AUTO/MANUAL OFF can make settings as required very easily.
3. 12/24 hour mode is switchable.
4. Summertime function is very useful for areas with summertime system.
5. 16 combinations of day or blocks of days are available for this timer as follows:
• Monday
• Tuesday
• Wednesday
• Thursday
• Friday
• Saturday
• Sunday
• Mo,Tu,We,Th,Fr,Sa,Su
• Mo,Tu,We,Th,Fr,
• Sa,Su
• Mo,Tu,We,Th,Fr,Sa
• Mo,We,Fr
• Tu,Th,Sa
• Mo,Tu,We
• Th,Fr,Sa
• Mo,We,Fr,Su
INITIAL OPERATION
1. Connect the timer to your regular 220/240 volt household power supply and turn the power on.
2. Leave approximately 12 hours to charge the memory back up batteries.
3. After charging clear all current information buy pressing the R (master clear) button with a sharp object
such as a pen or pencil. The timer is now ready to be set up for use.
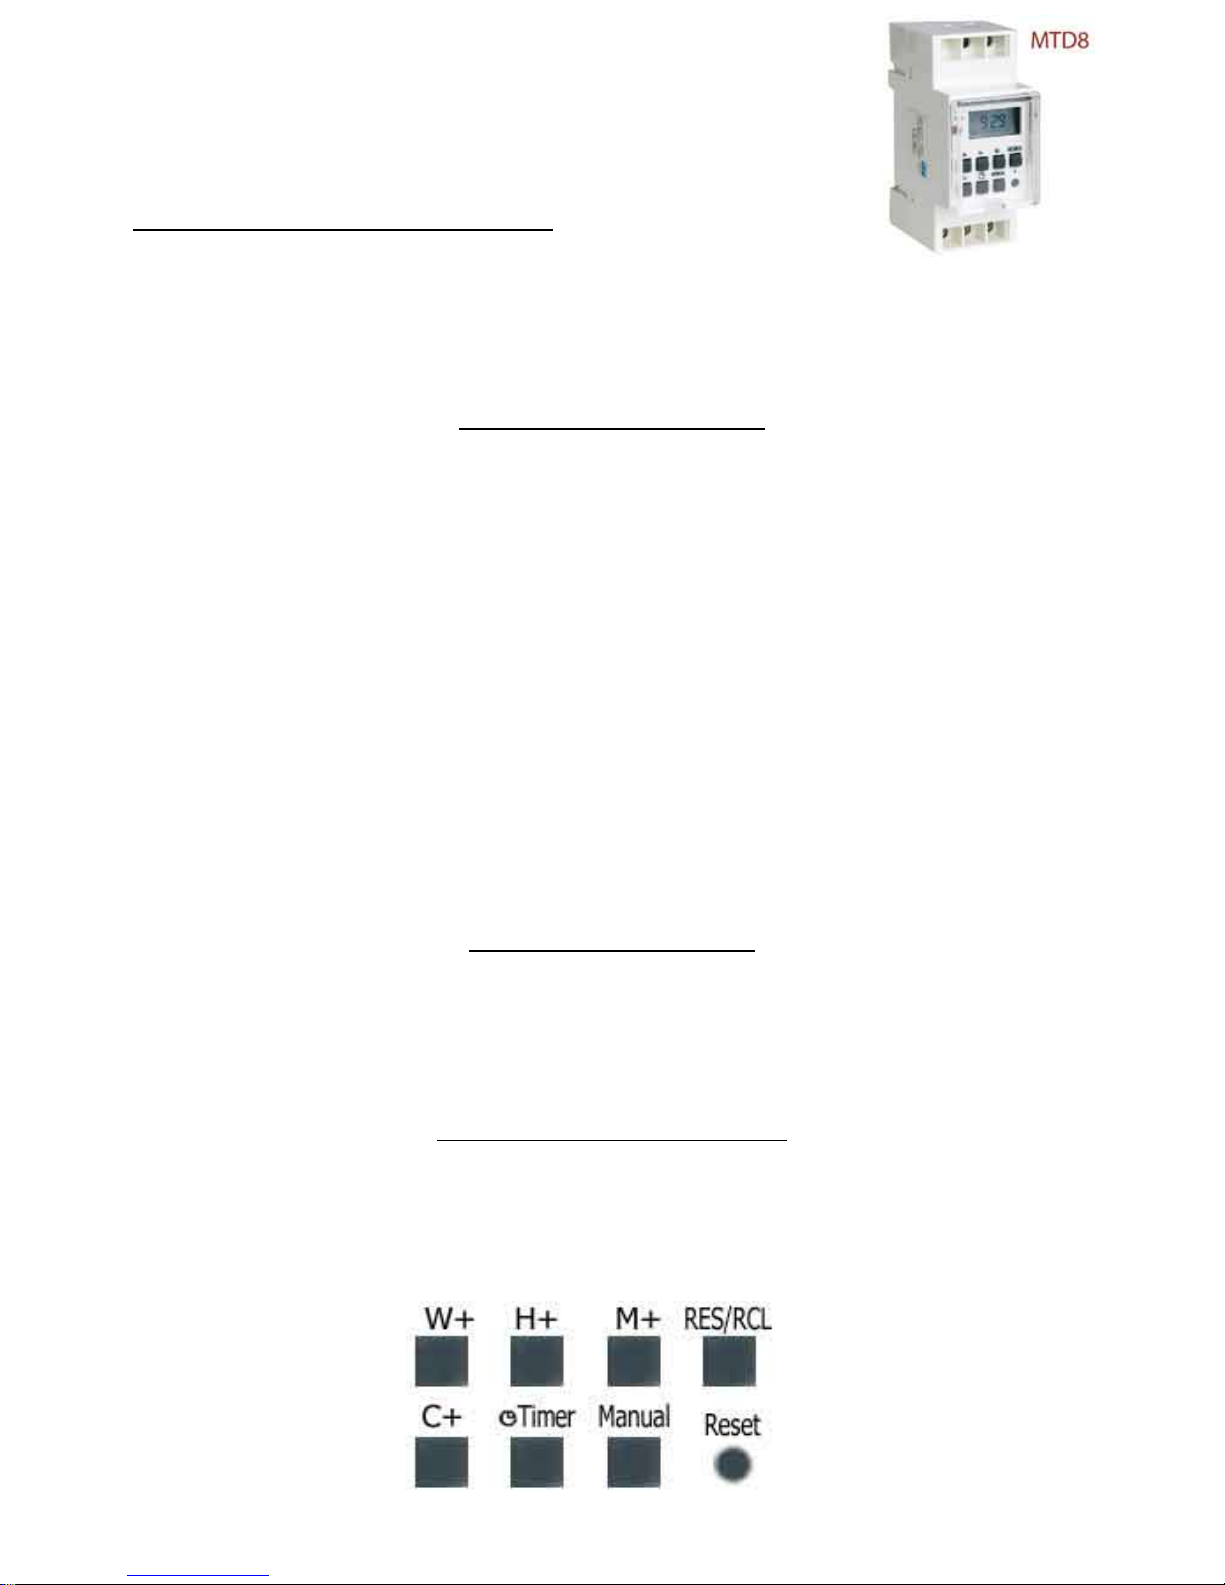
Press the c+ (clock) button and hold, now press the W+ (week) button until the actual day is displayed, then
press H+ (hour) or the M+ (minute) button until the current hour or minute is displayed.
Release all buttons when you are done. The week and time will be set.
SETTING CURRENT TIME

SETTING FOR PROGRAMS
Press the (timer) button and release. The first ON setting can be made now.
1. Press the W+ (week) button to set the day or blocks of days. Set the time by pressing the H+ (hour)
button and then M+ (minute) button.
2. Press the (timer) button again to finish the first ON setting and enter into the first OFF setting.
3. Press the (timer) button again to finish the first OFF setting and enter into 2
4. Most important setting. Press the Manual button and switch the timer off. When the timer is
programmed press c+, the clock is displayed. Now it is important to switch the timer on manually again,
turn it off and then put it on auto mode otherwise the timer will not engage as programmed.
5. The timer will switch on if the setting tells it to switch on after the current time otherwise it will only
switch on at the next time programmed.
nd
ON setting.

General Q&A
A summer time function is referred to. This is how it works.
This is function more applicable to the northern hemisphere where you have to adjust for
an hour in summer. To add an hour press c+ and while you are holding it down press the
manual button once. It will display summer and add 1 hour to the clock.
It refers to a 12/24 hour switchable mode. This is how you can set it up.
To get the 24/12 mode hold down the c+ button and press the clock button on it's right
once.
To exit programming.
Press c+ after you have programmed your settings.
The connectors where the input and output cables are to be installed do not open wide
enough, and cannot receive a 2.5mm cable.
The connector blocks are wide enough for your standard electrical house wiring cable. The
timer does take a 2.5mm surfix cable which is a solid copper wire. If you have a wire with
a few copper strands then that is a 4mm cable.
The RES/RCL button is not mentioned on the Instruction Manual.
Other timers with same button: RES/RCL is used as override on/off when in programming mode
Reset or Recall ( This is to disable a programmed time -:-- or recall it again 18:00)
My timer has a 16a rating, can I use it for my Geyser or Pool Pump.
No, a 16 Amp timer on it's own is not for use with a Geyser or on a Pool Pump. Used in conjunction with a suitable
relay this timer can however be used at your own discretion to control a Geyser or Pool Pump since the relay will
carry the load and not the timer itself.
It is advisable thought to use a timer rated at 20 Amps or more.
 Loading...