

Majestic Saunas SA3212 Owner's Manual

SA3212
Rev. 5/16, Ver. 2
OWNER’S MANUAL
THREE-PERSON CORNER SAUNA
WITH CARBON HEATERS
Please Do Not Hesitate to
Contact Our Consumer Hotline
at
800-759-0977
with Any Questions That May
Arise During Assembly or
Use of This Product!

2
ASSEMBLY TIPS & WARNINGS
PARTS IDENTIFIER
ASSEMBLY INSTRUCTIONS
OPERATION INSTRUCTIONS
ENJOYING YOUR SAUNA
HEALTH & SAFETY WARNINGS
CLEANING & MAINTANENCE
TROUBLESHOOTING GUIDE
REPLACEMENT PARTS
WARRANTY INFORMATION
3
4
5-10
11
12
13
14
14-15
16-17
18
TABLE OF CONTENTS
The information contained in this manual is subject to change without notice.
If you would like a French version of this manual, please contact
our Customer Service Department at 800-759-0977 or custserv@splashnetxpress.com
Si vous voulez une version française d’un manuel, s'il vous plaît contacter
notre service à la clientèle au 800-759-0977 ou custserv@splashnetxpress.com
3
• Before you begin, read all assembly instructions and safety warnings carefully.
• This sauna requires at least 3 adults to complete assembly.
• Remove all of the contents from boxes and verify that you have all of the parts shown on the Parts
Note: Some parts may be pre-installed or pre-assembled.
may not look exactly like your product.
• Retain this Owner’s Manual for future reference.
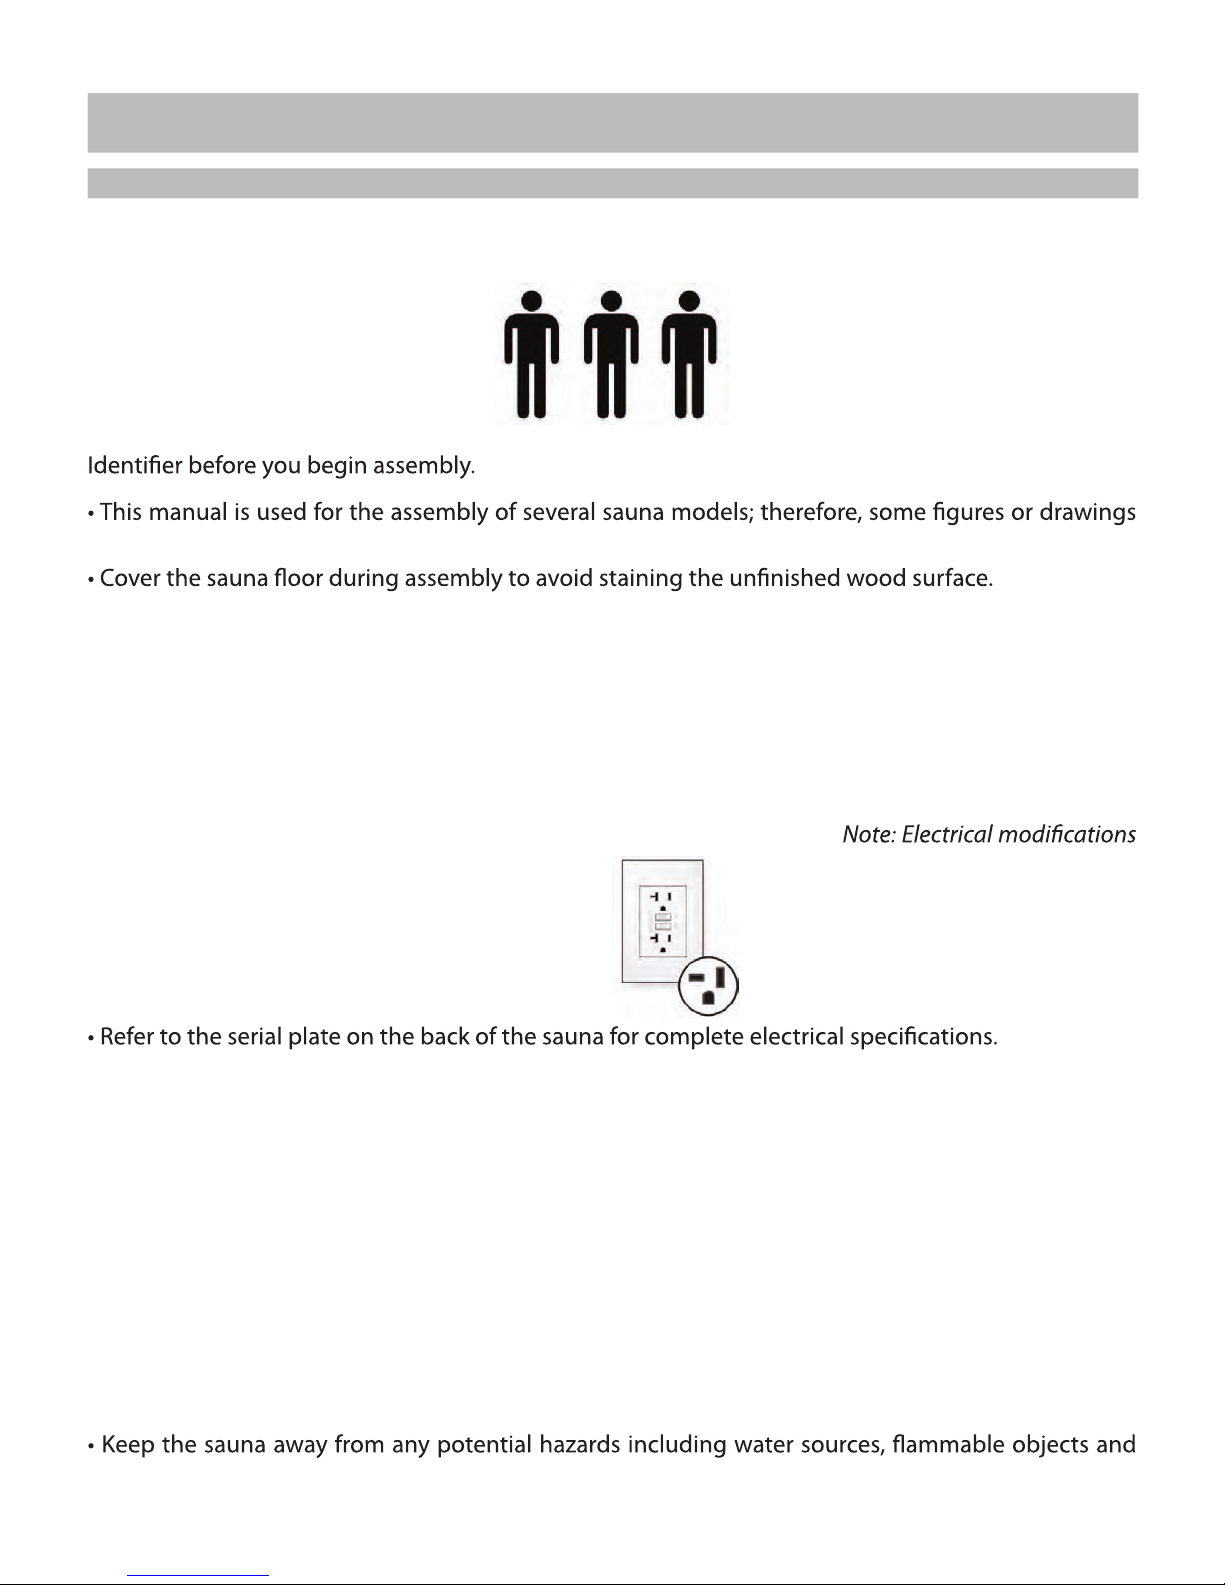
ELECTRICAL REQUIREMENTS
• We recommend consulting a licensed electrician and checking local ordinances before installing
ANY sauna.
• This sauna requires a 20 amp receptacle and a 20 amp circuit breaker.
may be required to accommodate 20 amp power.
• This sauna requires a dedicated circuit - No other appliances should share the same outlet with the
sauna.
CHOOSING A LOCATION
• This sauna should only be placed INDOORS on a dry, level surface.
• There should be a minimum of 5 inches clearance between the sauna and any wall.
• Make sure the main power cord will reach the outlet and remains easy to access.
• The sauna should only be used in a dry location as moisture will damage the wood and electrical
components.
combustible materials.
ASSEMBLY TIPS & WARNINGS
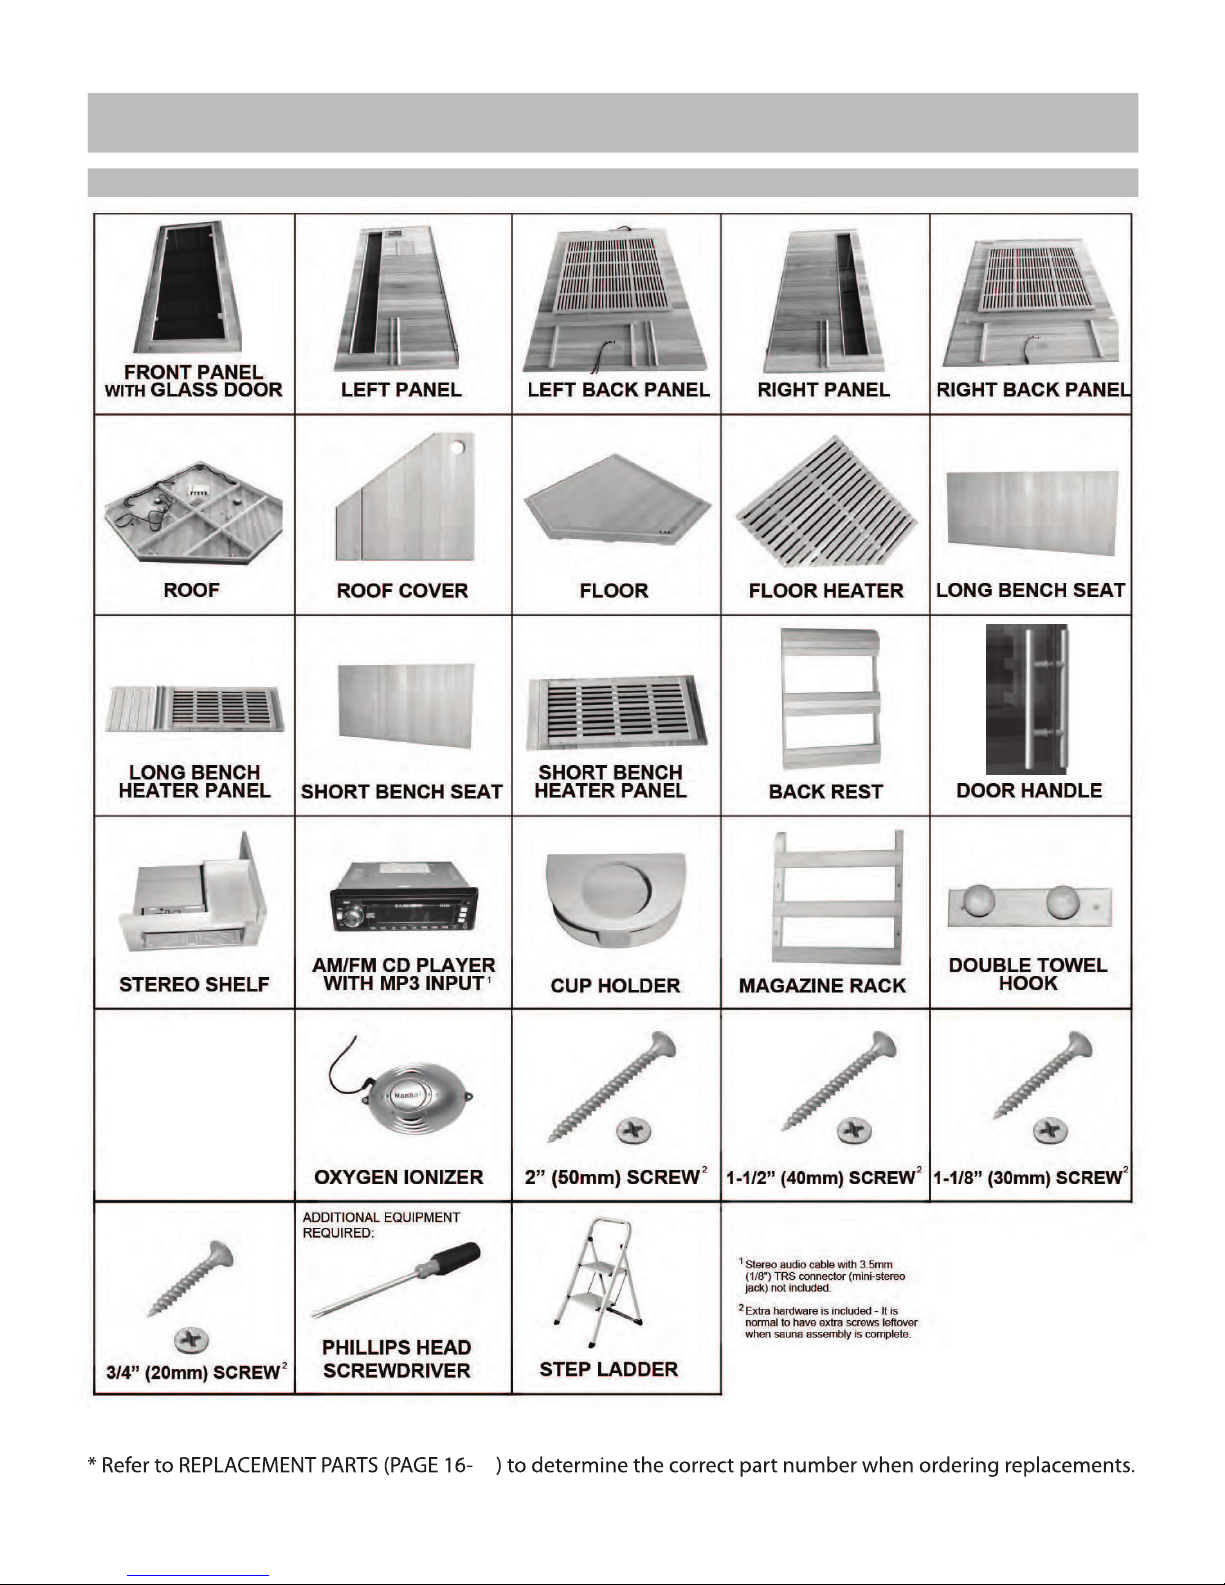
PARTS IDENTIFIER (NOT TO SCALE)
4
17
This manual is used for the assembly of several
sauna models; therefore, some images or drawings
may not look exactly like your product.
For replacement parts please call 800-759-0977.
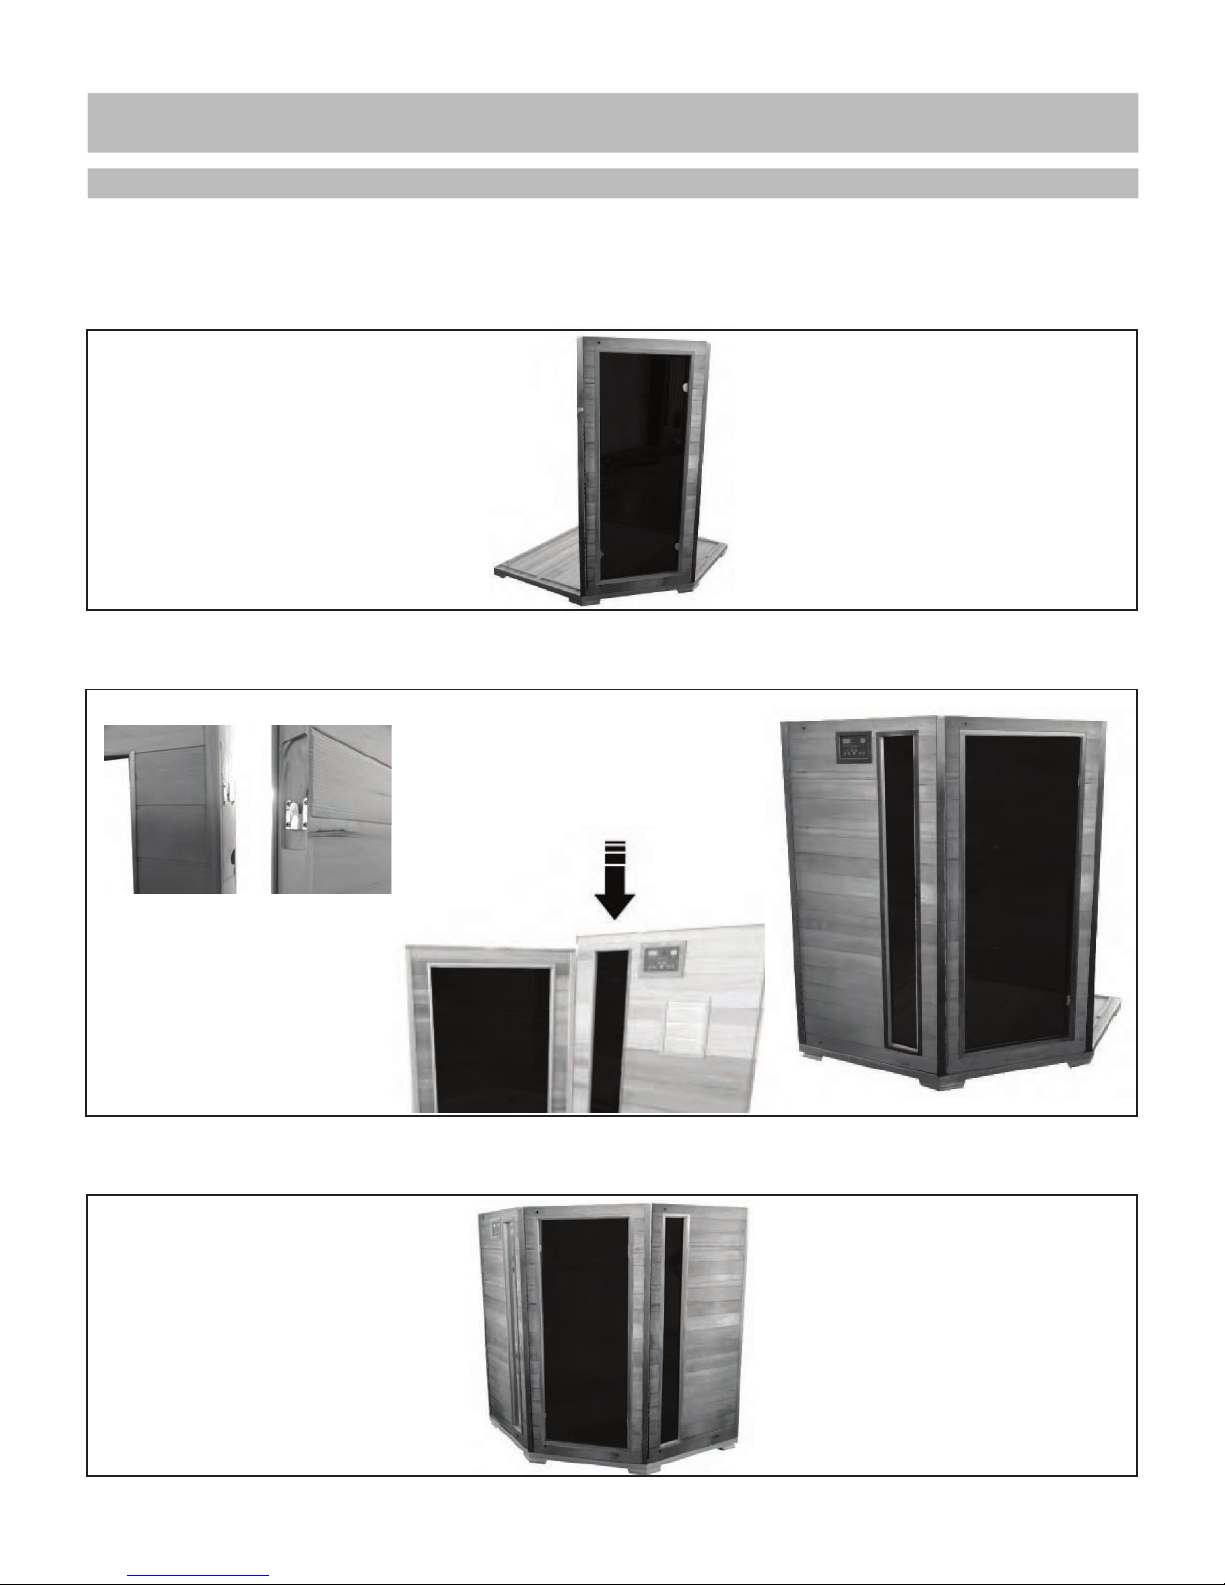
1. Begin assembly by determining an appropriate location for your sauna – see ASSEMBLY
TIPS & WARNINGS for details. Attach the FRONT PANEL to the FLOOR by lining up the FRONT
PANEL with the groove in the front of the FLOOR.
2. Attach the LEFT PANEL to the FRONT PANEL by aligning the hooks and sliding the LEFT
PANEL down, locking it into place.
3. Attach the RIGHT PANEL to the FRONT PANEL by aligning the hooks and sliding the RIGHT
PANEL down, locking it into place.
ASSEMBLY INSTRUCTIONS
5

4. Attach the LEFT BACK PANEL to the FLOOR. Buckle the LEFT BACK PANEL to the LEFT PANEL.
5. Attach the RIGHT BACK PANEL to the FLOOR. Buckle the RIGHT BACK PANEL to the RIGHT
PANEL and to the LEFT BACK PANEL.
6. Attach the FLOOR HEATER to the FLOOR with 1-1/2” SCREWS. Connect the heater plug.
ASSEMBLY INSTRUCTIONS (CONT.)
6
 Loading...