

Page 1
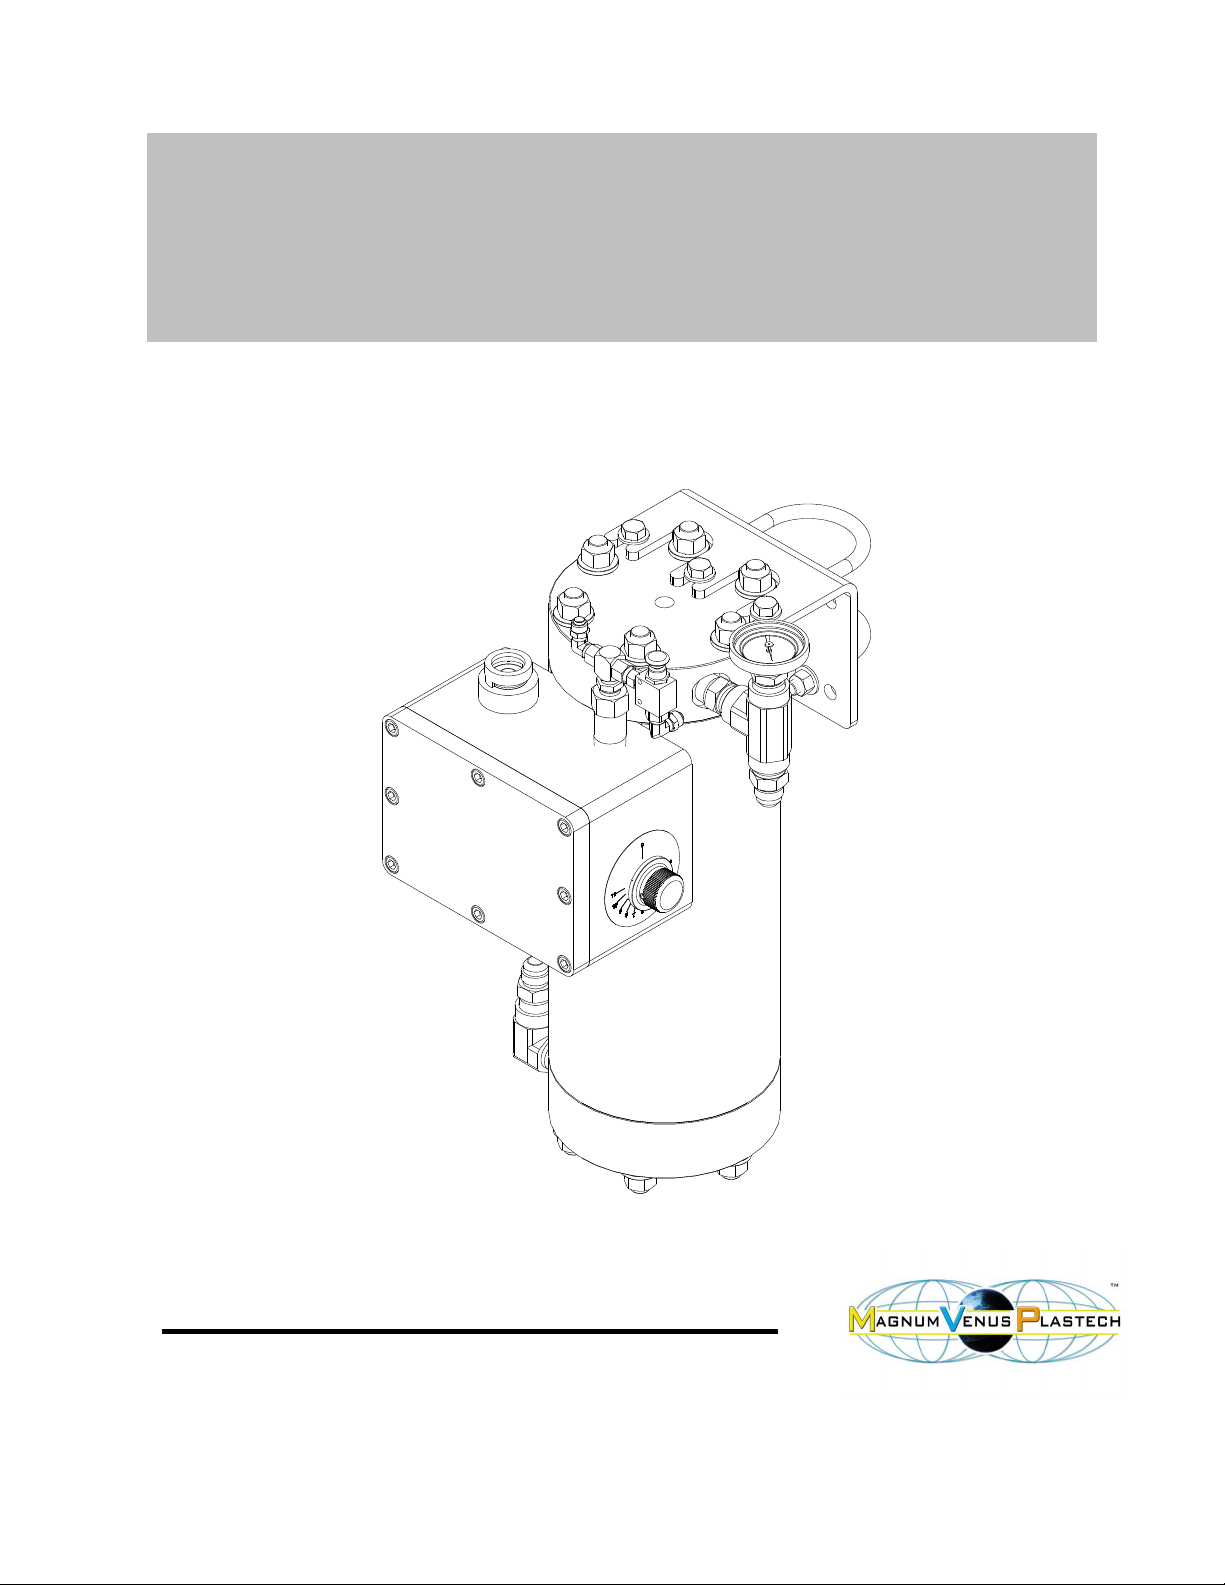
CLEAN FLOW HEATER (CFH)
MANUAL
MAGNUM VENUS PLASTECH
CFH-4000 IN-LINE RESIN HEATER MANUAL
Revision: 07/2007
Page 2

2
Page 3

3
TABLE OF CONTENTS
CHAPTER 1 - INTRODUCTION
CHAPTER 2 - OPERATION
CHAPTER 3 - MAINTENANCE
CHAPTER 4 - TROUBLESHOOTING
CHAPTER 5 - PARTS DRAWINGS
Page 4

4
CHAPTER
1
CFH-4000 IN-LINE RESIN HEATER MANUAL
INTRODUCTION
The MVP Clean Flow Heater (CFH) is designed to allow higher flow rates, give better
control over temperature change and boasts a new easy maintenance design.
The CFH-4000 Heater is heated with a single 3000 watt cartridge type heating
element, requiring 240 Volt, single phase electrical service at 15 amps. Material
temperature is indicated on the thermometer on the outlet side of the heater.
The rheostat circuit consists of a bimetal timer that can be adjusted from 0 to 100% of
the heater’s wattage. The rheostat circuit is wired through a thermal limiter. This is a
safety feature that breaks the circuit to the heating element if heater block
temperature exceeds a safe level. In addition, all heaters contain 15 amp fuses in the
electrical enclosure for protection.
There are two models of the CFH-4000 in-line resin heater:
CFH-4000-B Basic Clean Flow Heater – In-Line Resin Heater
CFH-4000-AI Clean Flow Heater – In-Line Resin Heater – Air Interlock
The CFH-4000-B Basic Clean Flow Heater is the base model of the CFH heater with
a single temperature adjustment knob which allows for simple operation. Just adjust
the temperature control to the desired level to maintain the desired temperature
indicated on the thermometer.
The CFH-4000-AI Clean Flow Heater – Air Interlock is unique in that it is an on
demand type heater and uses electrical power only when there is flow. The heater is
controlled by triggering the gun, the system regulator supplies pressure to the gun
valve which in turn activates the heater when the trigger is pulled. Once material is
flowing, an air signal is supplied to heater which engages the thermostat circuit.
When controlled with the air/electrical interlock heater switch, The CFH heaters
require a minimum of 15 psi air. The heat element is supplied with current from two
separate air circuits: the preheat circuit and gun trigger circuit. A preheat circuit is
operated to manually warm the heater block to desired operating temperature before
start-up.
Page 5

5
CHAPTER
2
CFH-4000 IN-LINE RESIN HEATER MANUAL
OPERATION
To operate the CFH heater, just set the temperature control to mid-position or to the
desired position if the setting is known.
Heater is now ready.
To preheat the CFH-4000-AI (system with air interlock) press the preheat button and
hold until heater block feels warm to the touch. This insures resin is heated from
start-up to stop. If this system sets idle for a long period of time it may need to be
preheated again before use.
Using heat with polyester resin systems allows control of the spray pattern through
reduced viscosity while breaking up material particles, thereby giving better, more
desirable wetting characteristics. As it is highly accurate, material can be controlled
within plus or minus 3° F in continuous use.
If the spray pattern is too coarse and narrow, set heat higher, If too fine and thin, set
heat lower. Once resin in hose has been replaced by resin in heater, it will be
possible to determine if block heat has been set properly. The thermometer on outlet
side will also determine what temperature it is operating at. DO NOT EXCEED 135° F
OUTLET TEMPERATURE.
(Proper setting will vary with ambient room temperatures, flow rates and
characteristics of each resin or gel coat)
When highly promoted resins are used, it is advisable to pump cool resin through
heater after power has been removed from the heater. These resins could easily gel
if left at high temperature in block for an extended period. Anticipate your cut-off and
you will be able to use it all. Use preheat button again before starting.
When used on automatic heads, the heater should be connected to automatic gun
trigger circuit; if preheat transfer pump, connect to pump control.
Page 6

6
CHAPTER
3
CFH-4000 IN-LINE RESIN HEATER MANUAL
MAINTENANCE
(Refer to Parts Drawings)
1. Periodically, the heater should be flushed out by pumping solvent through,
2. Inspect electrical cord for wear or damage and repair or replace as necessary.
3. Inspect hoses attached to the heater for wear of damage and replace
4. Check heater and hoses for leaks and replace periodically.
ALWAYS DISCONNECT POWER AND NEVER FLUSH WITH SOLVENT UNTIL
HEATER HAS COOLED TO ROOM TEMPERATURE. PRESSURE NOT TO
EXCEED 2500 PSI
especially with gel coat or filled resin systems.
periodically.
Page 7

7
CHAPTER
4
CFH-4000 IN-LINE RESIN HEATER MANUAL
TROUBLESHOOTING INSTRUCTIONS
Two basic problems may occur with the MVP Resin Heater:
Loss of electrical current or heat
Material flow blockage or leakage.
Loss of Electrical Current or Heat:
1. Indicator Light: If indicator light is not sequencing during operation, try preheat
button to see if light comes on. If not, inspect bulb and replace if defective. Also,
check diodes for continuity. If light does not operate and no heat is generated in the
heater and diodes are OK, then
DISCONNECT POWER FROM THE UNIT.
2. Fuses: Remove lid to electrical enclosure and check all fuses to insure they have
not blown out. If so, replace.
3. Loose Wire: Check all connections for loose or disconnected terminals.
4. Rheostat: NOTE: Air must be ON for rheostat check. If rheostat controlled function
is not working, disconnect wires and check continuity through rheostat when it is cool.
If there is continuity-check that it’s getting current from normally open contacts of
microswitch. If no continuity through rheostat, it is faulty and must be replaced. If
neither preheat or thermostat function works, check fuses first, then make sure pilot
light is not burned out (remove bulb and inspect).
5. Thermal Limiter: Once fuses and rest of circuit has checked out, disconnect wires
and check continuity through thermal limiter when it is cool. If there is no continuity
through switch when cool (room temp. 70° F) it is faulty and must be replaced.
Heat limiter may be adjusted to trip at different levels and may need readjustment.
MVP factory setting is to trip at approx. 120° F.
Page 8

8
6. Heating Element: If all components to this point check out, heating element is
faulty. Heater element should be checked for leakage to ground and continuity
through element.
CFH-4000-AI Air Interlock units:
7. Air Switch: Disconnect wires and check microswitch to ensure continuity through
normally closed contacts when air supply is off.
If there is no continuity, inspect air actuator to insure it is disengaging. If air actuator
disengages properly, switch is faulty and must be replaced. Next apply air pressure
(at least 30 psi) to air actuator.
Check continuity through normally open contacts. If none, check actuator to insure it
is engaging switch. If not, a small amount of oil may free actuating cylinder or it may
be adjusted if not engaging far enough. If actuator is engaging switch properly but
there is no continuity through normally open contacts, switch is faulty and must be
replaced.
8. Preheat Air Valve / Button: Check that the air valve has a constant air supply,
20psi minimum. Disconnect the outlet air line and make sure that an air signal is sent
when the button is pushed. If no signal air is sent when the button is pushed, check
the valve for blockages and replace as necessary.
Material Flow Blockage and Leakage Problems:
1. If heater is completely blocked, the end caps should be removed and resin
passages thoroughly cleaned. Make sure the passages in the end caps are clean as
well. Fittings into and out of heater should also be cleaned.
2. In case of leakage, check that perimeter end cap bolts are correctly tightened at 60
ft/lb. If so, remove end caps and inspect O-rings, Clean O-ring groove thoroughly.
Page 9

9
CHAPTER
5
PATRIOT TESTING AND ADJUSTING MANUAL
PARTS DRAWINGS:
CFH-4000-B BASIC CLEAN FLOW HEATER
CFH-4000-AI CLEAN FLOW HEATER – AIR INTERLOCK
CFH-AIDS CLEAN FLOW HEATER – DOUBLE STACK
Page 10

10
MAGNUM VENUS PRODUCTS
Resin Heater - Basic Clean Flow Heater
CFH-4000-B
14
2
3
4
5
6
7
7
8
9
10
11
12
13
1
15
16
16
17
18
19
20
21
22
21
22
23
23
24
25
26
27
28
28
29
3031
32
33
34
36
37
L1
G
L2
240V AC
MOUNTING SCREW
GROUND BOX
2
33
33
34
4
14
ELECTRICAL
DIAGRAM
PART OF 34
47
38
REV.
1 BRUSH ANTI SEIZE ON CHF-3079 TIE RODS
TO FILL THE THREADS. TORQUE THE
F-HN-08F NUTS TO 60 FT/LBS
1
1
C = ADDED ANTI SEIZE FLAG NOTE 02/08/06 JEM
REV.
D = TORQUE VALUVE IN FLAG NOT WAS 80 FT/LBS 03/02/07 JEM
E = ADDED ITEMS NOT SHOWN TO P/L 03/22/07 JEM
REV.
46
Page 11

11
1
MPD-9750-03
14
MIXER ELEMENT
PARTS LIST
Resin Heater - Basic Clean Flow Heater CFH-4000-B
PART NO.
ITEM
QTY DESCRIPTION
2
09302
1
PILOT LIGHT
3
CFH-3076 1
ELECT BOX LID
4
9804-1-1
1
THERMOSTAT
5
CFH-3075
1
ELECTRICAL BOX
6
PF-HN-08 1
HEX NIPPLE
7
PF-HN-08-08J 2
HEX NIPPLE
8
PF-FT-08 1
TEE
9
CFH-3079 6
TIE ROD
10
PF-RB-08-04
1
BUSHING
11
9212-1-1
1
THERMOMETER
12
F-HN-08F-GR8 12
HEX NUT
13
F-CS-05C-12 8
SOCKET HEAD CAP SCREW
14
CFH-3081
1
CARTRIDGE HEATER
15
CFH-3070 1 HEATER CORE
16
CFH-3078 2
END CAP
17
F-CS-05C-16 4
SOCKET HEAD CAP SCREW
18
CFH-3086 1
CLAMP
19
F-MS-1032-08 1
PAN HEAD SCREW
20
F-STS-632-06
4
SELF TAPPING SCREW
21
O-T-127
2
O-RING
22
O-T-154 2
O-RING
23
PF-AP-12 2
HEX SOCKET PIPE PLUG
24
F-UB-06C-40
2
U-BOLT
25
F-HN-06C 4 HEX NUT
26
F-FW-08-Z 12
WASHER
27
CFH-3089 1
MOUNT BRACKET
28
F-FW-06 7
WASHER
29
F-HB-06C-12 3
HEX BOLT
30
09592
2
DIODE
31
00353
4
CONNECTOR
32
E-FB-101 1
FUSE BLOCK
33
09603 2
15 AMP FUSE
34
CFH-3087 1 THERMOSTAT ASSY
36
CFH-3091 1 THERMOSTAT DECAL
37
PF-SE-08
1
STREET ELBOW
1
1
F-HN-08F NUTS TO 60 FT/LBS
TO FILL THE THREADS. TORQUE THE
BRUSH ANTI SEIZE ON CHF-3079 TIE RODS1
47
09806 1
LAMP
PART NO.
ITEM
QTY
DESCRIPTION
OPTIONAL PARTS AND ASSEMBLIES
43
6701-27-1 1
ELEC DECAL (NOT SHOWN)
44
CFH-DECAL-1 1
MVP DECAL (NOT SHOWN)
45
CFH-DECAL-3
1
WARNING DECAL (NOT SHOWN)
46
F-GS-832-04
1
GROUND
42
09848
2.00 FT
14 GA. WIRE (NOT SHOWN)
41
08247-W .60 FT
WIRE (NOT SHOWN)
40
08247-BK 1.25 FT
WIRE (NOT SHOWN)
39
09119 1
PLUG
38
F-RP-04-12=SS 4
ROLL PIN (INSTALLED IN END CAPS)
Page 12

12
3
39
40
41
42
43
44
45
46
47
48
48
49
50
C
AIR SIGNAL
FROM GUN
NC
NO
39
1 BRUSH ANTI SEIZE ON CFH-3079 TIE RODS
TO FILL THE THREADS. TORQUE THE
F-HN-08F-GR8 NUTS TO 60 FT/LBS
D = ADDED TORQUE VALUE FLAG NOTE TO DWG, 3/2/07 JEMREV.
58
REV. E = ADDED (NOT SHOWN ITEMS TO DWG, 3/22/07 JEM
60
60
F = ADDED ITEM 60 TO DWG 6/20/07 JEMREV.
MAGNUM VENUS PRODUCTS
Resin Heater Assy - Air Interlock
CFH-4000-AI
14
2
4
5
6
7
7
8
9
10
11
12
13
1
15
16
16
17
18
19
20
21
22
21
22
23
23
24
25
26
27
28
28
29
3031
32
33
34
36
37
L1
G
L2
240V AC
MOUNTING SCREW
GROUND BOX
2
33
33
34
4
14
ELECTRICAL
DIAGRAM
PART OF 34
59
Page 13

13
1
MPD-9750-03
14
MIXER ELEMENT
PARTS LIST
Resin Heater Assy - Air Interlock CFH-4000-AI
PART NO.
ITEM
QTY
DESCRIPTION
2
09302 1
PILOT LIGHT
3
CFH-3076 1
ELECT BOX LID
4
9804-1-1
1
THERMOSTAT
5
CFH-3075
1
ELECTRICAL BOX
6
PF-HN-08
1
HEX NIPPLE
7
PF-HN-08-08J 2
HEX NIPPLE
8
PF-FT-08 1
TEE
9
CFH-3079
6
TIE ROD
10
PF-RB-08-04
1
BUSHING
11
9212-1-1
1
THERMOMETER
12
F-HN-08F-GR8 12
HEX NUT
13
F-CS-05C-12 8
SOCKET HEAD CAP SCREW
14
CFH-3081
1
CARTRIDGE HEATER
15
CFH-3070
1
HEATER CORE
16
CFH-3078
2
END CAP
17
F-CS-05C-16 4
SOCKET HEAD CAP SCREW
18
CFH-3086 1
CLAMP
19
F-MS-1032-08
1
PAN HEAD SCREW
20
F-STS-632-06
4
SELF TAPPING SCREW
21
O-T-127
2
O-RING
22
O-T-154 2
O-RING
23
PF-AP-12
2
HEX SOCKET PIPE PLUG
24
F-UB-06C-40 2
U-BOLT
25
F-HN-06C 4
HEX NUT
26
F-FW-08-Z
12
WASHER
27
CFH-3089 1
MOUNT BRACKET
28
F-FW-06
7
WASHER
29
F-HB-06C-12 3
HEX BOLT
30
09592 2
DIODE
31
00353
4
CONNECTOR
32
E-FB-101 1
FUSE BLOCK
33
09603
2
15 AMP FUSE
34
CFH-3087 1
THERMOSTAT ASSY
36
CFH-3091 1
THERMOSTAT DECAL
37
PF-SE-08
1
STREET ELBOW
39
9807-2-1
1
PRESSURE SWITCH
40
9807-1-1 1
PILOT OPERATOR
41
7701-3-28 1
PUSH FITTING
42
7701-3-29
1
PUSH FITTING
43
7701-3-30 1
FLAME ARRESTOR
44
PF-RB-04-02
1
PIPE BUSHING
45
8407-3-1
1
SHUTTLE VALVE
46
PF-HN-02
1
HEX NIPPLE
47
8407-4-1 1
3-WAY VALVE
48
MPH-2534
2
POLY ELBOW
49
8407-5-1 1
PUSH BUTTON
50
7102-24-16
2
SELF TAPPING SCREW
F-HN-08F-GR8 NUTS TO 60 FT/LBS
TO FILL THE THREADS. TORQUE THE
BRUSH ANTI SEIZE ON CFH-3079 TIE RODS1
1
1
OPTIONAL PARTS AND ASSEMBLIES
DESCRIPTIONQTY
ITEM
PART NO.
59
09806 1 LAMP
51
08247-BK 1.25 FT
WIRE (NOT SHOWN)
52
08247-W
.60 FT
WIRE (NOT SHOWN)
53
09848
2.00 FT
14 GA. WIRE (NOT SHOWN)
38
F-RP-04-12=SS 4 ROLL PIN (INSTALLED IN END CAPS)
58
F-GS-832-04
1
GROUND
57
CFH-DECAL-3 1
WARNING DECAL (NOT SHOWN)
56
CFH-DECAL-2
1
CE DECAL (NOT SHOWN)
55
CFH-DECAL-1 1
MVP DECAL (NOT SHOWN)
54
6701-27-1 1
ELEC DECAL (NOT SHOWN)
60
08810
.833 FT
POLY TUBE
Page 14

14
1
MAGNUM VENUS PRODUCTS
ASSY - DOUBLE STACK CFH HEATER
REV. - 11/14/06 JEM
CFH-4000-AIDS
2
3
4
5
6
6
7
8
8
8
8
11
9
9
9
11
9
10
1
F-HN-08F-GR8 NUTS TO 60 FT/LBS
TO FILL THE THREADS. TORQUE THE
BRUSH ANTI SEIZE ON CFH-3079 TIE RODS1
A = ADDED TORQUE VALUE FLAG NOTE TO DWG. 3/2/07REV.
Page 15

15
1
CFH-4000-AI
2
HEATER ASSY
PARTS LIST
ASSY - DOUBLE STACK CFH HEATER CFH-4000-AIDS
PART NO.
ITEM
QTY
DESCRIPTION
2
60950-1
1
MOUNTING BRACKET
3
COL-CLMP 2 COLUMN CLAMP
4
F-HB-06C-40-GR5
4 HEX BLOT
5
F-HB-06C-20 8
HEX BOLT
6
F-HB-06C-20 12
HEX NUT
7
F-SW-06 8
LOCK WASHER
8
HAW-08 3FT
RESIN HOSE
9
390H-08248 8
SWEDGE ON HOSE FITTING
10
2103-8-10
2
PARKER ELBOW - HOSE TO PIPE
11
033T-8-8
2
PARKER HOSE TEE
1 BRUSH ANTI SEIZE ON CFH-3079 TIE RODS
TO FILL THE THREADS. TORQUE THE
F-HN-08F-GR8 NUTS TO 60 FT/LBS
1
Page 16

16
Page 17

17
Corporate HQ/Mfg. Manufacturing/Sales
5148 113th Ave. 1862 Ives Ave.
Clearwater, FL 33760 Kent, WA 98032
Ph: 727-573-2955 Ph: 253-854-2660
Fax: 727-571-3636 Fax: 253-854-1666
E-mail: info@mvpind.com
Web: www.mvpind.com
 Loading...