

Magnavox P-14PE, P-08PE, P-12PE Owner's Manual
Before operating this product, please read the instructions
carefully and save this manual for future use.
MODEL: P-14PE
For any service needs, call 1-855-368-8606
OWNER'S MANUAL

Inside you will find many helpful hints on how to use and maintain your air conditioner
properly. Just a little preventive care on your part can save you a great deal of time
and money over the life of your air conditioner. You'll find many answers to common
problems in the Troubleshooting Tips section (page 15
Read This Manual
!
CAUTION
This appliance is not intended for use by children or persons with reduced physical
sensory or mental capabilities, unless they are supervised by a responsible adult
or considered capable enough to operate the appliance safely.
Children should be supervised to ensure that they do not play with the appliance.
If the supply cord is damaged, it must be replaced by the manufacturer, its service
agent or similarly qualified persons in order to avoid a hazard.
The appliance should be installed in accordance with national wiring regulations.
Do not operate your air conditioner in a wet room such as a bathroom or laundry room.
The appliance with e
lectric
heater should not be near any combustible materials.
C
have problems installing the unit.
ontact the authorised service technician for repair or maintenance of this unit or
).

1
CONTENTS
SAFETY PRECAUTIONS
Safety rules ... .....................................................................................................................................2
Operating conditions ..........................................................................................................................2
Electrical information ..................................................................
.......................................................3
Included accessories ...........................................................................................................................3
Name of parts ...... ...............................................................................................................................4
Control panel operating instructions ........ ........ ...........................................
........................................5
Operating instructions ..........................................
.............................................................................6
Placement ..........................................................................................................................................8
Window kit installation ....................................................
..................................................................8
Exhaust hose installation ...............................................................................................................12
Water drainage ................................................................................................................................13
Care and maintenance ............................
........................................................................................14
Trouble shooting tips
........................................................................................................................15
AIR CONDITIONER FEATURES
CARE AND MAINTENANCE
TROUBLESHOOTING TIPS
OPERATING INSTRUCTIONS
INSTALLATION INSTRUCTIONS
PARTS IDENTIFICATION
To prevent injury to the user or other people and property damage, the following instructions must be
followed. Incorrect operation may cause harm or damage.
Your air conditioner should be protected from
moisture. e.g. condensation, splashed water, etc.
Do not place or store your air conditioner where
it
can fall into water or any other liquid.
Unplug immediately.
Always transport your air conditioner in a vertical
position and place on a stable, level surface
during use.
Turn off the product when not in use.
Always contact a qualified person to carry out
repairs. If the supply cord is damaged it must be
repaired by a qualified repairer.
Keep an air path of at least 12 in. all around the
unit from walls, furniture and curtain
s.
If the air conditioner is knocked over during use,
turn off the unit and unplug immediately.
SAFETY PRECAUTIONS
!
Always do this
Do not operate your air conditioner in a wet room
such as a bathroom or laundry room.
Do not touch the unit with wet or damp hands or
when barefoot.
Do not press buttons with anything other than
fingers.
Do not remove any fixed covers. Do not use this
appliance if it is not working properly, or if it has
been dropped or damaged.
Never use the power plug to turn unit on or off.
Do not cover or obstruct the inlet or outlet grilles.
Do not use hazardous chemicals to clean or
come into contact with the unit. Do not use in
the presence of inflammable substances or
vapor such as alcohol,
insecticides, gasoline, etc.
Do not allow children to operate the unit
unsupervised.
Do not use this product for functions other than
those described in this instruction manual.
Never do this
Energy Save
Use the unit in the recommended room size.
Place the unit where nothing can obstruct the air flow.
Keep blinds/curtains closed during the sunniest part of the day.
Keep the filters clean.
Keep doors and windows closed to keep cool air in and warm air out.
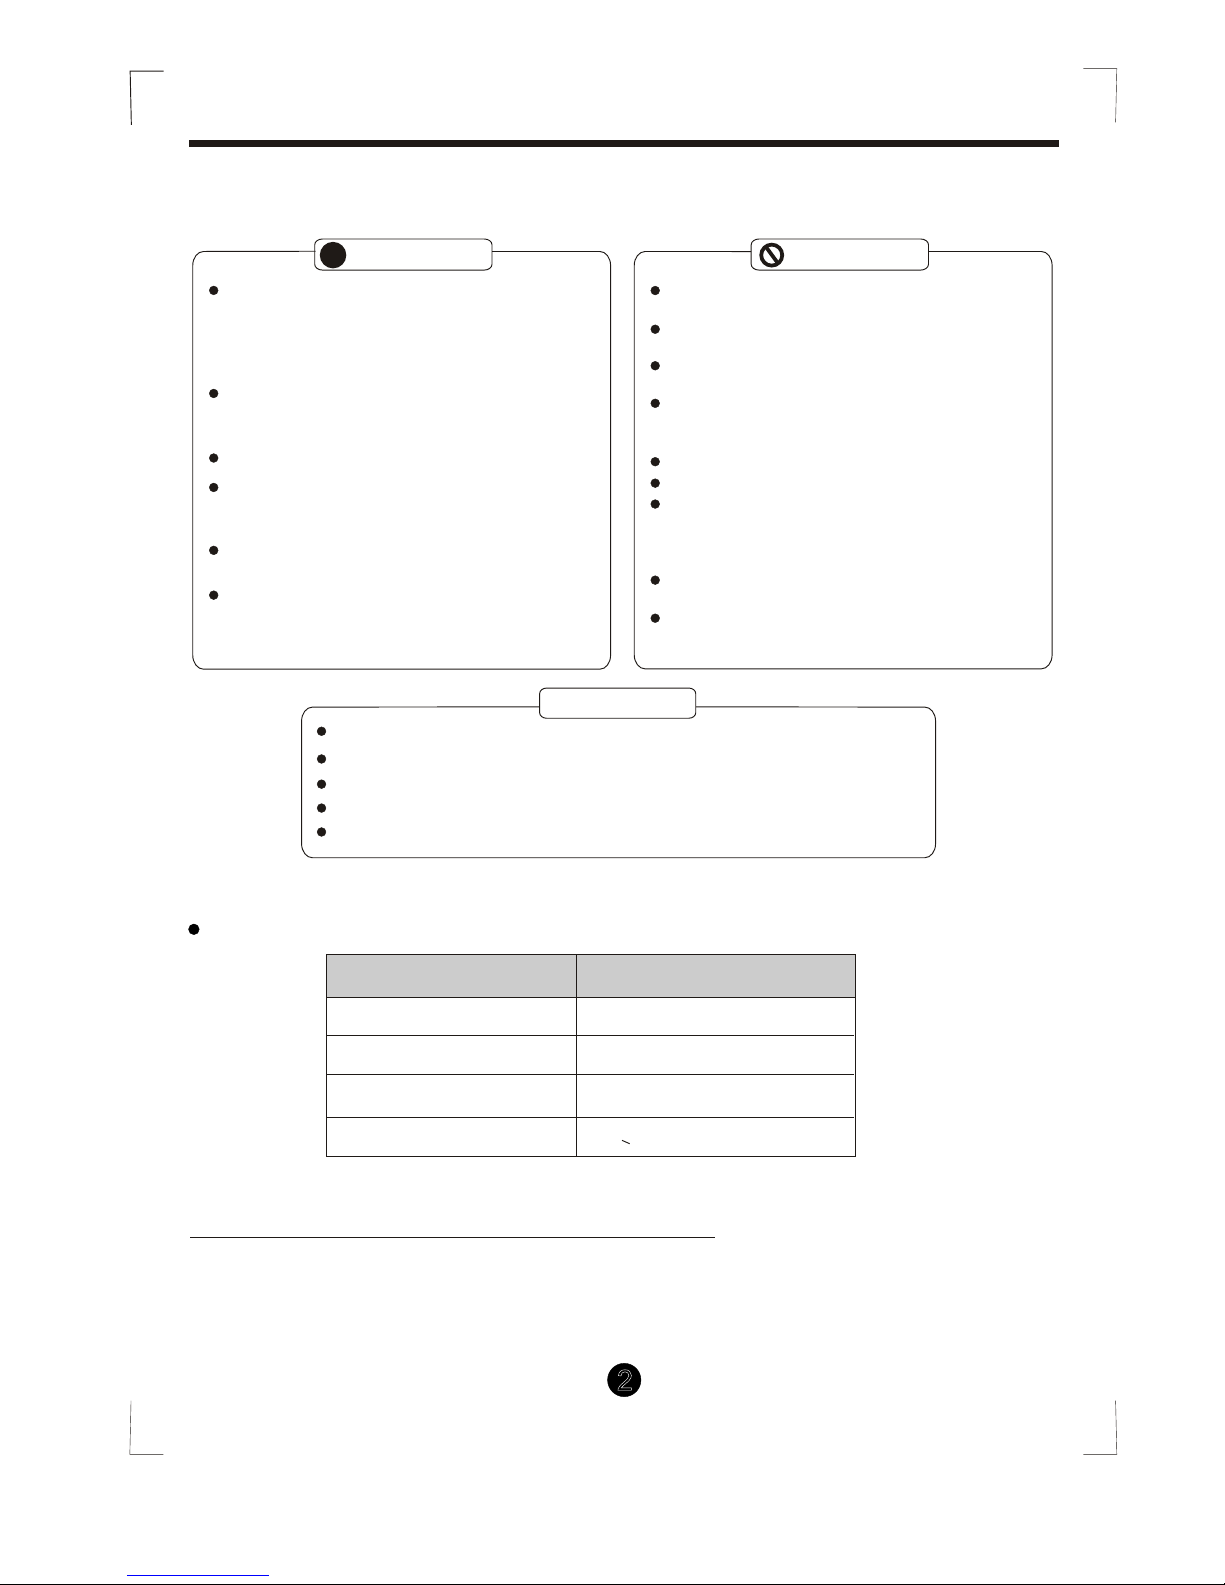
The air conditioner must be operated within the temperature range indicated below:
Ope r ating co nditions
Safety rules
Suggested tools for window kit installation
1. Screwdriver(medium s ize Phi llips )
2. Tape measure or ru ler
3. Knife or scissors
4. Saw(In case t he wind ow kit needs to be cut for the window to fit for direct installation)
MODE ROOM TEMPERATURE
COOL
DRY
O O O O
17 C(62 F)~35 C(95 F)
O O O O
13 C(55 F)~35 C(95 F)
HEAT (heat pump type)
O O O O
5 C(41 F)~30 C(88 F)
HEAT (electrical heat type)
O O
<30 C/88 F
Note: Per formance m ay be reduce d outside of these opera ting temperatures.
2

Be sure the power requirement is adequate for the model you have chosen. This information can be found
on the serial plate, which is located on the side of the cabinet and behind the grille.
Be sure the air conditioner is properly grounded. To minimize shock and fire hazards, proper grounding is
important. The power cord is equipped with a three-prong grounding plug for protection against shock
hazards.
Your air conditioner must be used in a properly grounded wall receptacle. If the wall receptacle you intend
to use is not adequately grounded or protected by a time delay fuse or cir
cuit breaker, have a qualified
electrician install the proper receptacle.
Ensure the receptacle is accessible after the unit installation.
WARNING
For you r safety
Do not store or use gasoline or other flammable vapors and liquids in the vicinity of this or
any other appliance.
Avoid fire hazard or electric shock. Do not use an extension cord or an adaptor plug.
Do not remove any prong from the power cord.
WARNING
Elec trical Infor mation
PARTS IDENTIFICATION
Check all the accessories are included in the package and please refer to the installation instructions for
their usage.
NOTE: Optio nal par ts( ), for some models only.
All the illus trati ons in this manual are for ex plana tion pu rpose o nly. Your air conditione r
may be slight ly diff erent.
NOTE:
INCLUDED ACCESSORIES
PARTS
PARTS NAME QUANTITY
1 set
Foam seal
3 pcs
E
T P
M
U
A
O
T
O
C
L
O
R
D
Y
E
H
T
A
A
F
N
G
I
H
H
E
M
D
O
L
W
O
M
E
D
AF S
N
EP DE
W
S
G
N
I
M
I
T
RE
O
N
C
E
N
O
M
O
Y
N
O
O/ F
F
MI
T
R
E O
F
F
E
R
E
S
L
T
C
O
K
E
S T
T
M
E
E
P
A
R
U
T E
R
(
)
C
F
L
O
O
L
W
M
E
L
D
E
D
P
S
I
A
L
Y
O
I N
U
T
BR
O
Remote Controller and Battery
(For remote control models only)
1 set
Drain hose 1 pc
( )
Exhaust hose(supplied),adapter B
and
Window Slider Kit and bolt
( )
3
PARTS IDENTIFICATION
NAME OF PARTS
Fig.2
Front
Control Panel
Horizontal Louver Blade
(swings automatically)
Caster wheels
Carrying Handles
(on each side)
1
2
3
4
1
2
3
4
1
2
3
4
5
Model A
Model B
Control Panel
Horizontal Louver Blade
(operate manually)
Remote signal receptor
Caster wheels
Carrying Handles
(on each side)
1
2
3
4
5
Fig. 1
Rear
6
7
8
9
10
11
Upper Air Filter
(Behind the grille)
Air Outlet
Power cord outlet
Air intake
Drain Outlet
Air intake
Lower Air Filter
(Behind the grille)
Bottom tray drain outlet
12
13
4
Fig.3
9
10
11
12
13
6
7
8
 Loading...