

Page 1
MKG Solid State Control Calibration
MKG-ST Quick Reference Card
The following procedure describes the steps to calibrate the Solid State
Temperature Control for MKG-ST Griddle Models.
Note 1: This procedure should be performed after the unit has been
allowed to stabilize at the Set Point Temperature.
1
Tool List
5/16" Nut Diver or Socket
Weighted Griddle Probe
Digital Thermometer
Small Flat Blade Screwdriver
Recommended Tools
3 4
2
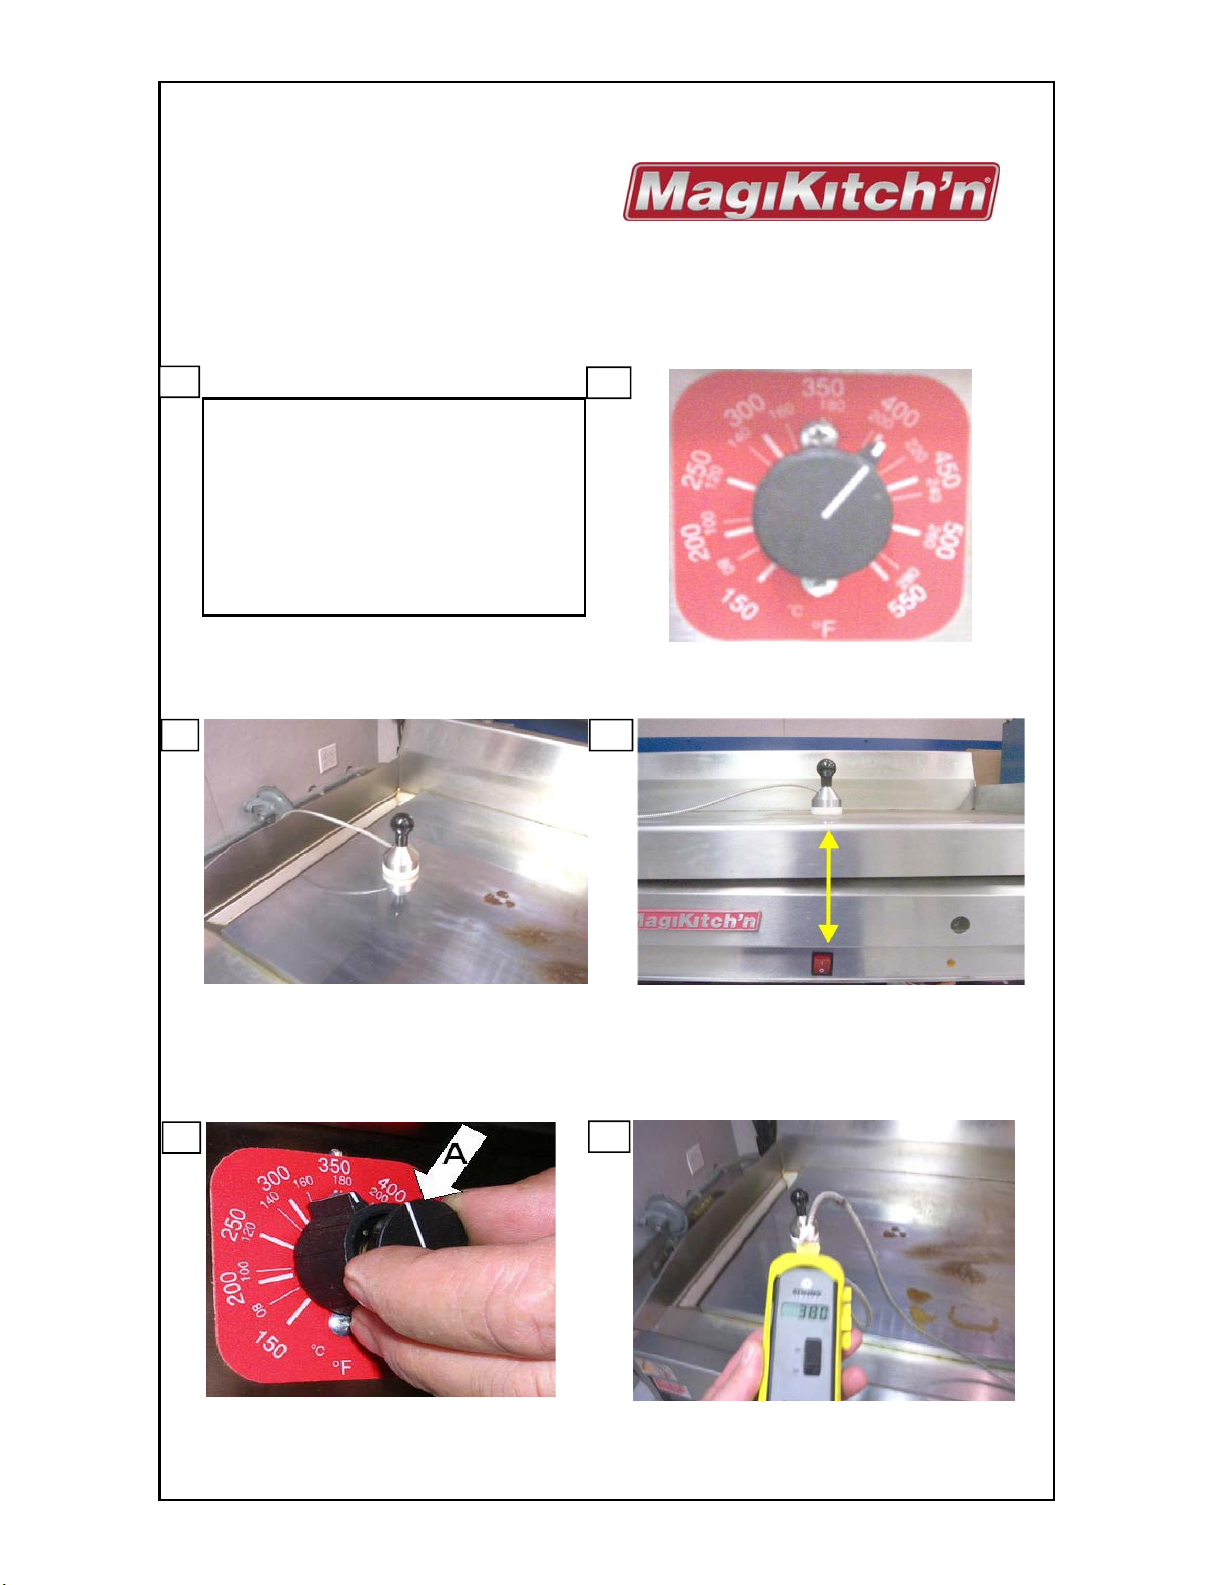
Turn the unit on, set the Contol
Knob to the desired set point.
Place a weighted griddle
temperature probe on the
cooking surface 9-12" from the
front edge of the griddle plate.
5
While the Unit stabilizes at
Temperature for 30-60 minutes,
remove the contol knob caps
L80-070 1 Rev 1 (06/11)
Align the griddle probe with the
power switch for the cooking
zone being calibrated.
See Note 6 on p. 3
6
After the temperature stabilizes,
Monitor the temperature when
the heat comes on (3-4 times).
Page 2
MKG Solid State Control Calibration
MKG-ST Quick Reference Card
Note 2: The knob caps can be easily removed with a fingernail, or a
small flat blade screwdriver. Take care not to damage the cap, any
damage may cause them to lose the ability to snap onto the control
7
When you know when the heat
comes on consistently you can
make your adjustment.
9
Once the knob is loose, rotate
the knob so the indicator line is
pointing at the temperature
where the heat was coming on.
Example- If the heat was coming
on at 380°F, rotate the knob so
the pointer is set to 380°F.
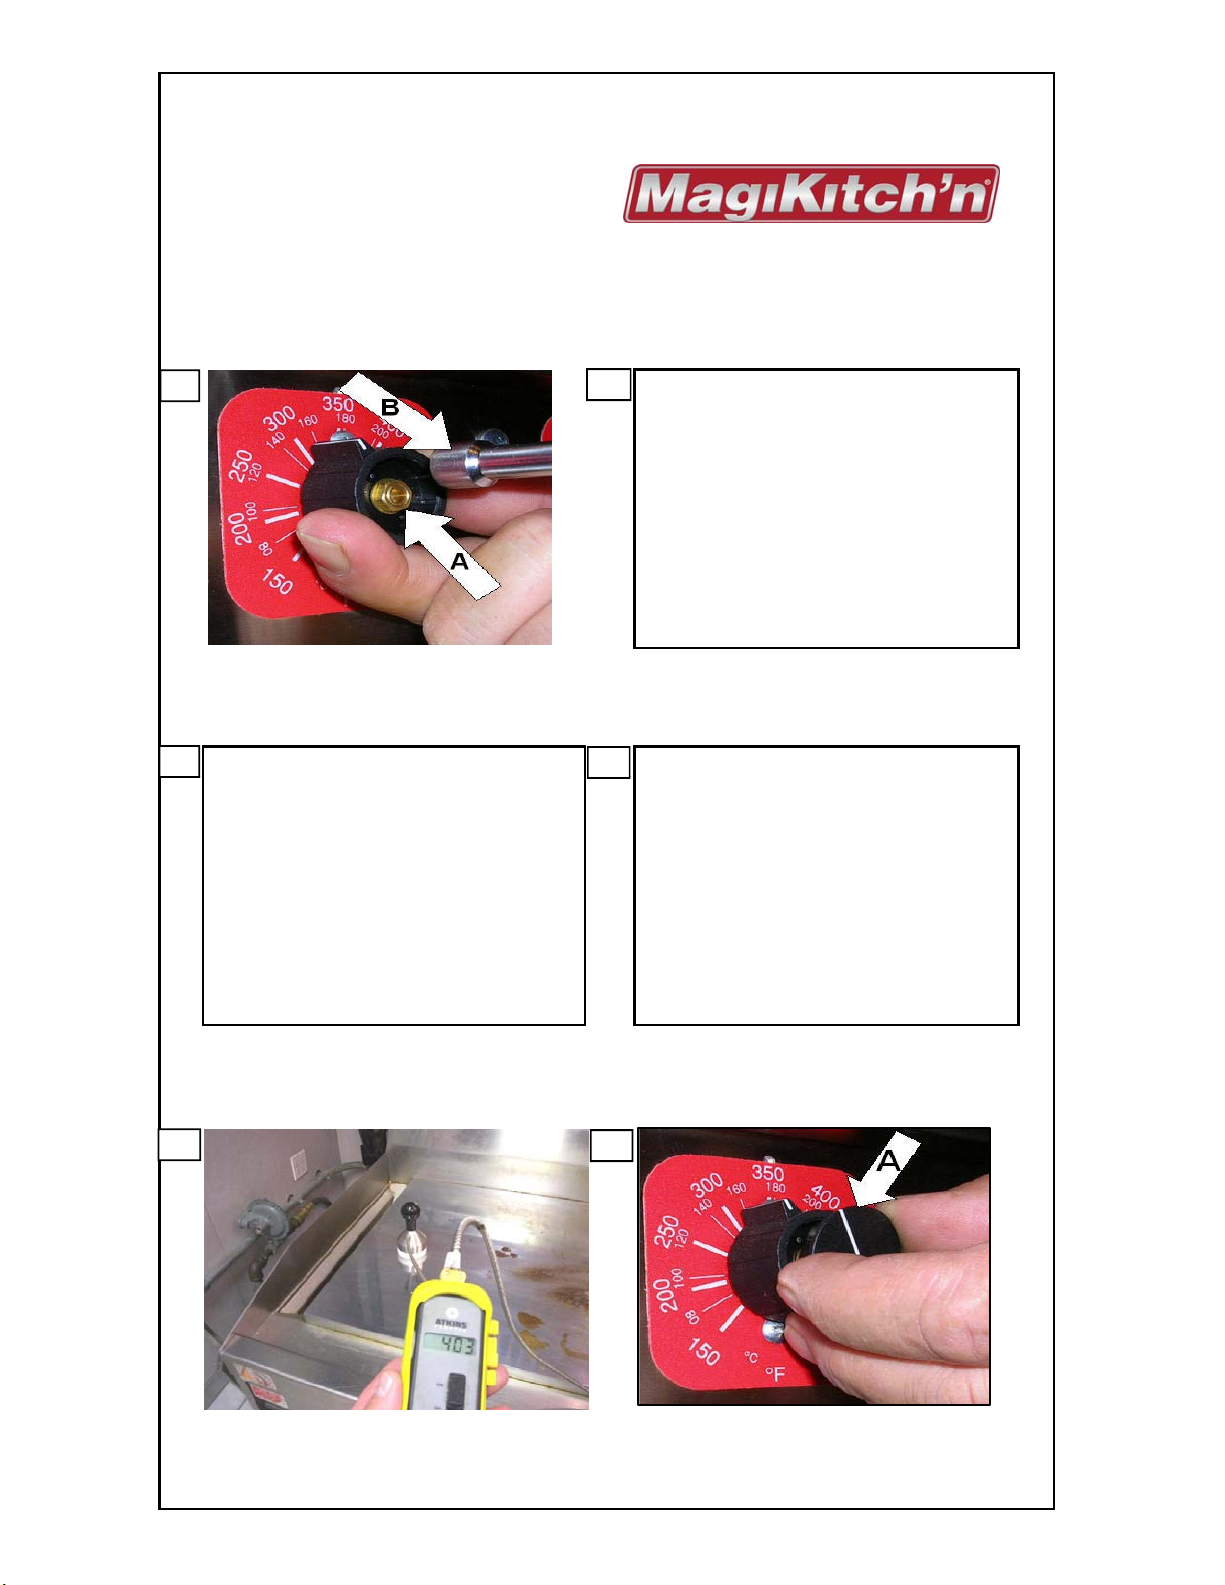
8
To reset the Knob, grab the knob
firmly with one hand, using a
5/16" nutdriver or socket(B),
loosen the ferrule nut (A) on the
control shaft. Make sure to limit
the movement of the knob. This
will allow the knob to move freely,
See Step 7.
Note 3: If the knob sticks on
the shaft, pull the knob to
loosen it off the shaft.
Once the knob is in place, snug
10
the ferrule nut while holding the
knob firmly. Then reset the knob
indicator line to the desired set
point. Monitor when the heat
comes on for 3-4 times, repeat
steps 8 & 9 as needed until
temperature is at the desired set
point.
Note 4: All temperatures may
not be on the label,
approximate as needed.
11
When the calibration of the
control is satisfactory, tighten the
ferrule nut completely
L80-070 2 Rev 1 (06/11)
12
Replace the knob cap so that the
indicator lines are aligned with
each other.
Page 3

MKG Solid State Control Calibration
MKG-ST Quick Reference Card
Note 5: A good hint to maintain good temperature uniformity on your
appliance is to use proper cooking rotation from front to back and
side to side. Any unused cooking surface within a zone may overheat.
13
Repeat for all cooking zones as
needed.
14
Note 6: Each individual
cooking zone can only be
calibrated in one location. The
control sensor is aligned with
each zones power switch,
approximately 9"-12" from the
front edge of the griddle plate.
Some units may have an
arrow located on the top rail
that is aligned with the
temperature sensor in that
cooking zone.
In the event of problems with or questions about your
equipment, please contact the MagiKitch’n Authorized Service
and Parts representative (A SAP) c ove ring your a re a , or contact
MagiKitch’n at the numbers listed below.
(603) 225-6684 World Wide
Website Address: www.magikitchn.com
L80-070 3 Rev 1 (06/11)
Page 4

L80-070 4 Rev 1 (06/11)
 Loading...