

Page 1
Owner's Guide
20-inch
ManualClean
Gas Range
f
TABLE OF CONTENTS
IMPORTANT SAFETY INSTRUCTIONS ......... 2-4 • Cooktop .................................. 11
ABOUT YOUR COOKTOP ..................... 5-6
• Ignition system ............................. 5
• Surface burners .......................... 5-6
• Cookware ................................. 6
ABOUT YOUR OVEN ........................ 7-8
• Aluminum foil usage ......................... 7
• Preheating ................................. 7
• Oven control ............................. 7
• Cooking tips ............................... 8
CLEANING CHART .......................... 9-10
ABOUT YOUR RANGE ...................... 11-13
• Ignition system ............................ 11
• Grates ................................... 11
• Surface burners ........................... 11
• Oven door ................................ 12
• Oven bottom .............................. 12
• Broiler drawer ............................. 12
• Oven rack ................................ 13
• Leveling legs .............................. 13
ABOUT SERVICE ........................... 14-15
• Troubleshooting chart ................... 14-15
• How to remove range for cleaning and
servicing ................................ 15
• Electrical connection ....................... 15
WARRANTY .................................. 16
FOR CUSTOMER ASSISTANCE CALL 1-800-688-9900 USA
1-800-688-2002 Canada
81 13P705=60
A/01/08
Page 2
Thank You for purchasing our cooking
appliance. To help you obtain the maximum in cooking
satisfaction, we offer these suggestions:
Read this manual before using the appliance.
WARNING: If the information in this
manual is not followed exactly, a fire or
explosion may result causing property
damage, personal injury or death.
Review all safety and caution instructions.
Review the Troubleshooting Chart on flammable vapors and liquids in the
pages 14 and 15 if service becomes necessary, vicinity of this or any other appliance.
[]C_Include the model and serial numbers of your WHAT TO DO IF YOU SMELL GAS:
m
Do not store or use gasoline or other
appliance when requesting service. • Do not try to light any appliance.
will be needed for warranty service.
• Proof of purchase such as sales receipt i Do not touch any electrical switch; do
[]C_You can contact us at: Immediately call your gas supplier
not use any phone in your building.
Maytag Appliances Sales Company from a neighbor's phone. Follow the
Attn: CAIn sMCenter gas supplier's instructions.
P. O. Box 2370
Cleveland, TN 37320-2370 • If you cannot reach your gas supplier,
1-800-688-9900 USA 1-800-688-2002 Canada call the fire department.
In our continuing effort to improve the quality and - Installation and service must be
performance of our cooking appliances, it may be performed by a qualified installer,
necessary to make changes to the appliance without
revising this manual, service agency or the gas supplier.
Read and follow all instructions before using this
shock, personal injury or damage to the appliance as a A WARNING
result of improper usage of the appliance. Use appliance
only for its intended purpose as described in this manual. • ALL RANGES CAN TIP AND
appliance to prevent the potential risk of fire, electric i __i¢llm_l_ )
CAUSE INJURIES TO PERSONS.
Read all instructions before
The following instructions are based on safety INSTRUCTIONS.
considerations and must be strictly followed to eliminate
the potential risks of fire, electric shock, or personal injury.
Have your appliance installed and properly grounded by a
qualified installer according to the installation instructions.
Have the installer show you the location of the gas shut off
valve and how to shut it off in an emergency.
Always disconnect power to appliance before servicing.
To ensure proper operation and avoid possible injury or
damage to unit do not attempt to adjust, repair, service, or
replace any part of your appliance unless it is specifically
recommended in this book. All other servicing should be
referred to a qualified installer or servicer.
using this appliance. ) INSTALLANTI'TIPDEVICESFOLLOWPACKEDWITHALL RANGE.INSTALLATION
!
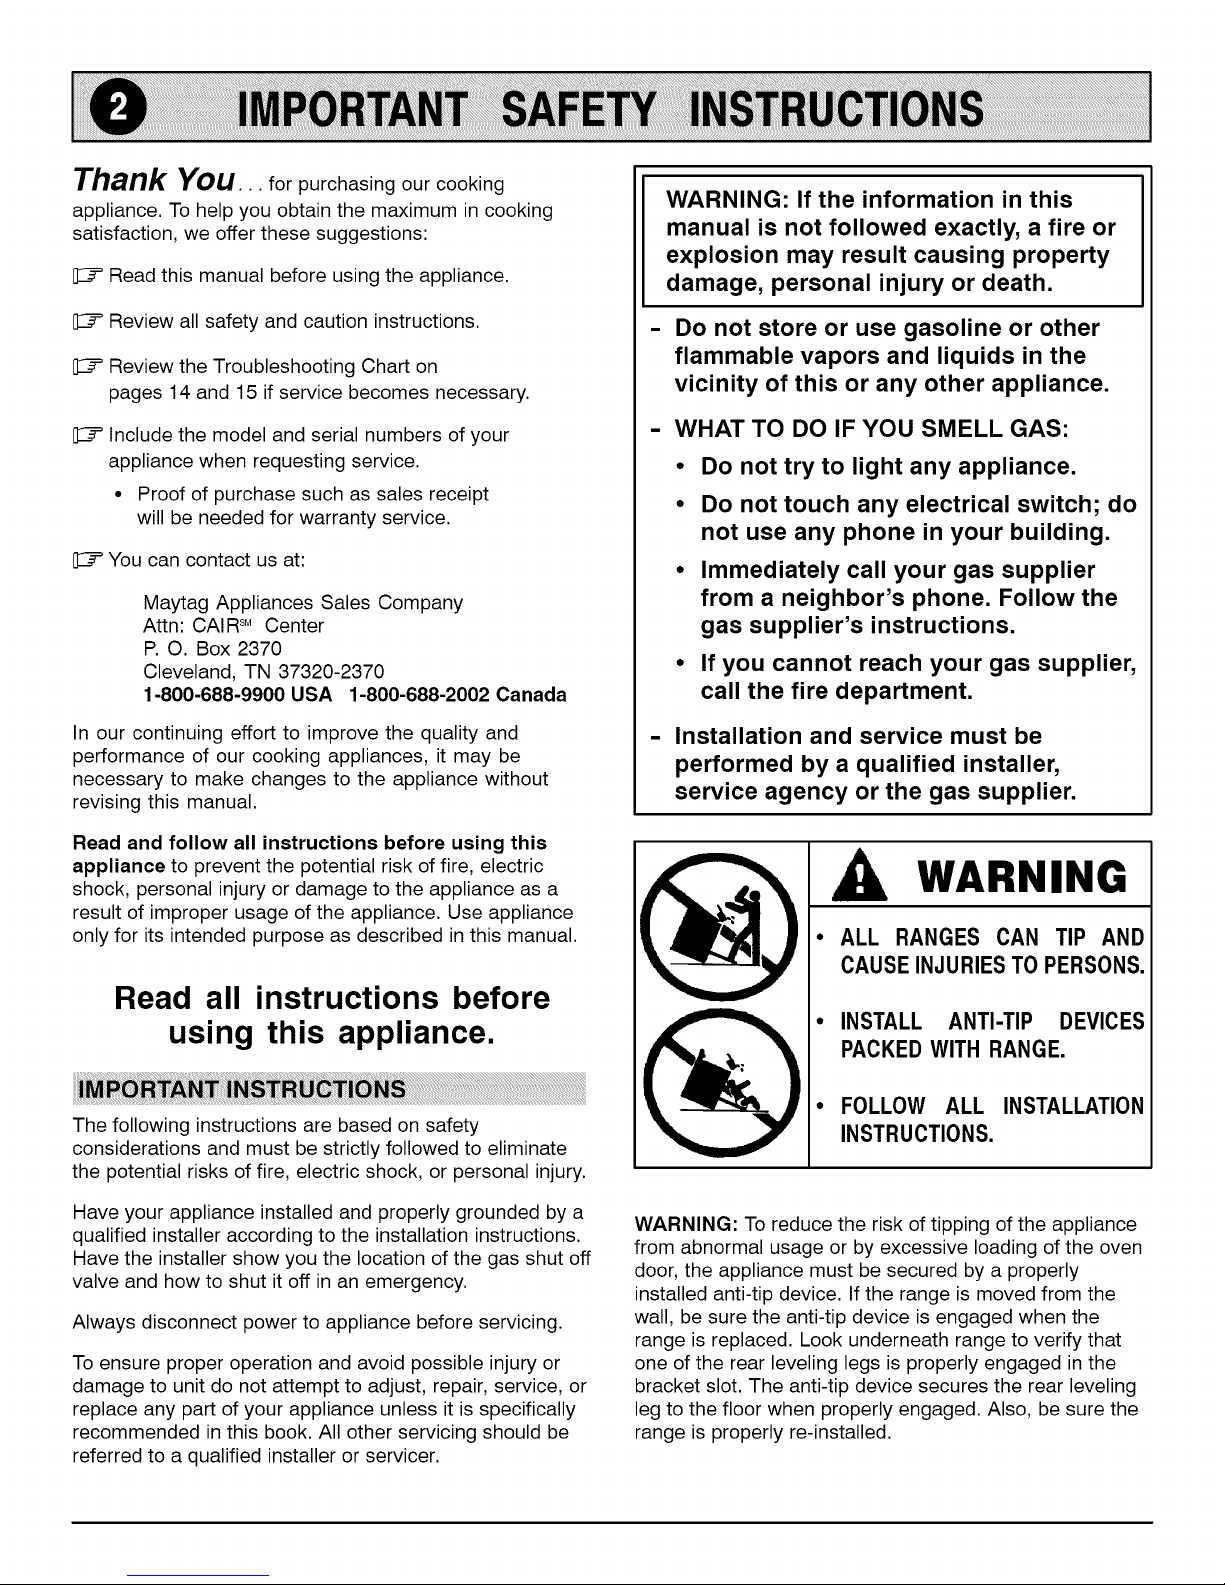
WARNING: To reduce the risk of tipping of the appliance
from abnormal usage or by excessive loading of the oven
door, the appliance must be secured by a properly
installed anti-tip device. If the range is moved from the
wall, be sure the anti-tip device is engaged when the
range is replaced. Look underneath range to verify that
one of the rear leveling legs is properly engaged in the
bracket slot. The anti-tip device secures the rear leveling
leg to the floor when properly engaged. Also, be sure the
range is properly re-installed.
Page 3
Donotleavechildrenaloneorunsupervisednearthe
appliancewhenitisinuseorisstillhot.Childrenshould
neverbeallowedtositorstandonanypartofthe
appliance.
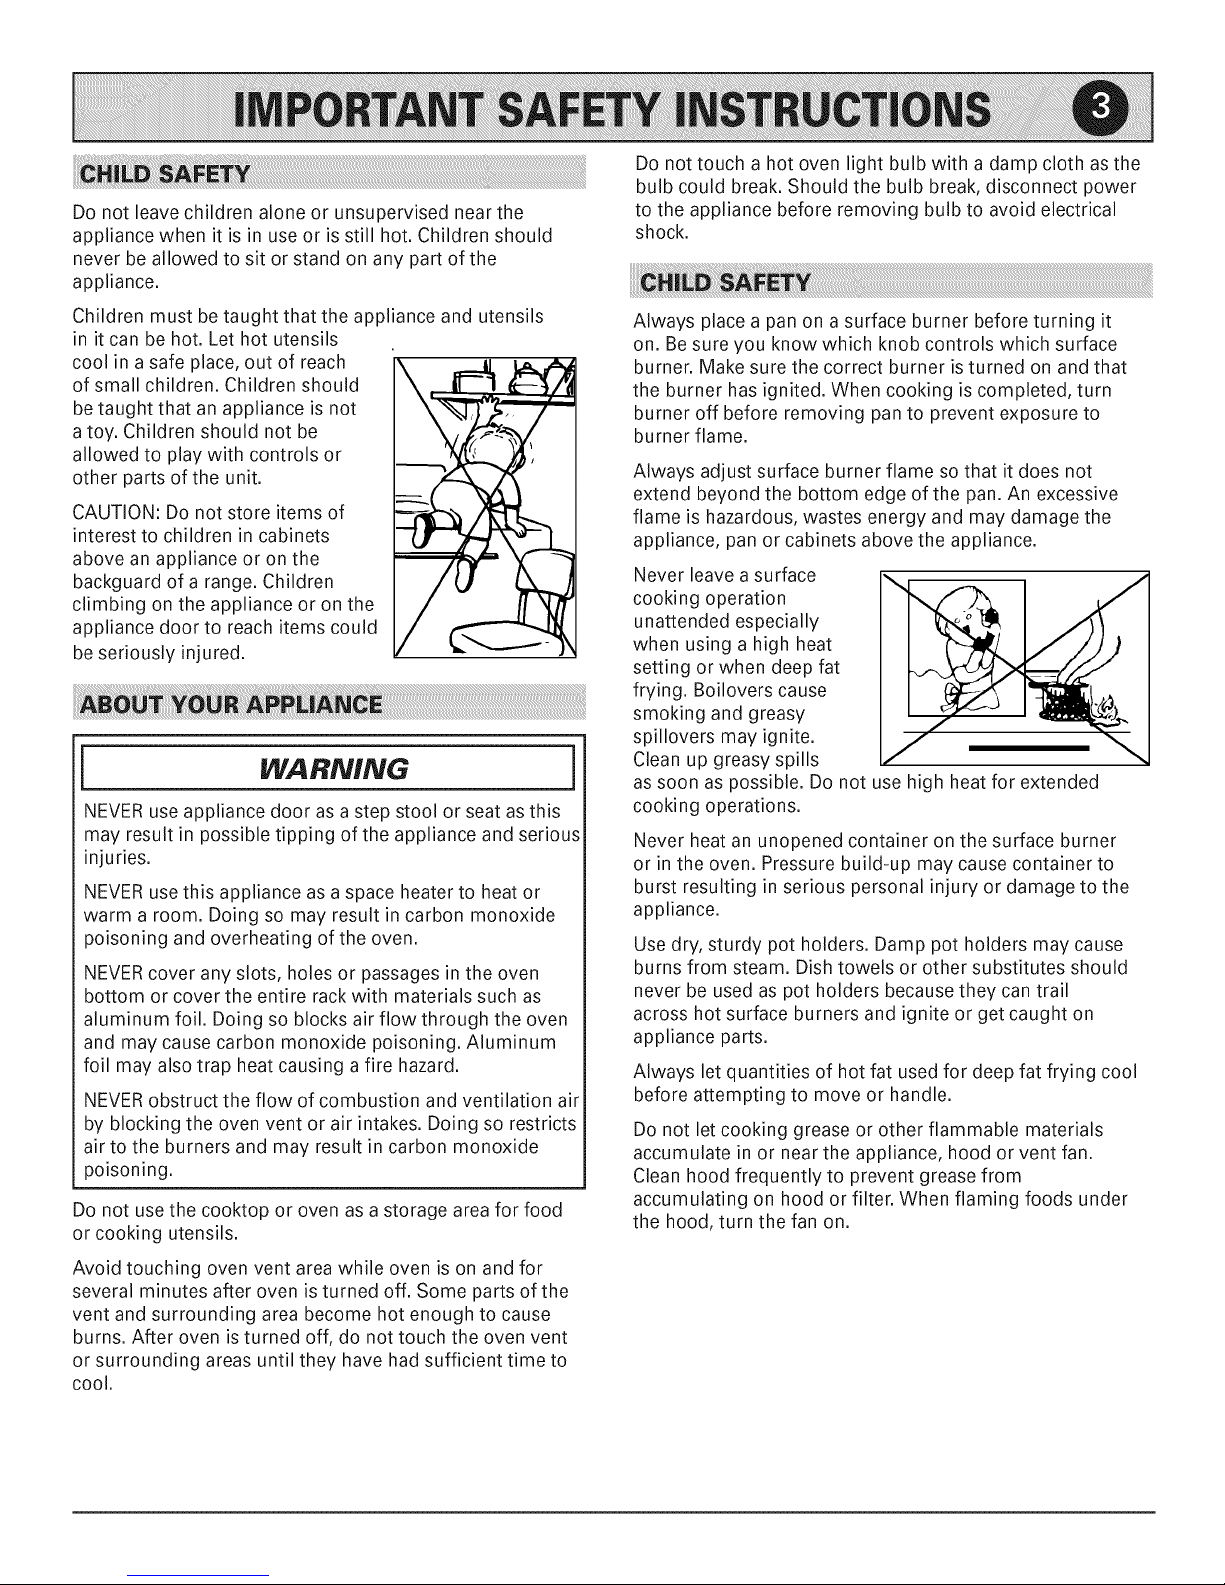
Childrenmustbetaughtthattheapplianceandutensils
initcanbehot.Lethotutensils
coolinasafeplace,outofreach
ofsmallchildren.Childrenshould
betaughtthatanapplianceisnot
atoy.Childrenshouldnotbe
allowedtoplaywithcontrolsor
otherpartsoftheunit.
CAUTION:Donotstoreitemsof
interesttochildrenincabinets
aboveanapplianceoronthe
backguardofarange.Children
climbingontheapplianceoronthe
appliancedoortoreachitemscould
beseriouslyinjured.
WARNING i
NEVERuse appliance door as a step stool or seat as this
may result in possible tipping of the appliance and serious
injuries.
NEVERuse this appliance as a space heater to heat or
warm a room. Doing so may result in carbon monoxide
poisoning and overheating of the oven.
NEVERcover any slots, holes or passages in the oven
bottom or cover the entire rackwith materials such as
aluminum foil. Doing so blocks air flow through the oven
and may cause carbon monoxide poisoning. Aluminum
foil may also trap heat causing a fire hazard.
NEVERobstruct the flow of combustion and ventilation air
by blocking the oven vent or air intakes. Doing so restricts
airto the burners and may result in carbon monoxide
poisoning.
Do not use the cooktop or oven as a storage area for food
or cooking utensils.
Do not touch a hot oven light bulb with a damp cloth as the
bulb could break. Should the bulb break, disconnect power
to the appliance before removing bulb to avoid electrical
shock.
Always place a pan on a surface burner before turning it
on. Be sure you know which knob controls which surface
burner. Make sure the correct burner isturned on and that
the burner has ignited. When cooking is completed, turn
burner off before removing pan to prevent exposure to
burner flame.
Always adjust surface burner flame so that it does not
extend beyond the bottom edge of the pan. An excessive
flame is hazardous, wastes energy and may damage the
appliance, pan or cabinets above the appliance.
Never leave a surface
cooking operation
unattended especially
when using a high heat
setting or when deep fat
frying. Boilovers cause
smoking and greasy
spillovers may ignite.
Clean up greasy spills
as soon as possible. Do not use high heat for extended
cooking operations.
Never heat an unopened container on the surface burner
or in the oven. Pressure build-up may cause container to
burst resulting in serious personal injury or damage to the
appliance.
Use dry, sturdy pot holders. Damp pot holders may cause
burns from steam. Dish towels or other substitutes should
never be used as pot holders because they can trail
across hot surface burners and ignite or get caught on
appliance parts.
Always let quantities of hot fat used for deep fat frying cool
before attempting to move or handle.
Do not let cooking grease or other flammable materials
accumulate in or near the appliance, hood or vent fan.
Clean hood frequently to prevent grease from
accumulating on hood or filter. When flaming foods under
the hood, turn the fan on.
Avoid touching oven vent area while oven is on and for
several minutes after oven is turned off. Some parts of the
vent and surrounding area become hot enough to cause
burns. After oven isturned off, do not touch the oven vent
or surrounding areas until they have had sufficient time to
cool.
Page 4
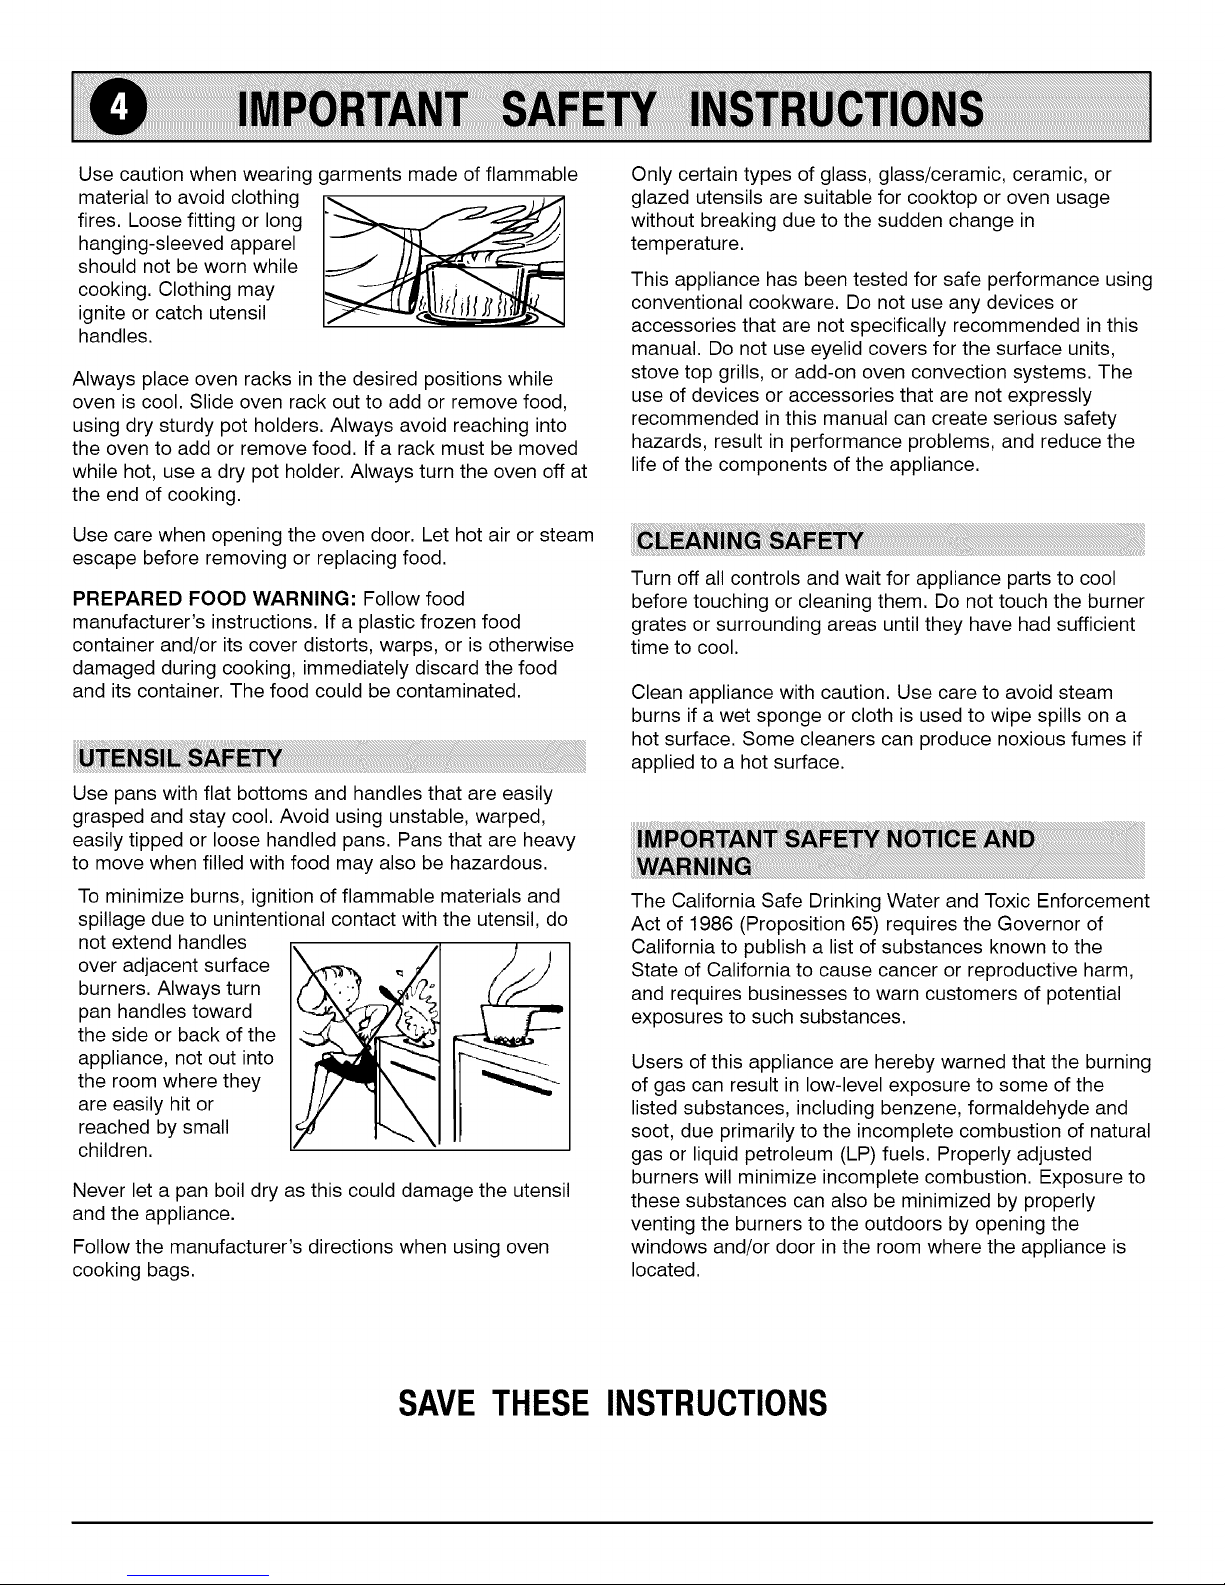
Usecautionwhenwearinggarmentsmadeofflammable
materialtoavoidclothing
fires.Loosefittingorlong
hanging-sleevedapparel
shouldnotbewornwhile
cooking.Clothingmay
igniteorcatchutensil
handles.
Alwaysplaceovenracksinthedesiredpositionswhile
oveniscool.Slideovenrackouttoaddorremovefood,
usingdrysturdypotholders.Alwaysavoidreachinginto
theoventoaddorremovefood.Ifarackmustbemoved
whilehot,useadrypotholder.Alwaysturntheovenoffat
theendofcooking.
Usecarewhenopeningtheovendoor.Lethotairorsteam
escapebeforeremovingorreplacingfood.
PREPAREDFOODWARNING:Followfood
manufacturer'sinstructions.Ifa plasticfrozenfood
containerand/oritscoverdistorts,warps,orisotherwise
damagedduringcooking,immediatelydiscardthefood
anditscontainer.Thefoodcouldbecontaminated.
Usepanswithflatbottomsandhandlesthatareeasily
graspedandstaycool.Avoidusingunstable,warped,
easilytippedorloosehandledpans.Pansthatareheavy
tomovewhenfilledwithfoodmayalsobehazardous.
Tominimizeburns,ignitionofflammablematerialsand
spillageduetounintentionalcontactwiththeutensil,do
notextendhandles
overadjacentsurface
burners.Alwaysturn
panhandlestoward
thesideorbackofthe
appliance,notoutinto
theroomwherethey
areeasilyhitor
reachedbysmall
children.
Neverletapanboildryasthiscoulddamagetheutensil
andtheappliance.
Followthemanufacturer'sdirectionswhenusingoven
cookingbags.
Onlycertaintypesofglass,glass/ceramic,ceramic,or
glazedutensilsaresuitableforcooktoporovenusage
withoutbreakingduetothesuddenchangein
temperature.
Thisappliancehasbeentestedforsafeperformanceusing
conventionalcookware.Donotuseanydevicesor
accessoriesthatarenotspecificallyrecommendedinthis
manual.Donotuseeyelidcoversforthesurfaceunits,
stovetopgrills,oradd-onovenconvectionsystems.The
useofdevicesoraccessoriesthatarenotexpressly
recommendedinthismanualcancreateserioussafety
hazards,resultinperformanceproblems,andreducethe
lifeofthecomponentsoftheappliance.
Turnoffallcontrolsandwaitforappliancepartstocool
beforetouchingorcleaningthem.Donottouchtheburner
gratesorsurroundingareasuntiltheyhavehadsufficient
timetocool.
Cleanappliancewithcaution.Usecareto avoidsteam
burnsifawetspongeorclothisusedtowipespillsona
hotsurface.Somecleanerscanproducenoxiousfumesif
appliedtoahotsurface.
TheCaliforniaSafeDrinkingWaterandToxicEnforcement
Actof1986(Proposition65)requirestheGovernorof
Californiatopublishalistofsubstancesknowntothe
StateofCaliforniatocausecancerorreproductiveharm,
andrequiresbusinessestowarncustomersofpotential
exposurestosuchsubstances.
Usersofthisapplianceareherebywarnedthattheburning
ofgascanresultinlow-levelexposuretosomeofthe
listedsubstances,includingbenzene,formaldehydeand
soot,dueprimarilytotheincompletecombustionofnatural
gasorliquidpetroleum(LP)fuels.Properlyadjusted
burnerswillminimizeincompletecombustion.Exposureto
thesesubstancescanalsobeminimizedbyproperly
ventingtheburnerstotheoutdoorsbyopeningthe
windowsand/ordoorintheroomwheretheapplianceis
located.
SAVE THESE INSTRUCTIONS
Page 5
Your cooktop will feature either pilot ignition or pilotless
ignition. Ifthe gas supply to the range is turned off, be
sure all controls are set inthe OFF position before
re-supplying gas to the appliance.
CAUTION: If the flame should go out during a cooking
operation, turn the burner off. If gas has accumulated and
a strong gas odor is detected, open a window and wait 5
minutes for the gas odor to disappear before relighting
burner.
Pilot Ignition
When the range is first installed, the pilots may be difficult
to light due to air in the gas line. To bleed off air from the
line, hold a lighted match next to the burner and turn knob
on. When the burner lights, turn the knob off and proceed
as directed below.
To light pilot: Raise cooktop and hold a lighted match
near the pilot ports. There are two pilot ports.
Pilotless Ignition
Pilotless ignition uses a spark from the ignitor to light the
burner. There are two ignitors for conventional surface
burners. Once the burner lights, turn the knob to the
desired setting. The clicking sound will not stop until the
knob is turned from the LITE position. Once the burner
lights, turn the knob to the desired setting. The clicking
sound will not stop until the knob is turned from the LITE
position.
In the event of a power failure, the surface burner can
be manually lighted. Be sure all controls are in the OFF
position. Hold a lighted match to the desired surface
burner head. Push in and turn knob to the LITE position.
The burner will then light. Adjust the flame to the desired
flame size.
To prevent damage to the cooktop or pan, never operate
surface burner without a pan in place, never allow a pan
to boil dry and never operate a surface burner on HIGH
for extended periods of time.
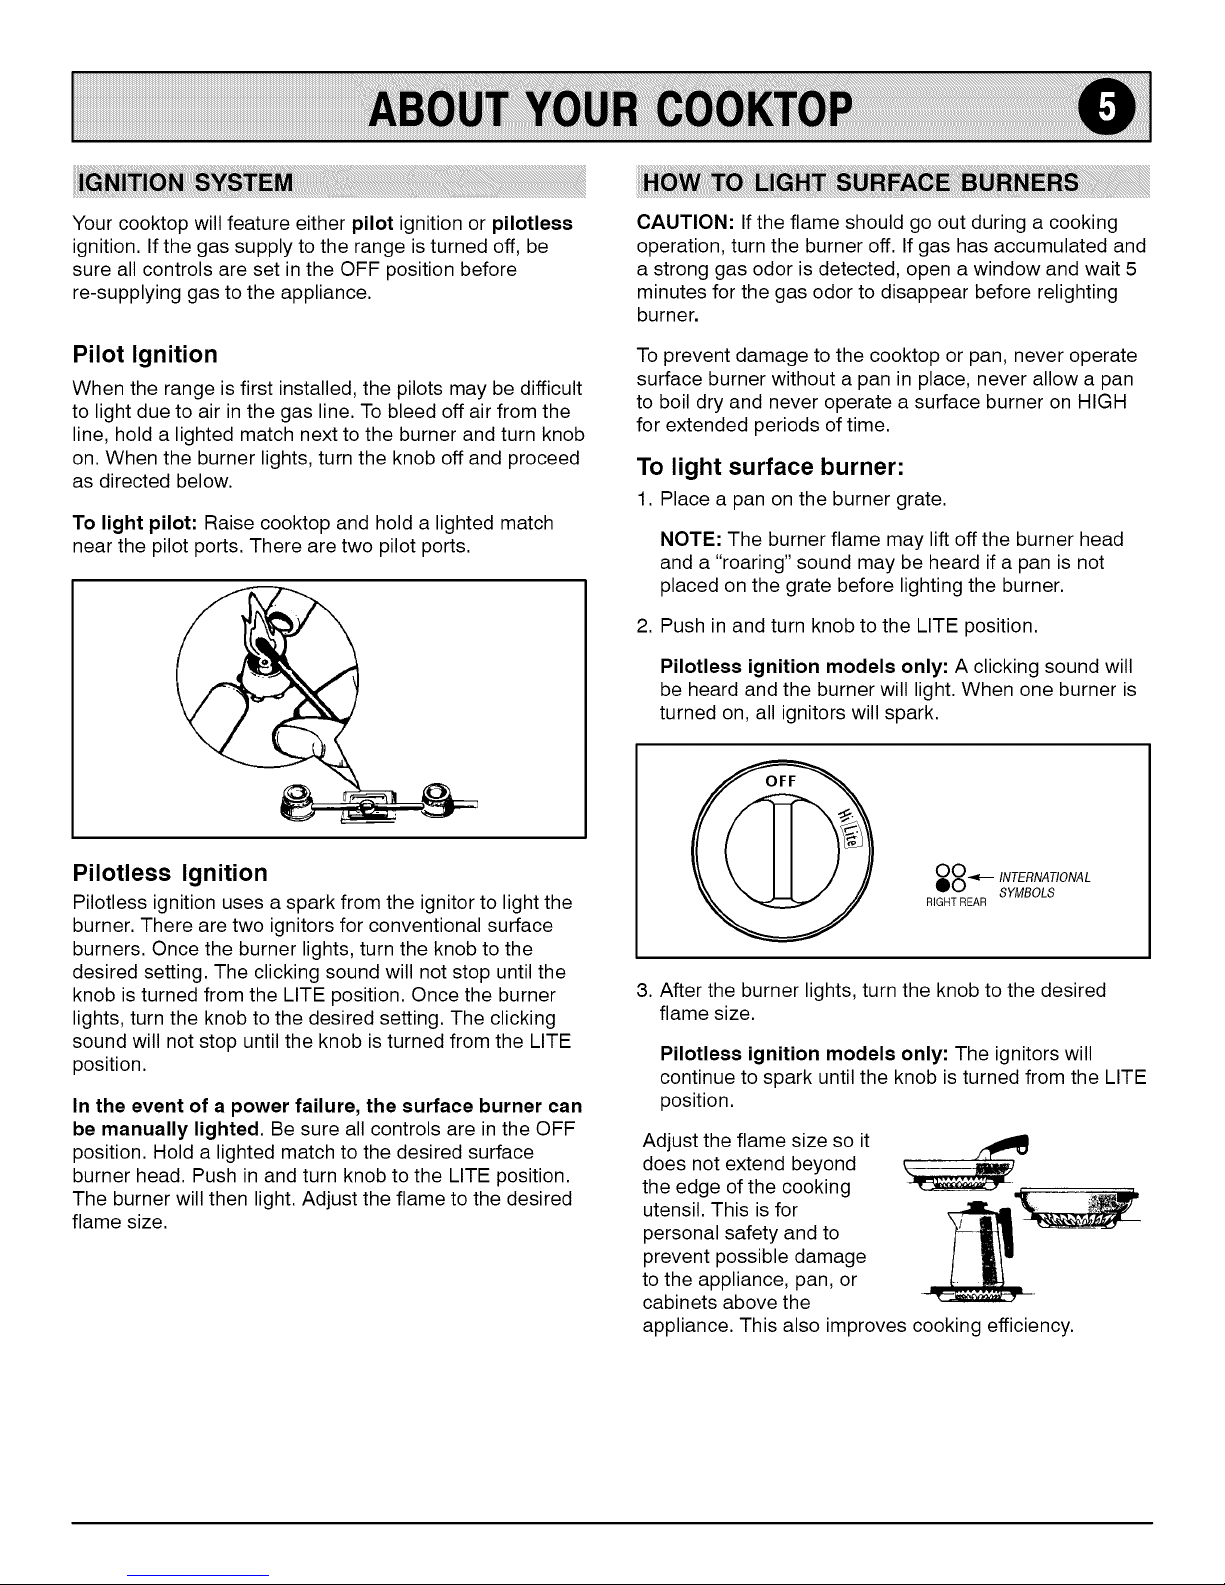
To light surface burner:
1. Place a pan on the burner grate.
NOTE: The burner flame may lift off the burner head
and a "roaring" sound may be heard if a pan is not
placed on the grate before lighting the burner.
2. Push in and turn knob to the LITE position.
Pilotless ignition models only: A clicking sound will
be heard and the burner will light. When one burner is
turned on, all ignitors will spark.
00.<._ INTERNATIONAL
00 SYMBOLS
RIGHTREAR
3. After the burner lights, turn the knob to the desired
flame size.
Pilotless ignition models only: The ignitors will
continue to spark until the knob is turned from the LITE
position.
Adjust the flame size so it
does not extend beyond
the edge of the cooking
utensil. This is for
personal safety and to
prevent possible damage
to the appliance, pan, or
cabinets above the
appliance. This also improves cooking efficiency.
Page 6

UseaHIGHflamesettingtoquicklybringliquidstoa boil
ortobeginacookingorcanningoperation.Thenreduce
toalowersettingtocontinuecooking.Neverleavefood
unattendedwhenusinga HIGHflamesetting.
I
An intermediate flame size is used to continue a cooking
operation. Food will not cook any faster when a higher
flame setting is used than needed to maintain a gentle
boil. Remember, water boils at the same temperature
whether boiling gently or vigorously.
Use LO to simmer or keep foods at serving temperatures.
Cookware, including canning equipment, which extends
more than two inches beyond the grate, rests on two
grates, or touches the cooktop will cause a build up of
heat and may result in damage to the the burner grate,
burner and cooktop.
Cookware, such as a wok with a support ring, which
restricts air circulation around the burner will cause heat
to build up and may result in damage to the burner grate,
burner or cooktop.
Foods cook faster when the cookware is covered because
more heat is retained. Lower the flame size when
cookware is covered. This also improves cooking
efficiency.
The cooking performance is greatly affected by the type of
cookware used. Proper cookware will reduce cooking
times, use less energy and produce more even cooking
results. For best results use a heavy gauge metal pan
with a smooth flat bottom, straight sides and a tight fitting
lid. Select a material, such as aluminum or copper, that
conducts heat quickly and evenly.
If a knob is turned very quickly from the HI to the LO
setting, the flame may go out, particularly if the burner is
cold. If this occurs, turn the knob to the OFF position. Wait
several seconds, then light the burner again.
A properly adjusted burner with clean ports will light within
a few seconds. You may hear a "popping" sound on
some types of gas when the surface burner is turned
off. This is a normal operating sound of the burner.
On natural gas, the flame will be blue with a deeper blue
core; there should be no trace of yellow in the flame. A
yellow flame indicates an improper mixture of air/gas.
Have a serviceman adjust the mixture if a yellow flame
occurs. (NOTE: Adjustments are not covered by the
warranty.)
On LP gas, some yellow tipping may occur. This is normal
and adjustment is not necessary.
When canning, use the HI setting just until the water
comes to a boil or pressure is reached in a pressure
canner, then reduce to a setting that maintains the
pressure or a boil.
Prolonged use of the HI setting, the use of incorrect
canning utensils, or the use of improper canning
techniques may produce excessive heat and result in
permanent damage to the appliance.
NOTE: For additional canning information contact your
local County Extension Office. Or, contact AIItrista
Consumer Products Company, marketer of Ball brand
home canning products at 800-240-3340 or write: AIItrista
Corp., Consumer Affairs Dept., RO. Box 2729, Muncie, IN
47307-0729.
Page 7

• Donotcoveranentireovenrackorovenbottomwith
aluminumfoil.Thiswillreduceheatcirculation,result
inpoorbakingandmaydamagetheovenbottom.
• Donotcoverthebroilerinsertwithaluminumfoil.This
preventsfatfromdrainingintothepanbelowandin-
creasesflare-upsandsmoke.However,thebroiler
panmaybelinedwithfoilforeasierclean-up.
• Preheatingisnecessaryforbaking.
• Itisnotnecessaryto preheatforroasting.
• Topreheat,settheoventothedesiredtemperature
andallowabout8to15minutesfortheovento
preheat.
• Whentheovenreachesthepresettemperature,the
ovenindicatorlightwillturnoff.
• SelectingatemperaturehigherthandesiredwillNOT
preheattheovenanyfaster,andmayhaveanegative
effectonbakingresults.
TheOVENTEMPknobisused
I
toselecttheoventemperature.
AlwaysturnthisknobjustTO
thedesiredtemperature.
Toaccuratelysettheoven
temperature,donotturntoa
highertemperatureandthen
back.
OVENTEMP
1.When cool, position rack
in oven.
2.Push in and turn OVEN TEMP
knob to desired temperature.
3.Place food in center of
oven, allowing a minimum
of 2 inches between utensil
and oven walls.
4.Check food for doneness at
minimum time in recipe. Cook
longer if necessary.
5.Remove food from the oven and turn the OVEN
TEMP knob to OFF.
.
Place broil rack and broiler I
rack position. /'_ _ ×
Push in and turn OVEN °_
.
TEMP knob to BROIL. ° _
3.
It is possible to broil longer
pan in the recommended tl I_"_ _1
cooking foods such as chicken _9
pieces at a lower temperature _,_,r_ _t_ _-o_
to prevent overbrowning. Turn
the knob to 400 or 450°F, rather OVEN TEMP
than BROIL, for low temperature
broiling.
4. Turn meat once about halfway thorugh cooking.
5.Remove food from oven and turn the OVEN TEMP
knob to OFF. After cleaning broiler pan, store it in the
lower broil compartment.
I
OVENTEMP
BROILING CHART
TYPE OF RACK TOTALTIME
MEAT POSITION (MINUTES)
BACON bottom BROILat 400°F
7 to 10 minutes (well)
BEEF STEAK
1-inch thick middle
middle
CHICKEN
Pieces bottom BROIL at 450°F
FISH middle BROIL
HAMBURGERS
3/4-inch thick middle BROIL
BROIL
15 to 20 minutes (med)
BROIL
20 to 25 minutes (well)
30 to 45 minutes (well)
8 to 15 minutes (flaky)
14 to 18 minutes (well)
Page 8

Use a reliable recipe and accurately
measure fresh ingredients. Carefully
follow directions for oven
temperature and cooking time.
Preheat oven if recommended.
Roasting is the method for cooking
large, tender cuts of meat
uncovered, without adding moisture.
Most meats are roasted at 325°F. It
is not necessary to preheat the oven.
Broiling is used for tender cuts of
meat or marinated meats, poultry,
fish and some fruits and vegetables.
The food is placed directly under the
burner.
Use the correct rack position.
Baking results may be affected if the
wrong rack position is used.
• Top browning may be darker if
food is located toward the top of
the oven.
• Bottom browning may be darker if
food is located toward the bottom
of the oven.
Bakeware material plays an
important part in baking results.
Always use the type and size of pan
called for in the recipe. Cooking
times or cooking results may be
affected if the wrong size is used.
• Shiny metal pan reflects heat
away from the food, produces
lighter browning and a softer crust.
Use shiny pans for baking cakes
or cookies.
Dark metal pan or a pan with an
anodized (dull) bottom absorbs
heat, produces darker browning
and a crisper crust. Use this type
of pan for pies, pie crusts or
bread.
• If using oven-proof glassware, or
dark pans such as Baker's
Secret reduce the oven
temperature by 25°F except when
baking pies or bread. Use the
same baking time as called for in
the recipe.
• If using insulated bakeware,
expect cooking times to increase
slightly. It is not necessary to
adjust the oven temperature.
If you add additional ingredients
or alter the recipe, expect cooking
times to increase or decrease
slightly.
Place the meat fat-side-up on a rack
in a shallow roasting pan. Placing the
meat on a rack holds it out of the
drippings, thus allowing better heat
circulation for even cooking. As the
fat on top of the roast melts, the
meat is basted naturally, eliminating
the need for additional basting.
The cooking time is determined by
the weight of the meat and the
desired doneness.
For more accurate results, use a
meat thermometer. Insert it so the tip
is inthe center of the thickest part of
the meat. It should not touch fat or
bone.
Remove the roast from the oven
when the thermometer registers the
desired doneness.
NOTE: For more information about
food safety, call USDA's Meat &
Poultry Hotline at 1-800-535-4555.
For cooking information, write to
the National Cattlemen's Beef
Association, 444 North Michigan
Avenue, Chicago, Illinois 60611, or
call 1-800-368-3138.
Cooking time is determined by the
desired degree of doneness and the
distance between the food and the
burner.
For best results, steaks and chops
should be at least 3/4-inch thick.
Trim excess fat to prevent excessive
spattering or smoking. Cut slashes in
the outer edges of the fat to prevent
curling during cooking.
Use a broiler pan with an insert
designed to drain excess liquid and
fat away from the cooking surface.
This is to prevent spatters and
smoke.
For a brown exterior and rare interior,
meat should be close to the burner.
For well-done meat, place the broiler
pan farther from the burner.
Increasing the distance between the
meat and the burner will help reduce
spattering and smoking.
Foods that require turning should be
turned only once during broiling. Turn
after half the recommended cooking
time.
Page 9

Readandcarefullyfollowthemanufacturer'sinstructions.
Testasmallinconspicuousareausingaverylight
pressuretoseeifthesurfacemayscratchordiscolor.
Thisisparticularlyimportantforporcelainenamel,highly
polishedorshinymetalorplasticsurfaces,andpainted
surfaces.
GlassCleaners- BonAmi,Cinch,GlassPlus,Windex.
Dishwashing Liquid Detergents - Dawn, Dove, Ivory,
Joy.
Non-Abrasive or Scratchless Plastic or Nylon
Scouring Pads or Sponges - Chore Boy Plastic
Cleaning Puff, Scrunge Scrub Sponges, or Scotch-Brite
No Scratch, Cookware or Kitchen Sponge.
Abrasive Scouring Pads - S.O.S., Brillo Steel Wool
Soap, Scotch-Brite Pads.
(Brand names for the above cleaning products are registered
trademarks of the respective manufacturers.)
Mild Liquid Spray Cleaners - Fantastik, Formula 409.
Non-Abrasive Cleaners - Bon Ami, paste of baking
soda and water.
Mildly Abrasive Powder or Liquid All Purpose
Cleansers - Ajax, Barkeepers Friend, Cameo, Comet,
Soft Scrub.
CLEANING CHART
N
Broiler pan • Soap and water
and insert • Plastic or soap
filled scouring pad
• Dishwasher
Burner box
Control knobs
Enamel, painted
• Backguard
• Broiler door
• Manifold panel
• Oven door
• Side panels
• Soap and water
• Paste of baking
soda and water
• Non-abrasive
plastic pad or
sponge
• Liquid cleaner
• Glass cleaner
• Soap and water
• Mild liquid sprays
• Glass cleaners
• Soap and water
• Mild liquid cleaner
• Glass cleaner
Never cover insert with aluminum foil as this prevents the fat from
draining to pan below.
1. Remove from oven after use. Cool then pour off grease.
2. Place soapy cloth over insert and pan; let soak to loosen soil.
3. Wash in warm soapy water. Use soap filled scouring pad to remove
stubborn soil.
4. Broiler pan and insert can be cleaned in the dishwasher.
The burner box is located under the lift-up cooktop. Clean frequently to
remove spillovers. If soil is not removed and is allowed to accumulate, it may
damage the finish. To clean remove grates and surface burners and clean
with soap and water, rinse and dry.
For ease of cleaning, turn off knob and remove by pulling forward.
1. Wash, rinse, and dry. Do not use abrasive cleaning agents as they may
scratch the finish and remove the markings.
2. Turn on each burner to be sure knobs have been correctly replaced.
NOTE: Use dry towel or cloth to wipe up spills, especially acid (milk, lemon
juice, fruit, mustard, tomato sauce) or sugary spills. Surface may discolor or
dull if soil is not immediately removed. This is especially important for white
surfaces.
1. When cool, wash with warm soapy water, rinse and dry. Never wipe a
warm or hot surface with a damp cloth as this may damage the surface
and may cause a steam burn.
2. For stubborn soil, use mildly abrasive cleaning agents such as baking
soda paste or Bon Ami.
3. Do not use abrasive, caustic or harsh cleaning agents such as steel wool
pads or oven cleaners. These products will scratch or permanently
damage the surface.
• Be sure appliance is off and all parts are cool before
handling or cleaning. This is to avoid damage and
possible burns.
• If a part is removed, be sure it is correctly replaced.
• To prevent staining or discoloration, clean
appliance after each use.
Page 10

Grates
• Soap and water
• Non-abrasive
plastic pad
Grates are made of porcelain-coated steel. They can be cleaned at the sink
with soap and water or in the dishwasher. To clean baked on soil, place a
damp soapy paper towel over the grate and let stand for 30 minutes. Use a
non-abrasive plastic pad to scour stubborn soil.
NOTE: Never operate burner without a grate in place. To protect the porce-
lain finish on the grate from excessive heat, never operate surface burner
without a cooking utensil on the grate. It is normal for grates to lose their
shine over a period of time.
Metal finishes
• Door handle
Oven rack
Porcelain enamel
• Cooktop
• Oven bottom
• Oven interior
Soap and water
Glass cleaner
Plastic or non-
abrasive pad or
sponge
• Soap and water
• Plastic scouring
pad
• Cleansing powders
• Soap-filled
scouring pad
• Soap and water
• Paste of baking
soda and water
• Non-abrasive
plastic pad or
sponge
• Oven cleaner
1. Wash with soap and water or a glass cleaner and a soft cloth.
2. To prevent scratching or dulling of the finish, do not use mildly abrasive,
abrasive, or harsh cleaners, or caustic cleaners such as oven cleaners.
1. Clean with soapy water.
2. Remove stubborn soil with cleansing powder or soap-filled scouring pad.
Rinse and dry.
Porcelain enamel is glass fused on metal and may crack or chip with misuse.
It is acid resistant, not acid proof. All spillovers, especially acid or sugar
spillovers, should be wiped up immediately with adry cloth. This is especially
important around the vent opening for smoothtop cooktop. Surface may
discolor or dull if soil is not removed.
1. When cool, wash with soapy water, rinse and dry.
2. Never wipe off a warm or hot surface with a damp cloth. This may cause
cracking and chipping.
3. Never use oven cleaners, abrasive or caustic cleaning agents on exterior
finish of range. Oven cleaners can only be used on porcelain oven cavity.
Silicone Rubber • Soap and water Door gasket is located on the oven front frame. DO NOT REMOVE
Door Gasket GASKET. Wash with soap. Rinse thoroughly.
Surface burners • Soap and water For ease of cleaning, remove soil from the burner as soon as burner has
• Paste of baking cooled. If food boils over, remove pan to another burner. Then, cool soiled
soda and water burner and clean.
• Plastic scouring
sponge or pad
• Mildly abrasive
cleaner
NOTE: Protect oven bottom against excessive spillovers especially acid or
sugary spillovers as they may discolor the porcelain. Use the correct size
cooking utensil to avoid boilovers. Never place cookware or aluminum foil
directly on the oven bottom.
Clean, when cool, after each use with warm soapy water. Remove stubborn
soil by scouring with a non-abrasive plastic scouring pad and a paste of
baking soda and water. Clean ports with a straight pin or small metal paper
clip. Do not enlarge or distort the ports. Do not use a wooden toothpick. It
may break off and clog port. Surface burners can be dried in the oven set at
170°F. Burner must be dry before use.
Page 11

Yourovenwill feature either pilot ignition or pilotless
ignition. If the gas supply to the range is turned off, be
sure all controls are set inthe OFF position before
re-supplying gas to the appliance.
Pilot Ignition
To light oven pilot: When cool, remove oven racks and
oven bottom. With the oven thermostat knob in the OFF
position, hold a lighted match to the pilot located at the
back end of the oven burner. Once the pilot lights, replace
oven bottom and racks.
To replace: Insert the two pins on the back of the cooktop
into the holes in the backguard. Lower the top into place
applying pressure at the front edges to secure top to the
range.
CAUTION: Do not operate a surface burner without a pan
on the grate. The porcelain finish on the grate may chip
without a pan to absorb the intense heat from the burner
flame.
Burner grates must be properly positioned before cooking.
Burner grates are durable but may gradually lose their
shine due to usage and high temperatures.
Grates for the porcelain cooktop are square. When
installing square grates, place indented sides together so
straight sides are at front and rear.
Pilotless Ignition
With this type of ignition system, a glo bar will light the
oven burner. The oven will not operate during a power
failure or if the oven is disconnected from the wall outlet.
NOTE: A lighted match will not light the burner. No
attempt should be made to operate oven during a
power failure.
The cooktop featuring conventional surface burners lifts
up for easy cleaning of the burner box area.
To remove: When cool, first remove grates and drip
bowls, if equipped. Grasp two front burner wells and lift
up. The top can be completely removed.
Surface burners are secured in place during transportation
with a shipping screw.
Once the range is installed, these may be removed to
allow quick and easy removal of the burner.
To remove: Lift up and support or remove the cooktop.
When cool, grasp burner head and tilt to release tab from
slot near ignitor or pilot. Lift up and toward back of
cooktop until air shutter end of burner releases from valve.
To replace: Insert air shutter end of burner over valve and
lower into place. Replace cooktop. Turn on burner to be
sure burner has been correctly replaced.
Page 12

• Besureallpackingmaterialisremovedfromoven
beforeturningon.
• Donotuseovenforstoringfoodorcookware.
• Manyaerosol-typespraycansareEXPLOSIVE
whenexposedto heatandmaybehighlyflammable.
Avoidtheiruseorstorageneartheoven.
• Allowsteamandhotairtoescapebeforereaching
intoovento check,add,orremovefood.
PreparedFoodWarning:Followfoodmanufacturer's
instructions.Ifa plasticfrozenfoodcontainerand/or
itscoverdistorts,warps,orisotherwisedamaged
duringcooking,immediatelydiscardthefoodandits
container.Thefoodcouldbecontaminated.
• Followthemanufacturer'sdirectionswhenusing
ovencookingbags.
• WARNING: NEVER plac e excessive weight 0n or
stand on an open oven d00r, This could cause the
range to tip over, break the door, or injure the user,
NEVER p!ace fingers betwee n hinge and fr0nt oven
frame, Hinge arms are spring m0unte& If
accidently hit; the hinge will slam shut against 0Yen
frame and could injure your fingersl
To remove: When cool, loosen the two screws located
along the front of the oven bottom. Slide the screws back
to release the front of the oven bottom. Grasp oven
bottom, lift up and pull forward until rear tabs release.
Then, remove oven bottom from oven.
_-_-JJ tlI II J'l
To replace: Insert the tabs into the slots on the back oven
wall. Lower into place. Slide two screws forward and
tighten. Be sure bottom is fitted into slots and screws are
tight. If not correctly replaced, oven bottom may become
warped and cooking results will be affected.
To remove: When broiler is cool, remove broiler insert
and pan. Open drawer halfway and pull metal clip located
in center of drawer bottom upward as far as it will go
(about 2 inches). The drawer can now be pulled all the
way out of the compartment.
When baking, be sure oven door is completely closed.
Baking results will be affected if door is not closed.
The oven door is not designed to be removed by the
consumer.
When opening the oven door, allow steam and hot air to
escape before reaching in oven to check, add or remove
food.
To replace: Slide grooves at top of drawer onto guide
rails at sides of broiler compartment and push drawer in to
close.
Page 13

Theovenrackisdesignedwithasafetylock-stopposition.
Thispreventstherackfromaccidentlycomingcompletely
outoftheovenwhenpullingtherackoutto addorremove
food.
To remove oven rack:
1. When rack is cool, pull rack straight out until it stops at
the lock-stop position.
NOTE: If it is necessary to change rack position when
rack is hot, use potholders to protect hands.
2. Tilt the front end of the rack up.
3. Continue pulling rack out of oven.
Rack Positions:
• For optimum results, air must circulate freely within
the oven and around the food. To help ensure this,
place food in the center of the oven. Allow two
inches between the edge of the pan(s) and the oven
walls.
• Position the rack so the food is in the center of the
oven. Use either rack position 2 or 3.
RACK 3: Used for baked goods on a cookie sheet or jelly
roll pan, or frozen convenience foods.
RACK 2: Used for most baking, roasting small cuts of
meat, and large casseroles.
RACK 1: Used for roasting large cuts of meat and large
poultry, pies, souffles, or angel food cake.
\
RACK
\
To replace oven rack:
1. Place rack on the rack supports in oven.
2. Tilt the front end of the rack up slightly.
3. Slide rack back until it clears the lock-stop position.
4. Lower front of rack and slide rack straight back into
oven.
5. Pull rack out to the lock-stop position to be sure rack is
correctly replaced. Push rack back into oven and close
oven door.
rY_/! ! ! l I _ !\ \ \_J__ 1
The installer should level the range when it is installed.
If the range is not level, turn the leveling legs, located at
each corner of the range, until range is level. Place level
on an oven rack to determine if range is level.
Cooking results can be affected if the range was not
properly leveled during installation.
Page 14

• DO not attempt to service this appliance yourself you know what caused the problem. Always replace
unless directed tod0 s0 in this manual or the chart a blown fuse with one of the correct amperage, do
below, Refer all other servicing to a qualified servicer not use a substitutel
or call us at 1,800,688.9900. • Always disconnect power to unit before any servicing
• LOCate and mark circuit breaker Or fuse: Never tripping circuit breaker to the OFF position or by
replace a blown fuse or reset a circuit breaker untit removing the fuse:
PROBLEM' CAUSE' CORRECTION
Surface burner fails to light, a. power supply not connected
a. connect power, check circuit
breaker or fuse box
b. air in the gas line
b. see page 5 for instructions on
bleeding air from the gas line
c. clogged burner port(s)
c. clean ports with straight pin or small
metal paper clip
d. surface control not completely
turned to the LITE position or turned
too quickly from the LITE position
e. power failure (pilotless ignition)
d. turn control to the LITE position until
the burner ignites, then turn control
to desired flame size
e. see page 5 to light burner during a
power failure
Burner flame is uneven, a: clogged burner port(s) a: clean ports with straight pin
Surface burner flame lifts off port
or is yellow in color.
Oven burner fails to light,
a. air/gas mixture not proper
NOTE: Some yellow tipping with LP
gas is normal and acceptable.
a: powei supply not cOnnected
a. call serviceman to adjust burner
NOTE: Be sure installer properly
adjusted range at time of installation.
a: connect power; check circuit
breaker Or fuse box
bl power failure
b. oven will not oPerate during a power
failure
C: See page 7
Popping sound heard when
burner extinguishes.
c. oven incorrectly set
This is a normal sound that occurs with some types of gas when a hot burner is
turned off. The popping sound is not a safety hazard and will not damage the
appliance.
is uneven, c, incorrect use of aluminum foit
° food cooks unevenly: d. oven bottom incorrectly replaced d. replace oven bottom correctly
• food is underdone or e: oven thermostat sensing device is e, reinstall thermostat sensing device
overdone: out of the holding clip(s),
a, oven not preheated or set at correct
temperature;
bl used incorrect rack position
Page 15

Baking results differ from a. Oven seems hotter or cooler than a. Oven temperatures may vary
previous oven. your previous oven. between the new and the old oven.
As ovens age, the oven
temperature often "drifts" and may
become hotter or cooler. Also,
newer ovens may operate
differently from older ovens. You
should expect some differences in
baking results.
Oven smokes a. food too close to burner a. move bro ler pan down one rack
excessively during J J position
a broil operation, b. meat has too much fat b tr m fat
c. sauce applied too early or marinade c. apply sauce during last few minutes
not completelydrained of cooking. If meat has been
marinated, dra n thoroughly before
cooking
d soiled broiler pan d. always clean broiler pan and insert
after each use
I e. broiler insert covered with aluminum I e never cover insert with foil as this
fo
I I be ow
i prevents fat from draining to pan
I f. oven bottom is soiled I f. clean oven bottom
Strong odor or light smoke
when oven is turned
on the first few times.
Follow these procedures to remove appliance for cleaning
or servicing:
1. Shut-off gas supply to appliance.
2. Disconnect electrical supply to appliance, if equipped.
3. Disconnect gas supply tubing to appliance.
4. Slide range forward to disengage range from the
anti-tip bracket. (See Installation Instructions for
location of bracket.)
5. Reverse procedure to reinstall. If gas line has been
disconnected, check for gas leaks after reconnection. A
qualified servicer should disconnect and reconnect the
gas supply. (See Installation Instructions for gas leak
test method.)
To prevent range from accidently tipping, range must be
secured to the floor by sliding rear leveling leg into an
anti-tip bracket supplied with the range.
This is normal for a new range and will disappear after a few uses. Opening a window
or turning on a fan will help remove the smoke and odor.
Appliances which require electrical power are
equipped with a three-prong grounding plug which
must be plugged directly into a properly grounded
three-hole 120 volt electrical outlet.
Always disconnect power to
appliance before servicing.
The three-prong grounding plug offers protection against
shock hazards. DO NOT CUT OR REMOVE THE THIRD
GROUNDING PRONG FROM THE POWER CORD
PLUG.
WARNING: Possible risks may result from abnormal
usage, including excessive loading of the oven door
and of the risk of tip over, should the appliance not be
reinstalled according to the installation instructions.
If an ungrounded, two-hole or other type electrical outlet is
encountered, it is the personal responsibility of the
appliance owner to have the outlet replaced with a
properly grounded three-hole electrical outlet.
Page 16

MAYTAG®MAJOR APPLIANCE WARRANTY
LIM ITED WARRANTY
For one year from the date of purchase, when this major appliance is operated and maintained according to instructions attached to or
furnished with the product, Maytag brand of Whirlpool Corporation or Whirlpool Canada LP (hereafter "Maytag") will pay for factory
specified parts and repair labor to correct defects in materials or workmanship. Service must be provided by a Maytag designated
service company. This limited warranty is valid only in the United States or Canada and applies only when the major appliance is used
in the country in which it was purchased. Outside the 50 United States and Canada, this limited warranty does not apply. Proof of
original purchase date is required to obtain service under this limited warranty.
ITEMS EXCLUDED FROM WARRANTY
This limited warranty does not cover:
1. Service calls to correct the installation of your major appliance, to instruct you on how to use your major appliance, to replace or
repair house fuses, or to correct house wiring or plumbing.
2. Service calls to repair or replace appliance light bulbs, air filters or water filters. Consumable parts are excluded from warranty
coverage.
3. Repairs when your major appliance is used for other than normal, single-family household use or when it is used in a manner that is
contrary to published user or operator instructions and/or installation instructions.
4. Damage resulting from accident, alteration, misuse, abuse, fire, flood, acts of God, improper installation, installation not in
accordance with electrical or plumbing codes, or use of consumables or cleaning products not approved by Maytag.
5. Cosmetic damage, including scratches, dents, chips or other damage to the finish of your major appliance, unless such damage
results from defects in materials or workmanship and is reported to Maytag within 30 days from the date of purchase.
6. Any food loss due to refrigerator or freezer product failures.
7. Costs associated with the removal from your home of your major appliance for repairs. This major appliance is designed to be
repaired in the home and only in-home service is covered by this warranty.
8. Repairs to parts or systems resulting from unauthorized modifications made to the appliance.
9. Expenses for travel and transportation for product service if your major appliance is located in a remote area where service by an
authorized Maytag servicer is not available.
10. The removal and reinstallation of your major appliance if it is installed in an inaccessible location or is not installed in accordance
with published installation instructions.
11. Major appliances with original model/serial numbers that have been removed, altered or cannot be easily determined. This warranty
is void if the factory applied serial number has been altered or removed from your major appliance.
The cost of repair or replacement under these excluded circumstances shall be borne by the customer.
DISCLAIMER OF IMPLIED WARRANTIES; LIMITATION OF REMEDIES
CUSTOMER'S SOLE AND EXCLUSIVE REMEDY UNDER THIS LIMITED WARRANTY SHALL BE PRODUCT REPAIR AS PROVIDED
HEREIN. IMPLIED WARRANTIES, INCLUDING WARRANTIES OF MERCHANTABILITY OR FITNESS FORA PARTICULAR PURPOSE,
ARE LIMITED TO ONE YEAR ORTHE SHORTEST PERIOD ALLOWED BY LAW. MAYTAG SHALL NOT BE LIABLE FOR INCIDENTAL
OR CONSEQUENTIAL DAMAGES. SOME STATES AND PROVINCES DO NOT ALLOW THE EXCLUSION OR LIMITATION OF
INCIDENTAL OR CONSEQUENTIAL DAMAGES, OR LIMITATIONS ON THE DURATION OF IMPLIED WARRANTIES OF
MERCHANTABILITY OR FITNESS, SO THESE EXCLUSIONS OR LIMITATIONS MAY NOT APPLY TO YOU. THIS WARRANTY GIVES
YOU SPECIFIC LEGAL RIGHTS, AND YOU MAY ALSO HAVE OTHER RIGHTS WHICH VARY FROM STATE TO STATE OR PROVINCE
TO PROVINCE.
If outside the 50 United States and Canada, contact your authorized Maytag dealer to determine if another warranty applies.
If you need service, first see the "Troubleshooting" section of the Use & Care Guide. After checking "Troubleshooting," you may find
additional help by checking the "Assistance or Service" section or by calling Maytag. In the U.S.A., call 1-800-688-9900. In Canada, call
1-800-807-6777.
9/07
Form No. A/01/08 Part No. 8113P705-60 @2006 Maytag Appliances Sales Co. All rights reserved. Litho U.S.A.
 Loading...