

Page 1

Slivers
for Bogart SE
User manual
Page 2

Legal Information
We recommend that you carefully read the information in this manual, in order to avoid operator errors.
We have taken great care in developing and testing this program.
Since it is currently not possible to guarantee error-free operation under all circumstances and at all times, we can unfortunately not entirely exclude that some errors may have crept in.
Hence, MacroSystem Digital Video GmbH and its distributors do not guarantee a problem-free or completely error-free operation of the product.
As far as reasonably possible, we will rework the program in order to correct any errors and, if applicable, provide the new software for free to the users concerned.
Our liability for defects in material and/or workmanship for newly manufactured products is limited to 24 months. This is not the case when the law prescribes longer terms or in case of
damage to life, body or health, in case of deliberate or gross negligence of duty by the supplier or intentional concealment of a flaw.
The purchaser shall notify defects to the supplier without undue delay and in writing. Claims for reimbursement of expenses in connection with searching for defects will only be
accepted after prior agreement with the management of MacroSystem Digital Video GmbH.
Further claims by the purchaser on account of supplementary performance, including costs of transport, travel, labor and material are excluded. This is not applicable to claims for other
reasons such as newly discovered software errors.
Claims on the grounds of defects are excluded for minor deviations from the agreed quality, minor impairments in usability, normal wear and tear, or damage arising after the transfer of
risk from faulty or negligent handling, excessive strain, unsuitable equipment, or from other particular external influences not assumed under the agreement. Claims based on defects
attributable to improper modifications or repair work carried out by the purchaser or third parties and the consequences thereof shall be likewise excluded.
We cannot accept any liability for loss of data/time or any consequential damages that may occur as a result, particularly since we have no influence over correct software installation
and operation by the customer. MacroSystem Digital Video GmbH and its dealers therefore cannot be held liable for any defects or unintentional damage in connection with the
installation or use of the program Slivers for Bogart SE.
Claims for damages and compensation, regardless of the legal basis, in particular due to breach of duties in connection with obligation or tortuous acts are also excluded. This shall
not apply in the case of mandatory liability, e.g. under the German Product Liability Act (Produkthaftungsgesetz), in the case of intent, gross negligence, injury of life, body or health, or
breach of essential contractual obligations. Damage compensation entitlement for breach of essential contractual obligations is, however, limited to the foreseeable damage typical of the
contract, unless there is willful intent or gross negligence or in case of injury to life, body or health. The provisions above do not imply a change of the burden of proof to the detriment of
the purchaser.
Neither MacroSystem Digital Video GmbH nor its dealers are responsible for any damages resulting either directly or indirectly through the use of the software or the operating
instructions, e.g. for profit loss, costs, hardware or software problems or other problems.
Any implied guarantee is excluded, including guarantee of suitability of the software or operating instructions for a particular purpose.
For this reason, you should make a backup of your video footage before you start using the device. We recommend that you do not delete the video footage and that you create a
backup copy beforehand.
Since it is possible that changes were made to the software after the manual was prepared, the functions shown and described in this manual might differ from the software.
Page 3

Table of contents
Page
1. General information . . . . . . . . . . . . . . . . . . . . . . . . . . . . . . . . . . . . . . . . . . . . . . . . . . . . . . . .5
1.1 Welcome ............................................................5
1.2 What is Slivers ........................................................5
2. Installation ...............................................................5
2.1 Demo mode ..........................................................5
2.2 Starting the program ...................................................5
3. Operation ................................................................6
3.1 Control elements ......................................................6
3.1.1 General buttons ...................................................6
3.1.2 Parts ............................................................6
3.1.3 Bars.............................................................6
3.1.4 Edit .............................................................6
3.1.5 General information ................................................7
3.2 Tips for working with Slivers on lower resolution monitors ......................7
3.3 Information on the Power Key Option ......................................7
3.4 Individual buttons / functions .............................................7
3.4.1 Palette...........................................................7
4. Application example .......................................................7
4.1 Example .............................................................7
Since it is possible that changes were made to the software after the manual was prepared, the functions shown and described in this manual might differ from the
software. Changes and errors excepted.
Page 4

Page 5

Slivers for Bogart SE User manual
5
1. General information
1.1 Welcome
Thank you very much for purchasing Slivers.
We are grateful for your confidence and we hope that this
product will live up to your expectations.
Slivers will give you the opportunity to use your Casablanca
video editing system even more intensively than before.
Please do not hesitate to contact us if you have any further
questions or suggestions for improving the product.
Whenever you contact us, please have your customer number
or the serial number of your device at hand so that we can help
you more quickly.
MacroSystem Digital Video GmbH
Industriestraße 11, 96317 Kronach, Germany
E-mail: info@macrosystem.de
Fax: +49 (0) 9261-992049
Up-to-date information on MacroSystem products can be
found on the Internet: www.macrosystem.de
If you have specific technical queries, please contact our
technical support. Please do not forget to mention the serial
number of your device or your customer number each time you
contact us, if you know them.
Support Hotline, Germany
Phone: +49 (0) 9261-997080
Monday through Thursday between 10:00 am and 5:00 pm
Friday between 10:00 am and 4:00 pm
2. Installation
To install Slivers, you must have installed at least Bogart SE
4.0 on your system. It is, however, not important whether you
have activated Bogart 1.13, 2.10, 3.5 or 4.0.
Which version of the system has been installed, can be found
in the information field of the (System) Settings menu (bottom
left).
Leave your system switched on and click the “Install product“
button in the (System) Settings menu to open the corresponding window. Insert the installation medium.
Some moments later, the Slivers software will be listed in the
window. Select it in the list and click on Activate.
A numerical keypad will appear. You can use it to enter the
activation code you received from your dealer.
If you wish to install this program as a demo version, you
should select it from the list and click on Activate, followed
by clicking on Cancel in the numerical code window. You will
notice that the word Demo has appeared after the program
name. Slivers is now installed as a demo version.
Note: Slivers can be used in SD/HD/AVCHD projects and can
also be used in two-monitor mode.
Slivers supports the Power Key Option. There is no separate
manual with respect to keyboard navigation of the program - in
order to see the available shortcut keys, please press the
F2 key.
For more information, please refer to Chapter 3.3 “Information
on the Power Key option”.
2.1 Demo mode
You can also visit our support forum on the Internet:
www.macrosystem.de/forum. In the forum, you will be able
to find assistance, step-by-step directions, and tips and tricks
for MacroSystem hardware and software products.
1.2 What is Slivers?
Slivers is a completely new program that makes it possible to
display several scenes simultaneously in a single video image.
A large selection of templates for partitioning the video image
makes it possible to arrange your scenes in many different
ways. The different scenes can be delimited using individually
configurable dividing lines (bars) with variable thickness and
colors or patterns.
Slivers allows you to display up to 9 scenes simultaneously on
your video screen, giving you completely new design possibilities for your video.
If you are using Slivers in demo mode, the Demo logo will be
integrated each time you calculate a scene.
Once you have installed Slivers, you will see it appear in the
alphabetical list under Special in the Edit menu. After clicking
on Slivers, the panel on the right will display the “Start Slivers“
button. Slivers can be started by clicking on this button.
Slivers will always work on the activated scene from the scene
bin.
When you have called up and started the program, a toolbar
will be displayed. In the background you will see the first frame
of your video scene.
2.2 Starting the program
Once you have installed Slivers, you will see it appear in the
alphabetical list under Special in the Edit menu. After clicking
on Slivers, the panel on the right (Effect options) will display
the “Start Slivers“ button.
Click on “Start Slivers“ to start the program.
Page 6
6
3. Operation
This chapter will first describe the general functions.
3.1 Control elements
The toolbar of the main menu is subdivided into five panels.
Each panel contains several buttons and functions:
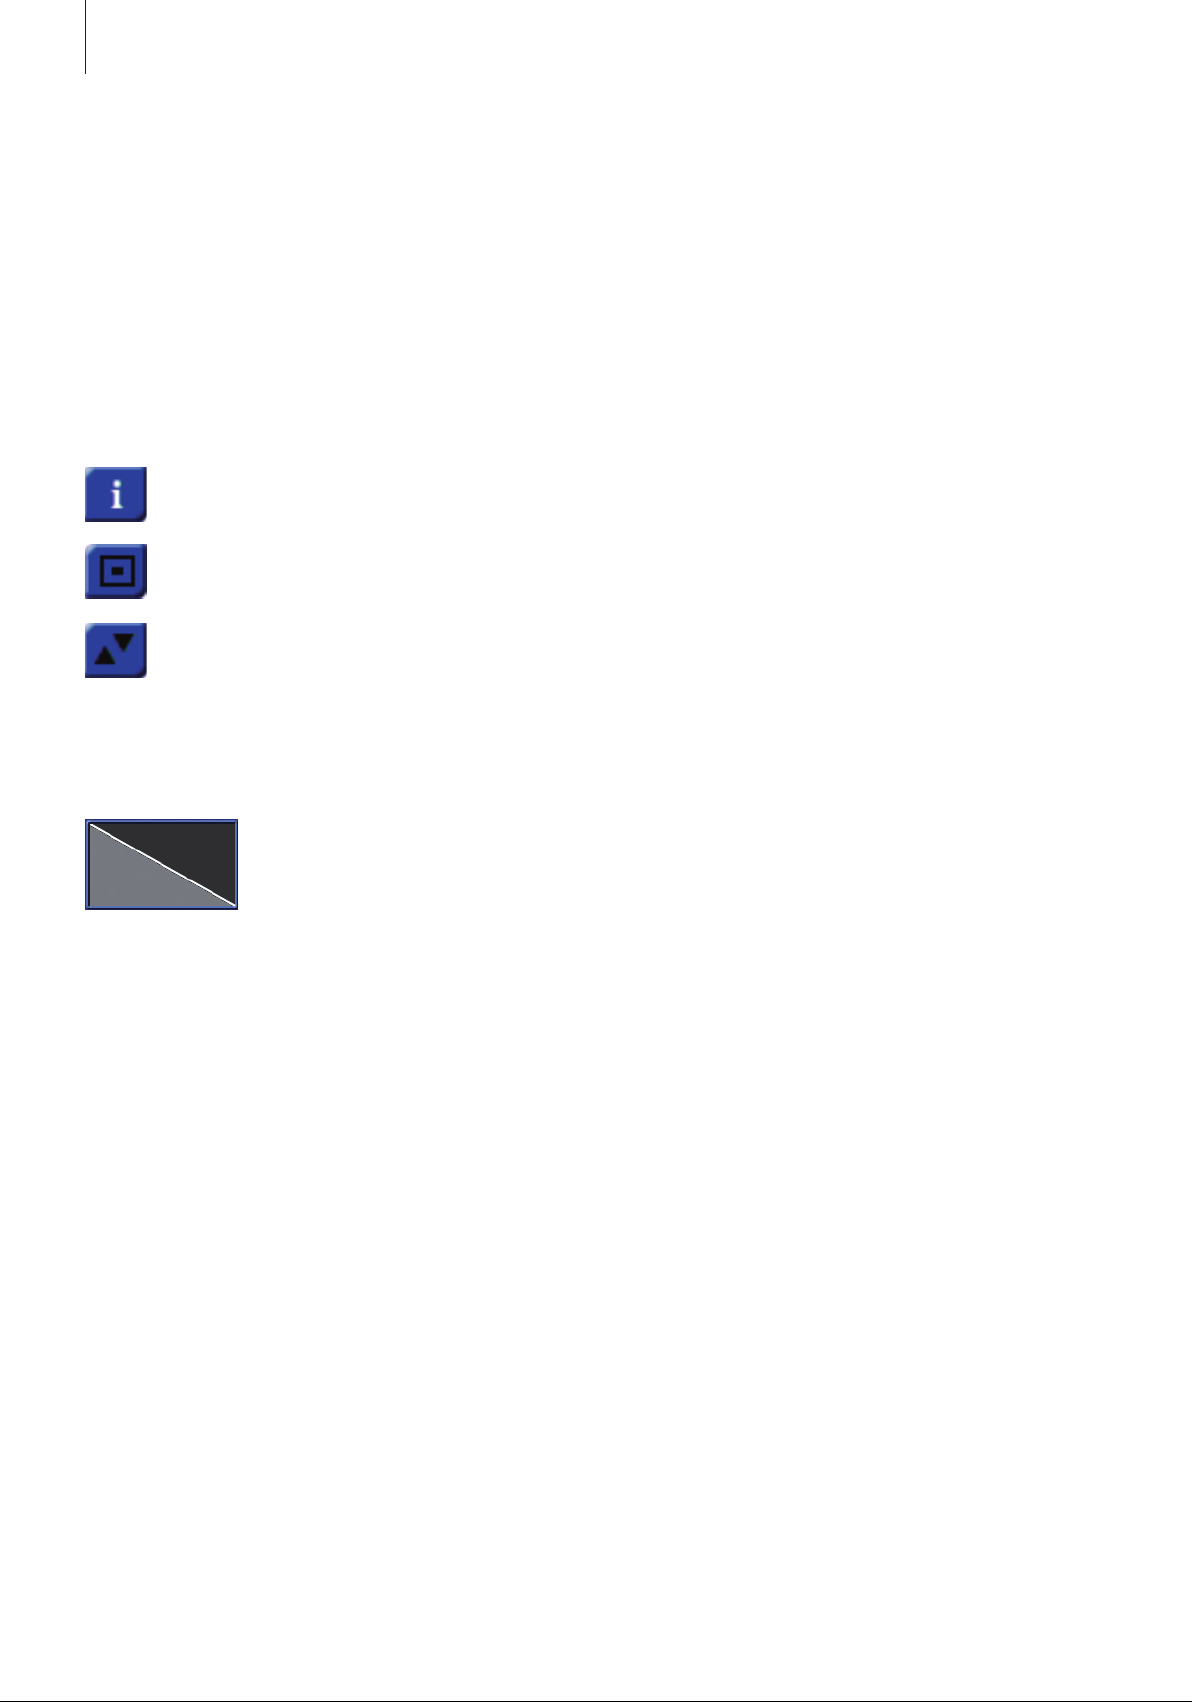
3.1.1 General buttons
The Info button opens a window containing the
version number of the program.
This button minimizes the toolbar in the way you
already know from the Casablanca.
This button moves the toolbar to the opposite side of
the screen.
3.1.2 Parts
Parts preview
The “Parts preview“ displays the currently
selected setting for the parts. The currently
active part is highlighted with a light gray
color. When a part contains a white
rectangle, this indicates that the part has already been assigned a scene. Red markings around the rectangle symbolise
that the dimensions of the chosen scene do not completely fill
the part. An incomplete rectangle symbolizes that the selected
scene has a shorter duration than the background scene.
Type
Click on Type to open the selection window with all available
templates for parts. There is a selection of 38 different templates with 2 through 9 parts.
Part
Click on this slider to activate the Part selector. Move the slider
to its desired position and confirm your choice by clicking on
the left trackball button or cancel your selection by clicking on
the right trackball button. The currently active part is highlighted with a bright gray color in the parts preview, while currently
inactive parts are dark gray.
You can also switch between parts by clicking on the corresponding part in the video scene or on the corresponding part
in the small preview image.
Scene
Clicking this button will bring you to the scene selector of your
main program, offering you the opportunity to select a corresponding scene for the active part.
X button
Click on the X button to delete a previously inserted scene
from an active part. It will then be replaced by the scene that
was active at the time Slivers was started.
3.1.3 Bars
Size
This is activated by clicking on the Size slider. The thickness
of the bar between the parts can be set to a value within the
range of 0 through 100. The 0 value stands for no bar at all
while 100 stands for a very large bar.
Color
Click on this button to open the Palette window. Slivers features an extended palette that includes a color selection tool, a
pattern selection tool and a color bleed (gradient) tool.
The selected color or pattern is displayed in the palette button.
Please refer to subchapter “3.4.1 Palette“ for more information.
3.1.4 Edit
Scale
This is activated by clicking on the Scale slider. The size of the
scene in the active part can be changed to a value within the
range of 10 through 200%. 100% corresponds to the original
size. Scenes can be reduced to up to 10% or enlarged to up to
200%.
Alpha
Click on the Alpha slider to activate it. The alpha value (transparency) of the scene in the active part can be set to a value
between 0 and 100%. 100% corresponds to no transparency
at all. At 0%, the active scene is not visible.
Anchorpoint
Click on this button to set the scene‘s anchorpoint in any active part. You may choose between 9 different, automatic positions. The centre position is the default value. This means that
the centre of the scene is located in the centre of the part. The
automatic anchorpoints can, for example, also set an alignment of the top left corner of the scene with the top left corner
of the part through a single click.
X and Y sliders
Using the X and Y sliders, the position of the scene inside the
active part can be corrected. The values can change between
-50 and +50 and are always relative to the current anchorpoint.
Instead of using the X and Y sliders, the position of the scene
can also be changed by moving the trackball pointer in the
active part. As soon as you reach the active part, the trackball pointer changes into a hand symbol. After clicking the
left trackball button, you will be able to use the trackball to
move the active scene in the active part. Another click on the
Page 7

Slivers for Bogart SE User manual
7
left trackball button confirms the new position. Clicking on
the right trackball button on the other hand, will cancel the
operation of moving the scene and return the scene to its last
position.
Optimal
When you set the Optimal checkmark, the size of the active
scene will automatically be adjusted to the optimal size for the
active part.
3.1.5 General information
Preview
Use this to call up a preview at any time, without having to
leave the program.
Archive
The settings you have made can be archived and reused later
on, even for other scenes.
Menu symbol
This is used to exit Slivers and return to the Edit menu of
your MacroSystem video editing system. Slivers saves
all settings. This allows you to continue your work later on.
3.2 Tips for working with Slivers on lower
resolution monitors
Note: When you have just installed Slivers, a pattern has never
been chosen. When you click in the Palette window on the
Pattern button for the first time, the imagepool will be opened
immediately to give you the opportunity to select a pattern.
Once you have selected a pattern for the first time, the Pattern
button will switch the preview window to the last pattern that
has been selected. You can now use the “Select Pattern” button to call up the imagepool.
Solid
First, you can select here one of the six predefined “color
boxes“. This makes it possible to switch quickly between
colors that are often needed. Use the “Change color“ button to
open the color box and define a new color. If you click on OK
in the color window, the color of the current color box will be
replaced by the one that has just been selected.
Pattern
Use the “Select Pattern” button to open the familiar imagepool
in which you can select a pattern.
Use the Scale or Double button to indicate that the pattern
should be scaled or tiled.
Bleed
A color bleed can be set here, similar to what can be done in
the imagepool. It is also possible to set the direction of the
bleed to a value between 0° and 360° by clicking and moving
the “Bleed direction” slider.
If you use Slivers on a monitor with a resolution of less than
1280 pixels wide, you will have to use the menu bar toggle
switch to switch between the Parts, Bars and Edit menu bars.
3.3 Information on the Power Key option
Slivers provides support for the Power Key option. Press the
F2 key to display the available keyboard shortcuts.
3.4 Individual buttons / functions
3.4.1 Palette
Click on the Palette button to open the Palette window. It contains the panels Solid, Pattern and Bleed.
You can switch between these functions by clicking on the
appropriate button. The active button will become brighter.
Switching is automatic when the corresponding control element has been selected.
The preview window in the top left corner displays the result of
the current settings.
4. Application example
To familiarize yourself in the best possible way with how Slivers works, we recommend you work through the following
application example.
The exercise and tips do not, of course, make use of all the
functions included in the program. However, they do provide
you with a good starting point, and -with a little practice- they
should enable you to use the other functions with ease.
The example has been specifically developed with newcomers
to the program in mind and it therefore introduces you slowly
to the various controls. We recommend you try out your own
ideas afterwards.
4.1 Example
This exercise will help you with your first steps in Slivers.
Activate the scene in the scene bin that you want to use as the
background scene in Slivers, and start Slivers in the Special
menu.
In the lower third of the screen, you will see the toolbar. In the
background, the first frame of your video scene is displayed in
combination with the default part type (Diagonal down).
Page 8

8
Click on the Type button. This opens a selection window in
which you should select the “Triangle A (3)” part type by clicking on it.
You should then close the Type window by clicking on OK.
You should then click on Scene to open the scene bin and
select the scene you want to insert in the middle part.
Confirm the selection with OK. The selected scene will now
be displayed in the middle part. It will be centered. To indicate
that a scene has now been inserted, a small white rectangle
will be displayed in the part preview window.
If the rectangle is incomplete, the scene you inserted has a
shorter duration than the background scene. This means that
during the rendering process, when the scene is finished, it will
be replaced by frames from the background scene.
You should now activate the middle part by clicking on the
middle window in the part preview. The color of the middle
preview window now changes from dark gray to light gray. You
can also select the window by sliding the Part slider to 2 and
confirming with a click.
You may now change the size of the scene you just inserted
by clicking on the Scale slider in the Edit menu. By moving the
slider you can size the scene as desired. Confirm the size you
selected with a click. For the test, please select 150%.
Page 9

You should now click on the Anchorpoint button and select
“Anchor scene bottom, center“. The active scene in the middle
part will now align itself in the middle and flush with the bottom
edge of the part.
Slivers for Bogart SE User manual
You should now click on the Size slider in the Bars panel and
set the thickness of the dividing lines by moving the slider.
Confirm your selection by clicking.
Now, click on the color box in the Bars menu and select the
Solid menu option by clicking on the black color button.
9
You should now move the trackball pointer to the middle part.
The pointer changes into a hand symbol.
Activate the scene by clicking. This will enable you to move the
scene and to position it as you wish. You should then save the
position by clicking again.
Confirm your selection with OK.
The other parts can now also be filled with scenes that may be
positioned as you desire, by following similar procedures as for
the middle part.
Page 10

10
Page 11

Slivers for Bogart SE User manual
11
Page 12

MacroSystem Digital Video GmbH
www.macrosystem.de
Slivers E-07/2012
 Loading...