

Page 1

BorderX
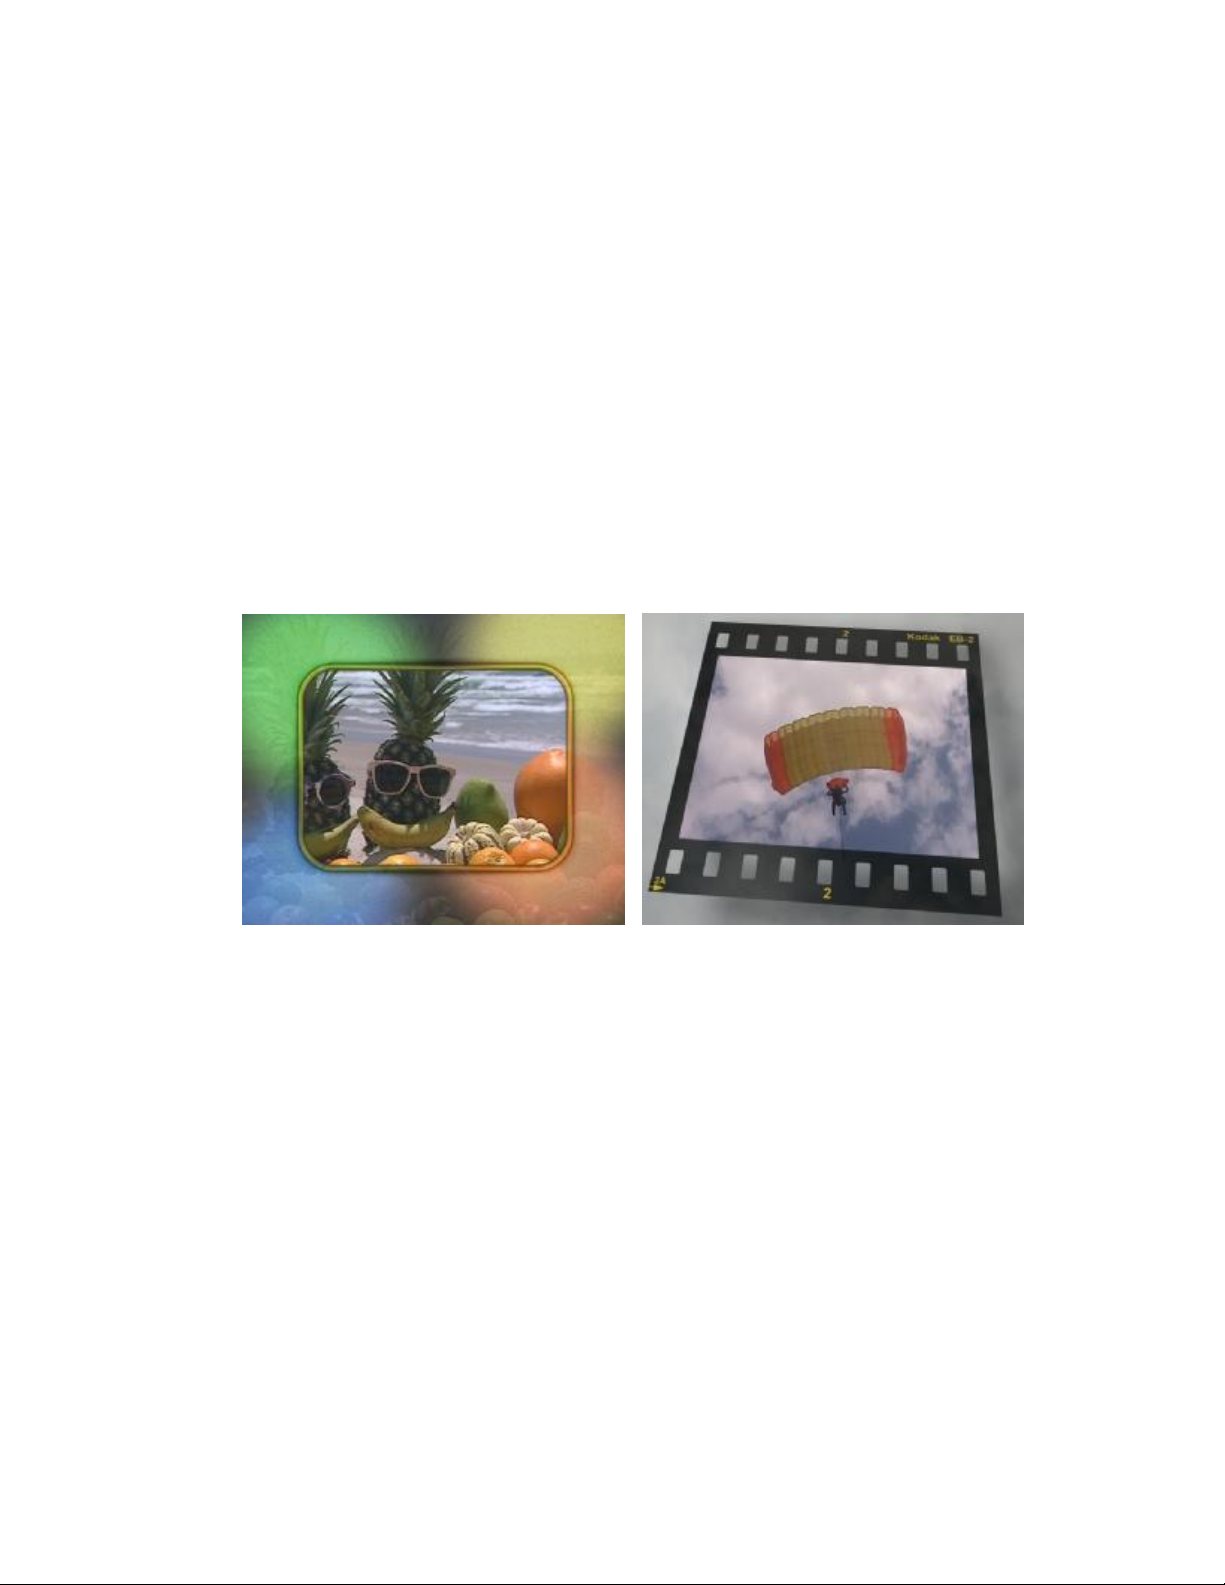
BorderX is a collection of images with 100 motifs that are well suited for use in titles and
for other applications. The motifs provide a wide selection of image frames or borders for
scenes and text. Since the artistic images tend to be abstract, they can be used in very
many situations. Many of the images contain emphasized areas that are perfect for placing images or text.
All the motifs are provided as multicolored and two-colored black & white versions. The
black & white ones can also be colored in as required – but more on that later. Both versions are stored in the Smart Edit image pool and are listed under the “BorderX” product.
The multicolored versions are listed under the “Pictures” category and the two -colored
versions under “Masks”.
“BorderX” images can also be used in other software add-ons such as Motion 3D,
Caladan or Akaba.
The “Masks” from “BorderX” can also be used in the titler or with other software add-ons,
such as Video SpiceRack and the masks operator in “Edit” – “New”.
Using “BorderX” images
The images are stored in the Smart Edit image pool and are listed under the "BorderX"
product in the "Pictures" category. The images can be accessed by all programs or program components that support the image pool.
Adapting the scene
The “BorderX” image-processing effect can adapt the scene being used so that it suits
the display area available for the scene. This might be necessary if you want the majority
of the scene to be visible in the display. You should use the “Scene” setting for this.
Adapting the scene to the display area only works if the Alpha value for the mask display
has not been set to anything other than 100, i.e. it is not transparent.
Settings options for “Scene”
Full size: The scene is displayed in its original size. As a result, only part of the scene will
be visible inside the frame.
Reduced size: The scene is adapted to fit inside the visible area of the mask. This ensures that a large part of the scene is visible inside the mask. Since the aspect ratio is
retained, it is generally not possible to display the entire scene image within the area. A
size reduction can only be achieved if you set an Alpha value of 100% for the border.
"Select Border":
This button allows you to open the image pool’s selection window, where you have access to all the images in the “Pictures” category. To view the supplied images, select the
“BorderX” product. The “Mode” function allows you to display the images flipped over vertically or horizontally or as a negative image.
BorderX
- 1 -
© MacroSystem Digital Video AG
Page 2
“Colorize”
If you press the “Colorize” button, a menu opens in which you can modify the pattern further. Here you have the option of changing the color and the color values. This allows
you to customize the image to suit your needs.
The option to color in the pattern varies depending on whether you are working with
“Smart Edit3” or “Smart Edit4”.
“Colorize masks”
You can also select border masks in the pattern operator of the empty scenes. You can
color in the two-colored masks that are stored under “Masks” by selecting the “Colorize”
option in the “Select pattern” window. Next, set the “Colors” value to “2”. “Color 1” is used
to specify the color of the black area and “Color 3” the color of the white area. In some
cases, “Color 2” is also provided. This is assigned to the gray areas, for instance, in the
“Border 61” mask.
BorderX
- 2 -
© MacroSystem Digital Video AG
 Loading...