

Page 1
Getting Started With
title_pg.fm
Adobe RoboHelp (2017 release)
Page 2

title_pg.fm
2
Page 3

Table of Contents
Introduction . . . . . . . . . . . . . . . . . . . . . . . . . . . . . . . . . . . . . . . . . . . . . . . . . . . . . . . . . . . . . . . . . . 1
How to get Adobe RoboHelp (2017 release) ................................................................................................................. 2
Produce stunning interactive
content with next-generation HTML5 publishing . . . . . . . . . . . . . . . . . . . . . . . . . . . . . .3
Next-generation Responsive HTML5 layouts ............................................................................................................... 3
Greater content accessibility .................................................................................................................................................... 4
Search faster with autocomplete .......................................................................................................................................... 5
Ability to add thumbnails ........................................................................................................................................................... 6
Add favorites in Responsive HTML5 layout ....................................................................................................................7
Do more in less time . . . . . . . . . . . . . . . . . . . . . . . . . . . . . . . . . . . . . . . . . . . . . . . . . . . . . . . . .9
Ability to toggle variable views ..............................................................................................................................................9
Import folders to baggage files ............................................................................................................................................. 10
Additional resources . . . . . . . . . . . . . . . . . . . . . . . . . . . . . . . . . . . . . . . . . . . . . . . . . . . . . . . . . 11
Version comparison chart ......................................................................................................................................................... 11
Product page ...................................................................................................................................................................................... 11
User guides and Support pages ............................................................................................................................................11
Legal notices . . . . . . . . . . . . . . . . . . . . . . . . . . . . . . . . . . . . . . . . . . . . . . . . . . . . . . . . . . . . . . . . 13
i
Page 4

ii
Page 5

Introduction
Introduction
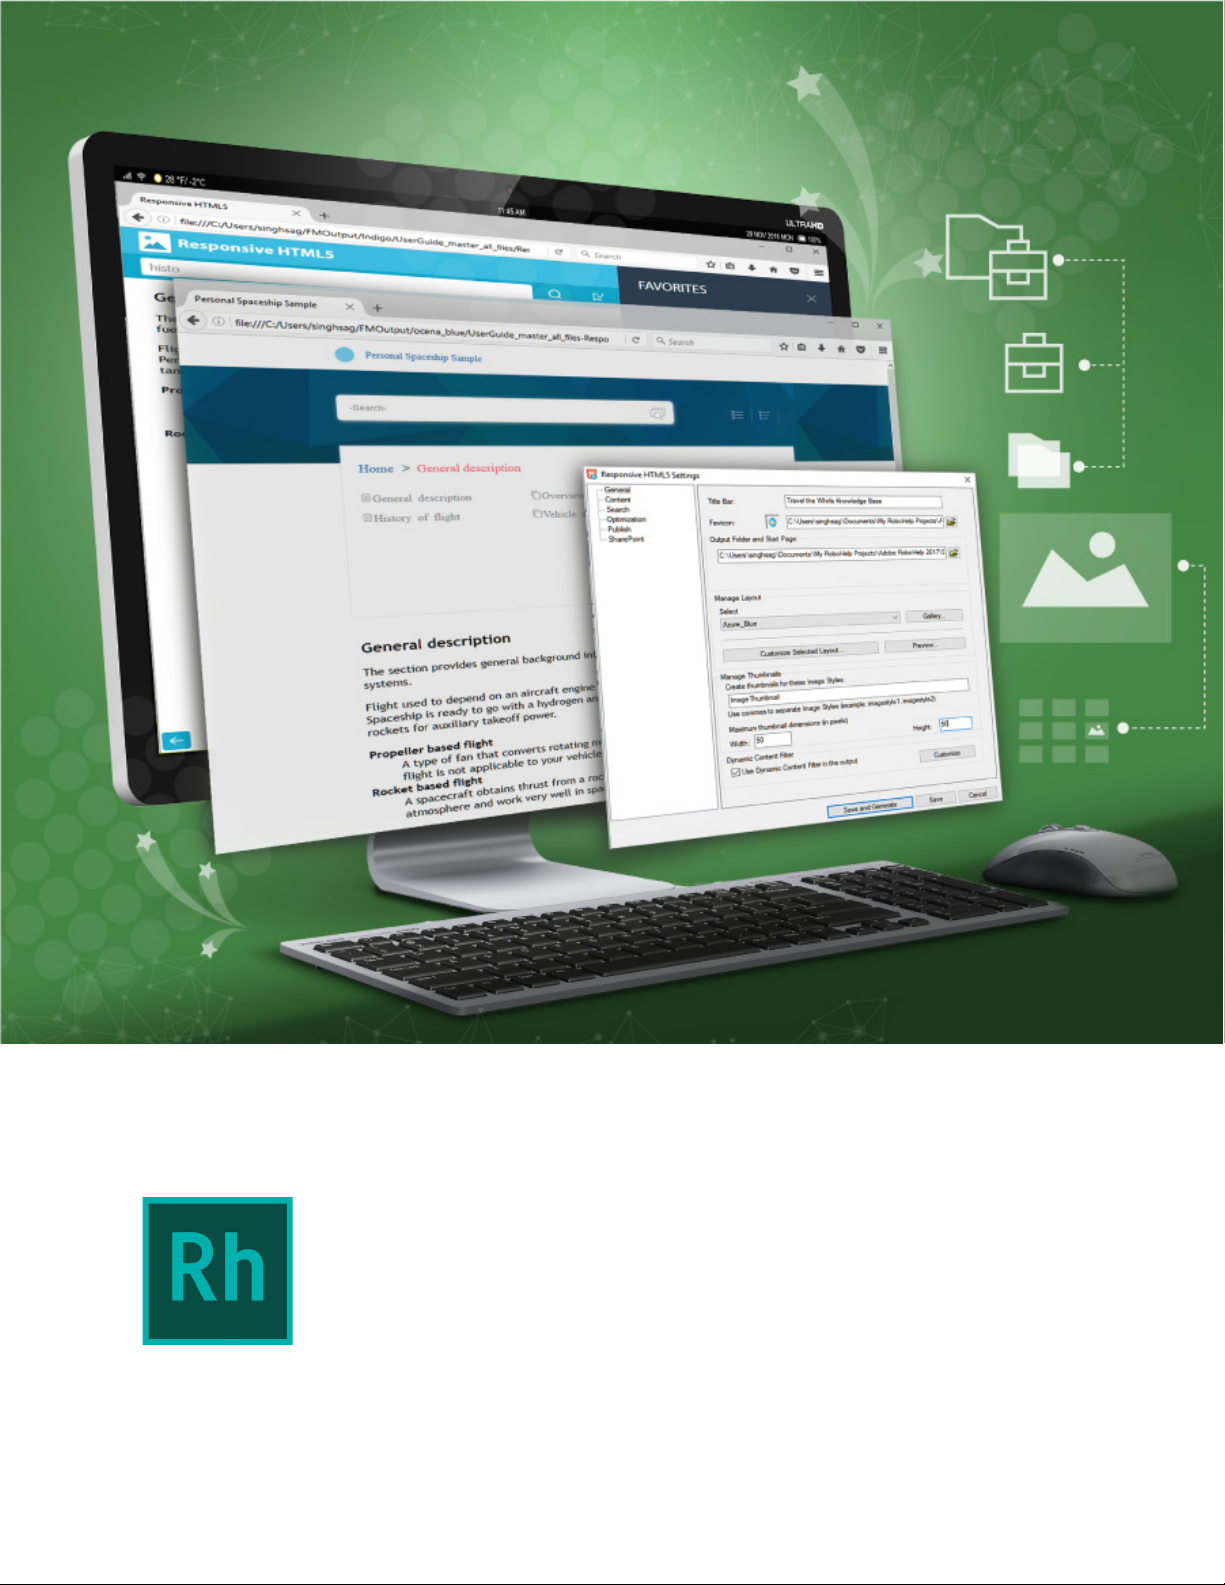
Adobe RoboHelp (2017 release) now makes it easy for you to create and deliver personalized
content experiences for any device. Accomplish more with multiple authoring productivity
enhancements. Provide targeted contextual help with URL support in new dynamically filtered
output and see how content looks for different filter combinations. In the publishing side, you
can now create modern frameless Responsive HTML5 layouts that deliver a superior navigation
experience.
This guide presents you an overview of the new features and workflows in RoboHelp (2017
release). A large number of narrated videos make it easy for you to become familiar with the
enhanced UI and help you get started with this release.
Besides this Getting Started Guide, you will find the RoboHelp User Guide and many other
resources online at adobe.com. A collection of key RoboHelp resources is presented in the Addi-
tional resources section of this guide.
Page 6
Introduction
How to get Adobe RoboHelp (2017 release)
To try RoboHelp before buying, download a fully functional, 30-day complimentary trial version.
Learn about the various ways to buy Adobe RoboHelp (2017 release) here.
If you already have a license for an earlier version of RoboHelp, see the following table for special pricing.
Upgrade to Adobe RoboHelp (2017 release)
If you own
RoboHelp (2015
release)
RoboHelp 11 $599 €599 $599 ¥78,900
For more information, visit the RoboHelp website.
USD EUR AUD YEN
$399 €399 $399 ¥52,500
How to get Adobe RoboHelp (2017 release)
2
Page 7

Produce stunning interactive
content with next-generation
HTML5 publishing
Next-generation Responsive HTML5 layouts
Present visually rich content to your users through the newly
designed frameless Responsive HTML5 layouts. The new modern
frameless HTML5 layouts deliver a superior search and navigation
experience. You can configure these layouts to match your corporate branding and suit the needs of your users.
If your users want a simple interface without the glossary or TOC,
you can easily hide these widgets from your output. The responsive design of these layouts allow them to be seamlessly accessed
across various devices - mobile, tablet, and desktops.
• New frameless Responsive
HTML5 layouts with superior
search and navigation
• Control the widgets you want
to show in your output
Use the new Responsive HTML5 layout:
1. Open the Output Setup pod.
2. Right-click on the Screen Layouts, and choose New Responsive Layout.
3. Select any one of the new Responsive HTML5 layouts - Ocean or Indigo.
Produce stunning interactive content with next-generation HTML5 publishing
Page 8

Produce stunning interactive content with next-generation HTML5 publishing
A sample output generated through Ocean Responsive HTML5 layout is shown below:
Greater content accessibility
Expand the reach of your content to people with special needs. The Responsive HTML5 output
generated through Indigo layout is 508 compliant. Using the Responsive HTML5 layout - Indigo,
you can create content that can be consumed by people with special needs.
Greater content accessibility
4
Page 9

Search faster with autocomplete
• Offer predictive search in
your Responsive HTML5 output
Produce stunning interactive content with next-generation HTML5 publishing
Use the newly designed Responsive HTML5 layouts to delivers best-in-class
search experience to your users. These new layouts offer first-of-its-kind predictive search, which provides more contextual search results.
• Users can find the right content in less time
be able to find what they are looking for easily and in just a few clicks.
A sample of search autocomplete is shown in the following screenshot:
As your users start typing a few characters in the Search box, the search
engine starts showing them best-matching words and strings from your output. The intelligent algorithm behind this search feature presents the
best-matching strings based on the frequency of occurrence of the typed
word in your published content. With search autocomplete, your users would
5
Search faster with autocomplete
Page 10

Produce stunning interactive content with next-generation HTML5 publishing
Ability to add thumbnails
You can now publish Responsive HTML5 output with image
thumbnails. This will not only improve the content loading time,
but also gives more space to your textual content. Your users can
easily access the enlarged image by simply clicking or tapping on
the image thumbnail.
• Show thumbnails in place of
large size images
• Better use of on-screen space
Screens space is always a constraint on mobile devices, and
designing online content that makes best of use of the limited
screen space is always a challenge. Using thumbnail in place of actual
image allows you to give more screen space for text. Giving this experience to your mobile
users will definitely improve their user experience.
How to add thumbnail to your Responsive HTML5 output:
1. Create an Image Style that will be used on all images that you want to show as thumbnails.
2. Open Responsive HTML5 Settings dialog.
3. Configure the settings in the Manage Thumbnails section.
• Load content faster
Ability to add thumbnails
6
Page 11

Add favorites in Responsive HTML5 layout
• Save your favorite pages
from within new Indigo
Responsive HTML5 layout
• No dependency on browser’s
bookmarking feature
2. Navigate to the topic that you want to add to favorites.
3. In the header bar, click the add to favorite icon.
Produce stunning interactive content with next-generation HTML5 publishing
The new Responsive HTML5 layout named Indigo, brings in a lot of new features. Your users will no longer have to depend on the browser’s bookmarking feature to store their favorite content. The new Responsive HTML5
Indigo layout allows your users to store their favorite pages within your
Responsive HTML5 output itself. Whenever they want to access their favorite
pages again - it is only a few clicks away.
How to add favorites in Responsive HTML5 output:
1. Generate Responsive HTML5 output using the Indigo layout.
The topic is added to your favorites.
How to open a topic from favorites in Responsive HTML5 output:
1. Open the Responsive HTML5 output wherein you have stored the favorites.
2. In the header bar, click the icon to open the favorites pane.
7
Add favorites in Responsive HTML5 layout
Page 12
Produce stunning interactive content with next-generation HTML5 publishing
The favorite pane appears with a list of topics added as favorites.
3. Click on the required topic link to open it.
Add favorites in Responsive HTML5 layout
8
Page 13

Do more in less time
Ability to toggle variable views
Working with a large set of variables in a topic can become a challenge. Before you publish your document, you would like to know
whether the right variables have been used across the document
or you missed something.
• Toggle variable view to
switch between its value and
name
Ability to toggle between variable name and value across the topic
is a new feature that has been added in RoboHelp to help you
solve this challenge. If you want to take a look at all variables used
in the topic, simply toggle all variables to see the variable names or
toggle again to see the values.
Toggle variable views:
1. Open a topic.
2. Press Shift+F11 or right-click on a variable and choose Field > Toggle All Fields.
• Use the shortcut key Shift+F11
to toggle variable view
Do more in less time
Page 14

Do more in less time
Import folders to baggage files
• Import all project-related
files into your baggage folder
in one click
How to add a baggage folder to your project:
1. In the Project Manager pod, right click on the Baggage Files.
2. From the context menu, choose Import Baggage > Folder.
3. In the Select Folder dialog, choose the folder you want to import and click open.
You can now save time by importing a folder and all its sub-folders to the
baggage files in your project. Earlier, you could only import a single file in
your project’s baggage folder. If your folder contains multiple files, all of
those files can be easily imported in one go. In addition to this, the project
also maintains the hierarchy of the imported folder in the Baggage Files
folder.
Import folders to baggage files
10
Page 15

Additional resources
More information on the full Adobe Technical Communication Suite and the tools it provides
can be found online.
Version comparison chart
Want to compare the latest version of RoboHelp with the earlier versions, click here.
Product page
• Adobe Technical Communications homepage
• Adobe FrameMaker homepage
• Adobe FrameMaker Publishing Server homepage
• Adobe RoboHelp homepage
User guides and Support pages
• Adobe RoboHelp (2017 release) User Guide
• Adobe RoboHelp Support
• Adobe FrameMaker (2017 release) User Guide
• Adobe FrameMaker Support
Additional resources
Page 16

Additional resources
• Adobe FrameMaker Publishing Server (2017 release) User Guide
• Adobe FrameMaker Publishing Server Support
User guides and Support pages
12
Page 17

Legal notices
Follow this link: Legal Notices
Legal notices
Page 18

Legal notices
14
 Loading...