

mabe LMD3123PBEB0, LMD3123PBCS0, LMD7023PBBP0, LMD9023PBBP0, LMD1123PBBP0 Owner's Manual

1
PM01
LMD3123PBEB0
LMD3123PBCS0
read this owner's manual before installing your new twin tub washing machine
owner's manual
twin tub washing machine
models

2
contents
List of packaged parts
Important Safety Instructions
Parts of your new twin tub washer
Installation instructions
Preparation before washing
Washing tips
Proper use of laundry products
Control panel
Washing sequence
After washing a load
Cleaning the unit
Troubleshooting tips
Rated electrical specifications
......................................................................................... 14
........................................................................................ 15
............................................................................
....................
............................
................................................................. 13
............................................................. 15
............................................................................... 16
............................................................................. 19
......................................
..................................
.............................................................. 25
............................................. 4
............................................... 9
............................................ 22
........................................... 24
welcome
We invite you to get to know your product, read this manual and
getthe most out ofit.
3
3
8 ........................................................
list of packaged parts
P art
Owner' s manual
Water inlet hose
Spinning tub plate
Twin tub washer
Quantity
On e piece
On e piece
On e piece
On e piece
4
• Your own safety is important for us. Please read this information
before using your new product.
• Do not use extension cords.
• Do not plug other electric appliances to the same power outlet.
• Hold the connector by the power plug, not by the cord.
• This product is equipped with a "Y" type polarized plug having a
built-in grounding wire.
• Do not remove the grounding terminal or use outlet adapters.
• If the power cord is damaged, it must be replaced by the manufacturer, its authorized service agent or by qualified personnel in order to avoid a hazard.
• If voltage variations are usual in your area, have a voltage regulator installed.
• This appliance is not intended for use by persons (including children) having reduced physical, sensory or mental capabilities, or
lack of experience and knowledge, unless they have been given supervision or instruction concerning the use of the appliance by a
person responsible for their safety.
• Children should be supervised to make sure they do not play with
the appliance.
• IMPORTANT: Failure to follow these warnings, will make you entirely responsible for personal injuries or material damages that
may occur from using this equipment.
important safety instructions
The following conditions are not considered as a normal use of the
appliance:
• If it has not been operated in accordance with the provided operation instructions.
• Damages caused by accidents, electrical overloads, voltage fluctuations, using an energy other than the specified, or catastrophes.
• If it has been used with commercial or industrial purposes, or for
other than the indicated in the operation instructions.
• If the product has been repaired by unauthorized persons and/or
service workshops.
5
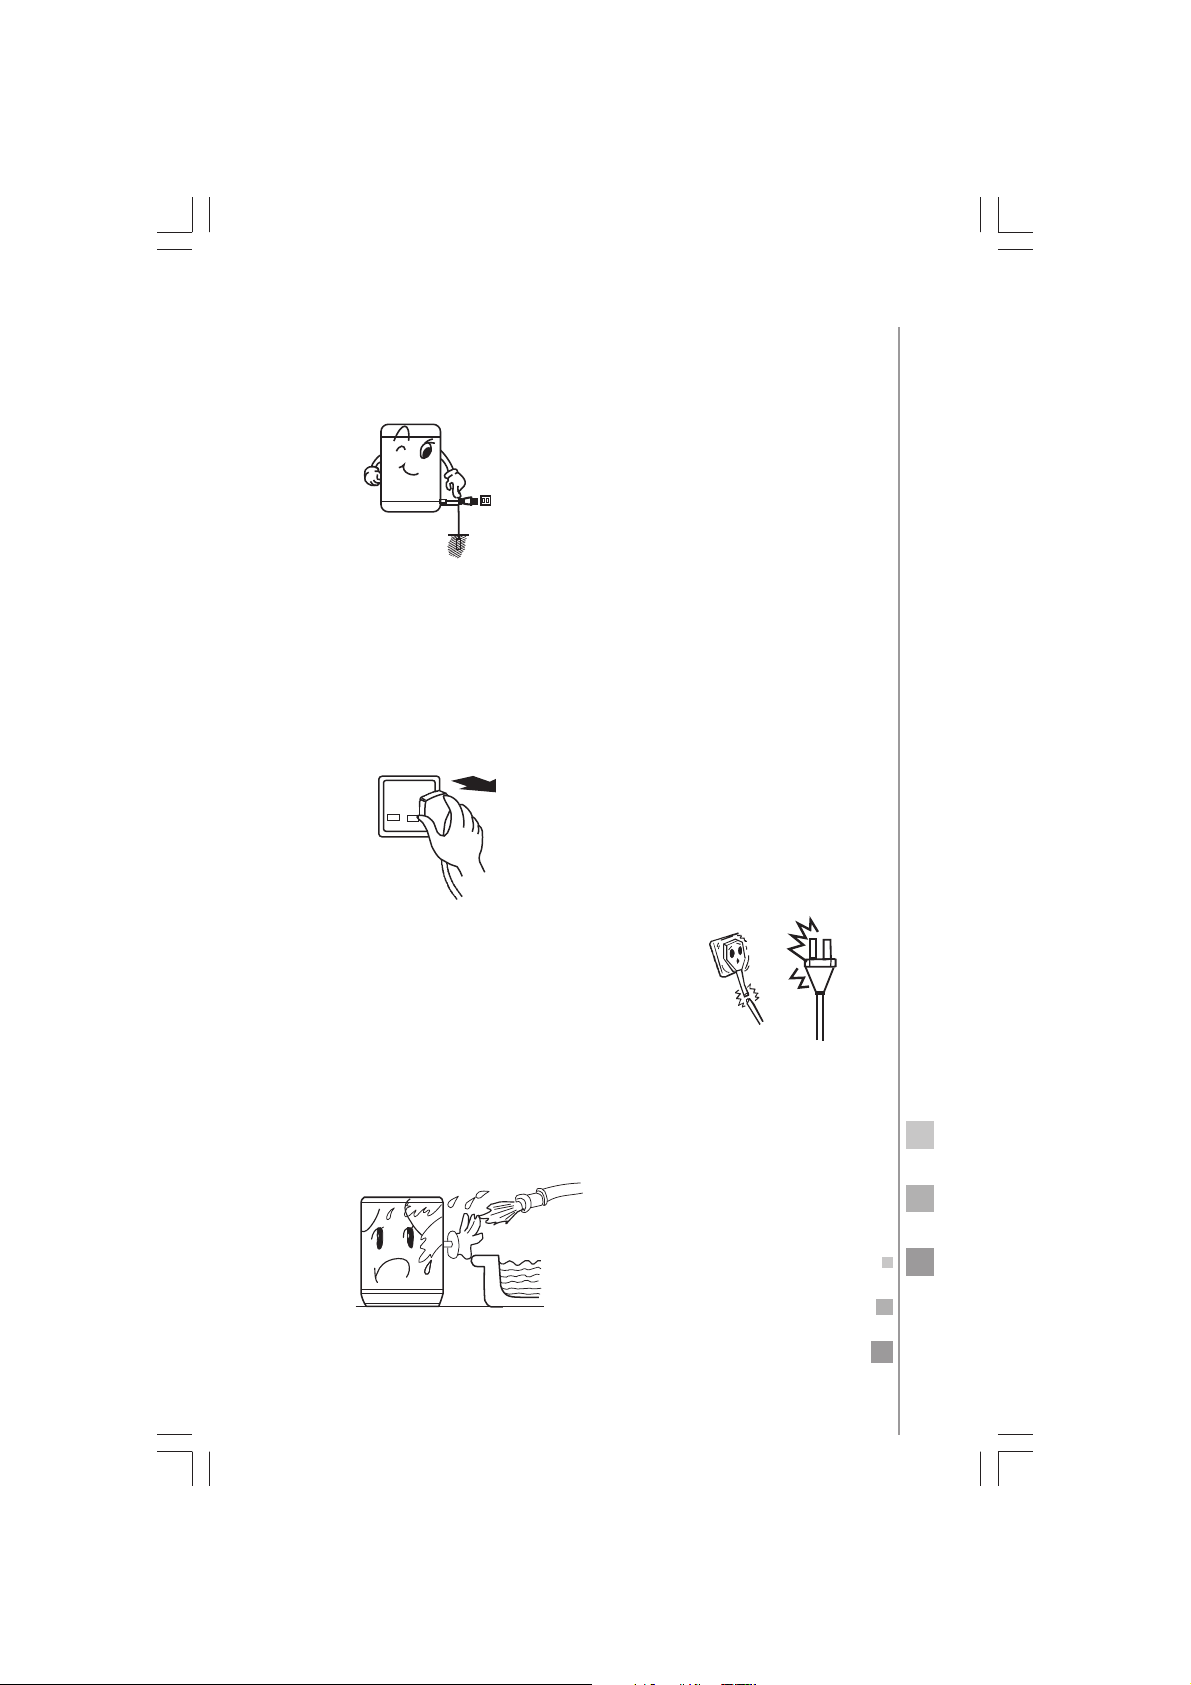
Please insert the power cord into special receptacle with rated voltage. Be sure to use single-phase three pins receptacle.
If possible, install an electric leakage protector.
Make sure the electrical outlet is located at an easy and accessible
place so the power plug can be easily connected and disconnected.
Be sure to pull the plug off when there's a power failure, or before
moving or cleaning the machine, and when it's idle.
If the power cord is damaged, it must be replaced
by the manufacturer, its authorized service agent
or by qualified personnel in order to avoid a hazard.
Never
wash the unit with water. Do not place wet clothes on
panel.
the control
6
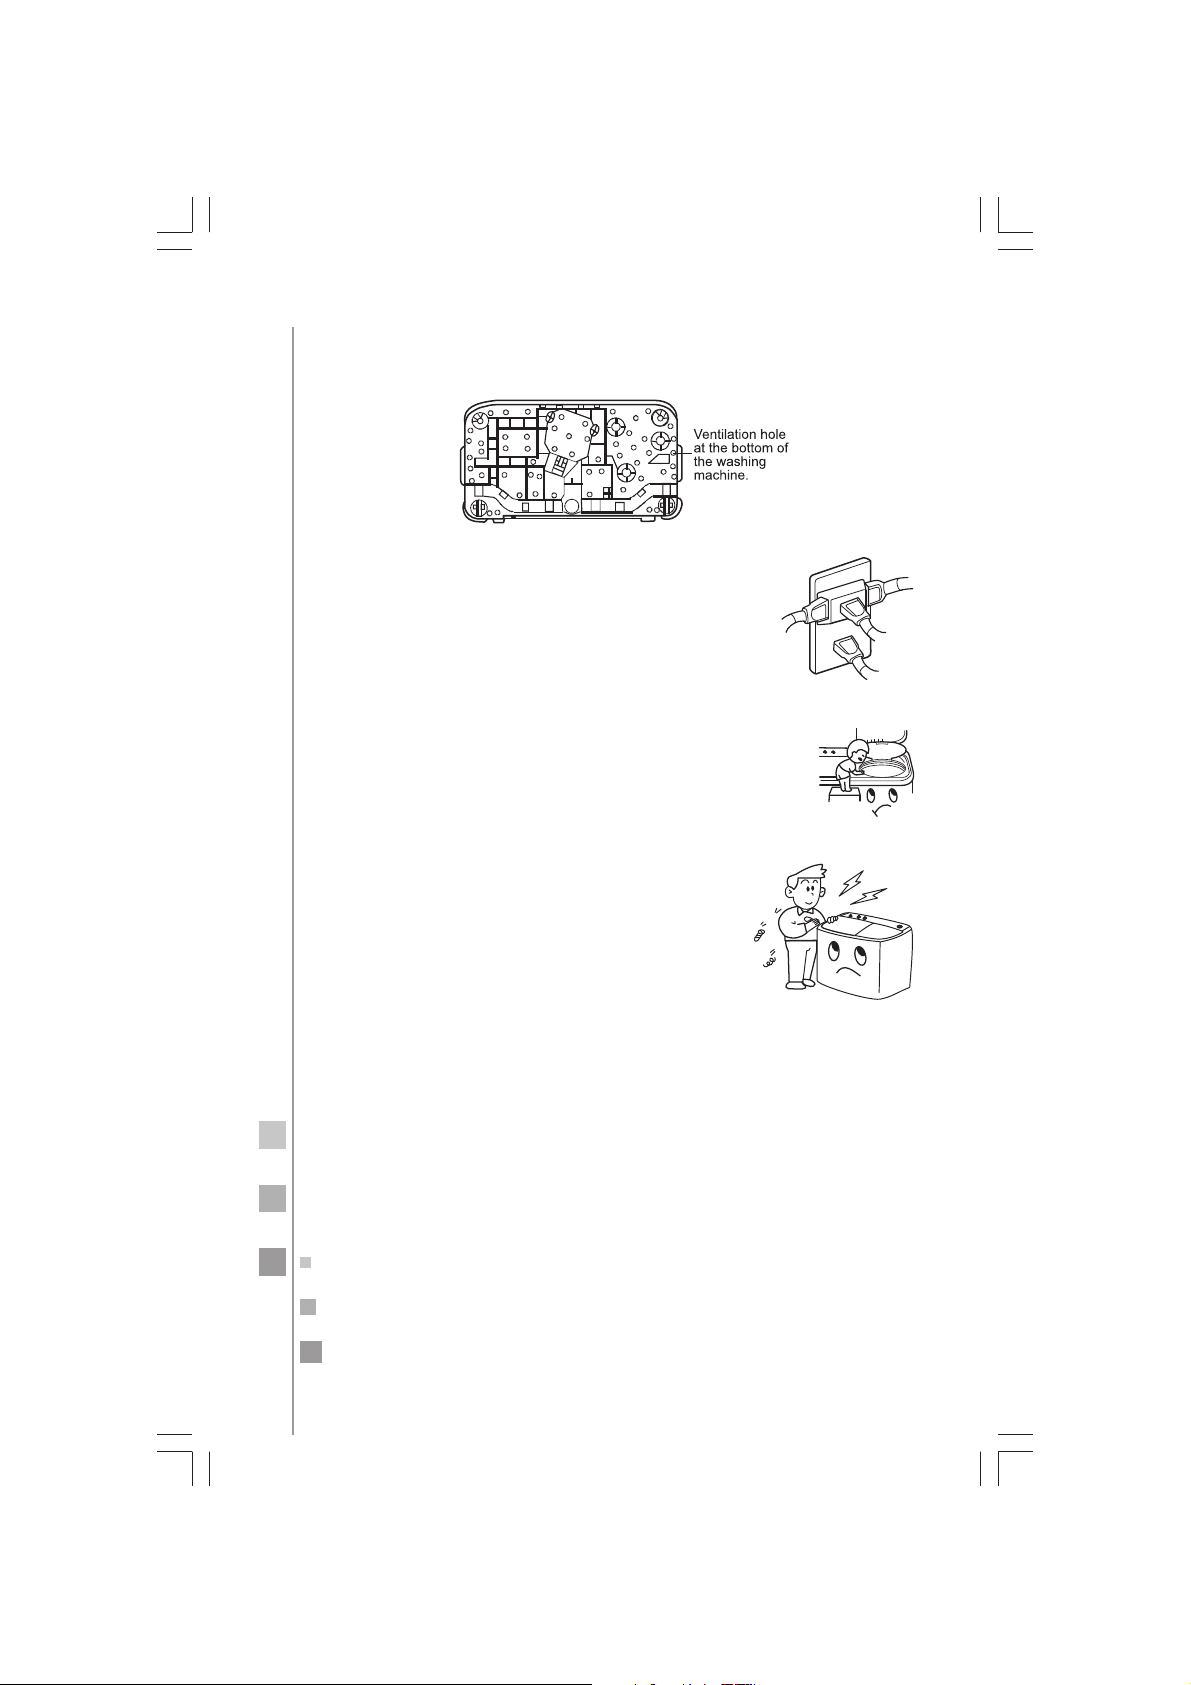
If the washing machine is installed on a carpet, do not block the
ventilation hole with the carpet.
Do not let the machine share the power outlet
with other electric appliances. If the power outlet
is damaged do not use it anymore until it is
checked by a qualified electrician.
Do not reach into the working machine. It is dangerous even if the rotation is slow. Take special care with
the children.
Do not try to disassemble, repair or alter the
machine by yourself.
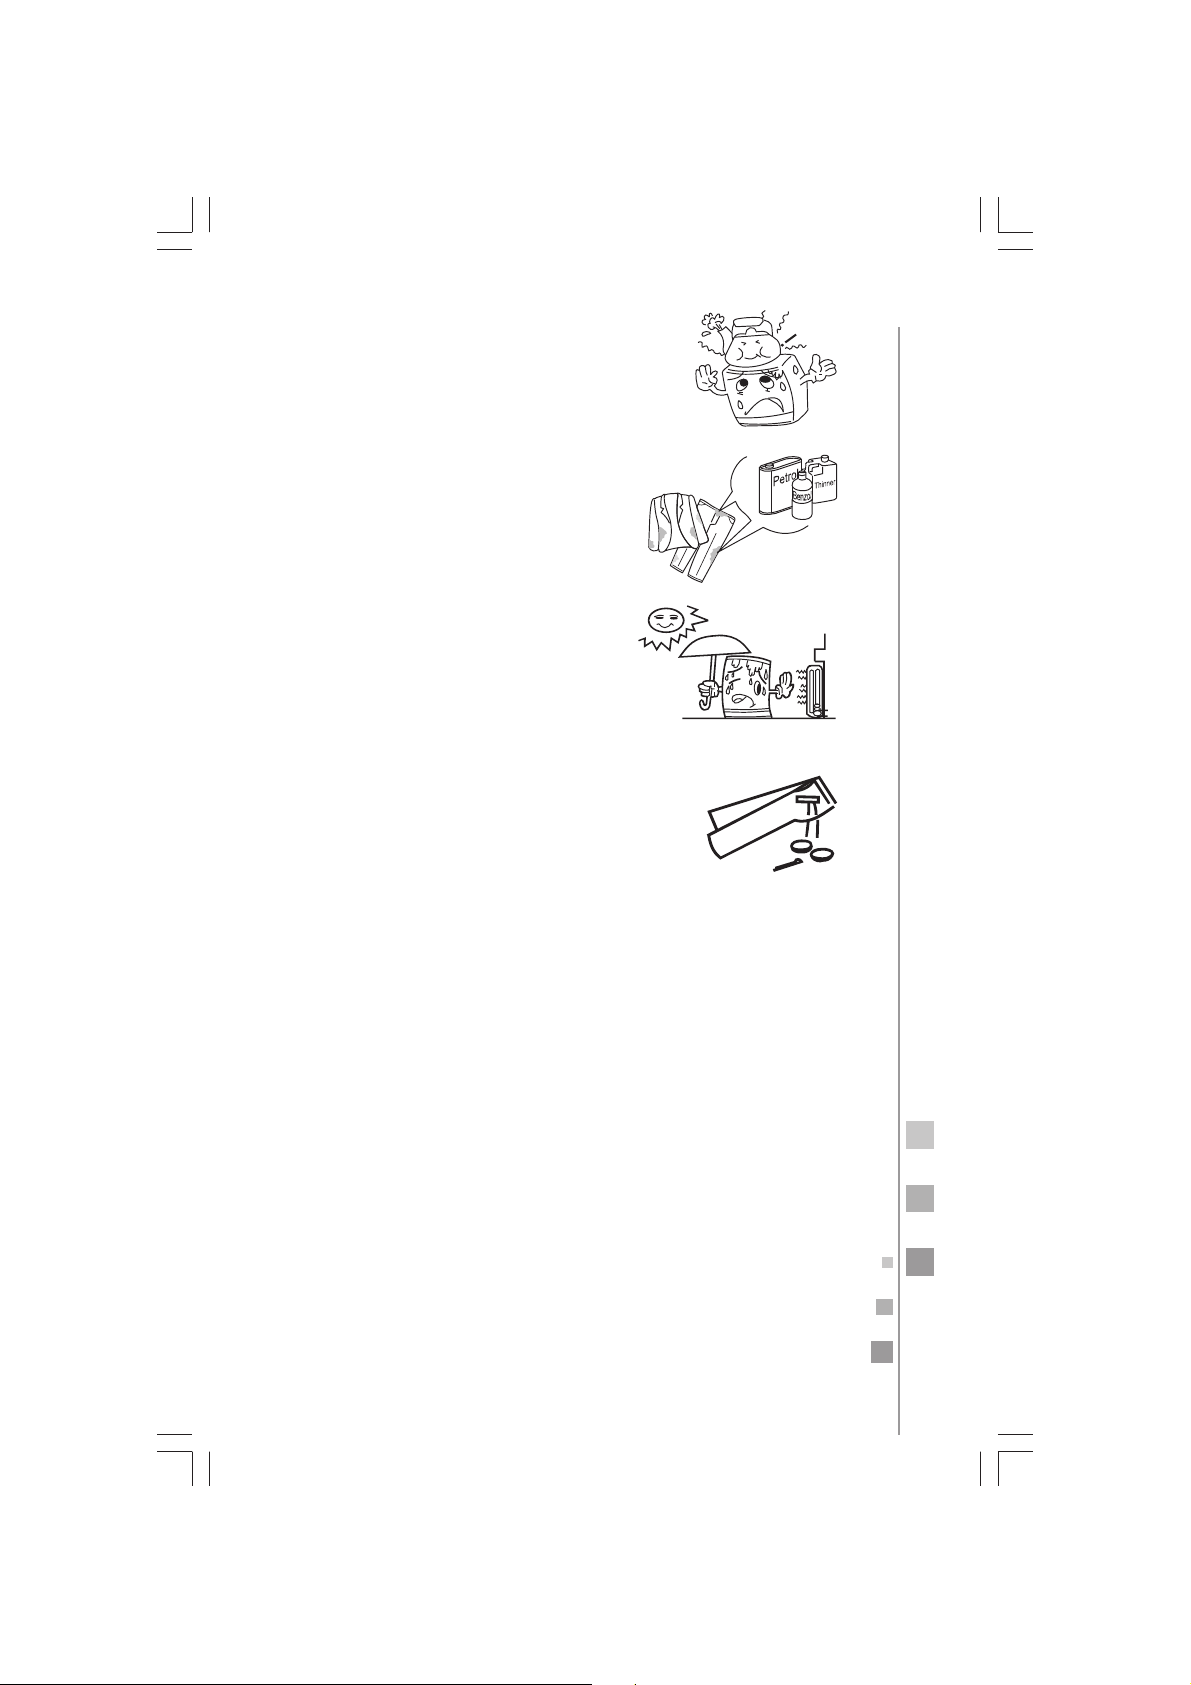
7
Do not put any hot or heavy items on the
washing machine such as a kettle with hot water.
Do not wash items that have been stained
with volatile substances such as thinner,
petrol, etc.
Keep the machine away from direct sunlight and heat sources like heaters.
To protect your clothes as well as the washing machine, please take out coins, sand, hairpins and
other foreign materials from clothes before washing.
The Maximum water level should not be exceeded when filling the
tub.
Make sure that the connection of the water inlet hose is proper.
8
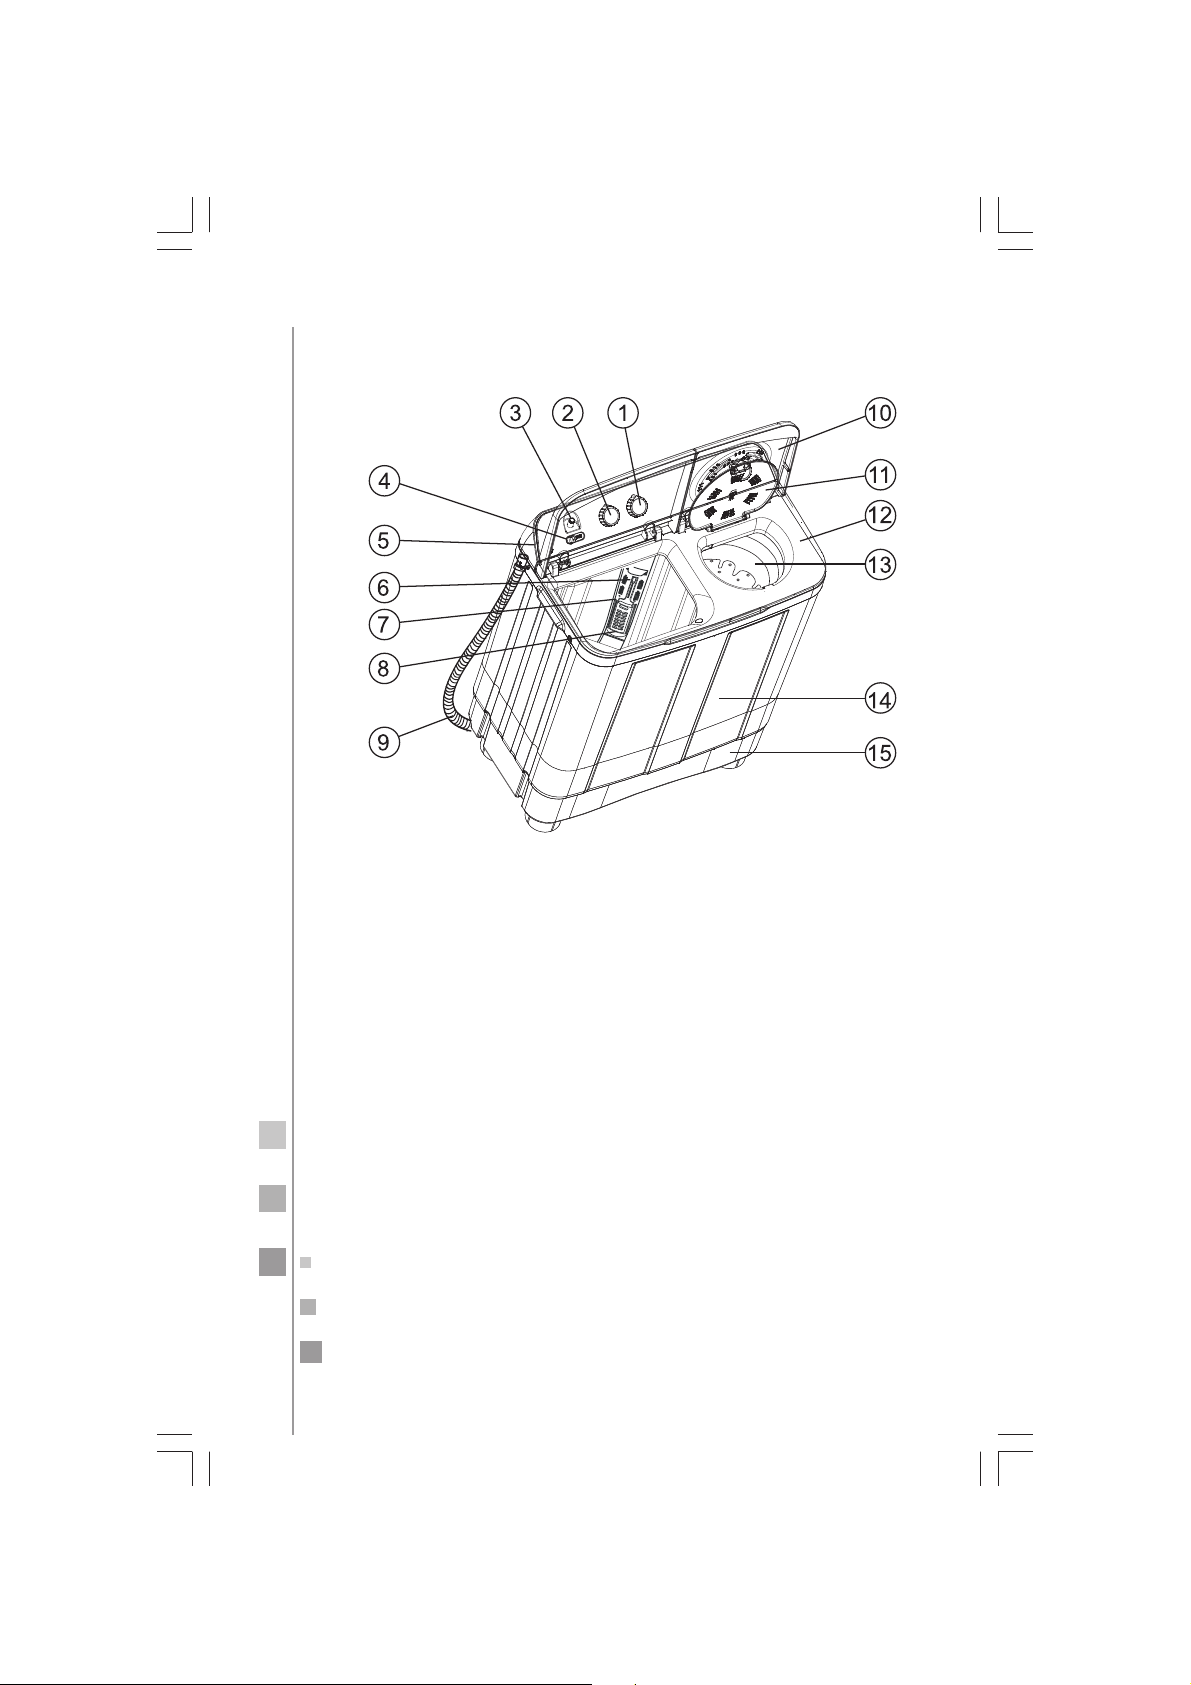
parts of your new washing machine
1. Wash Type Selector.
2. Wash Timer Selector.
3. Water Inlet Port.
4. Water Inlet Selector.
5. Control Panel.
6. Lint Filter (must be installed by
the end user).
7. Overflow Filter.
8. Washing Tub.
9. Drain Hose.
10. Outer Cover of the Spinning
Tub.
11. Inner Cover of the Spinning
Tub.
12. Main Frame.
13. Spinning Tub.
14. Cabinet.
15. Base Frame.
Important notes:
All illustrations contained in this manual have a reference purpose
only. Your washing machine as well as the accessories may look different from these illustrations
.

9
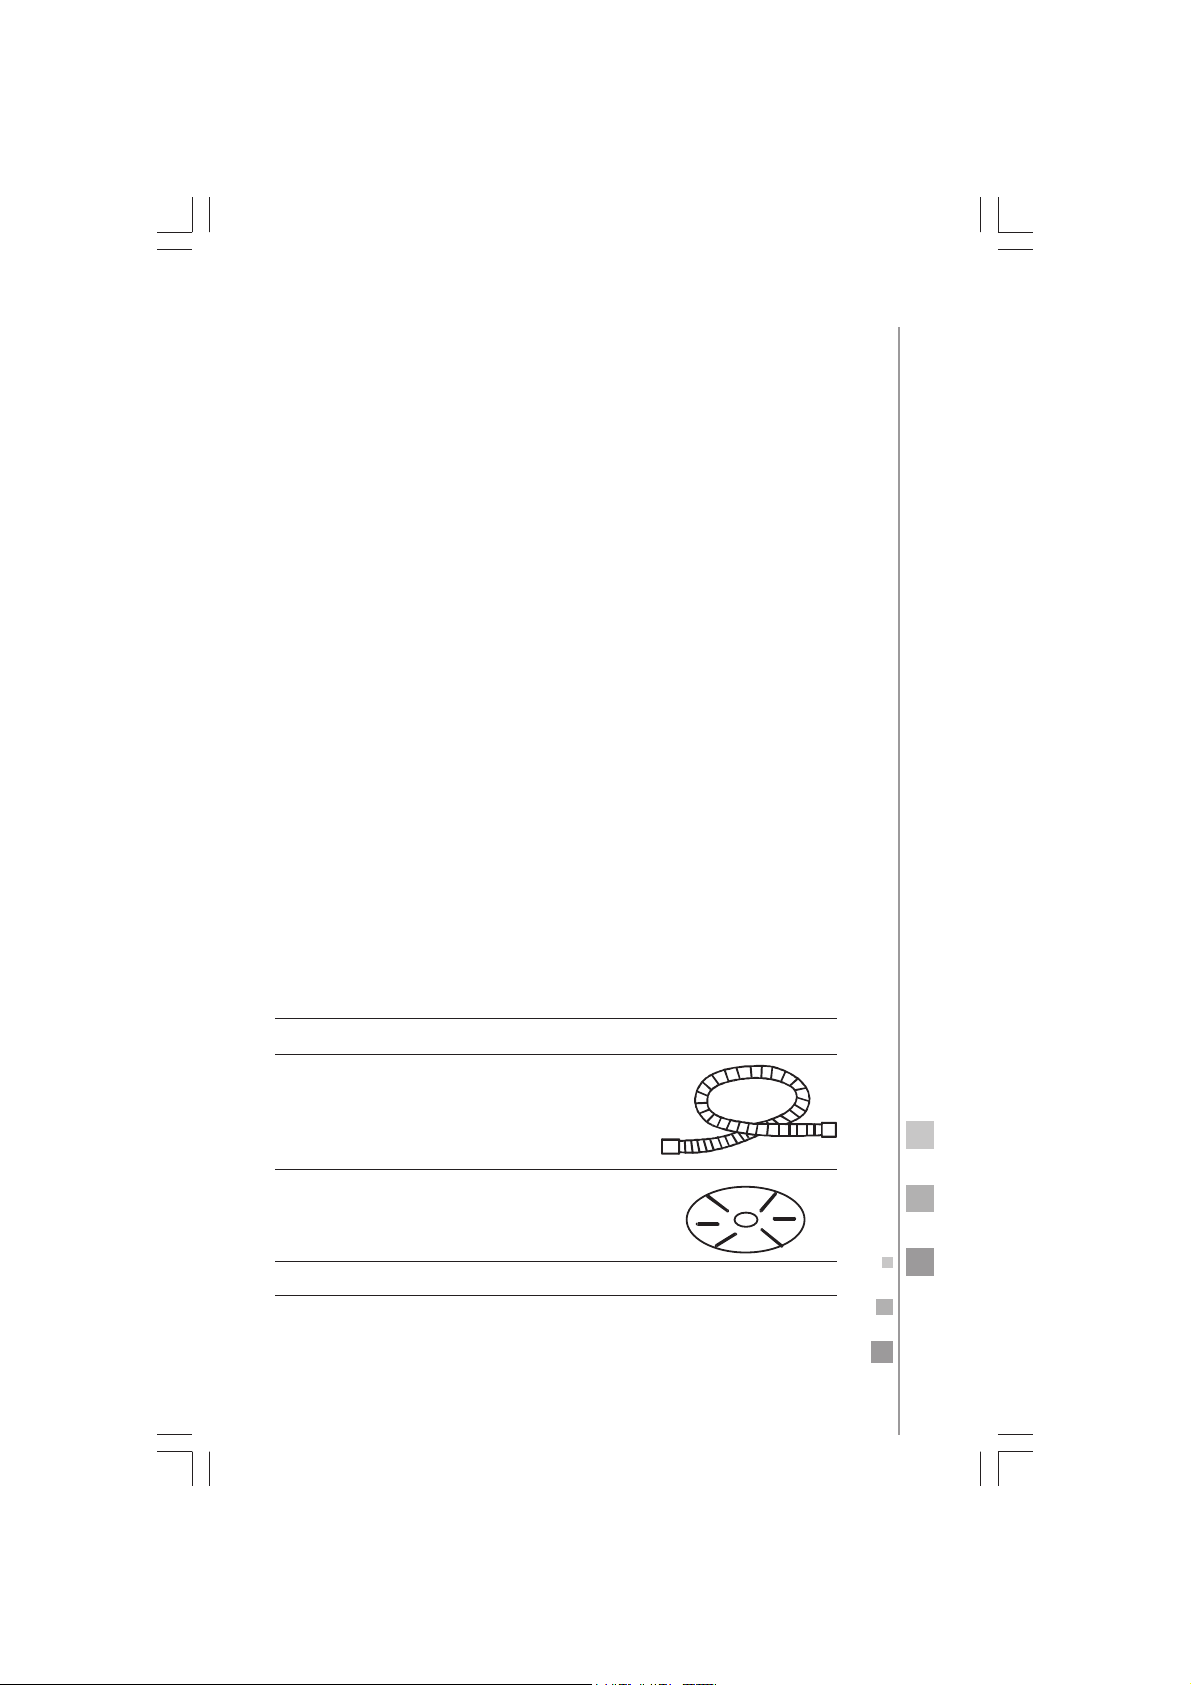
install the lint filter
installation instructions
Install and adjust the washing machine according to the instructions
contained in this manual. It is very importan for your own safety
and the correct operation of the machine.
Put the underside of the lint filter into overflow filter, then push the
upside into overflow filter.Make sure that the lint filter is firmly placed
in the overflow filter,otherwise the lint filter may fall off when washing,
adversely affect-ing the operation of the machine.

10
drain hose
The drainage of the machine should be smooth and fluid.
The height of the drain hose when placed down on the floor
should be less than 10 cm, or the drainage will not be smooth
enough causing an incomplete drainage.
Do not step on or crush the drain hose.
If the extra section of the drain hose is too long, you can cut it at either point indicated "A" or "B".
Once the washing or rinsing process is completed, and you need
to flush the water, it is necessary to place the drain hose on the
floor at a height not greater than 10 cm, and turn the control
panel knob to the function “Drained”.
 Loading...