

LZR JH1 User Manual
JH1
User’s GUide 3
ManUel d’Utilisation 6
- 2 -
JH1
- 3 -
UK
IMPORTANT
Please read this manual carefully BEFORE using your
helmet for the first time.
Following the instructions will keep your helmet
effective and SAFE.
Remember to keep the manual in a safe place.
It contains instructions, which are EXTREMELY
IMPORTANT for your safety.
PLEASE REMEMBER!!! We have done our best to be as
clear and explicit as possible. However, should you
find the instructions unclear, or have any questions
or require further information, please do not hesitate
to contact us by post or e-mail.
INFORMATION FOR USERS
- To insure an adequate protection, this helmet must
fit closely and be securely attached
- Any helmet that has sustained a violent impact
should be replaced
- Warning! Do not apply paint, stickers, petrol or
other solvents to this helmet. Use only warm soapy
water to clean the helmet surface
ECE R22.05
Congratulations for buying our LZR JH1 helmet!
You can be sure that you have done an excellent
choice.
Enjoy it and have a happy ride, LZR protects Your
Freedom...
ADVICES
VISION
When riding a motorcycle, your life could depend
on a clear vision.
Keep it unhindered by observing theses basic rules:
- Use only genuine face shields
- Tinted face shields are for daytime use only
- Always keep your face shield clean and scratch
free
- Always keep your field of vision unobstructed
FASTENING
Your helmet will be useless if it’s too big or not
properly fastened. Always buy a helmet to your
exact size and always fasten it properly.
MODIFICATIONS
Never modify your helmet in any way. Modifications
could result in lowering the effectiveness of your
helmet.
DAMAGED HELMET
When your helmet sustains a severe shock, part of
its structure and lining may have been deteriorated
by absorbing the energy of the impact. These
damages may not be visible to the eye. In this case,
do not hesitate to replace it.
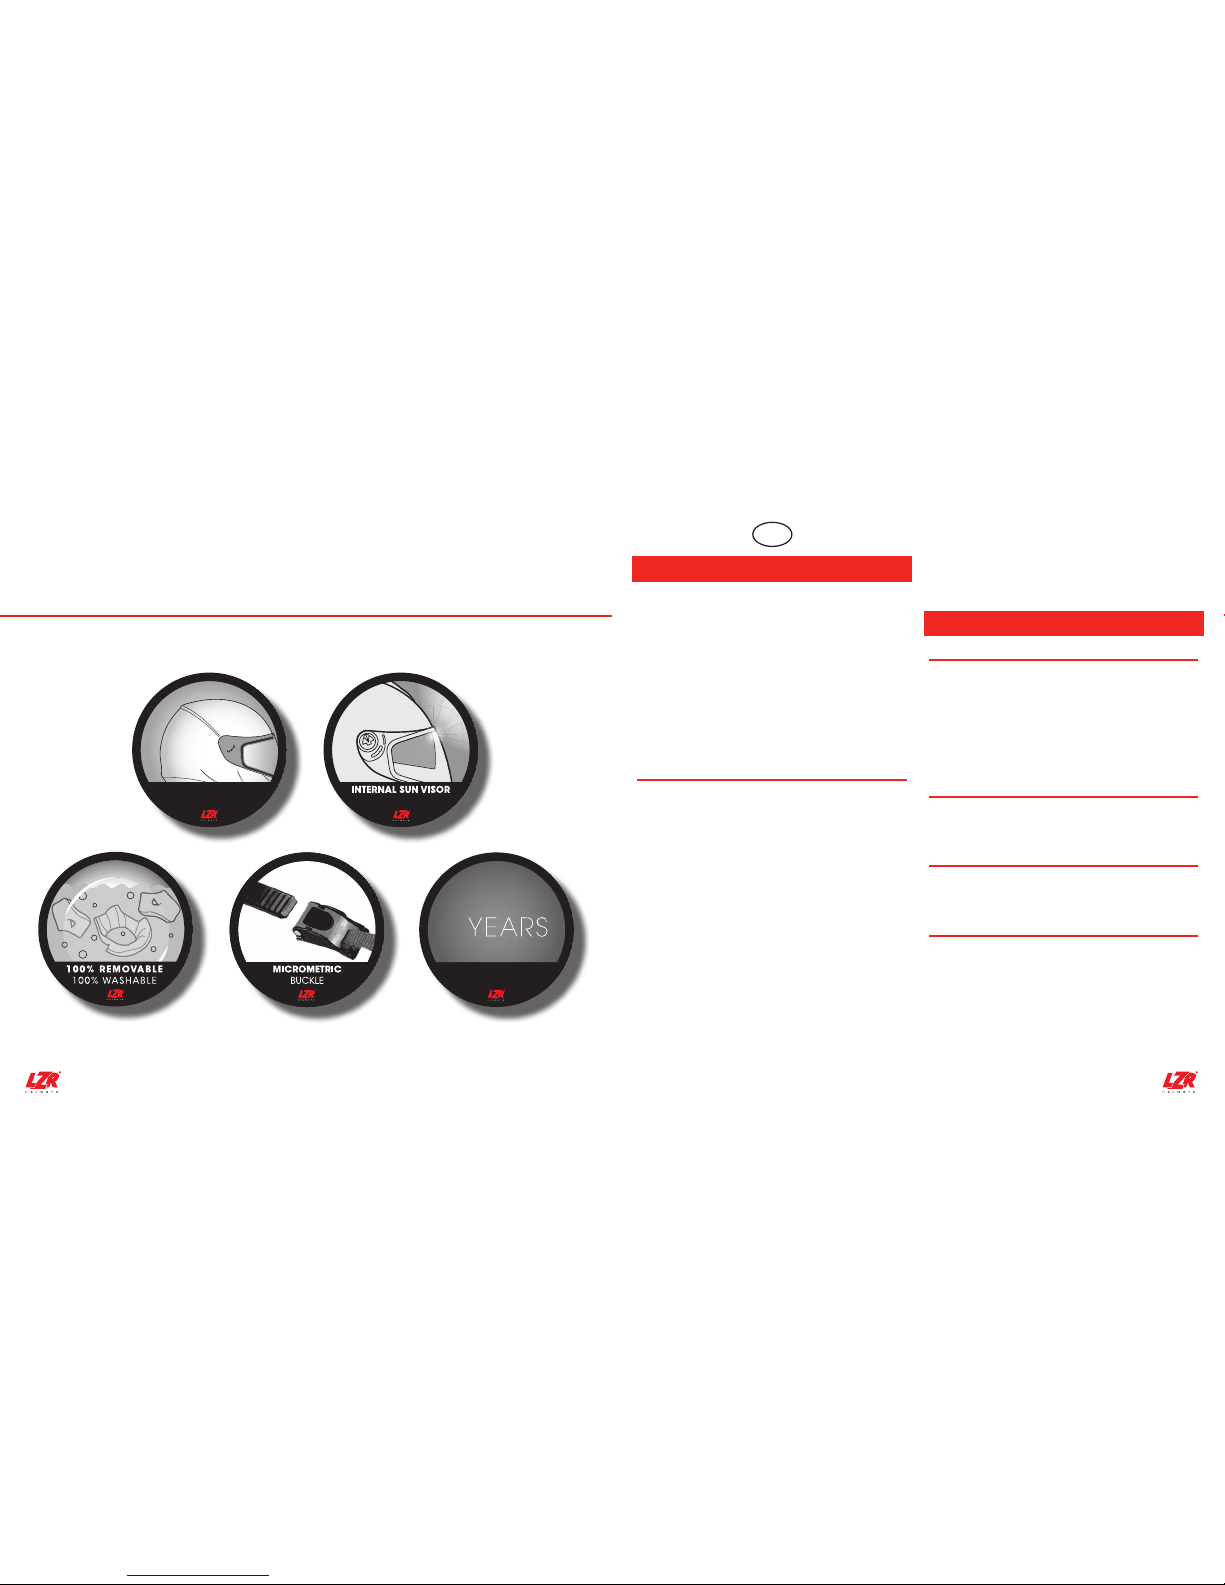
TECHNOPOLYMER
INJECTED
UV PROTECTION 3
3
GUARANTEE
2

CARE AND MAINTENANCE
Clean the outside and inside of your helmet
regularly. Use a soft cloth and warm or slightly
soapy water. NEVER USE GAS OIL, SOLVENTS, PETROL
OR OTHER AGGRESSIVE PRODUCTS.
The padding is removable to make it easy to clean.
Again, only use warm or slightly soapy water. Hand
wash and drip dry.
To clean the visor (shield), dip it in lukewarm soapy
water. Wipe it in a lint free cloth from the top to the
bottom avoiding any circular motion.
After correctly cleaning the vents and the visor
mechanism, it is a good idea to lubricate them
from time to time with white or silicone grease to
maximize their durability.
STORAGE
After washing your helmet, store it inside a bag, in a
dry temperate place. Avoid prolonged storage in a
very illuminate place.
DURABILITY
Over time, some wear marks can appear on
safety elements of your helmet, such as: wearing
or fraying of the strap, malfunction of the buckle,
cracking or crumbling of the inner liner, cracking
of the shell, … In this case, contact your dealer to
check or replace your helmet.
HANDLING
WILL IT STAY ON ? (FIG. 1)
You want to know If the helmet you bought will
stay firmly on your head in a crash. Make sure the
chinstrap is done up and tilt your head forward. Ask
someone to try and roll the helmet off your head by
carefully pushing up from the rear of the helmet at
its base. If you can roll it off in the showroom, then
it’s sure to come off in a crash.
ADJUSTING AND USING
THE MICROMETRIC BUCKLE (FIG. 2)
1. First, adjust the length of the strap by rolling it
through the adjuster ring (A)
2. To close the buckle, insert the ratcheted tongue
(B) into the casing (C). When you hear a “click”,
the buckle is closed. The multi-notching allows
for minute adjustments in order to obtain perfect
comfort and fit with the buckle
3. If necessary, go back and repeat Step 1
4. To open the buckle, pull on the red strap (D)
and draw back the ratcheted tongue using your
other hand
HOW TO CHANGE AND REPLACE THE MAIN VISOR
Taking off the screen (fig. 3):
• The screen must be in its half-open position (E)
• Turn the right-hand screw a quarter turn anti-
clockwise (clockwise for the lef-hand screw) (F)
• Pull-out the screws (G)
• Extend the screen to both sides to lift it from the
ratchet mechanisms (H)
- 4 -
Putting the screen back:
• Put the screen into the slots and press lightly (I)
• Put the screws into their slots in the shell and screw
the right-hand screw a quarter turn clockwises
(anti-clockwise for the left-hand screw) (J)
• Check that the mechanisme functions properly
HOW TO USE
THE INTERNAL SUN VISOR ON YOUR HELMET
• The cursor for the internal sun screen is on the left
side of the helmet, behind the screw fixing the
external screen. Only use this button when your are
not riding and always with your left-hand.
• To lower the internal sun screen, lower the cursor until
it stops
• To lift the internal sun screen, lift the cursor until it
stops
Warning: never drive with the internal sun visor in
the lowered position at night or in case of poor
visibility. Always remember to raise the internal sun
visor early enough before entering a tunnel or on a
dark or shady road.
HOW TO CHANGE THE INTERNAL SUN VISOR
ON YOUR HELMET (FIG.4)
• The main visor must be in the open position
• The internal sun visor must be in the lowered
position (K)
• Hold the internal sun visor between 2 fingers
on each end of the visor (L) and pull it gently
forward until the 2 clips situated on the internal
sun visor detach from the 2 lugs situated inside
the mechanism (M)
To replace the visor:
• Hold the main visor in the open position
• Slide the visor back as far as it will go, until you
hear a double click (on each side), indicating it is
clipped correctly on the lugs (N)
• Ensure the mechanism is working properly
HOW TO REMOVE AND PUT CHEEK PADS
BACK ON YOUR HELMET (FIG.5)
• Cheek pads are fixed to their EPS base by means of
3 snaps on their sides and a collar of plastic folded
between the shell and the base
• Detach the pad from the 3 snaps (O-P) and pull to
tear it from the shell (Q)
To put the pad back on:
• Insert the collar between shell and EPS base and
adjust properly between chin guard liner and rear
pad, (R-S)
• Snap the 3 press studs on the side of the EPS base (T)
HOW TO REMOVE AND PUT THE HEAD PAD
BACK ON YOUR HELMET (FIG.6)
• Pull and tear the front head band to release the 4
snaps (U-V)
• Pull the neck cushion to unsnap the 2 press studs (W)
• Remove the entire pad from the helmet
To put the head pad back on:
• Introduce the whole head pad inside the helmet
• Snap the 2 press studs of the neck cushion (X)
• Insert the front head band on its location and snap
the 4 fixing clips (Y)
• The head pad sets itself easily on its own
WWW.LAZERHELMETS.COM
- 5 -
 Loading...