

Lyntech LY69-010-68 User Manual

CONTENTS
Section
1.00
1.01
1.02
1.03
1.04
1.05
2.00
2.01
2.02
2.03
2.04
2.05
2.06
2.07
2.08
2.09
2.10
2.11
2.12
2.13
2.14
2.15
2.16
2.17
2.18
2.19
3.00
3.00
3.01
3.02
3.03
3.04
3.05
3.06
4.00
4.01
4.02
4.03
Introduction
ST5000 Control Panel
K6600 LCD Remote Keypad
K6550 LED Remote Keypad
SL6600 Sleep Watch Remote Keypad
AD1000 Voice Dialer
User Operation
Day (Off) Mode
Full Guard Arming
Part Guard Arming Option 1
Omitting Zones Full Guard
Omitting Zones Part Guard
Activating & Resetting Keypad Panic
Disarming System Using Keypad
Disarming System After Activation
Arming & Disarming Part Guard Option 2
Arming and Disarming Sleep Watch Zones
Activating Sleep Watch Panic Button
Silencing Panic Alarm Activation
Memory Recall
Displaying Faulted Zones
Intelligent Auto Reset
Mains Supply Failure Indication
Mains Supply Failure and Low Battery Indication
Low Battery Indication
Service Required
User Programming Section
Entering User Programming Mode
Changing Master User Code
Enable User Codes 2 - 5
Enable User Code 6
Setting Secure Zones
Setting Chime Zones
Exit User Programming
System Test
Quick User Reference Guide
User Programming Notes
Fault Indications
Page No.
2
2
3
3
4
4
5
5
5
6
6
7
7
8
8
9
9
9
10
10
11
11
11
11
11
11
12
12
12
12
13
13
14
14
15
16
17
18
1
2.00 USER OPERATION
2.01 Day (Off) Mode
This is the normal (default) setting of the control panel. The alarm will sound if the following
types of zones are activated in Day Mode and also to indicate faults.
Type of Alarm or Fault Indication
Panic, Personal Alarm (PA) Full alarm, external and internal sirens sound.
Fire Detection Zones Full alarm, external and internal siren intermittent sound.
24 Hour Alarm Internal sirens only.
Tamper Fault Tamper LED On (ST5000)
LCD Display Fault Tamper (K6600)
Zone Fault Day LED flashing
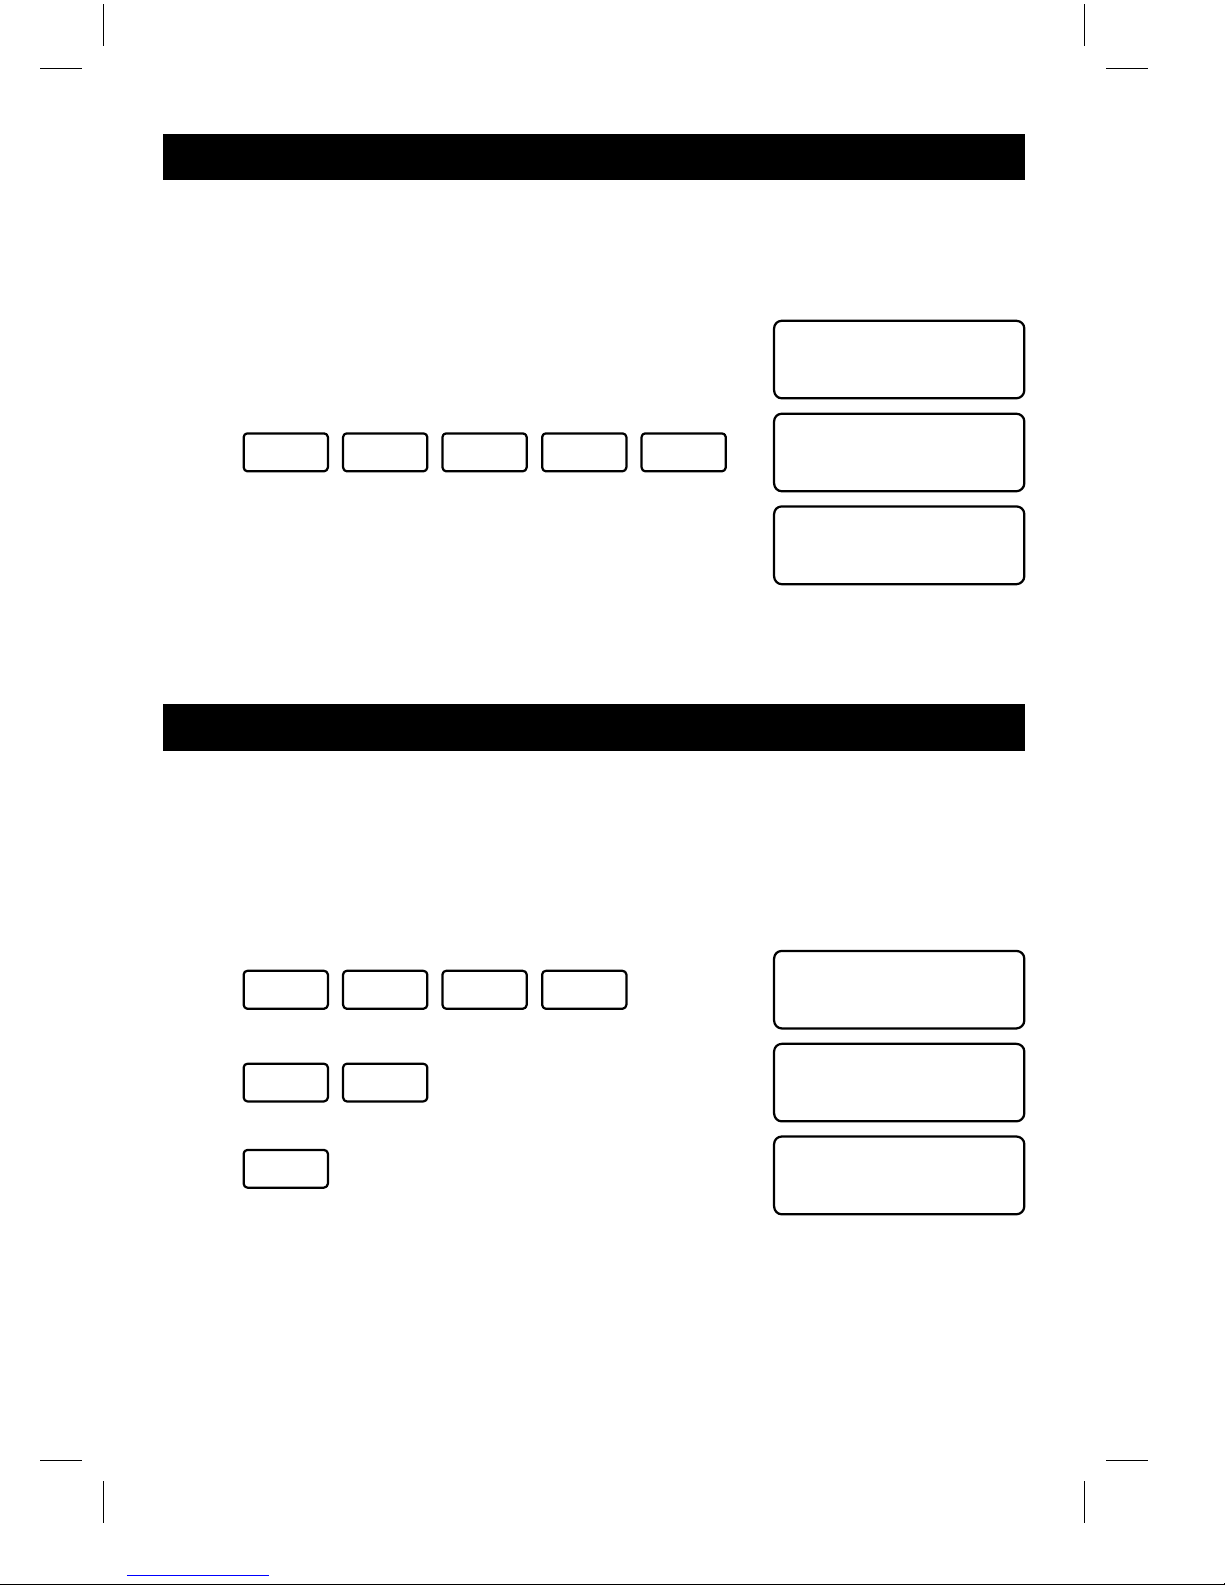
2.02 Full Guard Arming
In FULL GUARD armed state, zones connected with intrusion detectors to the control
panel will detect any unauthorised entry and set off the internal and external alarm.
Make sure all zones and P.A. (Panic Alarm) loops are closed. The control panel will not
switch to the armed mode if they are open. Full Guard Arming is indicated by the internal
speaker beeping during exit time count down.
K6600 LCD Display
To arm the system enter a valid user code:
Example:
Enter:
EXIT time is delayed whenever a zone is opened or in fault,
(e.g. a door contact on the front door is opened). Count down
will resume when the zone is closed, omitted or fault removed.
Note: System can be quick set by pressing Set key for 3 seconds if this feature is
enabled by the installation engineer.
1 2 4 3
System Ready
Melcom
System Arming
System Armed
5
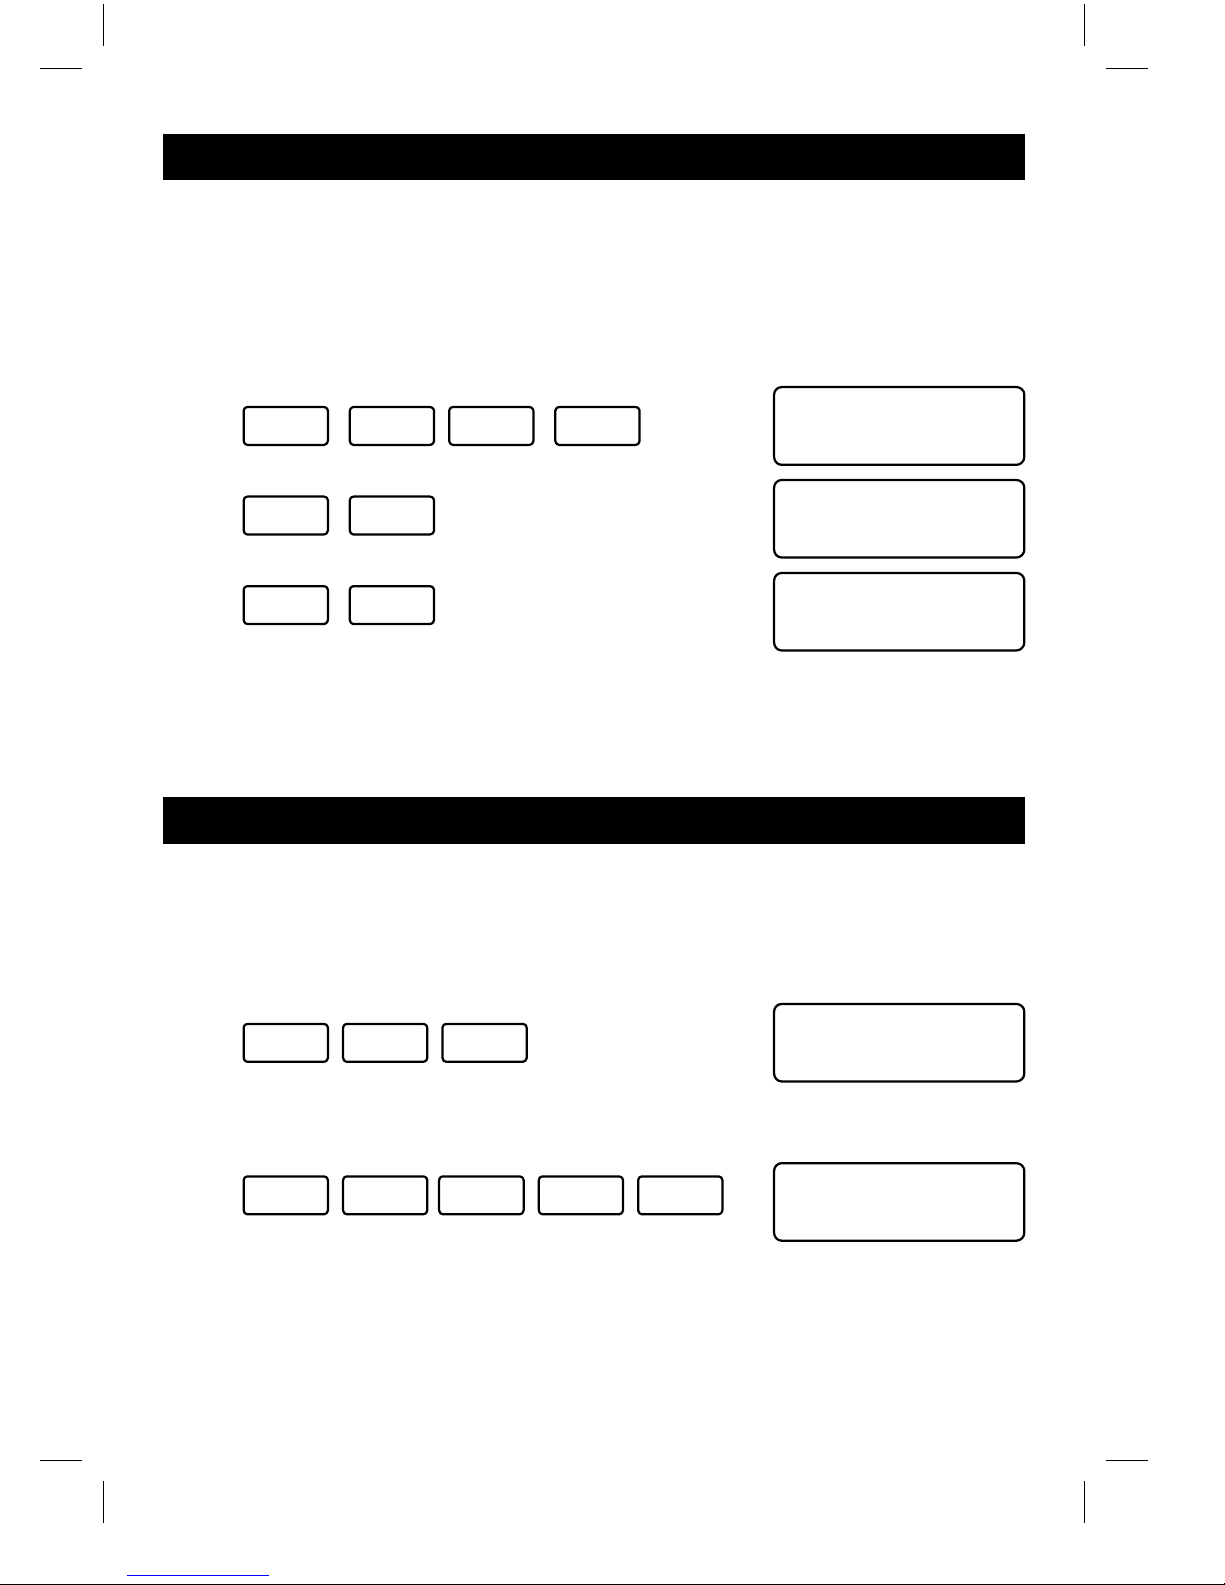
2.03 Part Guard Arming Option 1
PART GUARD means that the system is only armed in pre-set zones, allowing you to occupy or pass through the unarmed zones. This is normally used for night-time setting of the
alarm system to isolate the bedrooms.
Enter a Valid User Code and press SET within 3 seconds.
Example:
System Ready
Melcom
Enter:
PART GUARD mode will become armed within 5 seconds (or
the time programmed by the engineer). You should leave or go
to a non-armed part of the building, zone LEDs, PA and Tamper will flash momentarily to indicate Part Guard Arming.
Note: If you have zones programmed as Sleep Watch zones, these can only be
armed after Part Guard arming and pressing the sleep button on the sleep watch
remote keypad.
? ? ? ?
SET
Part Arming
System Armed
2.04 Omitting Zones Full Guard
You might wish to omit zones in full guard before arming the system. For example, you can
omit the zone that protects the garage.
Enter a valid user code and press OMIT, enter zone number to be omitted and press
OMIT.
Example: Omitting zone 2
System Arming
Enter:
? ? ? ?
1
Press: OMIT 2
Press:
Zones omitted will be reintroduced to the system once the system has been disarmed. If
you wish to have a zone disabled from the system, you must contact your installation
engineer.
Note: PA, Tamper, Fire Zones & 24 Hour Zones can not be omitted.
OMIT
Omit Zones
2
System Arming
6
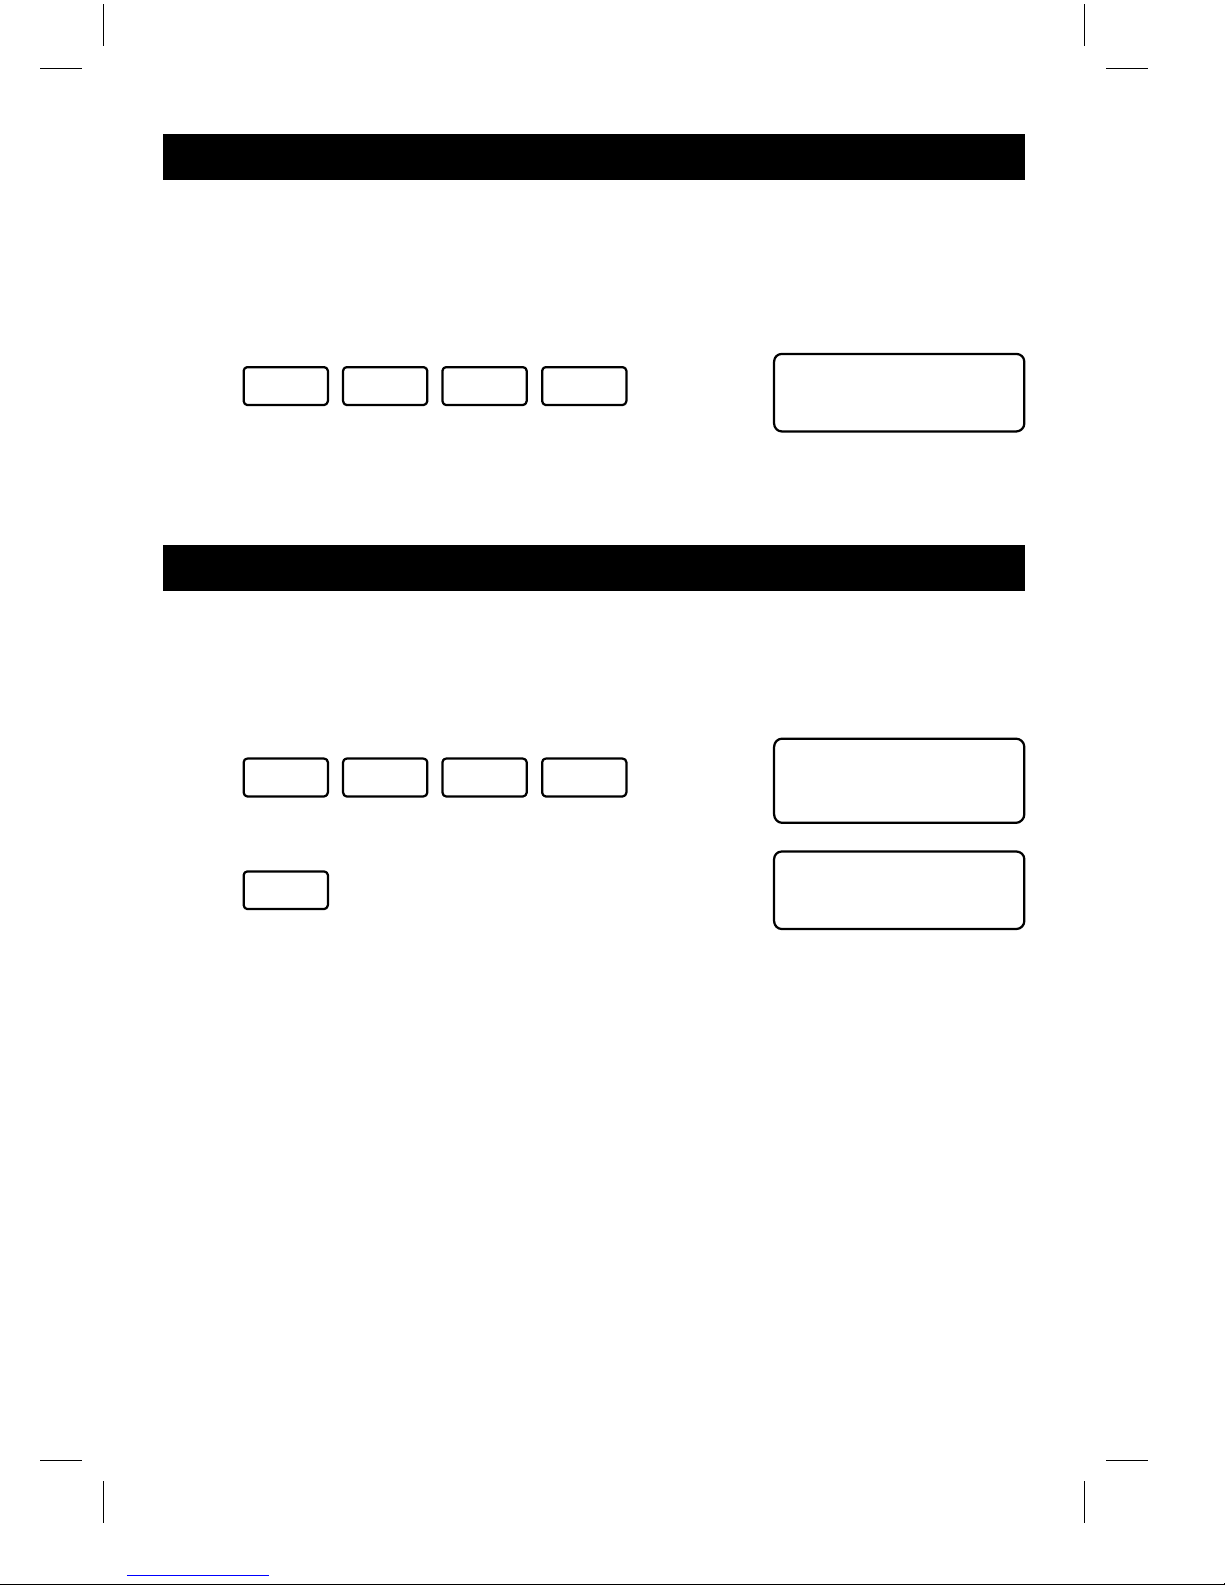
2.05 Omitting Zones Part Guard
You might wish to Omit Zones in Part Guard before arming the system. For example, you
can omit the zone that protects the kitchen.
Enter a Valid User Code and press OMIT, enter zone number ,press OMIT and SET.
Example: Omit Zone 6 .
Enter: ?
Press: OMIT 6
Press: OMIT SET
Zones omitted will be reintroduced to the system once the system has been disarmed. If
you wish to have a zone disabled from the system you must contact your installation engineer.
Note: PA, Tamper, Fire Zones & 24 Hour Zones can not be omitted.
? ? ?
Omit Zones
6
Part Arming
2.06 Activating & Resetting Keypad Panic
If the control panel is armed or in day mode, activating of the Keypad Panic will sound the
external and internal sirens. To silence the alarm, enter any USER CODE, day LED will
flash and press RESET.
Example:
System Arming
Press:
Silence alarm after keypad activation.
Enter:
Note: If you do not press RESET after enter your code the control panel will not operate until RESET has been pressed.
SET OMIT SET
? ? ? ? RESET
(S.O.S.)
7
Alarm
Alarm
Personal Attack
2.07 Disarming System Using Keypad
When returning to the premises, enter via the ENTRY/EXIT Zone. This will activate the entry tone for length of ENTRY time as programmed by your installation engineer. To prevent
the activation of the alarm before the elapse of the ENTRY time, you must enter any valid
user code. The keypad sounder will speed up when entry time has nearly timed out.
Example: disarming system.
Enter: ?
NOTE: Entry tone will speed up before sounding the internal alarm. If after 30
seconds, still no valid user code has been entered, the external siren will sound. The
keypad will lock up for 2 minutes if after 15 key presses no valid code is recognised.
? ? ?
System Ready
Melcom
2.08 Disarming System After Activation
When returning to the premises, enter via the ENTRY/EXIT Zone. This will activate the entry tone for length of ENTRY time as programmed by your installation engineer.
Enter a valid user code to disarm the system and press RESET.
Example: disarming system after zone 3 activation.
Enter: ? ? ? ?
Alarm
Zone 3
Zone 5 LED illuminated.
System Ready
Enter: RESET
Melcom
The activated zones will be indicated by zone LED on the ST5000 and on the K6600 LCD
keypad date time and zone number or name. Note which zone or zones have activated.
Enter your user code and press the reset key. After resetting the system investigate those
zones which have been activated.
Any activation caused by a Tamper fault has to be cleared before the system can be reset.
Note: Failure to reset the control panel will cause the system to lock up, the system
will not function until the reset key has been pressed.
If your system has been programmed to be reset after an alarm activation by your
installer. After silencing the alarm, you will need to contact your installer to reset the
system.
8
 Loading...