

Page 1
Inverted Microscope
Inverted Microscope
Instruction Manual
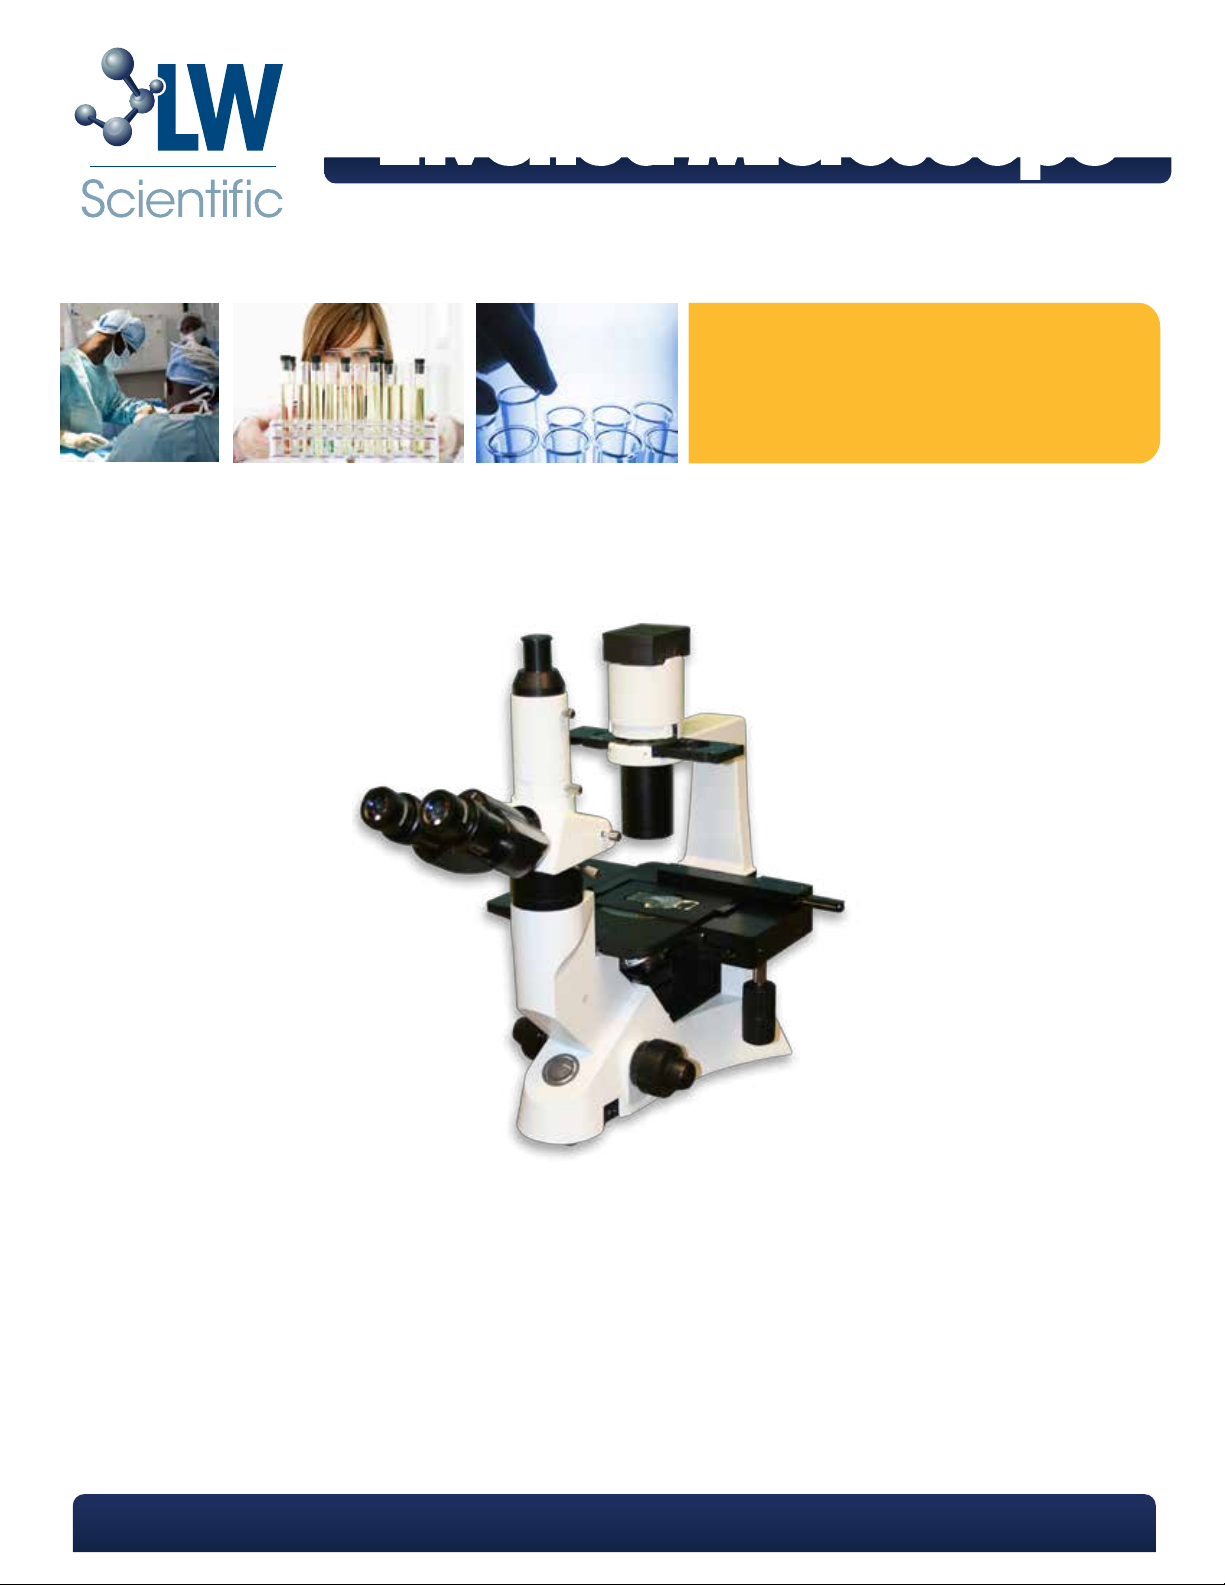
Model pictured:
Inverted Microscope (L1M-B04A-DPHK)
Introduction
The Inverted Biological Microscope is designed for excellent performance. It has a long working
distance and is able to perform intricate and varied applications for vital tissue cultures. It is suitable for
phase contrast, micro-photo, and fluorescent applications. The LW101 is equipped for use by research,
medical, educational, and agricultural institutions.
P. 770.270.1394 F. 770.270.2389 665 Marathon Parkway Lawrenceville GA 30046
Page 2

LW Scientific packs each microscope with utmost care. Examine the outer
Unpacking and Setup
cover shipping damage. Please retain all packing material for future use.
Carefully unpack the LW101 Inverted Microscope using the following checklist for all the parts and accessories:
and inner containers for any visual damage. Retain all of the packing
material until you have examined and tested your new microscope. If there
is damage, please contact the shipping company, as our warranty does not
1 - Microscope (including main body, mechanical stage.
nosepiece, and holder)
2 - Illumination lamp housing
3 - Phase contrast condenser
4 - 4 Objectives: (Plan achromatic 4X, achromatic phase
contrast 10X, Plan achromatic phase contrast 20X, and
Plan achromatic 40X)
5 - Trinocular head
6 - Eyepieces: (10X wide field eyepieces entering
eyepiece, photo eyepiece 2.5X, photo-eyepiece 6.3X)
7 - Filters (green and blue)
8 - Dust cover
9 - Immersion oil
10 - Spare bulb
11 - Camera tube
Assembly
1
Main Body - Remove the main body and place it on a table.
2
Illumination Lamp Housing - Connect the lamp housing to the top of the microscope body.
3
Trinocular Head - Loosen the thumb screw on the body and carefully attach the trinocular head to the body. Secure
the trinocular head by tightening the thumb screw.
Objectives - Remove the objectives from the packing box and install them in such a way that when you turn the
4
nosepiece clockwise you are moving from the 4x, to the 10x, to the 20x, and finally to the 40x objective.
5
Phase Contrast Condenser - Loosen the thumb screw on the condenser holder, insert the condenser from above, and
secure it. When using 10X or low power objective the raise condenser with condenser elevating knob if the view is not
evenly illuminated.
6
Filters - Filter holder is located between the illumination lamp housing and the body. Each kind of filter can be
inserted or removed for various applications.
7
Eyepiece - Insert the eyepieces into the eyetube.
An alcohol pad is best for removing dirt from the stage and from the other
Cleaning & Upkeep
Dust in the nosepiece or ocular tubes should be blown out using filtered air. Canned air dusters work well for this job.
metal parts, but is not recommended for use on the lenses. Use lens cleaning
solution and lens paper to clean off the objective. Warning: Damage to any
objective due to oil immersion is not covered under warranty.
P. 770.270.1394 F. 770.270.2389 865 Marathon Parkway Lawrenceville GA 30046
Page 3

Note: If your microscope has been exposed to cold weather, please allow time for all the parts
Operation
Plug the power cord into the appropriate electrical outlet. Turn the light on using the white rocker switch on the front
1
of the base. The green “On” light will be illuminated. Adjust the light intensity to the appropriate brightness by moving
the slider switch on the side of the microscope base.
Stage - To view a specimen of an active organism and fluid sediment, use the square or round plate to conveniently
2
place utensil or bottle on the stage.
Focusing - Coarse adjustment: rotate the coarse adjustment knob clockwise to lower the objectives. Lift the objective
3
by rotating the knob counter-clockwise. After lowering the objective, place the specimen in the center of stage and
look at the specimen using the 10X objective and 10x eyepiece. Focus the specimen with fine adjustment knob.
Attention:
4
In order to avoid damage to the specimen or an objective, please follow the focusing procedure as below:
View the specimen from the side without looking through the eyepiece. Rotate the coarse adjustment knob
counter-clockwise to raise the objective slowly until the objective is approaching, but not touching, the specimen.
Observe specimen through eyepiece and rotate the fine adjustment knob counter-clockwise until the image is clear.
to come to room temperature before switching on the power. Excess cold can fog the lenses
and may cause the lamp to fail.
Trinocular Head - Once you are comfortably seated, look into the oculars and move the eyepiece tubes together or
5
apart until you see only one complete circle of light. You have now adjusted your interpupillary distance.
Diopter Adjustment - Since you are using a binocular microscope, you need to adjust for the normal difference in
6
vision between your two eyes. This is a simple but critical adjustment! Set both diopters to “0.” Close your right eye
and look into the left ocular with your left eye. Adjust the fine focus to give you the best image. Then, look at the
ocular tube on the right. You will see that the ocular tube has a built-in adjustment ring. Now, close your left eye and
look with your right eye into the right ocular. Using the diopter adjustment ring on the right ocular tube, adjust the
focus until you see a clear, focused field.
Dust Cover - Cover the microscope with the dust cover when not in use.
7
Filters - Use the neutral filter to have the entire field illuminated evenly. If the light is too yellow, you may select blue
8
filter. When using phase contrast, the green filter can lesson the eyestrain when working for long periods of time.
Changing the Bulb - Caution: Unplug the microscope and let it cool (if recently in use) before opening the light
9
housing of the microscope. When handling a new quartz lamp, be sure not to touch the new lamp with your fingers.
Oil or moisture on the bulb may cause it to explode or shatter as it heats up.
Maintenance and Repairs - To keep your microscope in top condition for years, LW Scientific recommends that you
10
have the microscope professionally serviced once a year.
P. 770.270.1394 F. 770.270.2389 865 Marathon Parkway Lawrenceville GA 30046
Page 4

The circuit board, in the base of the unit, contains all the electrical functions. There are no user
Power
INPUT: AC90-240/50-6- HZ
OUTPUT: 6V/30W to a quartz halogen lamp (LW Scientific replacement part number: R-6V/30W)
FUSE: One 2-amp fuse protects the circuit board from electrical overload. The fuse is located in the snap-out fuse panel
next to the on/off switch. There is also a spare fuse located inside the same panel. When replacing the fuse, always
install a new one of the same size and amperage.
repairable parts on the circuit board. If you suspect a faulty board, call LW Scientifics’ technical
service department.
Always cover your microscope with the dust cover when not in use.
1
Maintenance
Excess oil should be cleaned off your 100x objective and stage at once. An alcohol pad is best for removing oil
3
from the stage and on the other metal parts, but is not recommended for use on the lenses. Use lens cleaning
solution and lens paper to clean off your objectives.
Dust in the nosepiece or ocular tubes should be blown out using filtered air. Canned air dusters work well for this job.
4
5
Whenever you remove an objective, we recommend that you place it back into the original plastic shipping vial until
ready to be placed back on the microscope.
To keep your microscope in top condition for years, LW Scientific recommends that you have the microscope
6
professionally serviced once a year.
Warning: The 40x objective is not sealed for oil immersion. Damage to the 40x objective due to oil
immersion is not covered under warranty.
2
When cleaning the lenses, use lens paper or a cotton swab dipped in lens cleaning
solution.
Specifications
Nosepiece
Quintuple nosepiece
Head
Trinocular head
Ideal for video/photography
Centering eyepiece for phase objective
EW 10X /22 extra wide field eyepieces
Dimensions and Weight
Weight:24.0 lbs.
Illumination
6V/30W halogen bulb
Stage
Stage, 160x250mm
Auxiliary stage, 70x180mm
Coaxial drive controls
Optional mechanical stage available:
X-Y Coaxial control
Range of traverse: 120x78mm
Objectives
Infinity Optical System
Objectives: (Plan achromatic) 4X and 40x,
(Plan phase contrast) 10x and 20x
Condenser
Abbe condenser with 20X phaser
P. 770.270.1394 F. 770.270.2389 865 Marathon Parkway Lawrenceville GA 30046
MKT-7.5.3-L-112 | Rev 0
 Loading...