

Page 1
BioVID HD/SD
BioVID HD/SD
Instruction Manual
Model pictured:
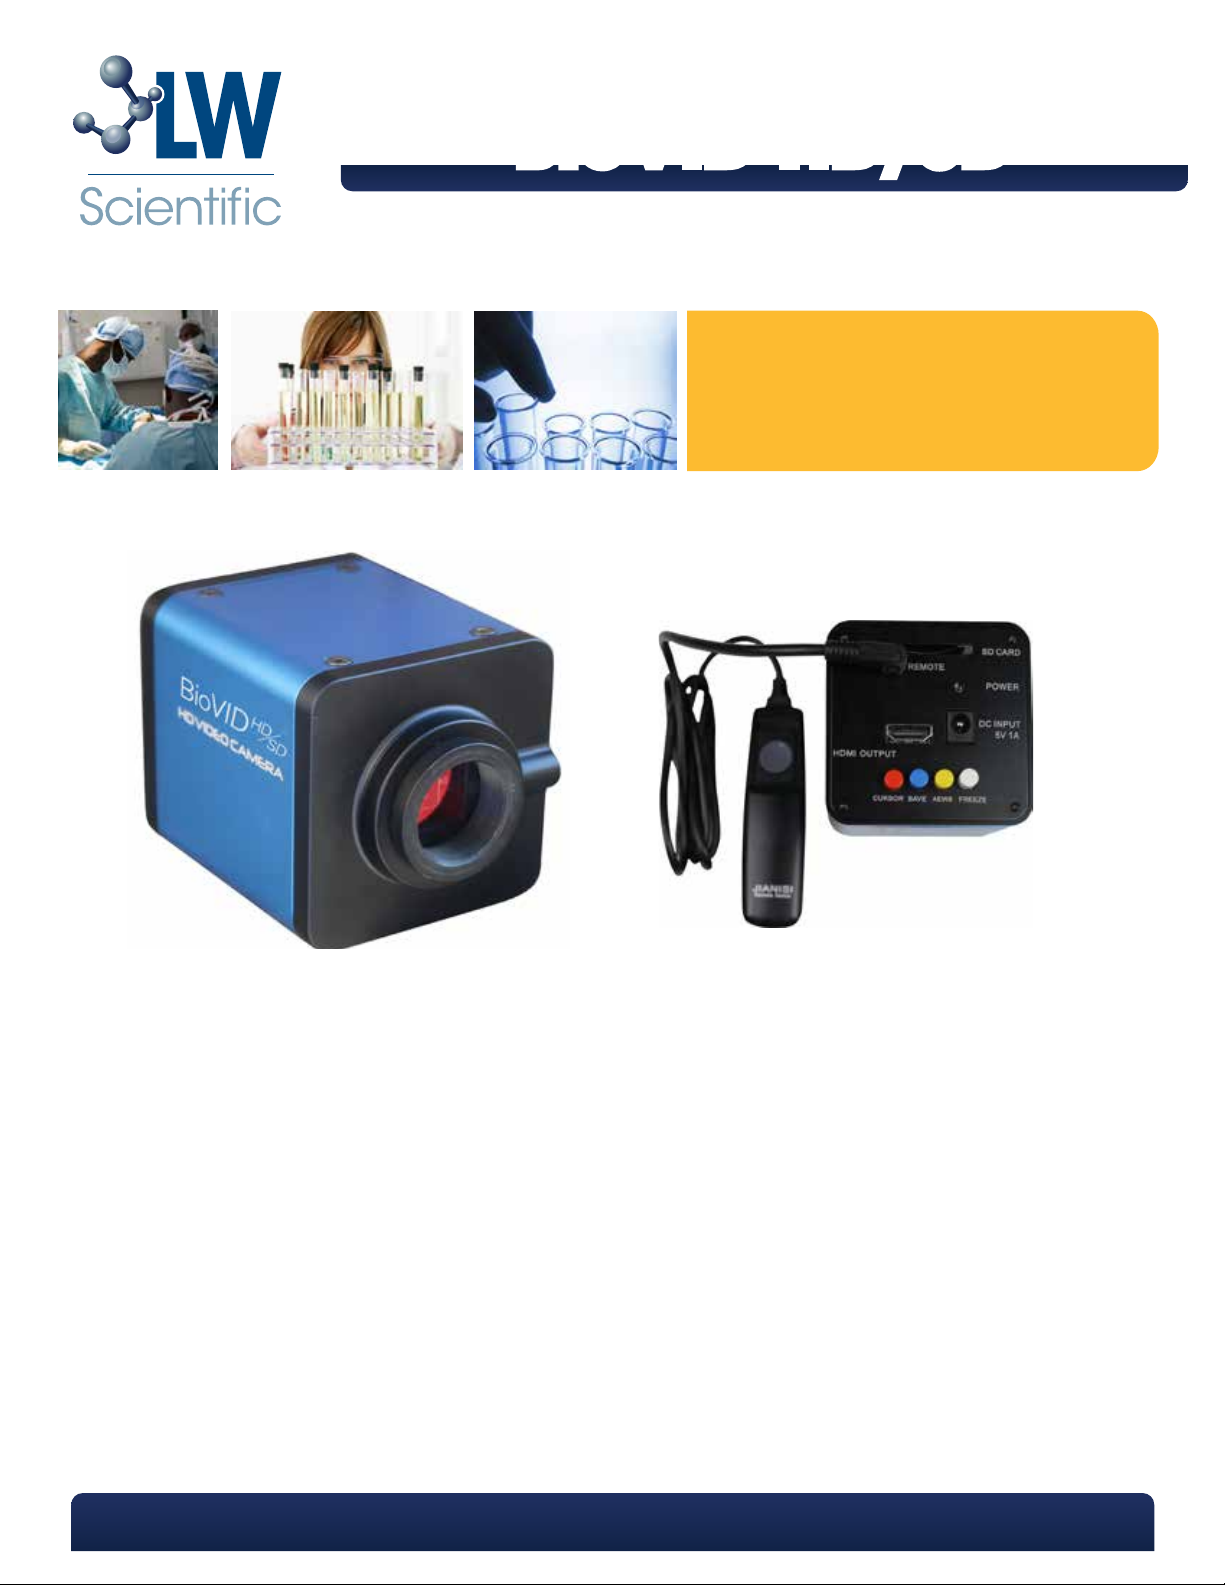
BioVID HD/SD Microscope Camera
The BioVID HD/SD camera from LW Scientific has incredible 720p resolution, allows you to freeze images, and take
crystal clear digital pictures, all with very simple buttons. Images are stored on the included SD card that allows you
to easily transfer images to your Mac, PC, or Tablet (with SD card slot).
Included with your camera:
• 6 foot HDMI cable
• 4G SD card
• Power adapter
• 5mm C-Mount adapter ring
• Remote capture cable
Please read and complete the warranty form online at LWScientific.com/warranty_form. The warranty form
documents your purchase. Failure to fill out the warranty form may void any warranty claims on the unit.
P. 770.270.1394 F. 770.270.2389 865 Marathon Parkway Lawrenceville GA 30046
Page 2
Setting Up Your Camera
Take out all components and set them on a secure, clean surface.
1
Next, take the camera out of the packaging and simply screw onto the C-Mount of your
2
microscope/stereoscope
Once the camera is firmly mounted and secured onto the microscope, plug one end of the included HDMI
3
cable into the top of the camera.
4
Next, plug the 3.5mm tip into the DC INPUT jack.
3
4
*DO NOT LEAVE POWER JACK PLUGGED IN FOR EXTENDED PERIODS OF TIME. Unplug jack when camera is not in use.
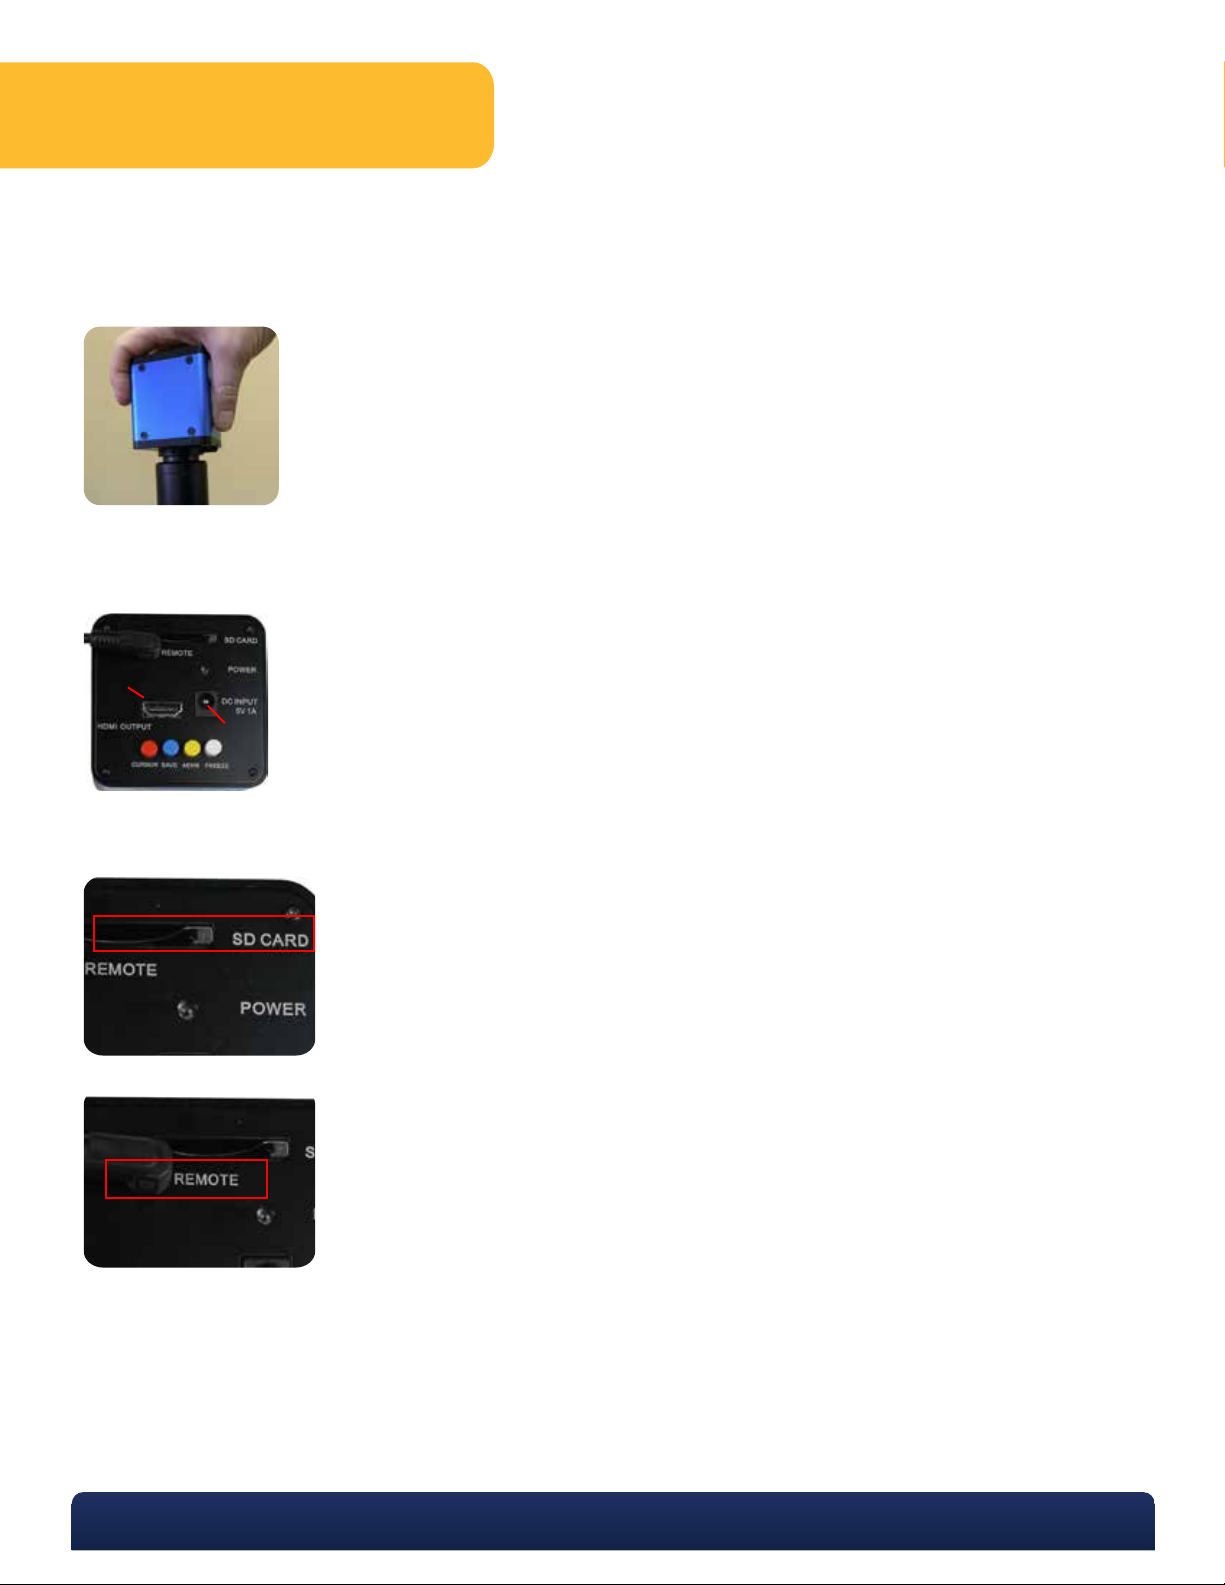
Insert included SD card straight down into the SD card slot.
5
Insert tip of Remote Capture Cable into the jack marked “Remote.”
6
*Using the “Running Lock” feature is not recommended.
P. 770.270.1394 F. 770.270.2389 865 Marathon Parkway Lawrenceville GA 30046
Page 3

Camera Optimization
The BioVID HD/SD camera will adjust for Auto-Exposure and White Balance.
Pressing the yellow “AEWB” button will turn the “AEWB” On or
Off. When “AEWB” is on the camera will adjust to the
illumination changes in your microscope. When the “AEWB” is
off the camera will hold the current exposure and white
balance settings.
To take clear and focused pictures, we recommend using the Remote Capture Cable.
Alternatively, you may follow these steps:
• Once the cell or other object is in focus through the microscope and monitor, simply depress the
“FREEZE” button.
• The visual picture on the HD monitor should now be perfectly still. After you review and “like” the picture, press the
“SNAP” button as follows:
Press the white “FREEZE” button until there is a click. The
camera will digitally ‘freeze’ the current view on the HD monitor
and provide optimal clarity for taking a picture.
In order to save the clear and focused picture as seen on the
HD monitor, simply press the blue “SAVE” button until there is a
click. The camera will save a digital picture to your SD card.
P. 770.270.1394 F. 770.270.2389 865 Marathon Parkway Lawrenceville GA 30046
Page 4

Depress the “CURSOR” button to graphically show cross hairs
for calibrated measuring.
Screen shot of HDTV with graph (after depressing the
“CURSOR” button).
Specifications
RESOLUTION
1280 x 720
IMAGE SENSOR
1 / 2.5” 5mo Aptina MT9P003 CMOS color
Pixel size: 2.2um x 2.2um
VIDEO OUTPUT
30 frames per second at 720p
1280 (H) x 720 (V)
Spectral range: 380 - 650nm
POWER
AC Input: 100-240Vac 50/60Hz adapter
DC Output: 5Vdc 1 amp to camera
OPERATING CONDITION
0°C ~ 40°C (32°F to 104°F)
OUTPUT
HDMI connector
SD card slot
BUTTONS
Red: Cursor on/off
Blue: Save to SD card
Yellow: Auto exposure and white balance
White: Freeze / stream
WEIGHT AND DIMENSIONS
Height: 2.7” (68mm)
Length: 2.7” (68mm)
Width: 3.6” (92mm)
Weight: 0.55lbs (0.24kg)
MKT-7.5.3-L-153 | Rev 1
P. 770.270.1394 F. 770.270.2389 865 Marathon Parkway Lawrenceville GA 30046
 Loading...