

LVI Cameras SmartGuider User Manual

1

2
TABLE OF CONTENTS
1. Item Checklist...........................................................................3
2. Quick Start Guide.....................................................................3
3. Using the SmartGuider 2 .........................................................4
3.1 Menu BASIC .......................................................................................................4
3.2 Menu ADVANCED..............................................................................................7
4. MGA Unit ..................................................................................9
4.1 Section: REFLEX ...............................................................................................9
4.2 Section: FOCUSER..........................................................................................11
5. Tips and Tricks.......................................................................13
5.1 Error and Warning Messages .........................................................................14
5.2 How to choose a guide scope ........................................................................17
5.3 How to choose a guide star ............................................................................17
5.4 Mount Calibration ............................................................................................18
5.5 How to set AGGRESSIVENESS and PULSE GUIDE......................................19
5.6 DITHERING.......................................................................................................20
6. Technical Specifications .......................................................21
7. Autoguider port......................................................................22
8. Optional Accessories.............................................................23

3
1. Item Checklist
Thank you for purchasing the LVI SmartGuider autoguiding camera!
Upon receipt, please check that your package is complete and contains the
following items:
1. Control hand paddle (“Control Paddle”).
2. SmartGuider Camera Head.
3. MGA Unit.
4. One SmartEye parfocal eyepiece.
5. One power supply cable.
6. Two 8-pin RJ cables, 1 meter and 2 meters in length respectively.
7. One 6-pin RJ cable (Control paddle to mount’s ST-4 port).
8. One User’s Manual.
2. Quick Start Guide
Thanks to its ease of use, you can hook up your SmartGuider and be ready
within minutes. Once your imaging rig has been set up, polar aligned and
carefully balanced, here are the main steps to follow:
1. Make all the necessary connections:
a. Connect the Control Paddle to the MGA and the Camera Head to
the MGA with the two RJ45 8-pin cables.
b. Connect the MGA to the mount’s autoguiding port using the RJ11
6-pin cable.
c. Connect the Control Paddle to a 12V DC power supply.
2. Look for an adequate guide star and focus it through the enclosed
SmartEye eyepiece.
3. Replace the eyepiece with the camera head and tighten the screws.
4. Turn the LVI SmartGuider 2 on.
5. Press OK, then BASIC and FOCUS to launch STAR SEARCH.
6. Calibrate the mount.
7. Start autoguiding.
4
3. Using the SmartGuider 2
In this section we describe the content and functionality for all of the available
user screens as displayed in the wide LCD of the Control Paddle. For a quick and
effective overview of their usage, please check out the flowchart available from
the download section of LVI’s web site.
Most screens can have up to three different options on their bottom line, which
can be activated by pressing the corresponding button on the Control Paddle.
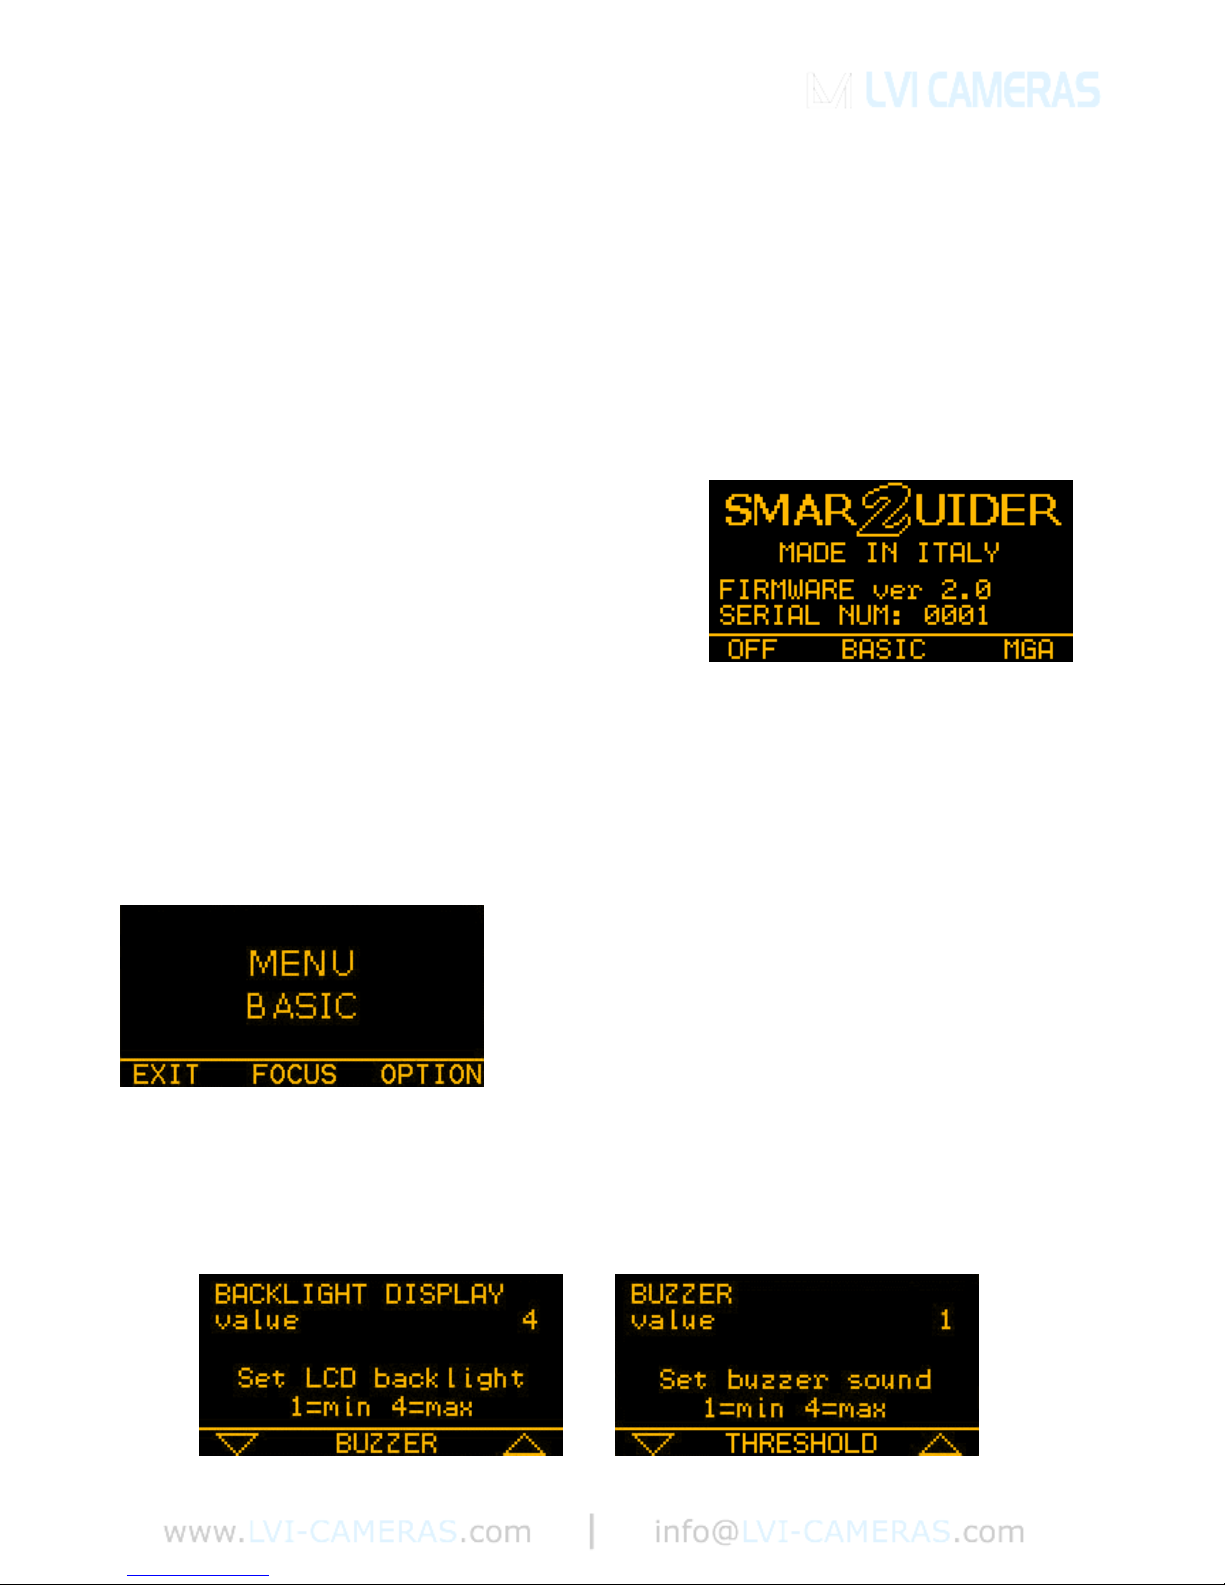
After connecting the power supply, turn the
camera on by pressing and holding the
central button until the LVI logo shows up.
Shortly thereafter, the message “YOUR
SMARTGUIDER 2 IS READY” informs you that
the startup phase is complete and the camera
has come online. Press OK to continue. In the above screen, you can turn off the
camera by pressing and holding the left button (OFF). The central button
(BASIC) will take you to the basic settings screen (MENU BASIC) while the right
button (MGA) will open the MGA SETTINGS menu.
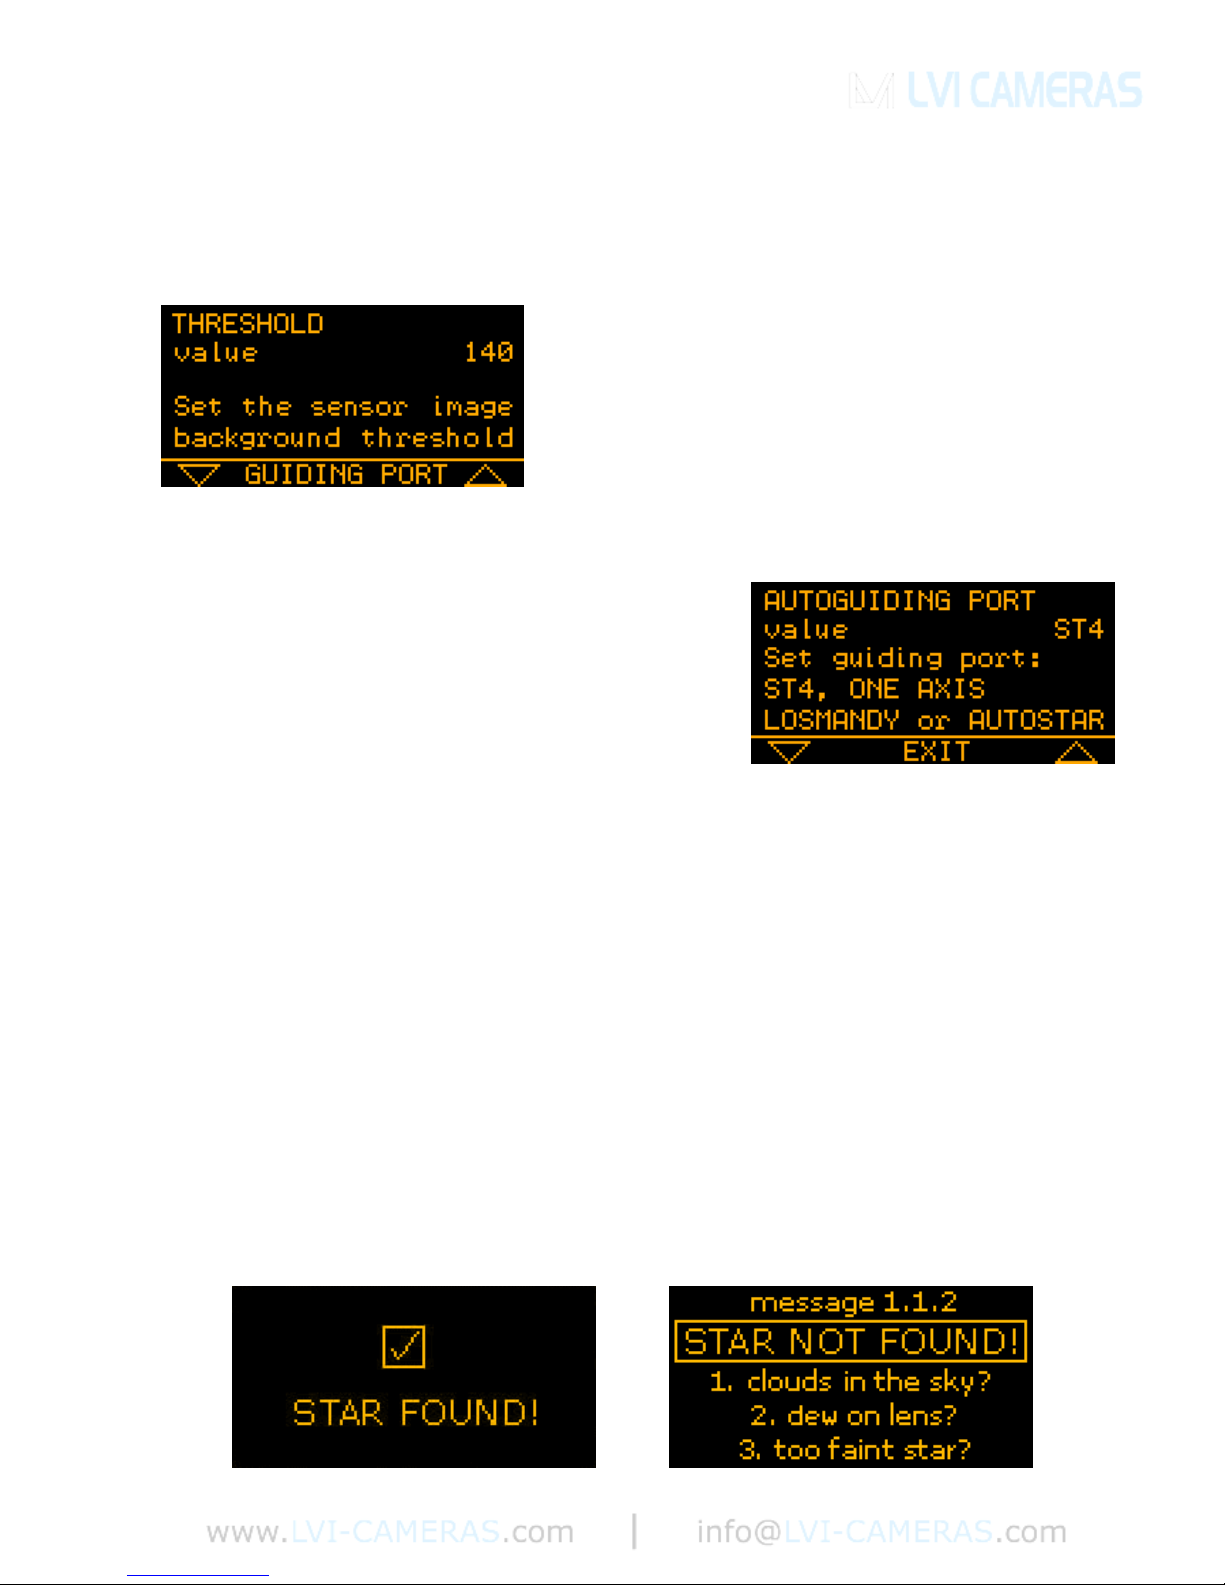
3.1 Menu BASIC
The MENU BASIC contains the basic set of
functions which are required to correctly
operate your SmartGuider 2, such as the
search for a guide star, the calibration of the
mount, and other useful options.
By pressing EXIT, you can go back to the previous menu, while FOCUS takes
you to the next step (guide star search).
OPTION enables to adjust the display and keyboard BACKLIGHT level, the
BUZZER volume and the AUTOGUIDING PORT.
5
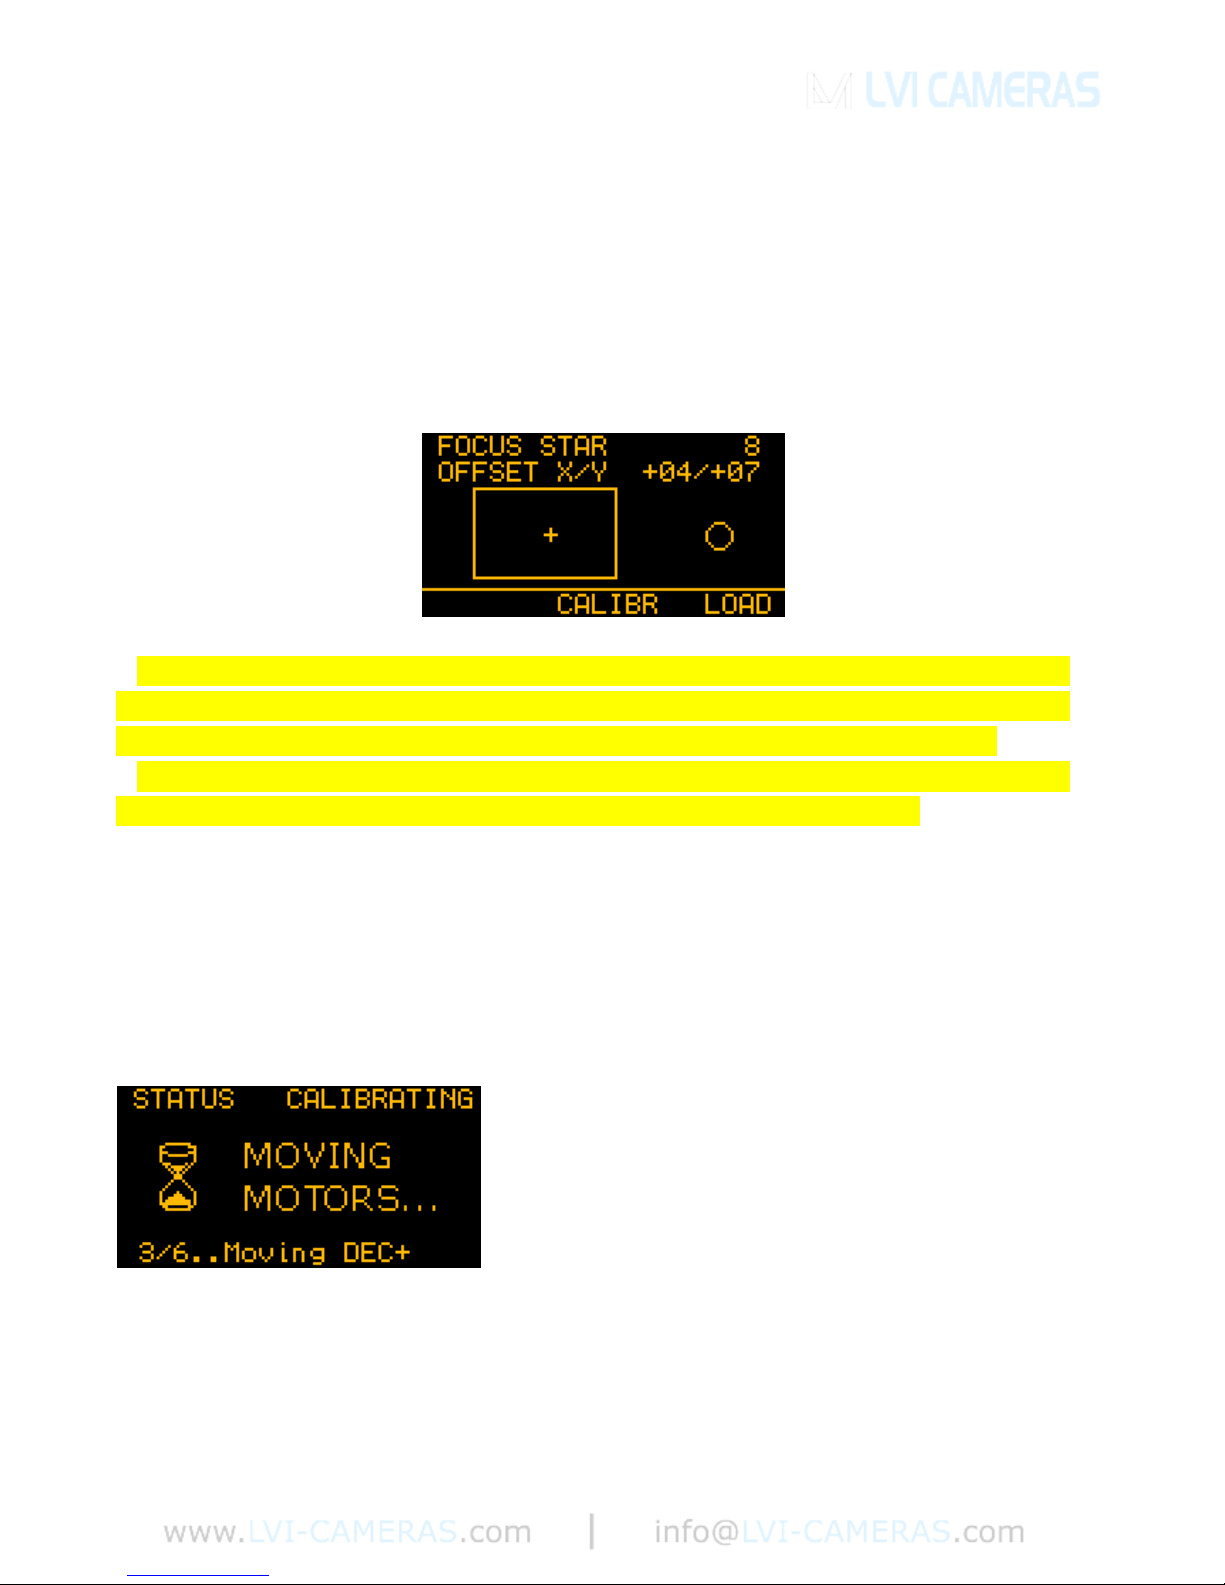
You can adjust both the brightness and the buzzer volume with the two
triangular keys on the control paddle: four levels are available, from 1 (minimum)
to 4 (maximum). EXIT takes you back to the basic settings screen.
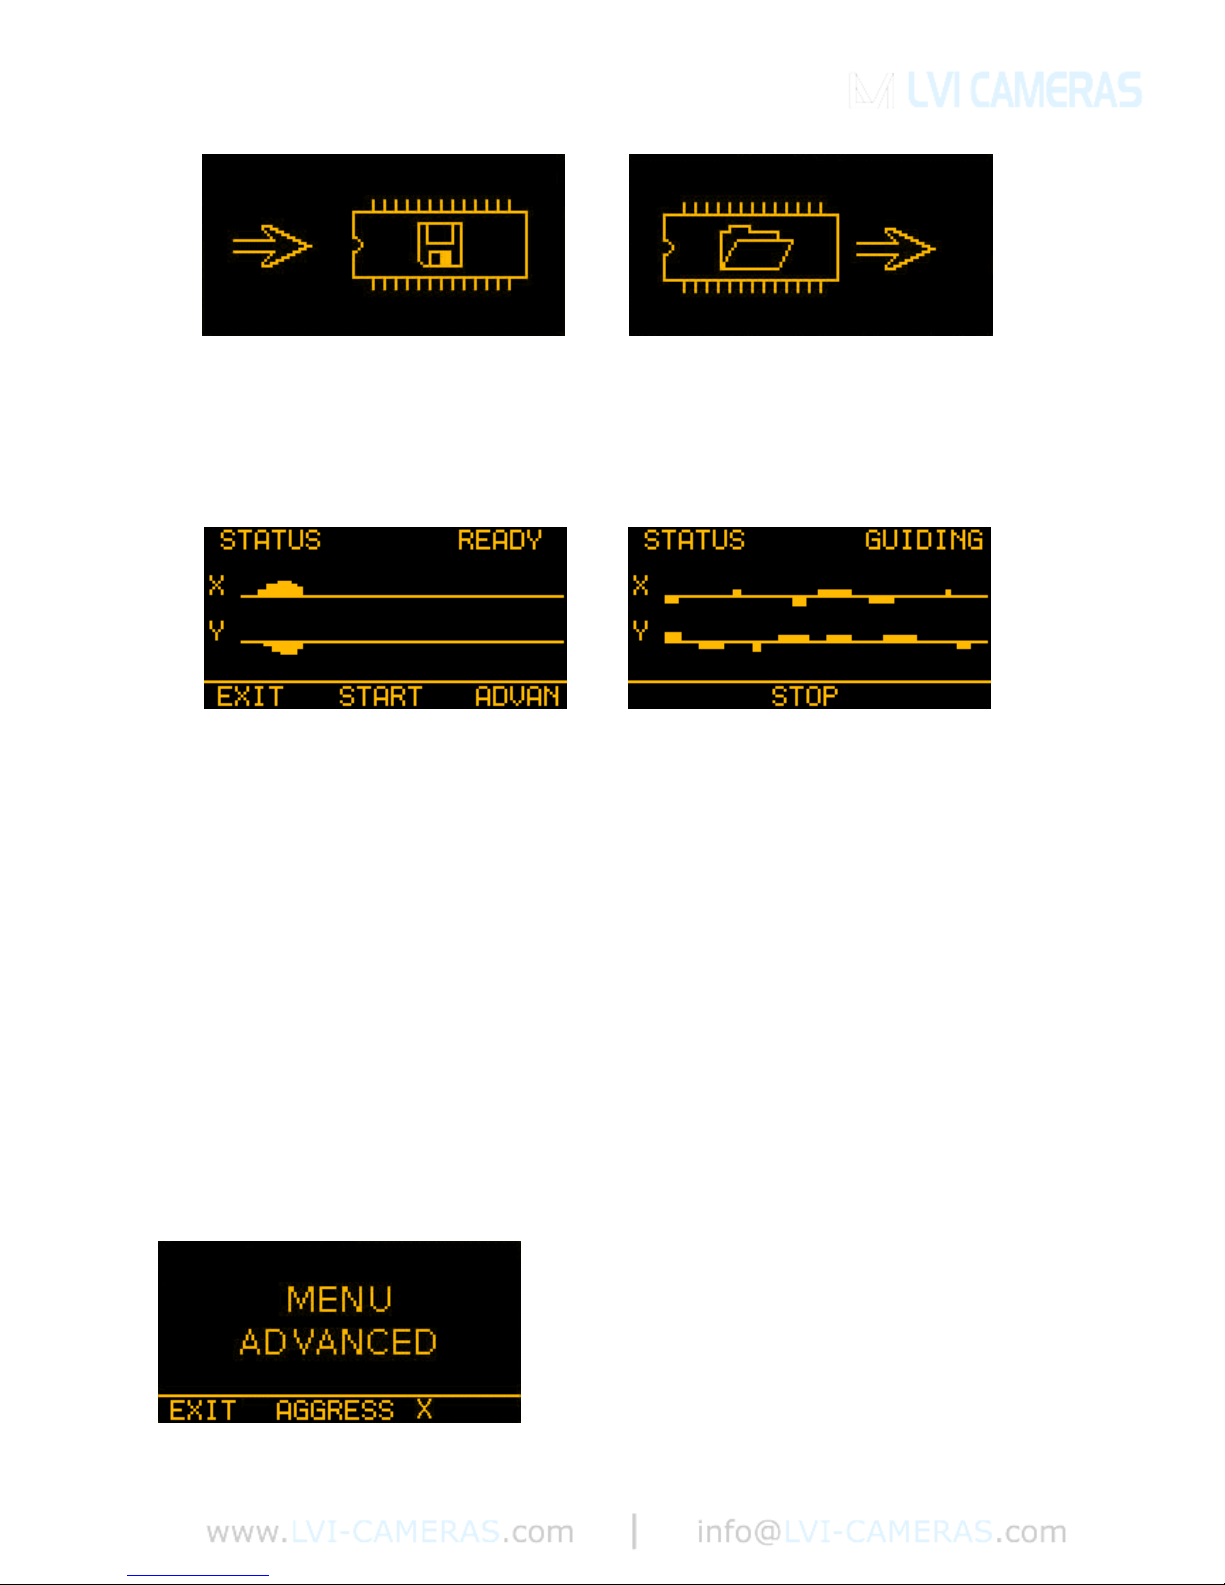
By choosing THRESHOLD, you can access
the sensor noise level adjustment menu. This
prevents any hot pixels from being mistaken as
stars when the SmartGuider 2 looks for a star
(STAR SEARCH). If your camera detects a
star about 3 pixel wide when the telescope is
capped, slightly increase the value (140) till the fake star is no longer detected.
Selecting GUIDING PORT, brings up the
autoguider interface menu. Four options are
available: ST4, ONE AXIS, AUTOSTAR and
LOSMANDY. ST4 works for all the mounts
with the classical ST4-like autoguider port.
ONE AXIS works with astro-trackers allowing
corrections in one axis only. AUTOSTAR is only valid for Meade LXD55/75
mounts and LX90 telescopes. LOSMANDY is only valid for Digital Drive #492
non-goto (NO Gemini!) motor drives. EXIT takes you back to the MENU BASIC.
Now let us have a closer look at the focusing procedure. Before mounting the
camera onto the guide scope’s drawtube, you have first to center the brightest
star in the field of view which is closest to your imaging target with a wide-field,
low-power eyepiece; then, use the special SmartEye eyepiece to focus the guide
scope and fine tune the position of the star chosen. This eyepiece will deliver a
perfectly focused and centered star in the camera head field of view.
When you press on FOCUS, the SmartGuider 2 scans the whole frame to look
for the previously selected guide star. After a while (the actual duration of the
search phase may vary), the SmartGuider 2 will inform you of the outcome with a
simple message: “STAR FOUND!” or “STAR NOT FOUND!”
6
If the guide star was not found (bottom right), the SmartGuider 2 goes
automatically back to the MENU BASIC screen: in this case a brighter star has to
be chosen. If the star has been found, you can proceed to the next step.
In this screen, the X and Y OFFSET (1 offset unit = 4 sensor pixels) denote the
position of the guide star relative to the detector center, and the small cross in the
rectangular box (see above) indicates the star’s approximate location in a
graphical form.
If the star happens to be lying too close to the sensor boundaries (Offset
limits: X = ±82, Y = ±46), you may want to move it toward the center by
CAREFULLY nudging the mount with the drive keypad at guiding rate.
If the star is thrown off the active area, it will be lost (STAR LOST!
message pops up) and you will have to start over with focusing.
Two focusing aids are available: the FOCUS STAR index and the circle on the
right-hand side of the screen: they both show the diameter of the star (in pixels)
on the detector in numerical and graphical form respectively. Therefore, the lower
the number, the better the focus: a properly focused star should be 3 to 8 pixels
wide according to the brightness and air turbulence.
Once the guide star has been correctly
centered and focused, we can select CALIBR
to get to the calibration screen: press OK to
start calibrating the mount.
The calibration process can last up to a few
minutes. Upon completion, the new calibration
parameters are automatically stored into the camera’s non-volatile memory (the
SAVE icon showed here on the bottom left). In case you want to reuse the
parameters from last calibration, just choose LOAD from the focusing menu
(screen on the lower right). Please see note on calibration on page 18.
7
You have now come to the AUTOGUIDING menu. The initial screen (bottomleft) indicated that the camera is ready to start guiding (STATUS READY). On
pressing the START button (bottom-right), the camera will start compensating all
the mount tracking errors (STATUS GUIDING).
The two graphs allow real-time monitoring of guiding corrections issued to the
mount. You can stop the autoguiding process by pressing STOP at any time,
while EXIT will take you back to the MENU BASIC.
It might happen the guide star gets lost (1 beep per second and STAR LOST
message appearing): this can be due to a number of different reasons, e.g.
because the sky has clouded over, the optics have dewed up, or the star has
been thrown off the field of view by a wind gust or even because the telescope
has been touched. If the star remains invisible for up to 30 seconds, the camera
will still be able to resume autoguiding; otherwise, the current session is aborted
and the execution flow goes back to the MENU BASIC screen to search for a
new star.
3.2 Menu ADVANCED
This menu contains several advanced
parameters which ensure optimal guiding
performance in a broad range of different
conditions. For a detailed description of these
options, please refer to Section 5 (“Tips and
tricks”).
8
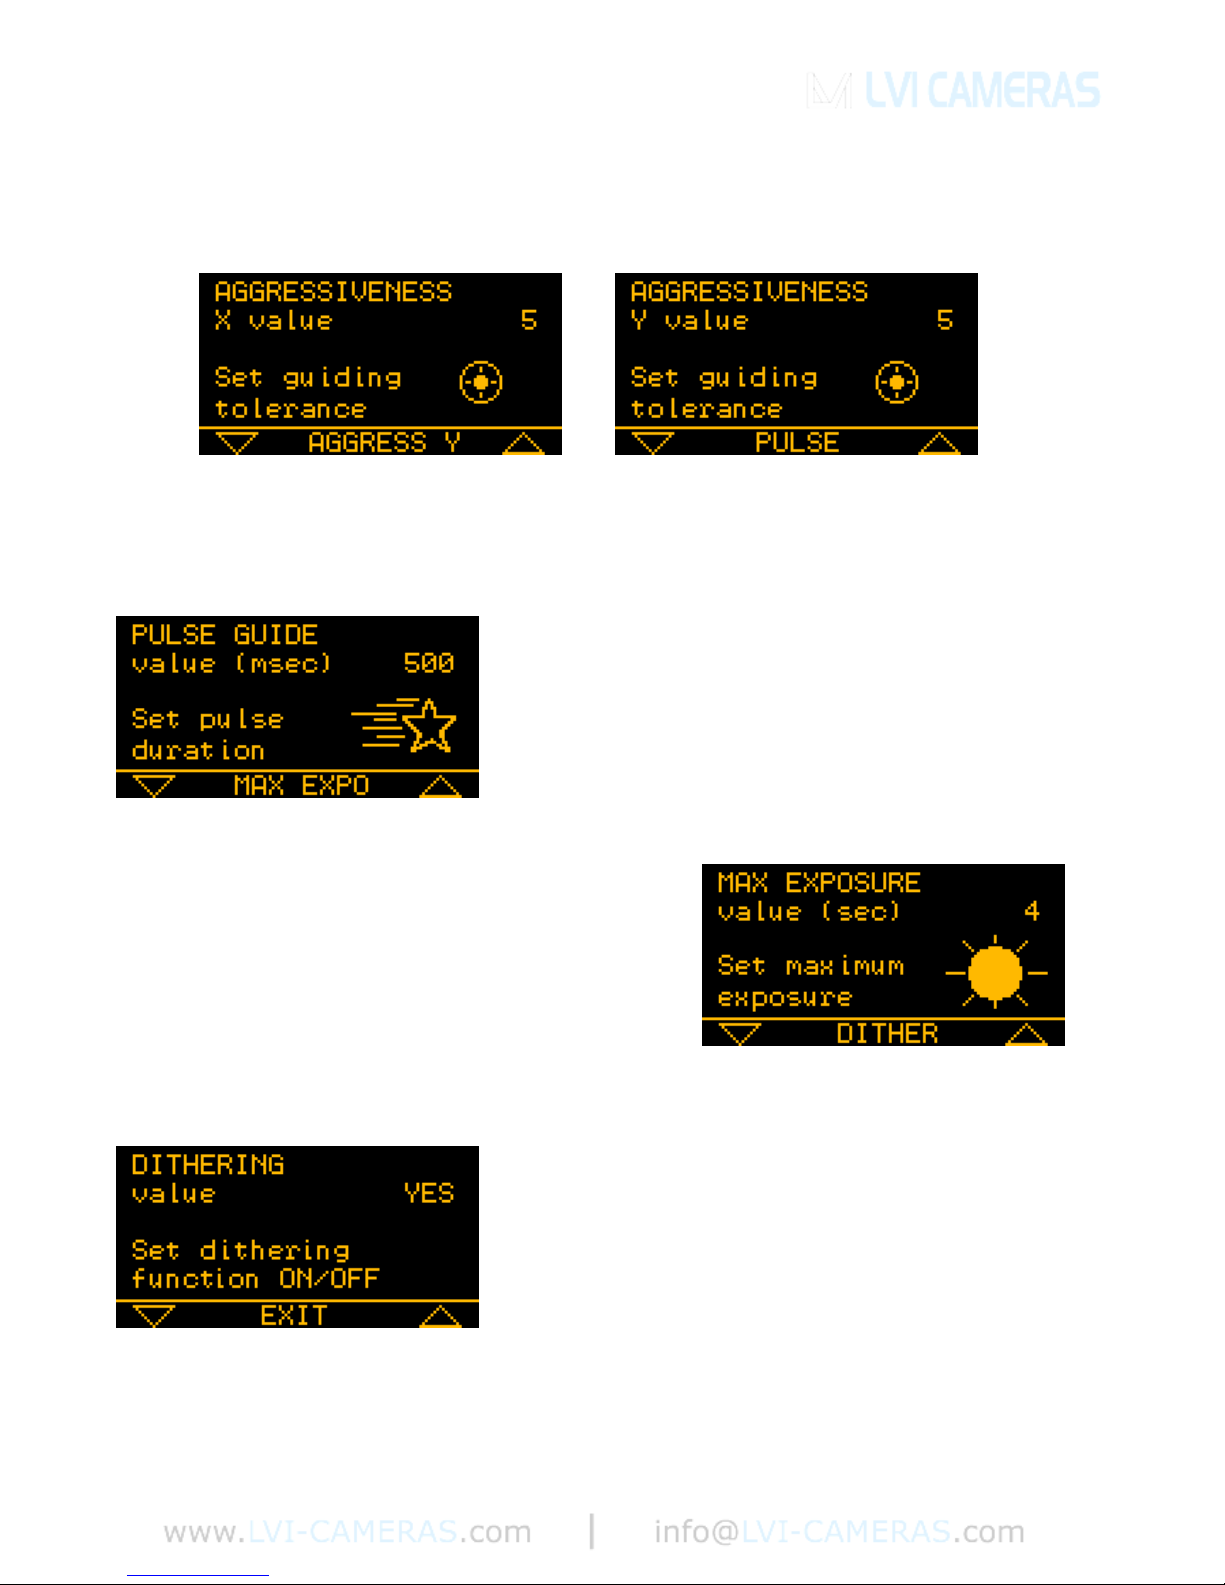
EXIT will take us back to the previous menu (STATUS READY), while by
choosing AGGRESS X with the central button we get to the two following
screens:
With the two arrow-shaped buttons (UP and DOWN) on the camera pad, you
can adjust the aggressiveness along the X axis (upper left screen) and along the
Y axis (upper right screen) of the detector.
By choosing PULSE, we get to the screen
where we can set the length of the guiding
corrections the SmartGuider 2 sends to the
mount. These corrections are sent as pulses of
given duration (in milliseconds) which can be
adjusted via the two arrow-shaped buttons.
MAX EXPO brings up the menu where the
user can set the maximum length (in seconds)
of the exposure time used by the camera to
perform the initial search for a guide star.
Higher values will result in higher sensitivity,
but will also increase the duration of the guide
search process (STAR SEARCH).
Next, with DITHER we get to the DITHERING
menu. If turned on (YES), the SmartGuider 2
will apply a very small displacement to the
field of view along both axes after each
exposure taken with the reflex camera
controlled by the MGA. With dithering off (NO
in the menu), the guide star will always be staying in the same position where it
originally was when autoguiding started.
 Loading...