

Page 1
LLTS12 Assembly Guide
Part List:
1
1 x Left Side Panel
2
1 x Left Back Panel
3
1 x Right Side Panel
4
1 x Right Back Panel
5
1 x Top Panel
6
1 x Bottom Panel
7
1 x Back Door Panel
8
1 x Left Door Panel
9
1 x Right Door Panel
10
1 x Handle
11
7 x Shelf Panel
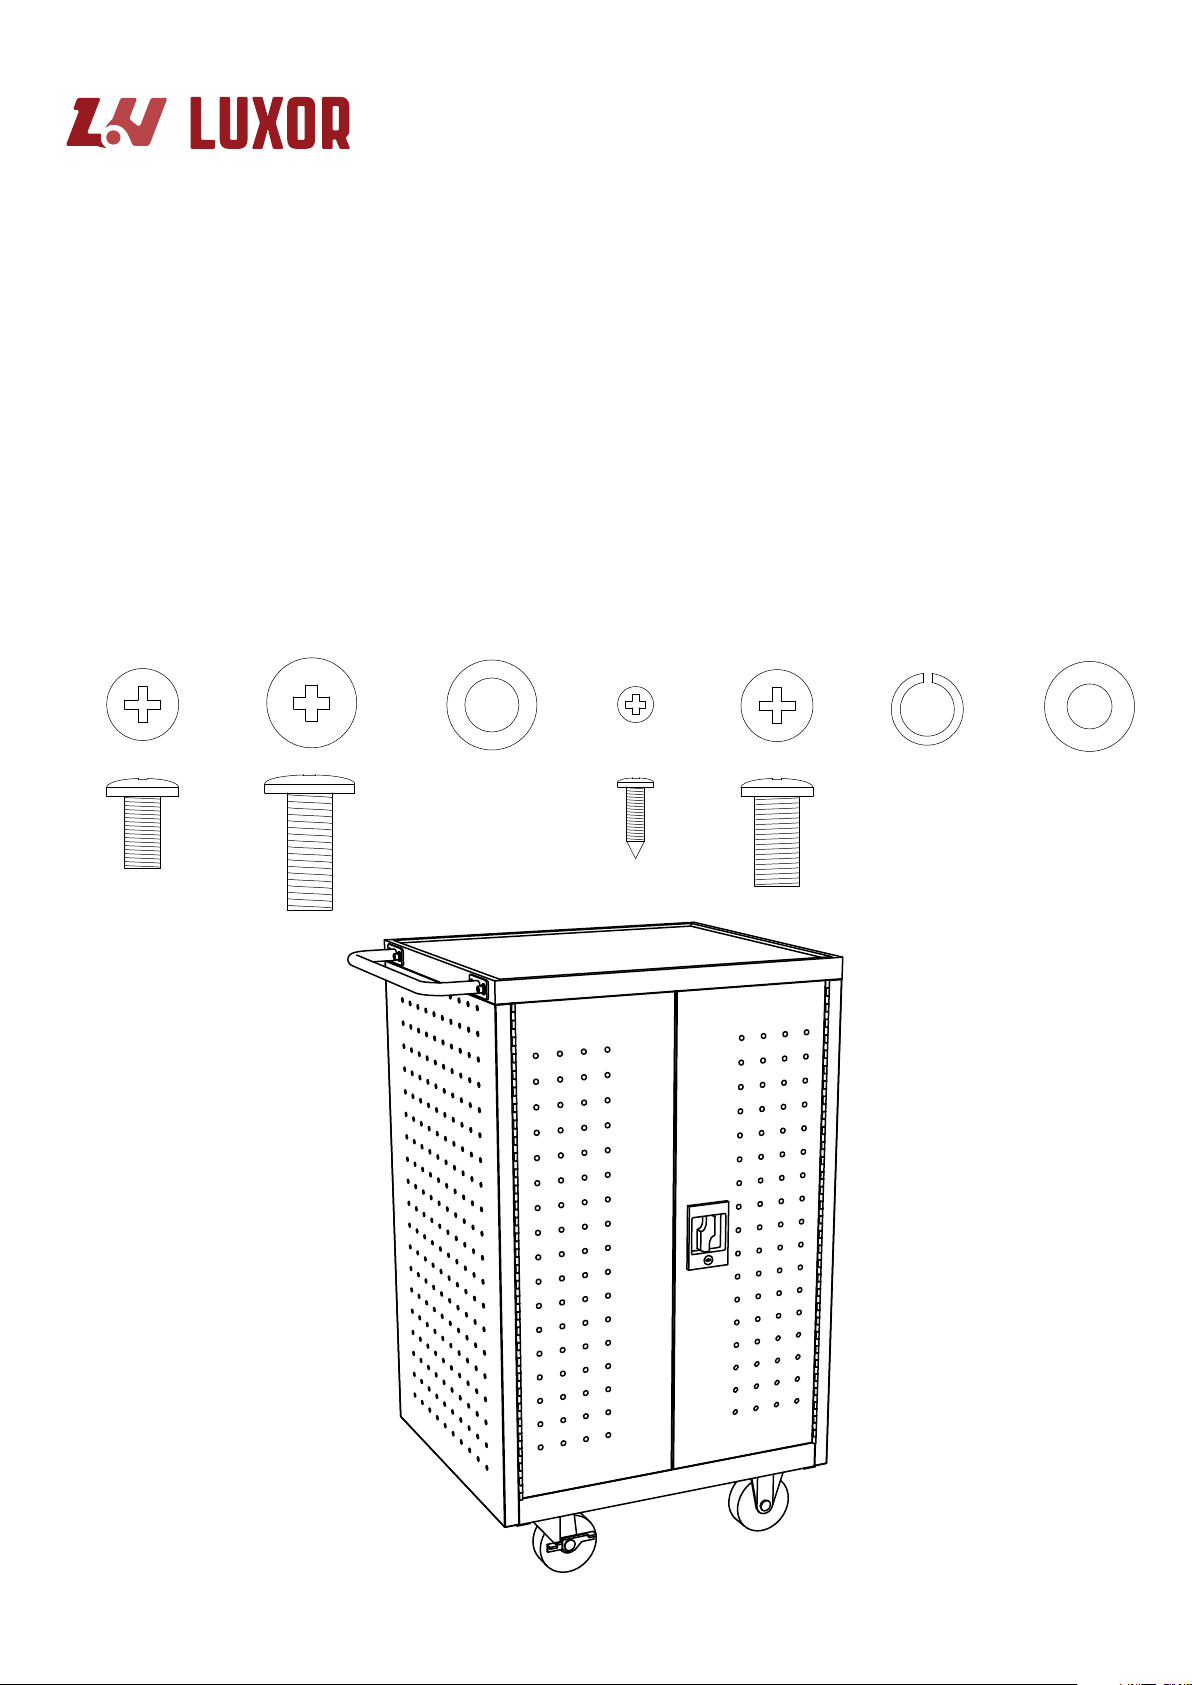
Hardware List:
H1
14 x Small Screw (M6 x 12mm)
H2
20 x Large Screw (M8 x 20mm)
20 x Washer (M8)
H3
H4
2 x Straight Caster
H5
2 x Locking Swivel Caster
H6
18 x Metal Screw
H7
4 x Handle Screw (M8 x15mm)
H8
4 x Handle Lock Washer (M8)
H9
4 x Handle Washer (M8)
H10
28 x Shelf Clip
(M4 x 10mm)
Tool List:
Required Tool (not supplied):
1 x Large Phillips Screw Driver
H1H1 H2 H3 H6 H7 H8 H9
www.luxorfurn.com
May 2012
Page 2
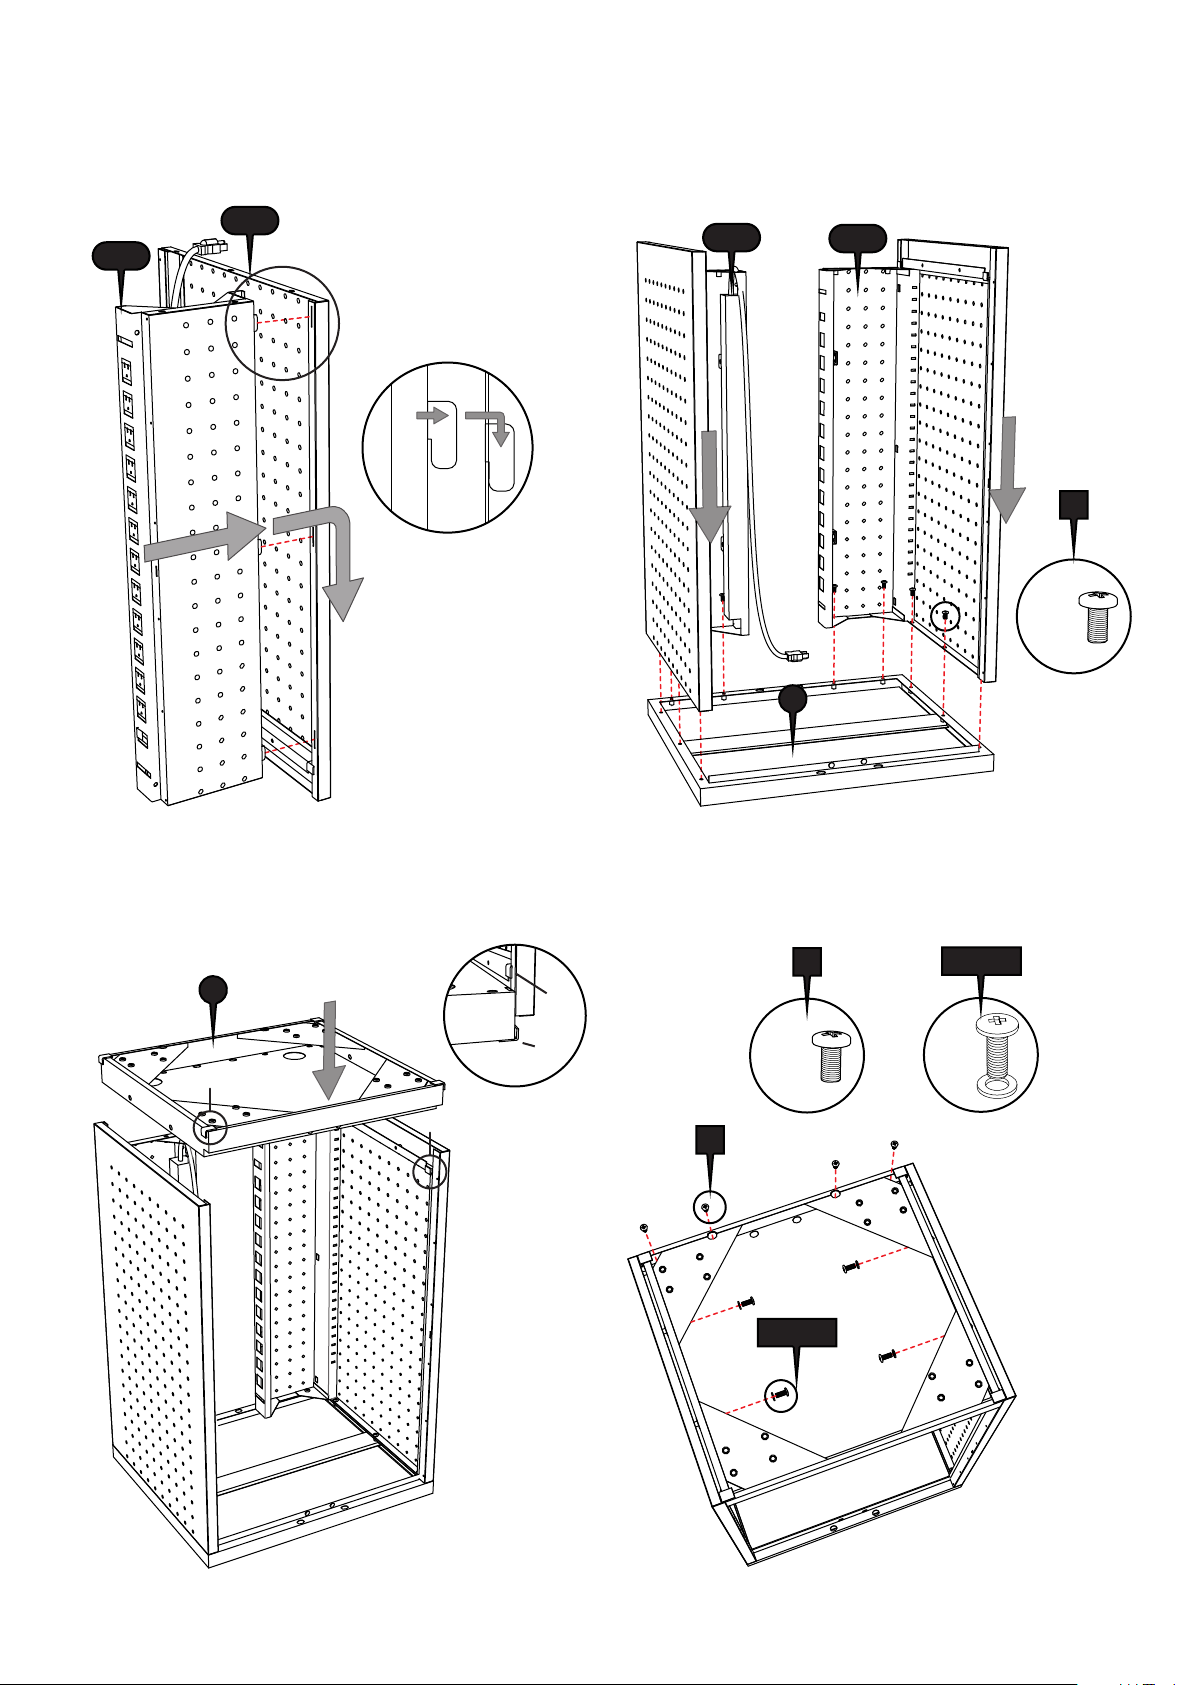
Attach the left back (1) to the left side panel (2).
Attach the right back (2) to the right side panel (4).
12
Place the assembled left (1&2) and right side (3&4) onto
the top panel (5). Screw into place with 10 screws (H1).
2 & 4
1 & 3
3 & 4
1 & 2
H1
10 x
5
Place the bottom panel (6) onto the assembly.
With a light force, secure into place.
34
6
A
B
B
A
Screw the bottom into the assembly with 4 screws (H1),
and 4 larger washer and screws (H2&H3).
H1
4 x
H1
H2 & H3
H2 & H3
4 x
Page 3

Attach the casters (H4 & H5) to the assembly
with 16 screws and washers (H2 & H3).
56
H2 & H3
16 x
H5
H2 & H3
H4
Attach the small back door (7) to the assembly
with 6 screws (H6).
H6
6 x
H6
7
Attach the left and right front doors (8 & 9) to the
assembly with 12 screws (H6).
78
H6
9
H6
12 x
8
Using the supplied Allen wrench, Attach the handle (10)
to the assembly with 4 screw, lock washers
and washers (H7, H8 & H9).
10
H7, H8 & H9
H7, H8 & H9
4 x
Page 4

Stack the 7 shelves (11) into the
assembly.
910
H6
28 x
11
Evenly distribute the 28 shelf clips (H10)
along the shelf rails, and lock them into
place. Set the shelves (11) on the clips.
11
You have completed the assembly.
 Loading...