

Page 1
LEW29 Instructions
06/05/13
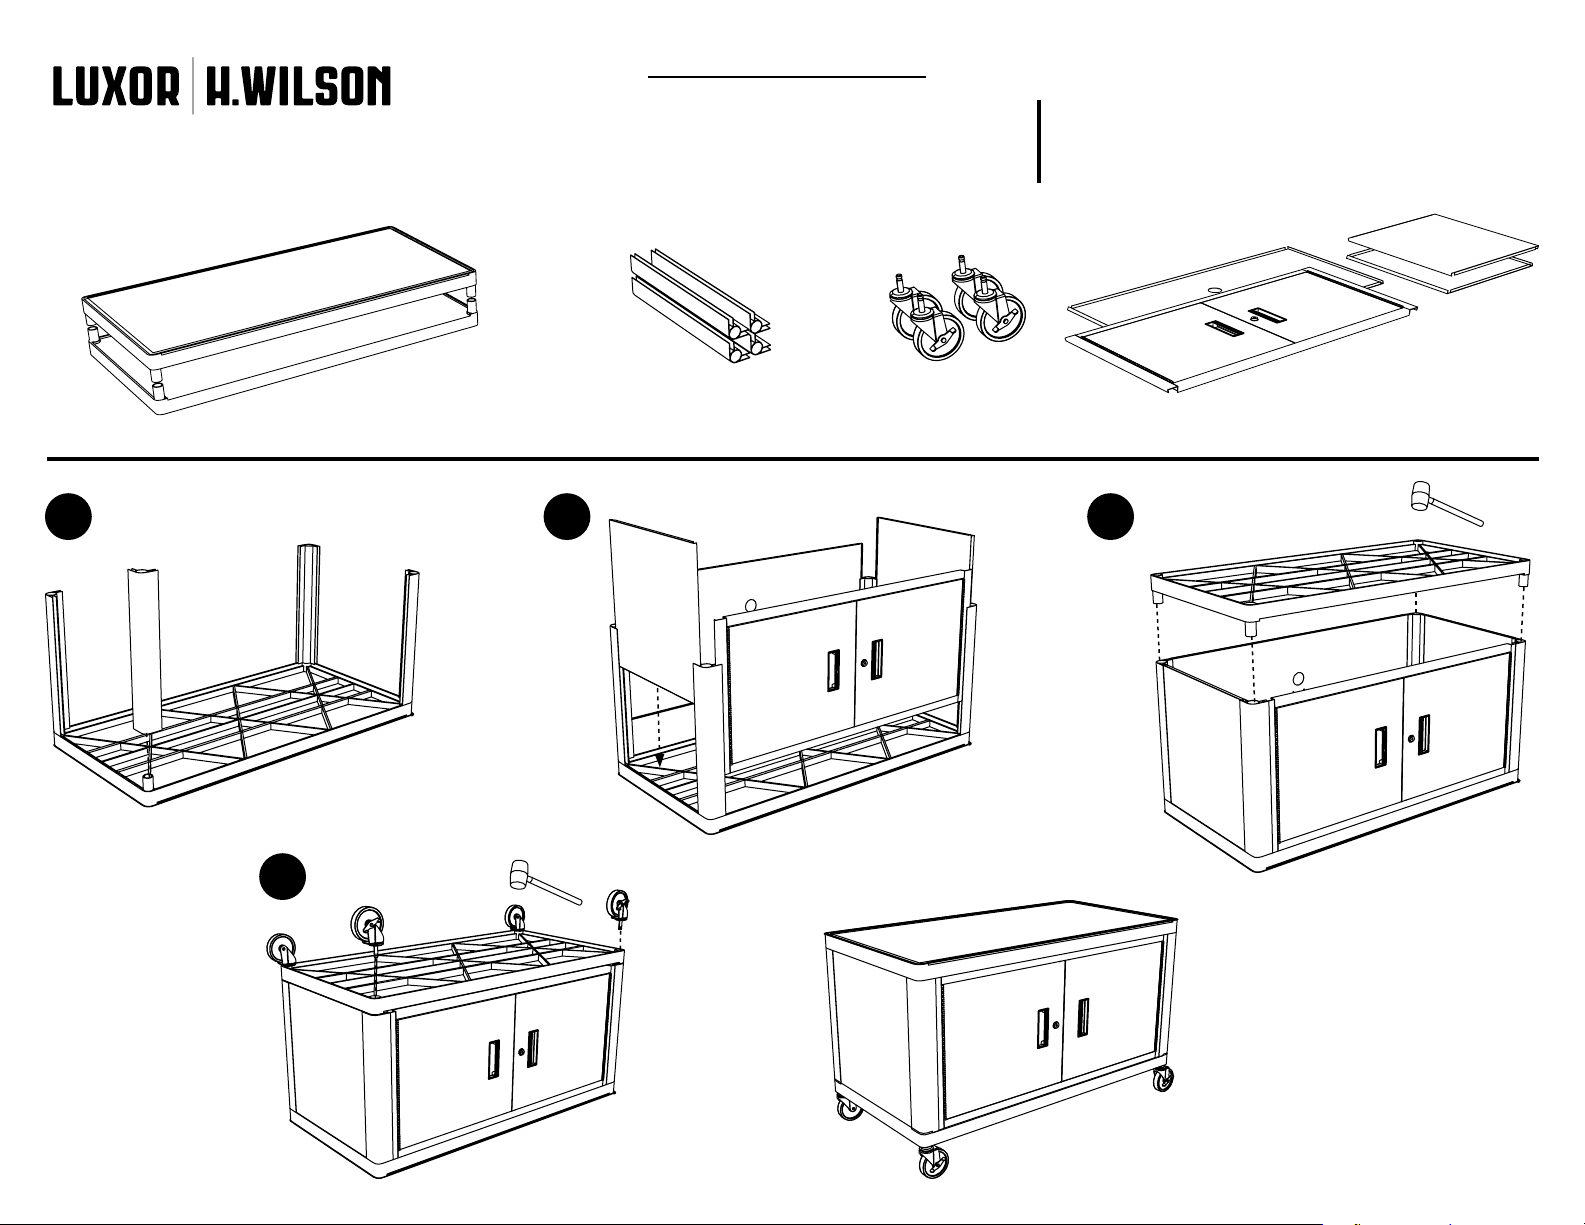
Parts List
www.luxorfurn.com
www.hwilson.com
Tools Required
- Rubber Mallet
A x1
B x1 C x4 D x4
1 2 3
C
G
C
F
G
E
F x1
G x2
E x1
- 2 Keys Included
B
4
A
D
B
A
A
NOTICE:
Mount optional electric
assembly to the side of
the top shelf.
Page 2

Large Plastic Cart LCD Mount Instructions
07/03/13
www.luxorfurn.com
www.hwilson.com
R x2
S x1
T x1
5
5A x8
Parts List
5B x5 5E x6
5C x6
5F x4
5G x4 5H x4
5D x12
Tools Required
- Phillips Screwdriver
- Rubber Mallet
- Marker
5K x1
5L x1
1/2
U x1
W x2
5J x4
1 2
5M
5B x5
T
S
5K
5C x6
5D x6
T
Top Shelf* “A”
U
5E x6
5I x4
5M x1
appearance
*
of cart may
vary by model
(see seperate
instructions)
NOTICE: After Step 2 is complete, build out
the rest of cart before moving on to step 3.
Page 3

Large Plastic Cart LCD Mount Instructions
07/03/13
2/2
NOTICE: Completly nish building
3
the cart before beginning step 3.
* Refer to seperate instruction
sheets for cart part listings
Grommet* “F”
Top Shelf* “A”
4
1 - Carefully lay your TV face down on a soft surface.
With allen wrench 5K/5L place into the hole and mark
your bolt length. use this guide to determine which bolt
is appropriate for your TV model.
2
5F-5H
x4
5I** x4
1
5K,5L
5J x4
Marker
R
R
Place chrome tubes W into base
5
plate S and tighten with screw 5A.
W
W
S
6
TV (not included)
Max. Screen Size: 50˝
Max. Weight: 100 lbs.
(Top)
TV
W
** Not required. Use plastic
spacers 5I to avoid any
damage from screws
R
Heavy Lifting:
R
W
Assistance
Required
5A x4
5L
5A x4
5L
LCD mount assembly complete!
Page 4

01/18/13
www.luxorfurn.com
www.hwilson.com
Electric Assembly
Instructions
Number of outlets
may vary.
Parts List
Tools Required
- Screwdriver
A x1 B x1 C x2 D x2
D
D
(Plastic or Metal
Mounting Surface)
C
1
Push screw C through electric outlet A. Make sure
the electric outlet A and cord wrap B align with the
mounting surface screw holes. Push screw C through
cord wrap B and the mounting surface screw holes.
Use wing nut D and screwdriver to fasten.
B
A
C
Page 5

Grommet Assembly
07/03/13
Instructions
Parts List
F x1
G x2
G
F
Tools Required
- Rubber Mallet
W x1
G
size / style of shelf A may vary by
*
model (see seperate instructions)
G
To apply grip strips G to shelf
A peel from the center out.
A*
NOTICE:
Apply safety label W to
the side of shelf A.
 Loading...