

Page 1
Flat Panel Cart Assembly Guide
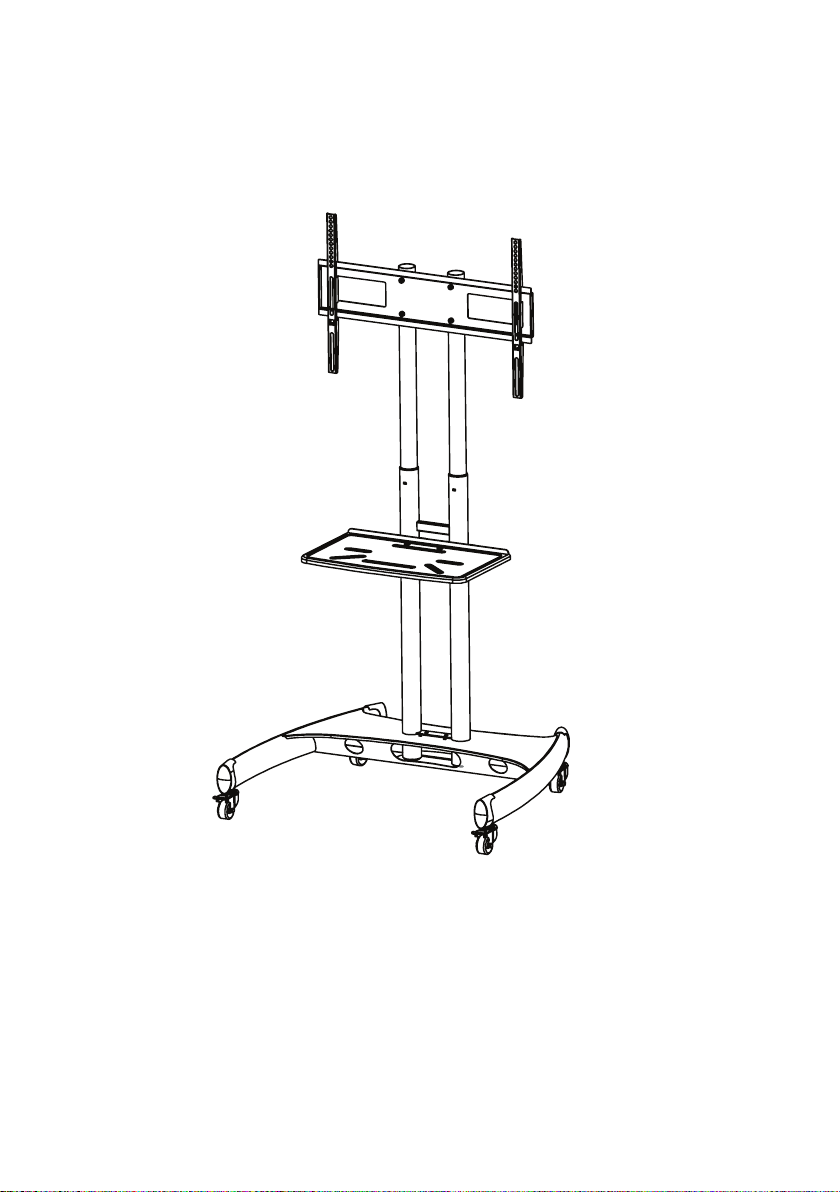
Adjustable Height Flat Panel TV Cart
with Media Shelf
Designed for 32”-65” TV Panels
VESA: 100 x 100 - 600 x 400
Max Load Capacity: 100 lbs
Media Shelf Max Load: 10 lbs
Page 2

Table of Contents
Table of Contents and Warnings
Part List
Assembly and Installation
1. Installing the Casters and Poles
2. Adjusting the Pole Height
3. Installing the Media Shelf
4. Installing the TV Mount
5. Selecting the VESA pattern
6. Attaching the TV to the Cart
7. Cable Management
Tools Required
Phillips Screwdriver
Tape Measure
Wrench
Assistance
Required
WARNING!
Severe personal injury and property damage can result from improper installation.
Read instructions carefully before beginning.
Assistance is required when installing the TV.
If you do not understand the instructions or have any concerns please contact a
qualified local installer.
Do not install or assemble if the product or hardware is damaged or missing, if you
require replacement parts, contact your local dealer.
This product fits most 40” - 60” flat panel displays; maximum eight for the disply is 100 lbs.
Do not use this product for anything other than what it was originally designed.
This product contains moving parts, please use caution.
The manufacturer disclaims any liability for the modifications, improper installation, and
installation exceeding maxium weight capacity. The manufacturer will not be liable for any
damages arising out of the use of, or inability to use the product.
2
3
4
5
6
7
8
9
10
Visual Guides
Tighten
Loosen Adjustment
Phillips
Screwdriver
Tape
Measure
0
By Hand Hex Wrench
Page 3

D
5
E
10
8
F
NOT USED
G
IH
J
4
0
5
0
60
4
Page 4

1.1 Install casters to base
1.2 Install poles to base
Note:
Make sure the cable management
holes are facing the rear of the base
Turn base over
G
H
0
Page 5

2. Adjust the height of the telescopic mounting poles
Step 1.
Step 2.
Left Upper Pole
Using your thumb or finger, depress the right upper pole spring plunger ball
located at the cable window, and twist the upper pole 90 degrees. Pull the
upper pole to your desired height, twist the upper pole toward the plunger
holes, and engage the spring ball into the plunger hole and set as
shown in Figure1.
Repeat with the left pole.
Lower Pole
Left Upper Pole
0
Page 6

Pre-Installed
2
3. Install the media shelf
Remove Pre-Installed Screws
1
1
3
2
Pre-Installed
1
Pre-Installed
J
2
0
Page 7

4. Install the TV mount
I
H
0
Page 8

5. Select your VESA pattern and attach TV brackets
E D
Spacer Suggestions
(B,C)+D,A
0
Note:
To avoid damage, a spacer
must be used when the
mounting hole is minimal.
Page 9

6. Mounting TV to TV mount - Assistance Required!
Assistance
Required
Secure
0
Page 10

7. Cable Management
Note:
Use caution when routing
cables to avoid damage.
0 0
 Loading...