

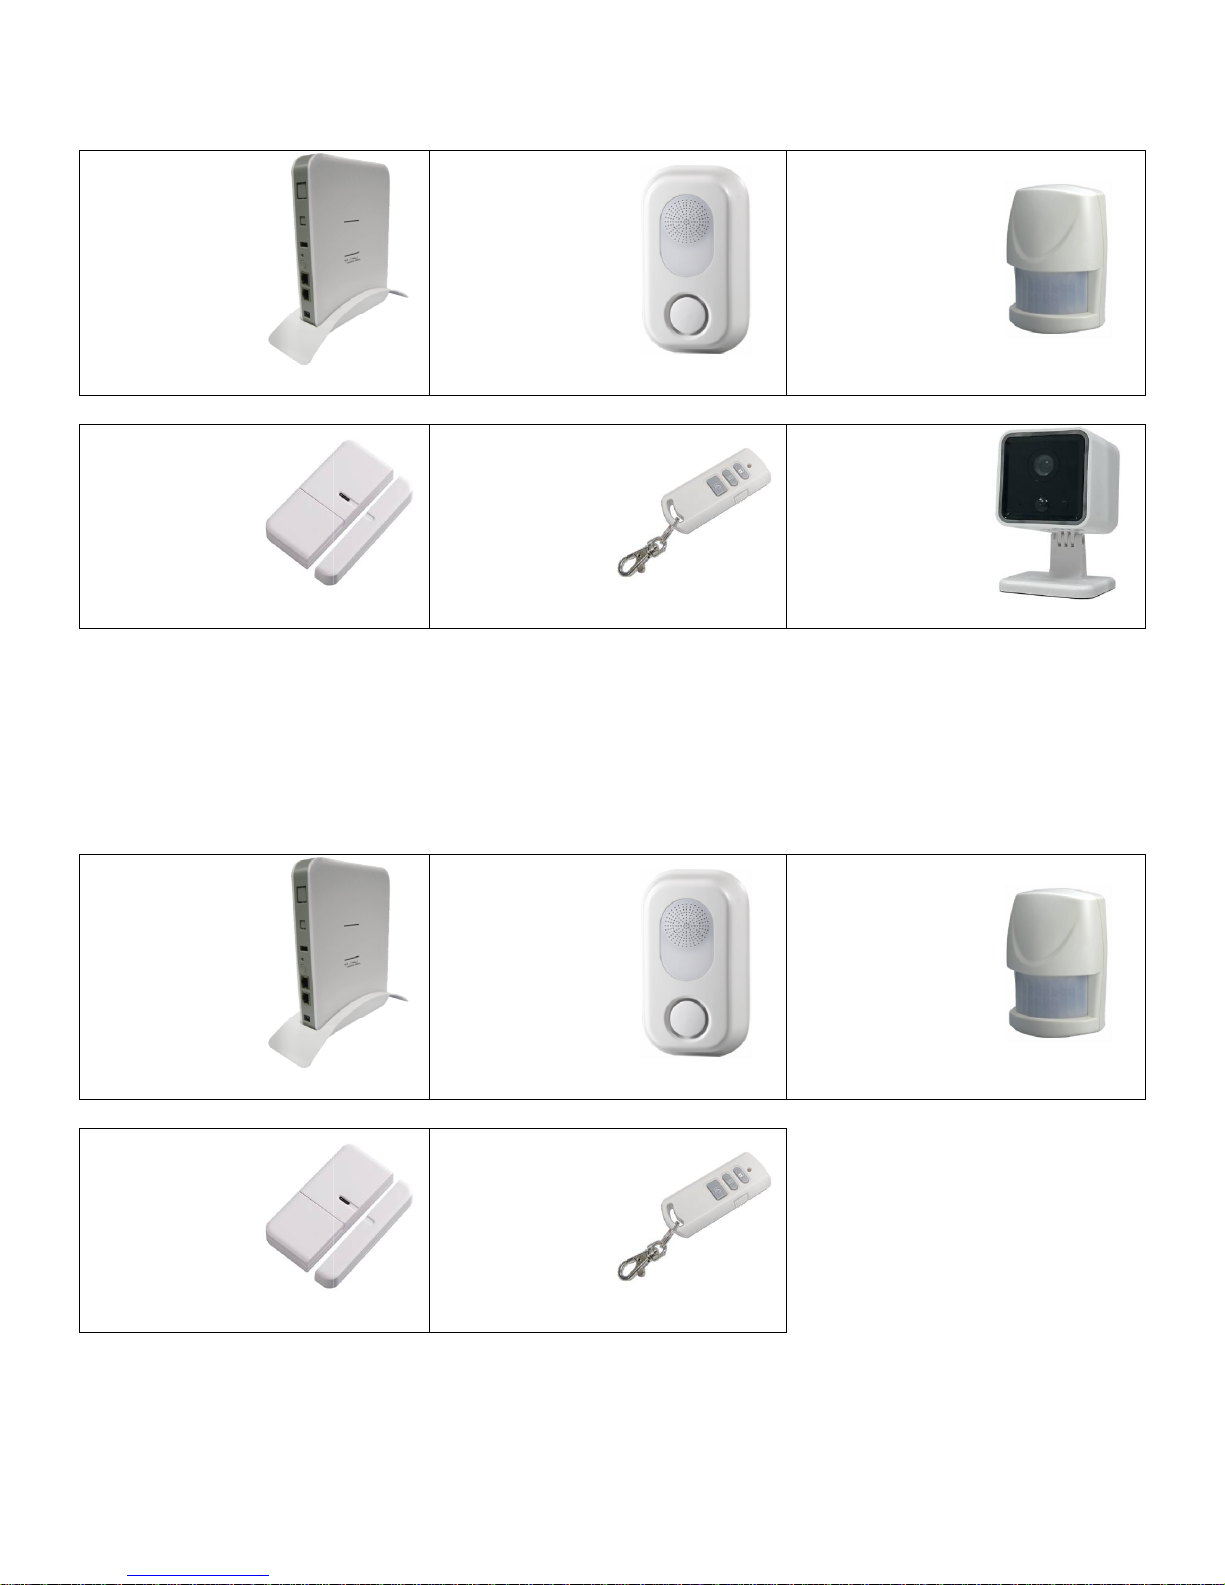
Kit Contents
LHK140UK
HomeSys Smart Home Security System with IP Camera
1 x HomeSys
Gateway
(LHG100UK)
6v NiMH Backup Battery
1 x Wire
Free
Magnetic
Detector
(LHD170UK)
1 x 3v CR2450 Battery
Also Included:
all cables, fixing packs and batteries
LHK14
1UK
HomeSys Smart Home Security System
1 x HomeSys
Gateway
(LHG100UK)
6v NiMH
Backup Battery
1 x Wire
Free
Magnetic
Detector
(LHD170UK)
1 x 3v CR2450 Battery
Also Included:
all cables, fixing packs and batteries
1 x Wire Free
Indoor Voice
Siren
(LHS140UK)
4 x 1.5v LR14
1 x Wire Free
Keyfob
(LHR140UK)
1 x 3v
CR2032
1 x Wire Free
Indoor Voice
Siren
(LHS140UK)
4 x 1.5v LR14 Batteries
1 x Wire Free
Keyfob
(LHR140UK)
1 x 3v
CR2032
1 x Wire Free
PIR Detector
(LHM100UK)
Batteries 1 x
3
1 x IP Camera
(LHP120UK)
Battery
9v DC Adaptor
1 x Wire Free
PIR Detector
(LHM100UK)
1 x
3
Battery
v CR123 Battery
v CR123 Battery
HomeSys Smart Home System
Setup Guide
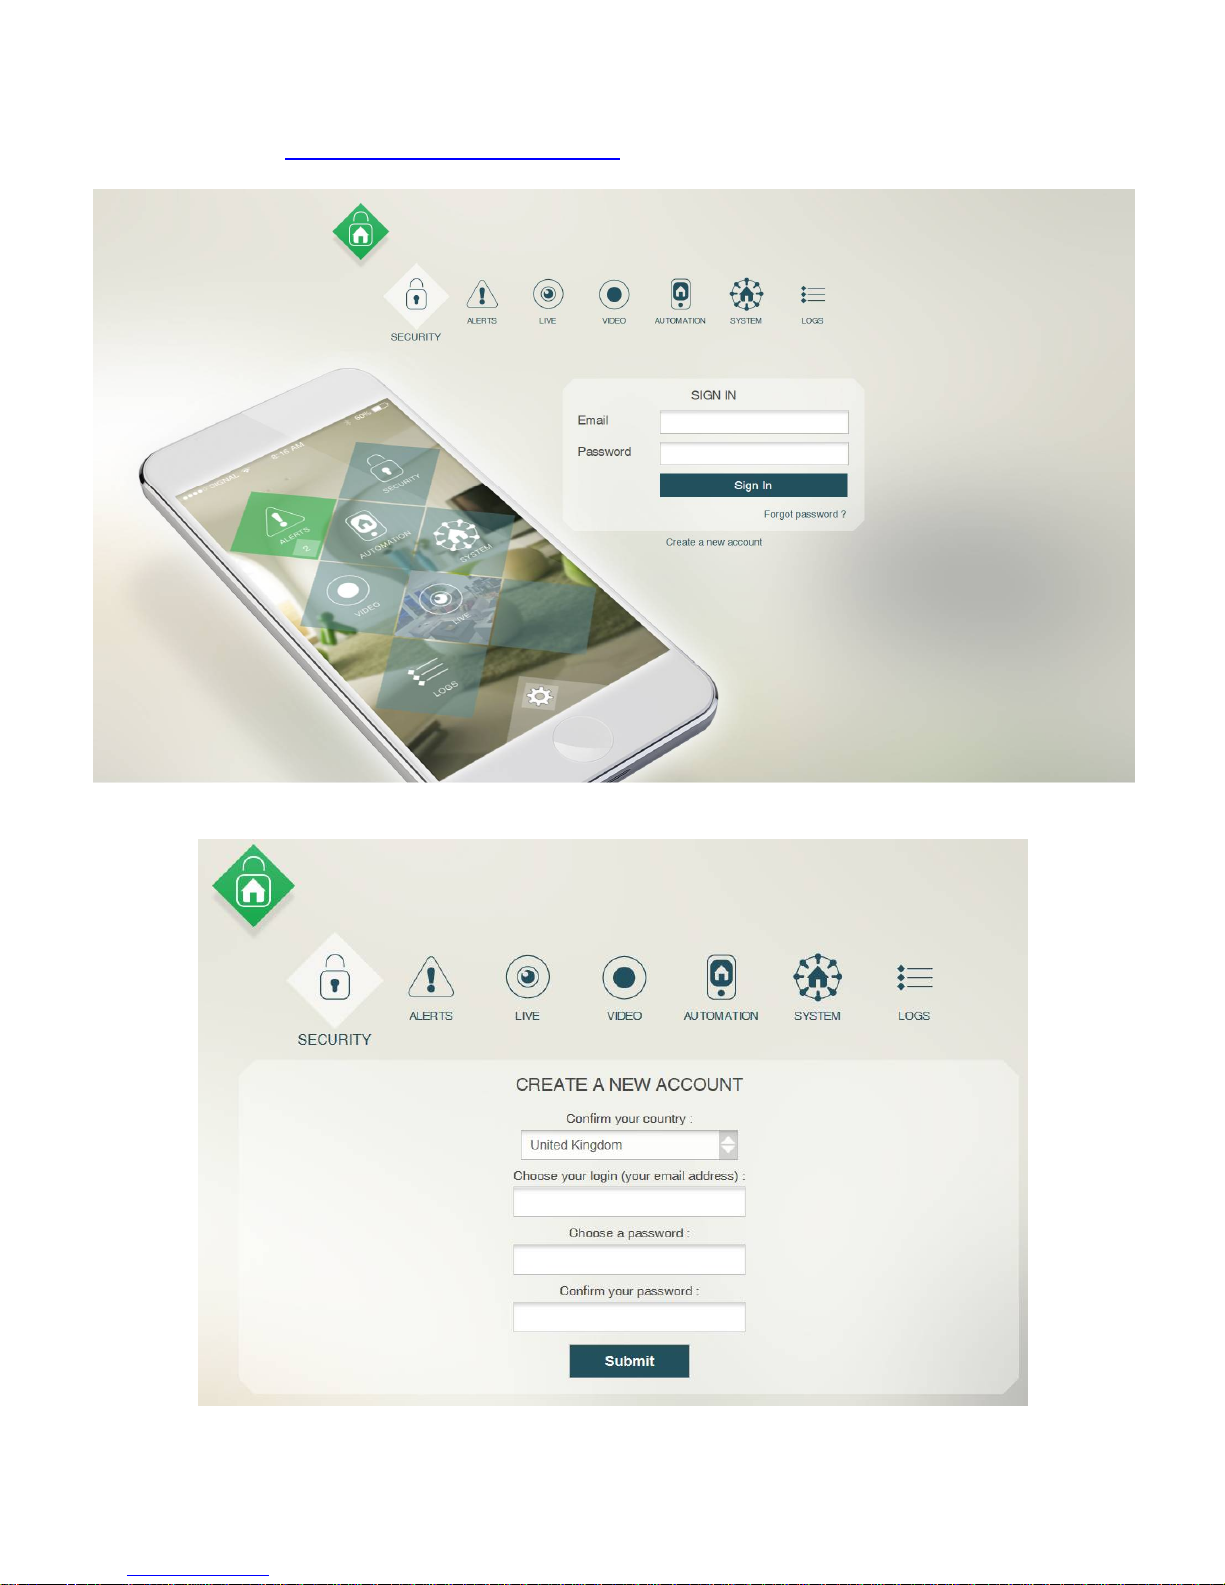
Step 1:
Log in to: https://europe.myluxhome.com
Click on: Create a new account
Step 2:
Enter your details then Click on: Submit
Fill in your details. It is important to use your correct e-mail address since this is where the
system will send e-mail notifications to. You can alter this in System Settings later if you wish.
Choose a password that you can remember easily. If you forget your password you will not be
able to enter your system. The password is case sensitive.
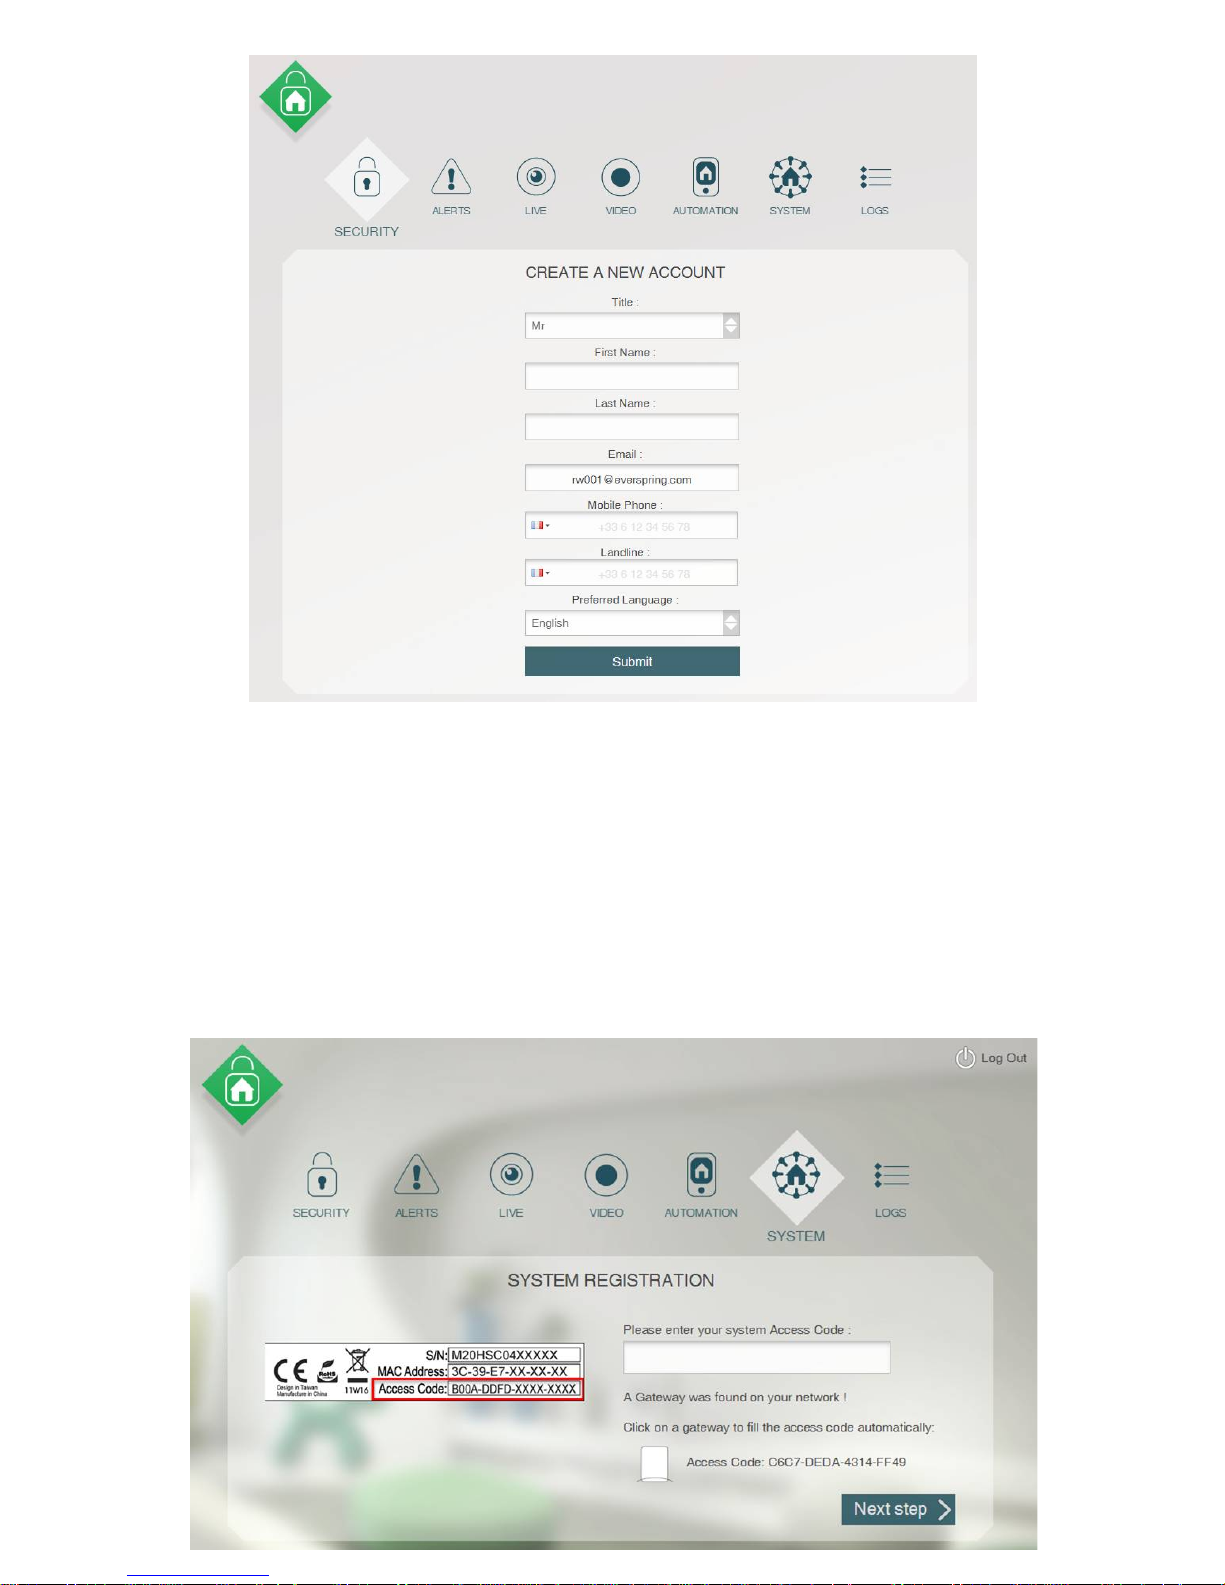
Step 3:
Fill in remainder of your details then Click on: Submit
Step 4:
Register your system using Please enter your system Access Code:
Found on the Rating Plate of Your HomeSys IP Gateway
Alternatively if your HomeSys Gateway has been found automatically on your Network you will
be offered the option to select it
A Gateway was found on your network!
Click on a gateway to fill the access code automatically:
The Access Code will be entered for you then Click on: Next step
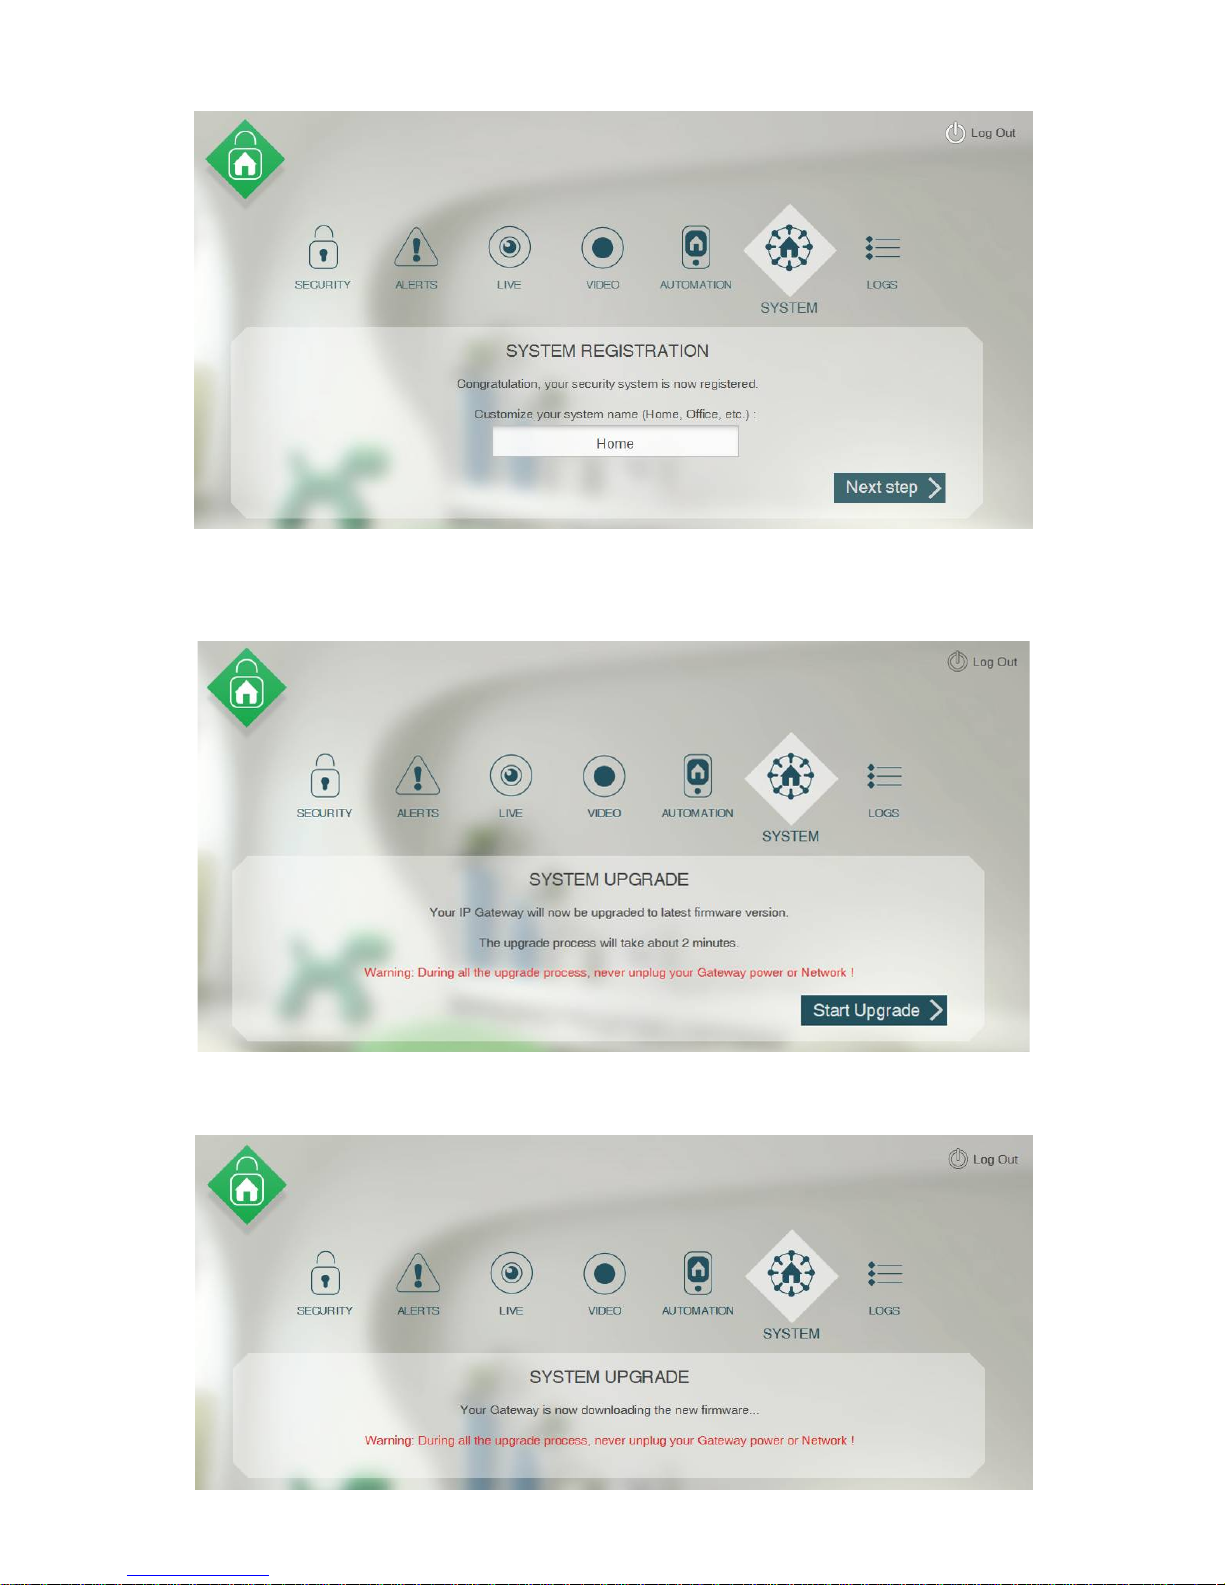
Step 5:
Type in a name for your system
Home is selected by default
Click on Home and type to change it then Click on: Next step
Step 6:
You may be shown a System Upgrade Screen similar to this
If so (Observing the Warning Instruction) Click on: Start Upgrade
If no upgrades are required jump to Step 9
Step 7:
You may be shown a System Upgrade Screen similar to this
If so allow the upgrade to complete (Observing the Warning Instruction)

Step
8:
Once the upgrade is completed this screen will be displayed
Click on: Finish
Step 9:
Alternatively if no upgrades are required you will be taken to this screen
Click on: Finish
Step 10:
Your system may log you out to finish set up indicated by this screen
If so log back in using your Email and Password.

Step 11:
You are now logged into your system indicated by this screen
Step 12:
You are now ready to set up your system, this screen will display:
The Indoor Voice Siren, Keyfob, Magnetic detector and PIR detector icons indicated as Ok are
factory installed pre loaded icons. These devices are not yet connected to your system indicated
by the single red no signal bar. They will be replaced by real icons as soon as you connect your
devices to the system.
To assist with further set up of your system it is recommended that you connect your Voice
Siren. This will then give voice indications of the relevant activity on your system.

Step 13:
Adding the Indoor Voice Siren
Locate your Voice Siren and the 4 x LR14 batteries supplied.
Remove the single screw at the bottom of the unit and slide off the back cover.
Insert the 4 x LR14 batteries ensuring correct polarity and refit the back cover.
The Siren should ‘auto pair’ with the gateway within 1 minute. To test to see if the Siren is
operational select the Arm function from the Security tab and the Siren should voice ‘The
System is Armed’. Then select Disarm and the Siren should voice ‘System Disarmed’. This will
confirm that the Siren has successfully auto paired to the gateway.
Your Voice Siren can be left freestanding or wall mounted using the 3 x screws & plugs
supplied.
If for any reason the Siren does not appear to have ‘auto paired’ refresh your browser screen.
Step 1
4
:
Adding the remaining devices, these can be done in any order
Keyfob
Next proceed to add the Keyfob. Locate the Keyfob and CR2032 battery supplied. Use a coin to
undo the battery bay cover on the back of the Keyfob turning anti clockwise. Insert the battery
with the + sign facing you and refit the battery bay cover and turn clockwise to lock in place.
The Keyfob should ‘auto pair’ within 1 minute. To test the Keyfob press and release the Disarm
button. The Voice Siren should report System is Disarmed.
If for any reason the Keyfob does not appear to have ‘auto paired’ refresh your browser screen.
If this fails use the + Add a device method selecting Keyfob.
The Learn Button on the Keyfob is the Disarm Button. Press and hold for approximately 4
seconds then release.

PIR Detector
Next proceed to add the PIR Detector. Locate the PIR Detector and CR123A battery supplied.
Remove the single screw at the bottom of the unit then lift and remove the back cover.
Insert the battery into the battery bay ensuring correct polarity. Once installed press and release
the tamper switch inside the PIR detector.
The PIR detector should ‘auto pair’ within 1 minute. To test the PIR detector press and hold the
tamper switch inside the PIR detector for at least 30 seconds then release. The Voice Siren
should report: Alert tamper on motion detector.
If for any reason the PIR detector does not appear to have ‘auto paired’ refresh your browser
screen. If this fails use the + Add a device method selecting PIR detector.
The Learn Button on the PIR detector is the tamper switch inside the PIR detector. Press and
hold for approximately 4 seconds then release.
Your PIR detector should be wall mounted preferably in the corner of the room using the 2 x
fixing screws and plugs provided. Alternative you can mount on a flat surface using the screws
and plugs provided or the double sided sticky pads.
Magnetic
Detector
Next proceed to add the Magnetic Contact Detector. Locate the Contact Detector and CR2450
battery supplied. Press and slide the cover off of the Detector.
Insert the battery with the + sign facing you and refit the cover by sliding it on until it clicks. Then
remove the small pull slip from the back of the detector, it should ‘auto pair’ within 1 minute.
To test the detector press and hold the tamper switch inside the PIR detector for at least 30
seconds then release. The Voice Siren should report: Alert tamper on magnetic detector.
If this fails use the + Add a device method selecting Magnetic detector.
The Learn Button on the Magnetic detector is the tamper switch inside the Magnetic detector,
located to the upper right below the LED status light. Press and hold for approximately 3
seconds then release.
Your Magnetic detector should be mounted with the detector on the wall and the magnet on the
door or window with no more than 15mm between them when closed. You can screw to the wall
or door or use the provided double sided sticky pads.
This concludes the adding of the devices that auto pair to the gateway. The next step will involve
adding the IP Camera to the system, if your system does not include the IP Camera then you
can skip ahead to Step 16.

Step 1
5
:
Adding the IP Camera
First connect the Camera to your HomeSys hub using the LAN Cable supplied then connect the
Camera to the Power Adaptor supplied.
Then Click on Add a Device and Select Camera
If your Camera is correctly connected the system should identify it. Simply Click on the Access
Code to add it automatically. Then click next step.
Your Camera has now been added. If you wish to use the Camera on Wi-Fi rather than leaving
the Camera plugged in with the LAN Cable you should Click Configure Wireless network.

Select your Wi-Fi network name and enter the password, there should be no need to enter
Advanced settings:
The default settings of WPA and TKIP should work for virtually all Wi-Fi Hubs.
However if your Wi-Fi Hub is ‘non standard’ it may be necessary to change the protocols.
Consult with your Wi-Fi Hub Instruction Manual for the required settings.
Click on Submit, the system will now test your Camera. You will need to unplug the Ethernet
cable for the test to be successful.
Once the system has satisfactorily your Camera it will be added to the system screen.
You can now use LIVE to view what your Camera can see.

Your system set up is now complete.
You may want to change the ‘Names’ of your devices so they can be easily identified. If so Click
on the device than rename it as you wish (below left).
Avoid using long names otherwise the text will disappear behind the device icons (below right).
Step 16:
Setting up the HomeSys App
If you intend to use your system with your smart device then now is the time to go to the
appropriate web site and install it.
Apple App Store - search for HomeSys
Google Play Store - search for HomeSys

Extra Information:
If you have purchased additional devices simply Click on Add a device and follow the on-screen
instructions as you have done before.
Now is a good time to install all of your devices in the locations you desire using the screws /
sticky pads supplied. If the screws / stick pads supplied are not suitable for your type of
mounting surface you can of course use your own fixings.
Please ensure that your HomeSys detector devices are not too close to each other.
If devices are placed too close to each other this can cause the devices to show 'low signal
strength'. Recommended spacing for devices is at least 2 metres apart.
If you have any difficulties in installing or setting up your system please contact us on 01623
758333 our Technical Team will be able to assist. We can Log directly into your system if you
provide us with your Log in and Password details. If you prefer not to disclose this information or
use this method as an alternative we can Log in to your PC and inspect your system via your
own PC.

Troubleshooting and Q&A
The System
Q. How many devices can I add to my
HomeSys system?
A. You can add up to 40 devices to the
HomeSys system.
Q. How many Gateways can I have on my
account?
A. You can have a maximum of 5 Gateways
on any 1 account
Q. I want to add to my system, what is
available for me to do so?
A. The following are currently available:
LHD170UK - Magnetic Contact
LHD180UK - Smoke Detector
LHM100UK - PIR Detector
LHP120UK - 720p IP Camera
LHR140UK - Remote Control
LHS140UK - Indoor Voice Siren
LHS150UK - Outdoor Solar Siren
LHU120UK - Indoor On / Off Plug with Power
Metering
There will be more devices on the way such
as On / Off Plugs, Dimmer Plugs, Wall
Switches, Flood Detectors and more.
Q. How many cameras can
I add to my
HomeSys system?
A. You can add up to 4 cameras to your
HomeSys system.
Q. What is the range of this system?
A. The range varies from device to device
but can go up to 100m in free air for some
devices; you’ll have to check per device to
see what they can do by checking the data
sheets of listings on our website.
Q. How
do I add devices to the system
?
A. All devices apart from the camera have
an auto-pairing function on first time power
up that allows seamless adding of devices
onto the system.
The App
Q. What is the App called?
A. The app is simply called ‘HomeSys’. A
quick search on either the App Store or
Google Play Store will find it.
Q.
Is the A
pp
compatible with Windows
phones?
A. At this time the App is only available on
iOS7.0 or higher and Android 5.0 or higher.
Q. Okay so how much does the App cost
or is there a monthly fee?
A. Neither of the above. The HomeSys app is
completely free as is everything related to it.
You do not have to pay to access these
features.
Q. What notification methods can I
receive?
A. You can receive Push notifications
through your smart device as well as e-mail
notifications. In the future this will expand to
include texts and calls.
Q. What are the notification
methods if
something in my house is triggered?
A. There are two notification methods at
present, Push notifications through your
Smart Device or e-mail notifications
(maximum 2 addresses). In the future this will
expand to SMS and Phone Calls.
Q.
Is the A
pp
suitable for use on tablets?
A. Yes the App can run on tablets as well as
phones without any issues.

The Camera
Q. How many people can view the Live
View of the camera?
A. Anyone with a log in can view the camera
live view but a maximum of two users can
view it simultaneously without issue.
Q. What is the camera frame rate?
A. The frame rate is a smooth 25 - 30 fps
Q. What is the resolution of the camera?
A. The resolution is 720p (1280 x 720).
Q. Is the
video time stamped at all?
A. Yes the video is time stamped with the
Date and Time in the top left hand corner.
Q. I like vie
wing the videos from my
phone so can I download the videos?
A. Yes you can, on the web interface only
you can click the download button on any
video which you are viewing. This saves to
your computer where you can copy, view it
and more if you wish.
Q. Where are the videos stored? I notice a
micro SD card slot in the camera.
A. The Micro SD card slot is for future usage
and not useable at this time, all videos are
stored on the cloud for easy retrieval and
viewing wherever you are.
Q.
Is the camera suitable for outdoors
?
A. No the camera is indoor use only.
Q.
Does the camera record at night
?
A. Yes the camera has a night setting for
recording in darkness.
 Loading...