

Lutron Electronics HRT-15KP-A, HRT-10KP-C, HRT-5KP-A, HRT-10KP-A, HRT-6LKP-A Installation Instructions Manual
...
1
Please Read Before Installing
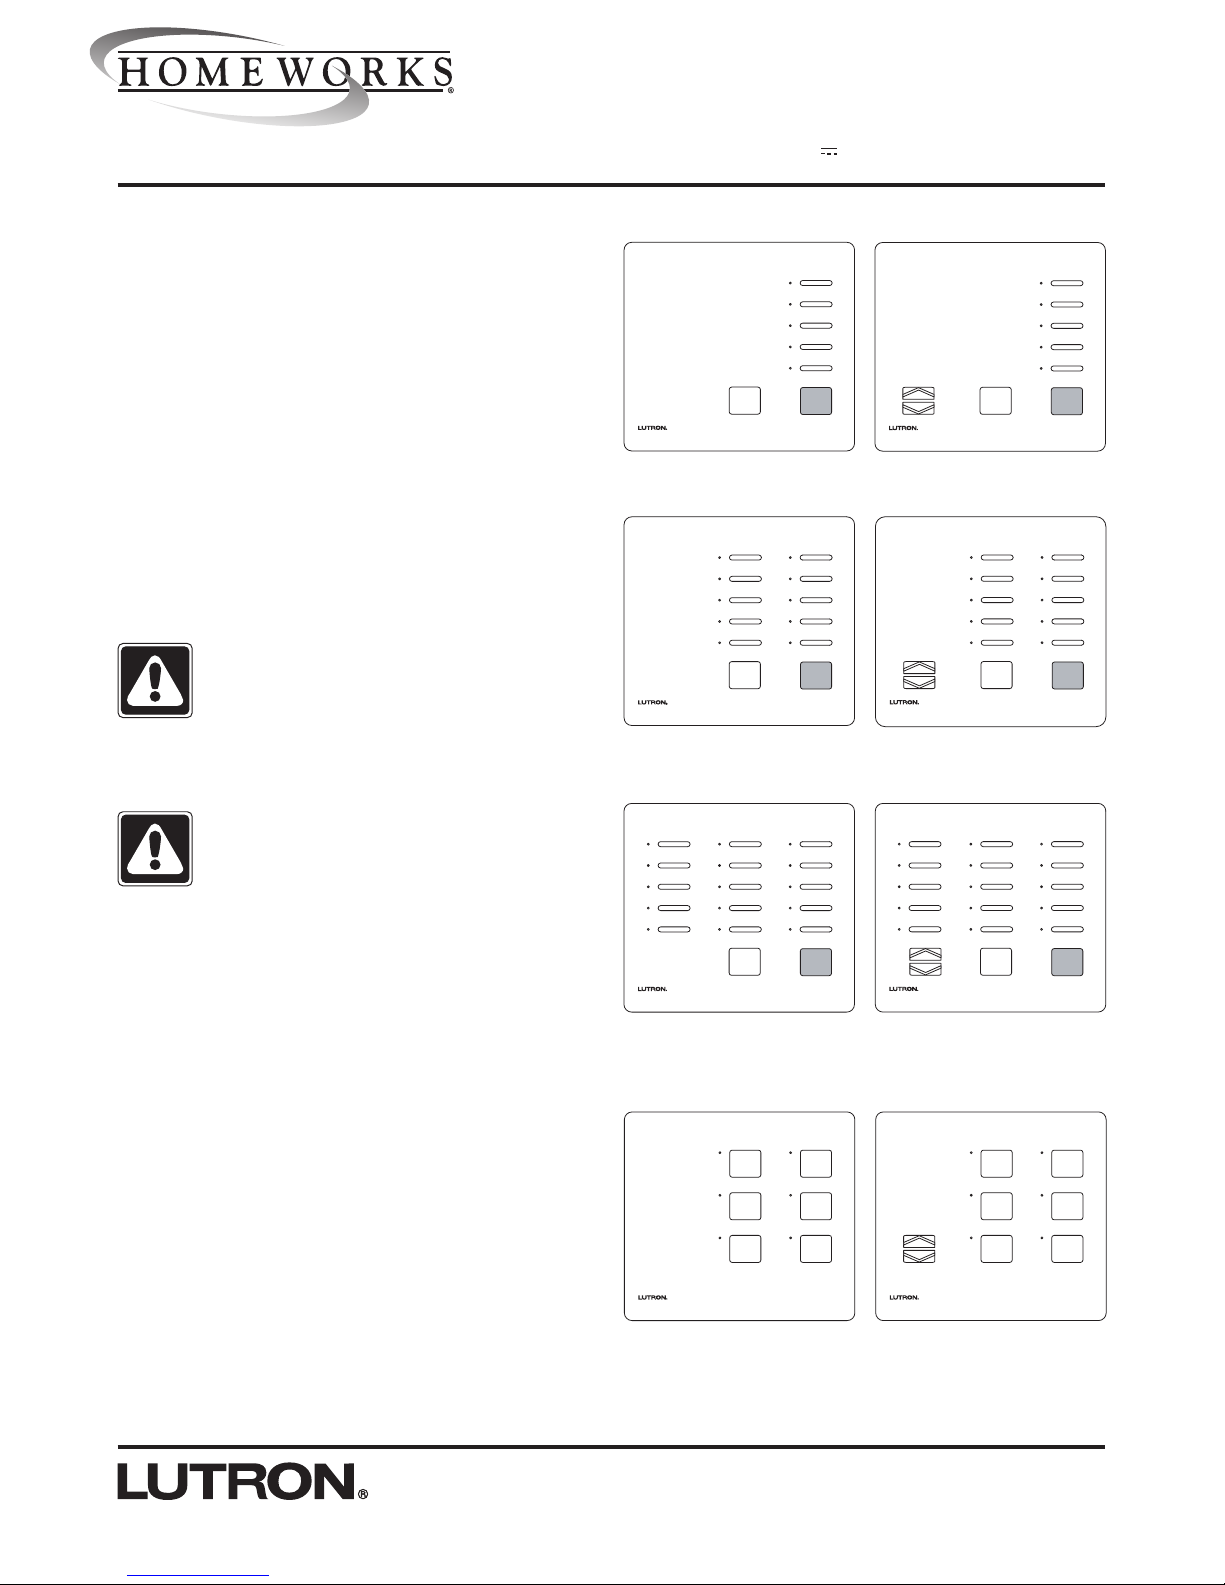
RF Tabletop Keypads
HRT5KP-A, -C 10KP-A, -C 15KP-A, -C 6LKP-A, -C
5RL-A, -C 10RL-A, -C 15RL-A, -C 6LRL-A, -C
120/127 V ~ , 50/60 Hz (9 V adapter, -A and -C models)
Batteries: 2 AAA size, 1.5V each (-C models)
Installation Instructions
Overview
RF Tabletop Keypads are for use with HomeWorks sys-
tems. The keypad buttons are programmed with a personal computer using the HomeWorks Utility.
Up to 32 keypads, each with a unique address, can be
assigned to each HomeWorks RF Processor.
Important Notes
Codes: Install in accordance with all local and national
electrical codes.
Power: Battery-powered models (-C only): Use only high
quality alkaline batteries, two (2) size AAA, 1.5V each.
Caution - Do not use rechargeable batteries.
Using improperly rated batteries could damage
the RF Tabletop Keypad.
All models (-A, -C): Use only the adapter provided by
Lutron with your RF Tabletop Keypad.
Caution - Using an adapter not rated for the
following specifications could damage the keypad and possibly overheat the adapter.
• Input: 120/127 VAC, 50/60 Hz
• Output: 9 VDC/300 mA Class 2
Environment: Ambient operating temperature:
32-104°F (0-40°C), 0-90% humidity, non-condensing.
Indoor use only.
Faceplates: Do not paint controls or faceplates.
Cleaning: To clean, wipe with a clean damp cloth. DO
NOT use any chemical cleaning solutions.
RF Device Placement: RF Tabletop Keypads must be
located within 30 feet (10m) of an RF Signal Repeater or
an RF Processor.
Setup: RF Tabletop Keypads will not function until they
are addressed and programmed. See the HomeWorks
Utility online help.
HRT-5KP
HRT-5RL
HRT-10KP
HRT-10RL
HRT-15KP
HRT-15RL
HRT-6LKP
HRT-6LRL

2
Installation
Battery Installation (-C Models)
1. Remove battery cover.
2. Install batteries as shown. Use two 1.5V AAA
alkaline batteries only.
3. Replace battery cover.
Adapter Installation (All Models)
Mounting Diagram
RF Tabletop Keypads may be wall mounted using the
supplied wall bracket.
Plug in power
cord and
adapter
1. Attach wall bracket to wall using the supplied
screws and wall anchors.
2. Wrap excess adapter cord (if using) around the
cord holder. Align keypad and snap onto wall
bracket.
Note: Battery-powered models only
• The RF Tabletop Keypad goes to “sleep” after a
short period of inactivity.
• Press any button to “wake up” the keypad.
Refer to battery
installation diagram
molded inside battery
compartment.
1. Find a suitable location for the RF Tabletop
Keypad. Place the keypad in a convenient and
accessible location. Note: RF Keypads must be
located within 30 feet (10m) of an RF Signal
Repeater or an RF Processor.
2. Apply power to the RF Tabletop Keypad.
 Loading...