

Luthor TL 88 Instruction Manual
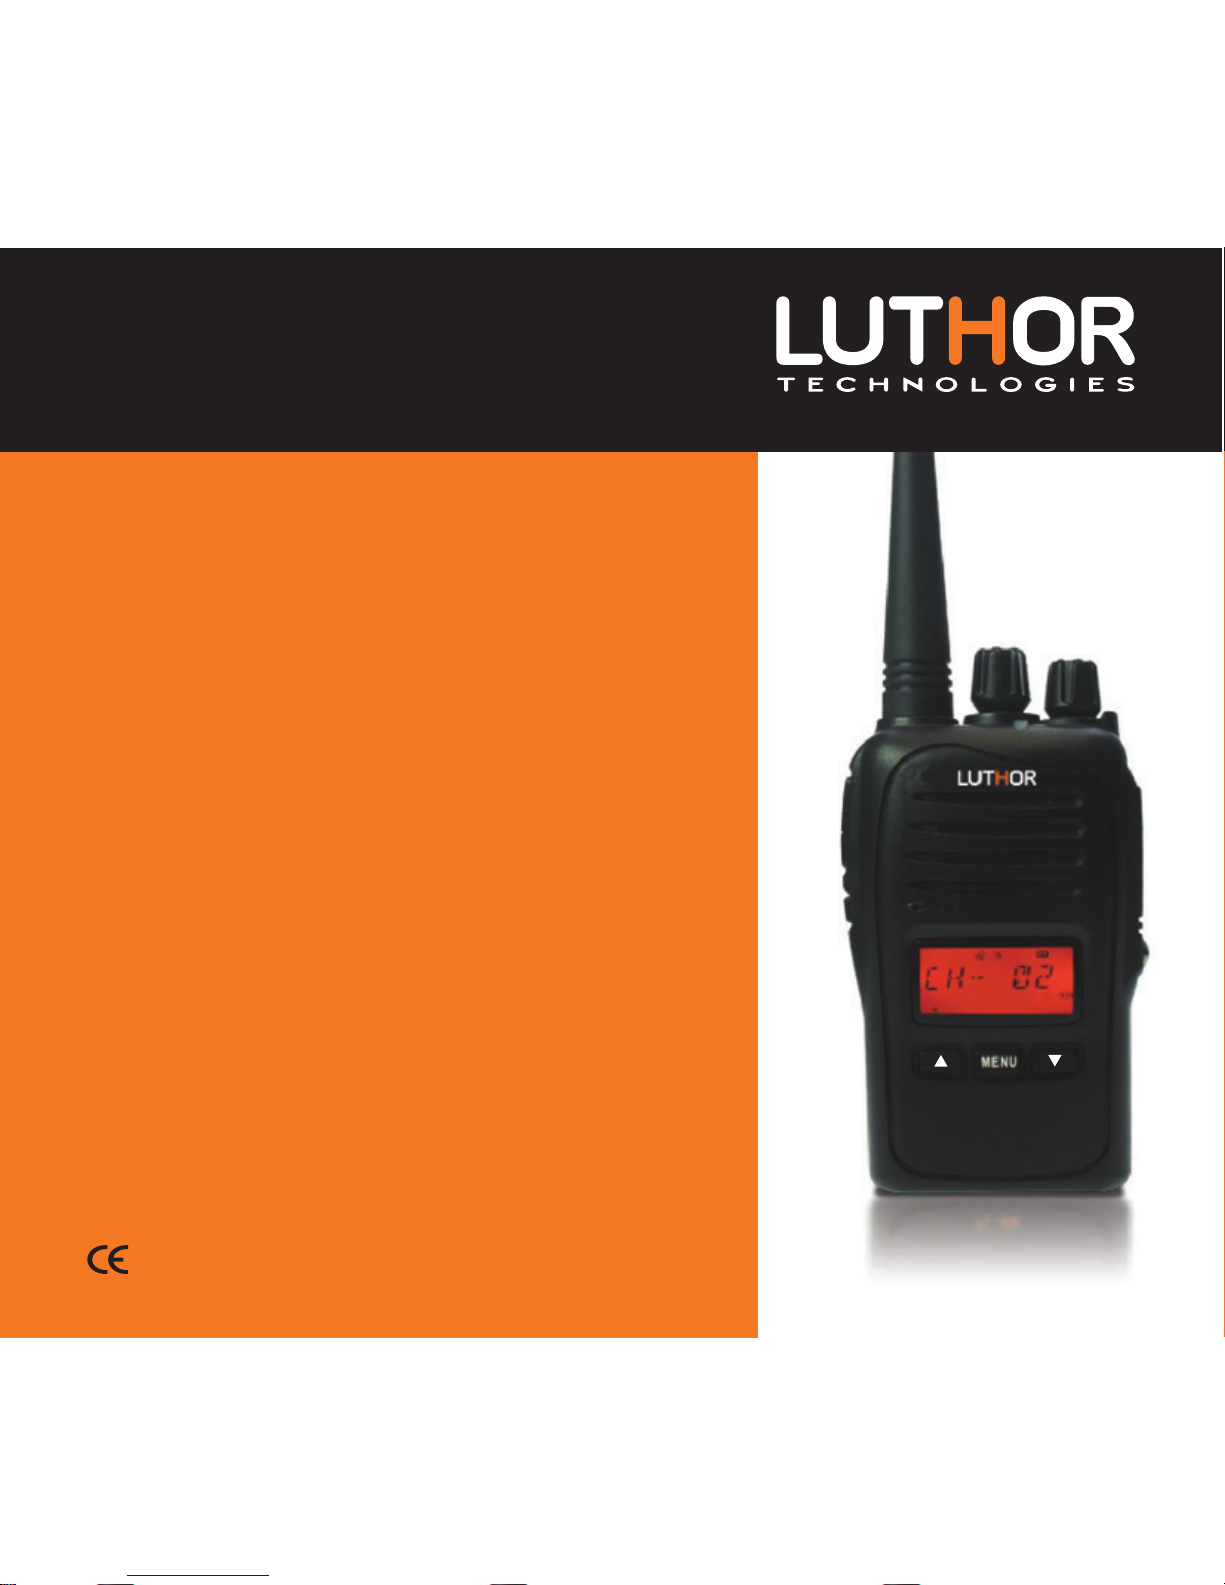
TL 88
TRANSCEIVER PMR 446
PMR
446 Mhz
0678
TL 88
INSTRUCTION MANUAL


EN
1
We want to appreciate the confidence shown by purchasing this LUTHOR TECNOLOGIES
model TL-88. This transceiver offers an innovative design in terms of technology and
multi-functionality. Its high quality and extensive features make it one of the best
equipments in its field, we trust in your total satisfaction with your expectations and
communication needs.
In the design of the TL-88 it has put on the best efforts, illusion and professionalism,
to finally reach the obtained result, a PROFESSIONAL transceiver for FREE USE
(PMR-446 without need of any license) with VERY EASY MANAGING and RELIABILITY
only at the level of the best manufacturers worldwide.
Its development has benefited from the involvement of a large group of professionals
of the sector, but perhaps the most novel was to have the collaboration of different
user profiles to catch the needs of different groups: Professionals of the installation,
industry, Security Forces, entertainment, etc ... The major concern besides the QUALITY
and the RELIABILITY of the transceiver, was to get an equipment that could be used

EN
both by professionals with experience in such devices and by users without any type
of experience , for which brilliantly stands out the FACILITY OF MANAGING of TL-88.
2

EN
3
Contents Index:
Cautions and practical advices 5 - 7
General Transceiver Functions 8
Unpacking of the equipment and Content 9
Transceiver Scheme :
General Front View 10
General Side View 11
Display Icons Description 12, 13
Working Modes 14 -18
Scheme / index menu 19
Setting function using MENU 20 - 44
Special Functions 45 - 50
Battery Charge 51 - 53
Advanced Options Index (Soware) 54 - 64
Appendices index :
Table 56 memorized channels 66 - 69

EN
factory parameters. 70
Technological parameters, conversion table number / frequency of
analogical sub tones CTCSS and DIGITAL DCS "N" and "I". 71 - 73
Use of the transceiver as a PMR-446 basic handheld. 74 - 81
Problems Solution Guide. 82 - 84
Optional Accessories. 85
Technical Specifications. 86
Environment Protection Note. 87
Declaration of Conformity. 88
4
EN
5
Cautions and practical advices
Please read carefully the following manual before using the transceiver in order to
guarantee the maximum performances. This manual has important using and safety
instructions, therefore, we recommend you to keep it for future consulting.
Any repair must be realized only by qualified personnel.
Do not use this transceiver nor recharge it anywhere susceptible flammable
environment (gas presence, smoke ...).
Turn off the equipment when being in a gas station.
Do not manipulate or attempt to modify the transceiver or the battery.
If you want to store the equipment during a long period of time, you have
to extract the battery.
When the equipment is in functioning, avoid that the antenna is close or
touching your face or eyes.
The equipment will give its maximum performance if the antenna is in vertical
position with the microphone at a distance of 5-10 cm from your mouth.
!
!
!
!
!
!
!
EN
Ear Damages! If the receipt is done with headphones... the volume should be
low. Prolonged use at high volume may damage the ear. If aer using the
equipment, you hear a constant sound of a buzzing, reduce the volume or
abandon the use of headphones.
DO NOT turn on the equipment with a voltage other than indicated: risk
of damages.
DO NOT use the PTT button if is not necessary.
DO NOT use the transceiver if you are driving a vehicle. To prevent accidents,
focus only on driving.
Avoid exposing the transceiver to the sun for long periods or in Extreme
temperatures below 0 º or above 55 degrees.
The excessive overheating can provoke the explosion of the battery.
Be careful with the equipment and the battery, a blow might damage them
or even in the worst case, it can do that the battery exploits.
Under no concept short-circuit or cross the battery terminals, it could
irreversibly damage the battery and in the worst case could lead to an
!
!
!
!
!
!
!
!
6

EN
7
explosion that could lead to potential physical harm to the user. It is
recommended:
- Transport the equipment of suitable form in order that the terminals
could not cross unintentionally.
- No carry it in your pocket with metallic objects like keys, coins, etc.
- Do not place the equipment with terminals making contact in a metal
surface.
Avoid contact of the equipment and battery to water or conductive liquids.
As the transceiver as the elements that comes with it aren’t toys, keep
them always out of reach of children and animals.
!
EN
General Transceiver Functions:
· PMR-446 Transceiver for free use without license.
· Output Power 500mW.
· 128 memory channels
· Analogical CTCSS and Digital DCS Subtones.
· Channel Encryption (Scrambler)
· Saving System of Battery consumption
· Transmission Time Timer (TOT function).
· Busy channel automatic lock.
· Handsfree Function (VOX control).
· End transmission confirmation warning (Roger Beep)
· Channel Search / Channels and Subtones Scanner
· Commercial Radio FM Function 88-108 Mhz
· Programmable by soware
· High Capacity Lithium Battery
8
9
EN
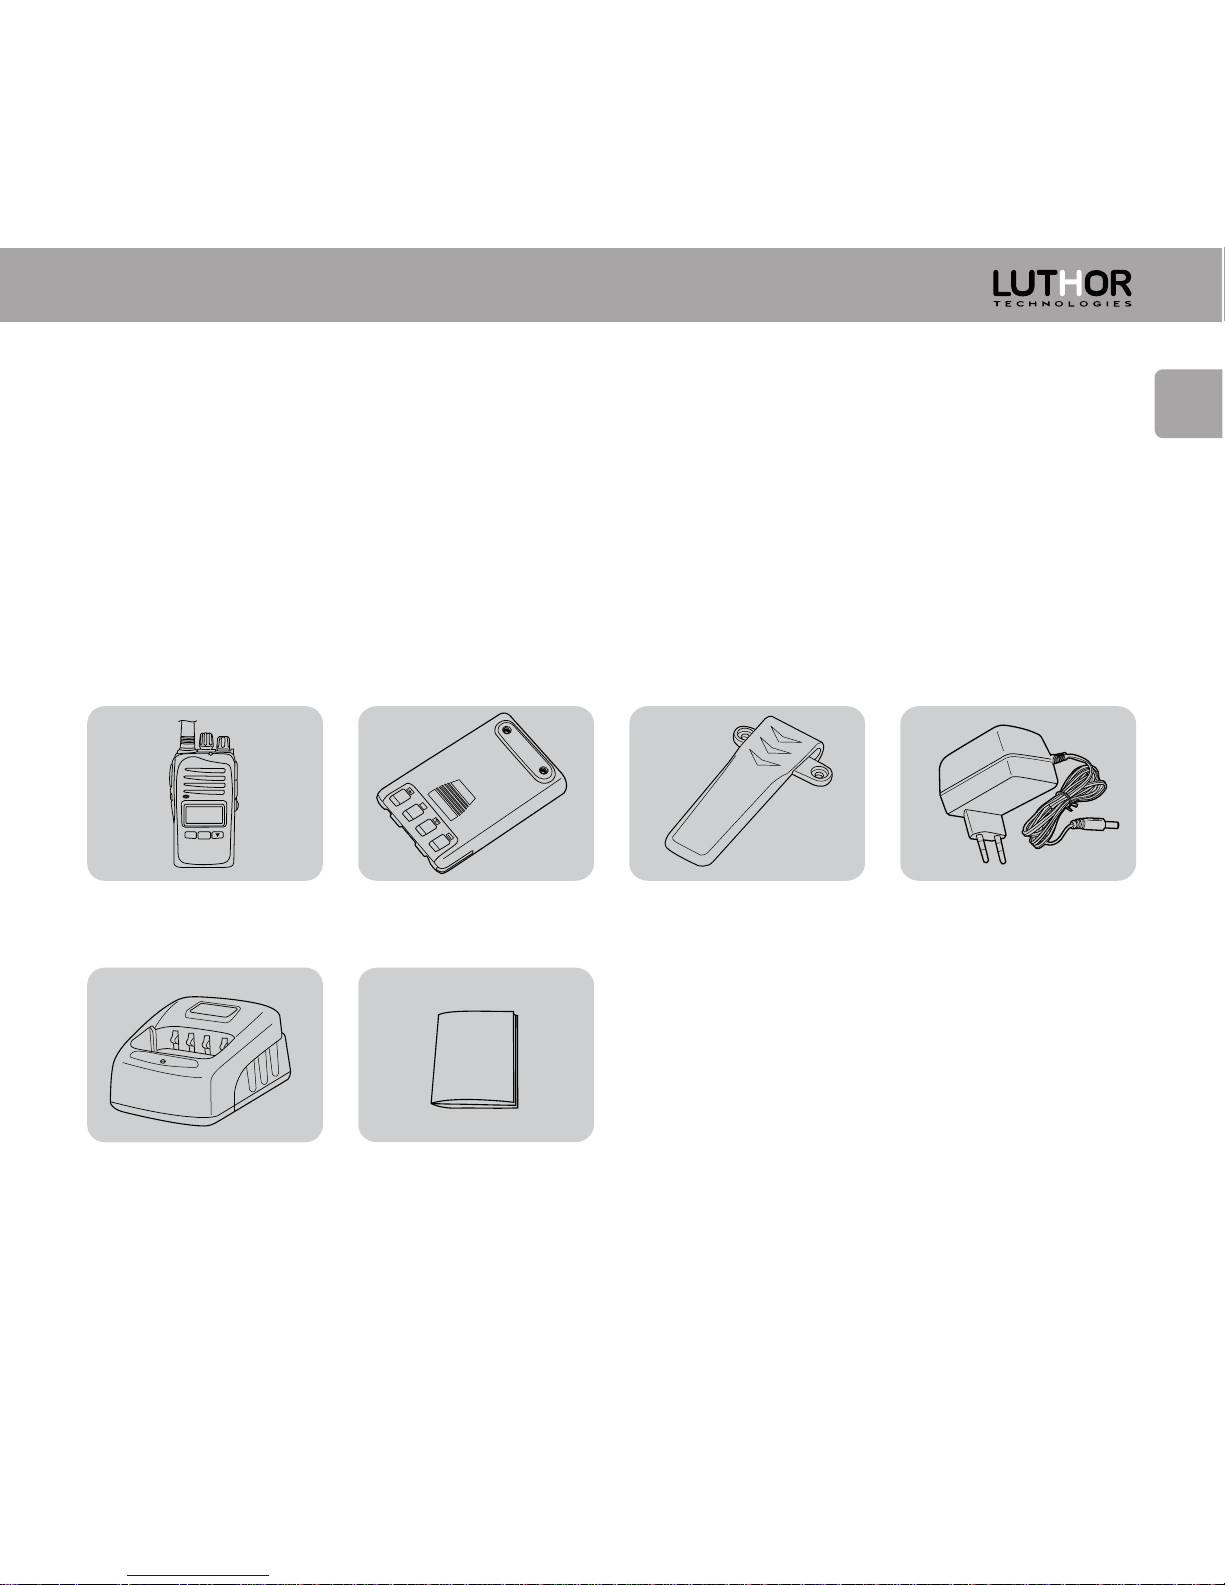
Unpacking of the equipment and content
Transceiver TL-88
Desktop charger TLC – 435
Battery pack Li-Ion TLB-405
User manual
Belt clip TLP-411 Charger TLC-435/1
MIC
MENU
Unpack carefully the content of the box of your transceiver. We recommend you to
verify the elements listed in the following table before discarding the packing. If some
element is missing or it had been damaged due to the shipping, please contact your
dealer as soon as possible.
Supplied accessories

EN
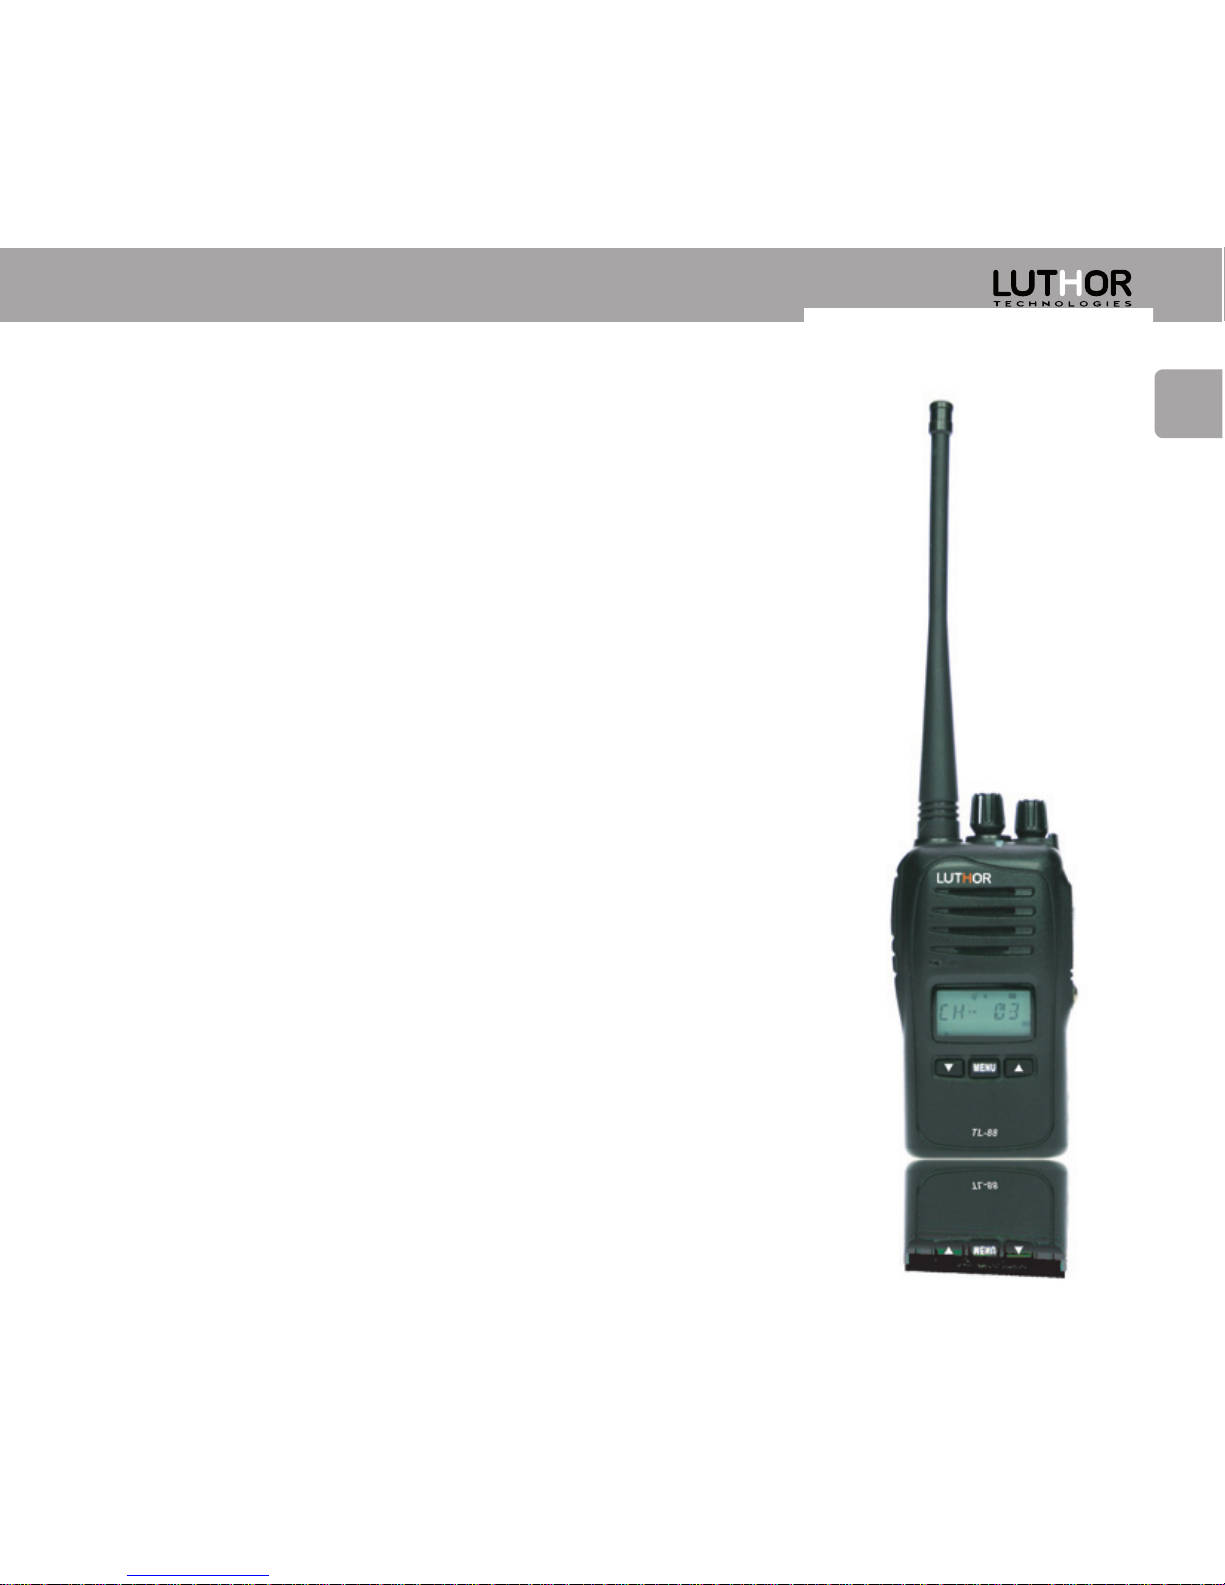
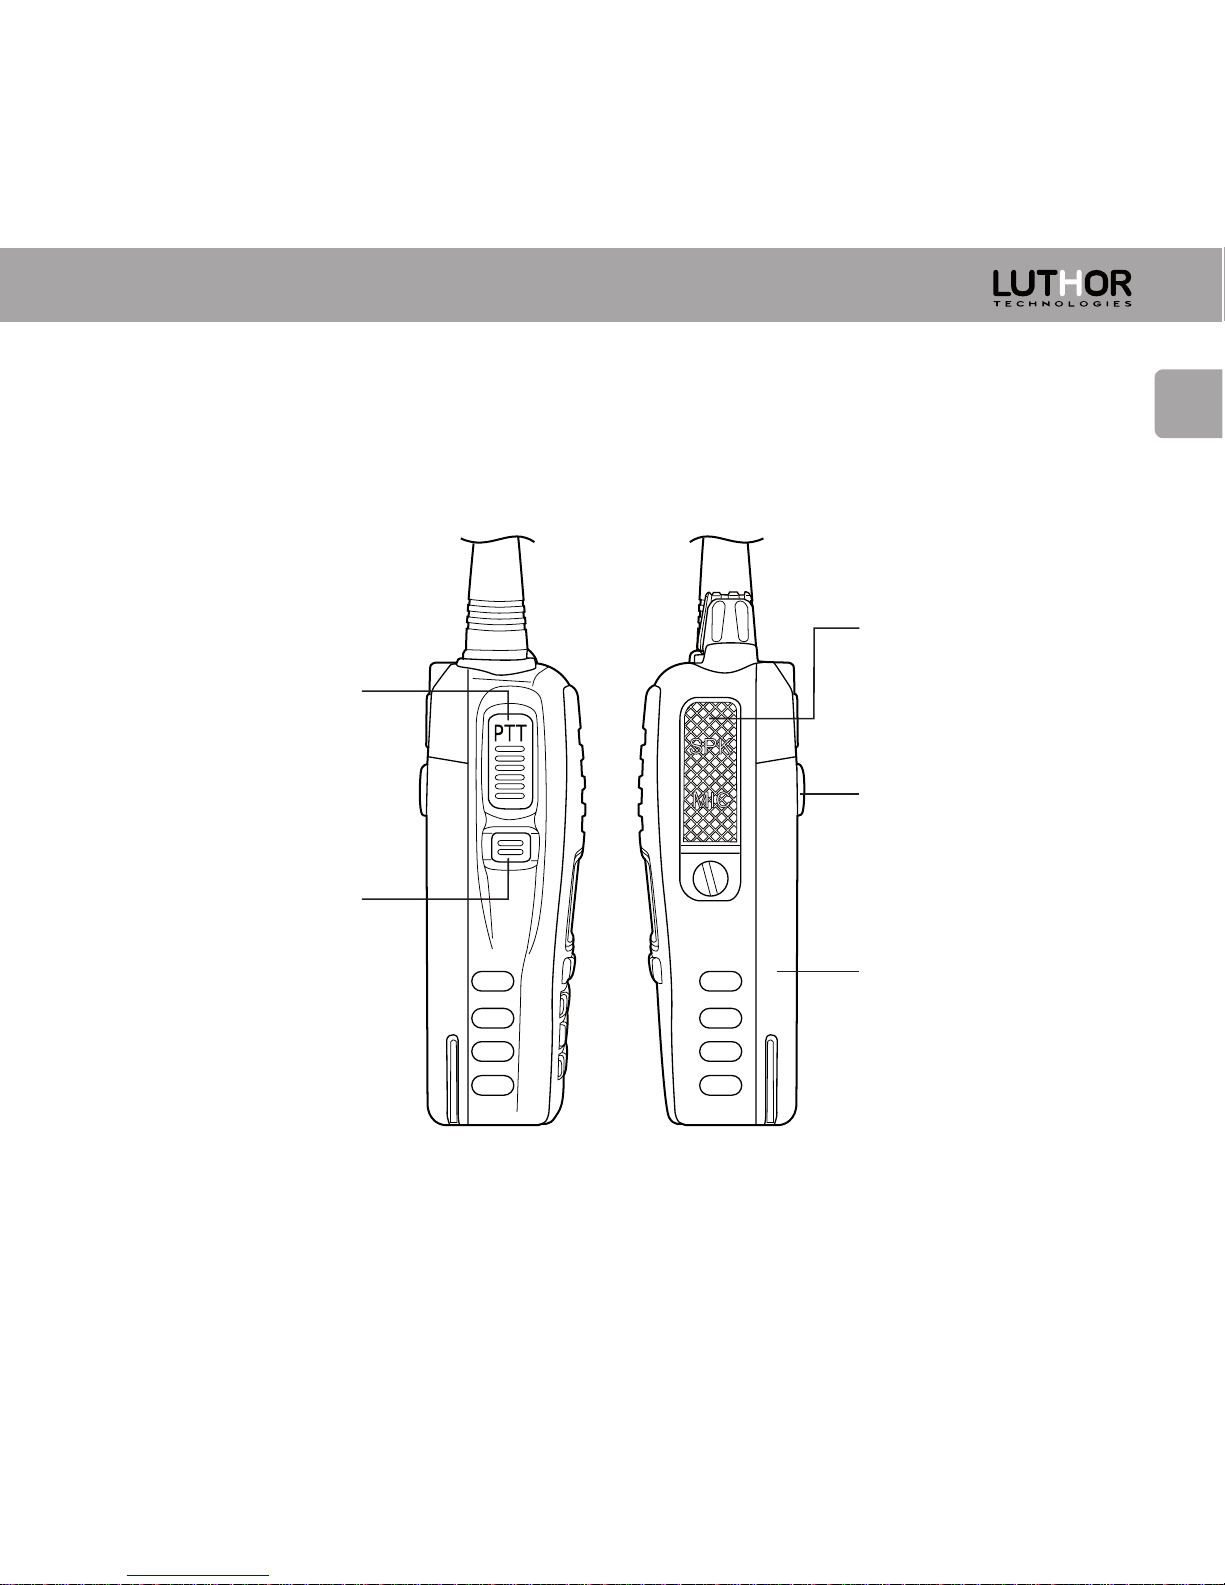
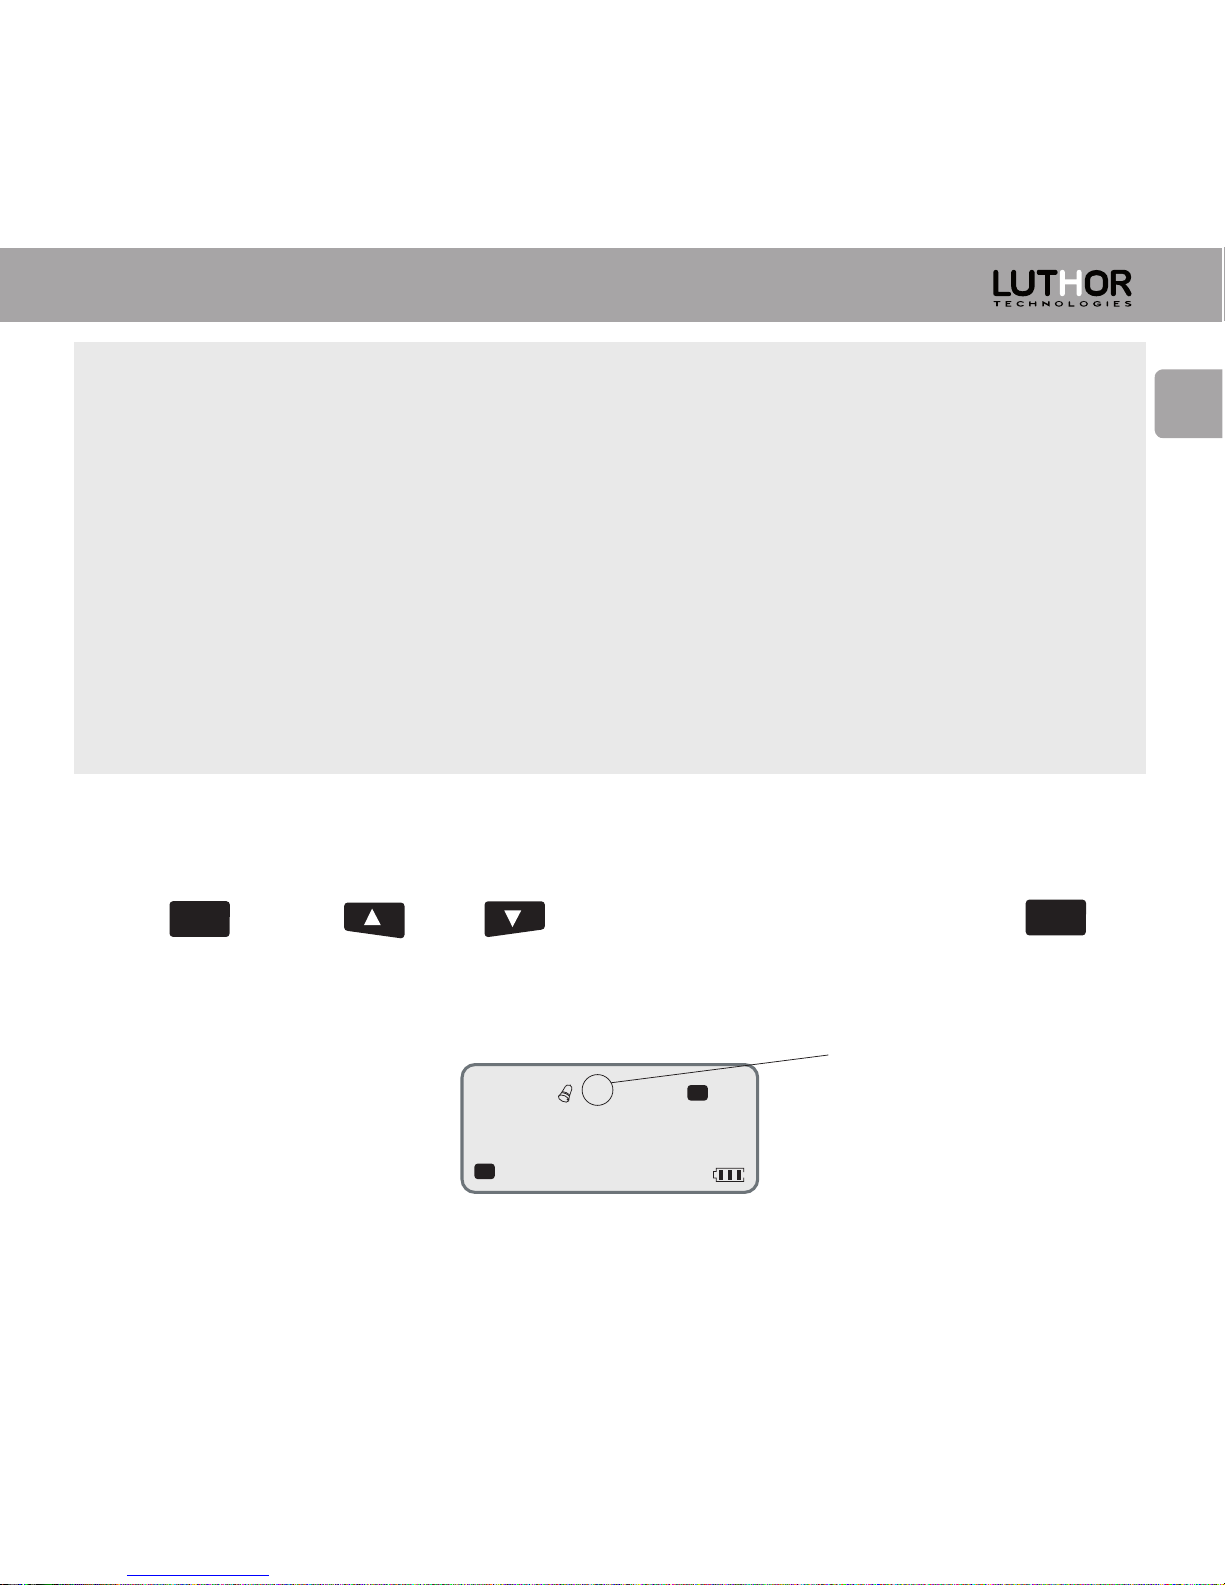
Transceiver Scheme
MIC
MENU
Upper Channel Controller
ON-OFF/VOLUME Controller
TX transmission indicator LED
(Red Colour), RX reception
(Green Colour) and charge.
Speaker
LCD Display
Lower channel/functions key
UHF Antenna
Microphone
Upper channel/functions key
Menu Key
10
11
EN
General Side View
Side transmission PTT
key (press for transmit
TX, release to receive
RX)
MONITOR Side Key
External accessories
connection:
programming cable,
earphone, speaker…
Battery extract Key
(Move it up)
Battery
EN
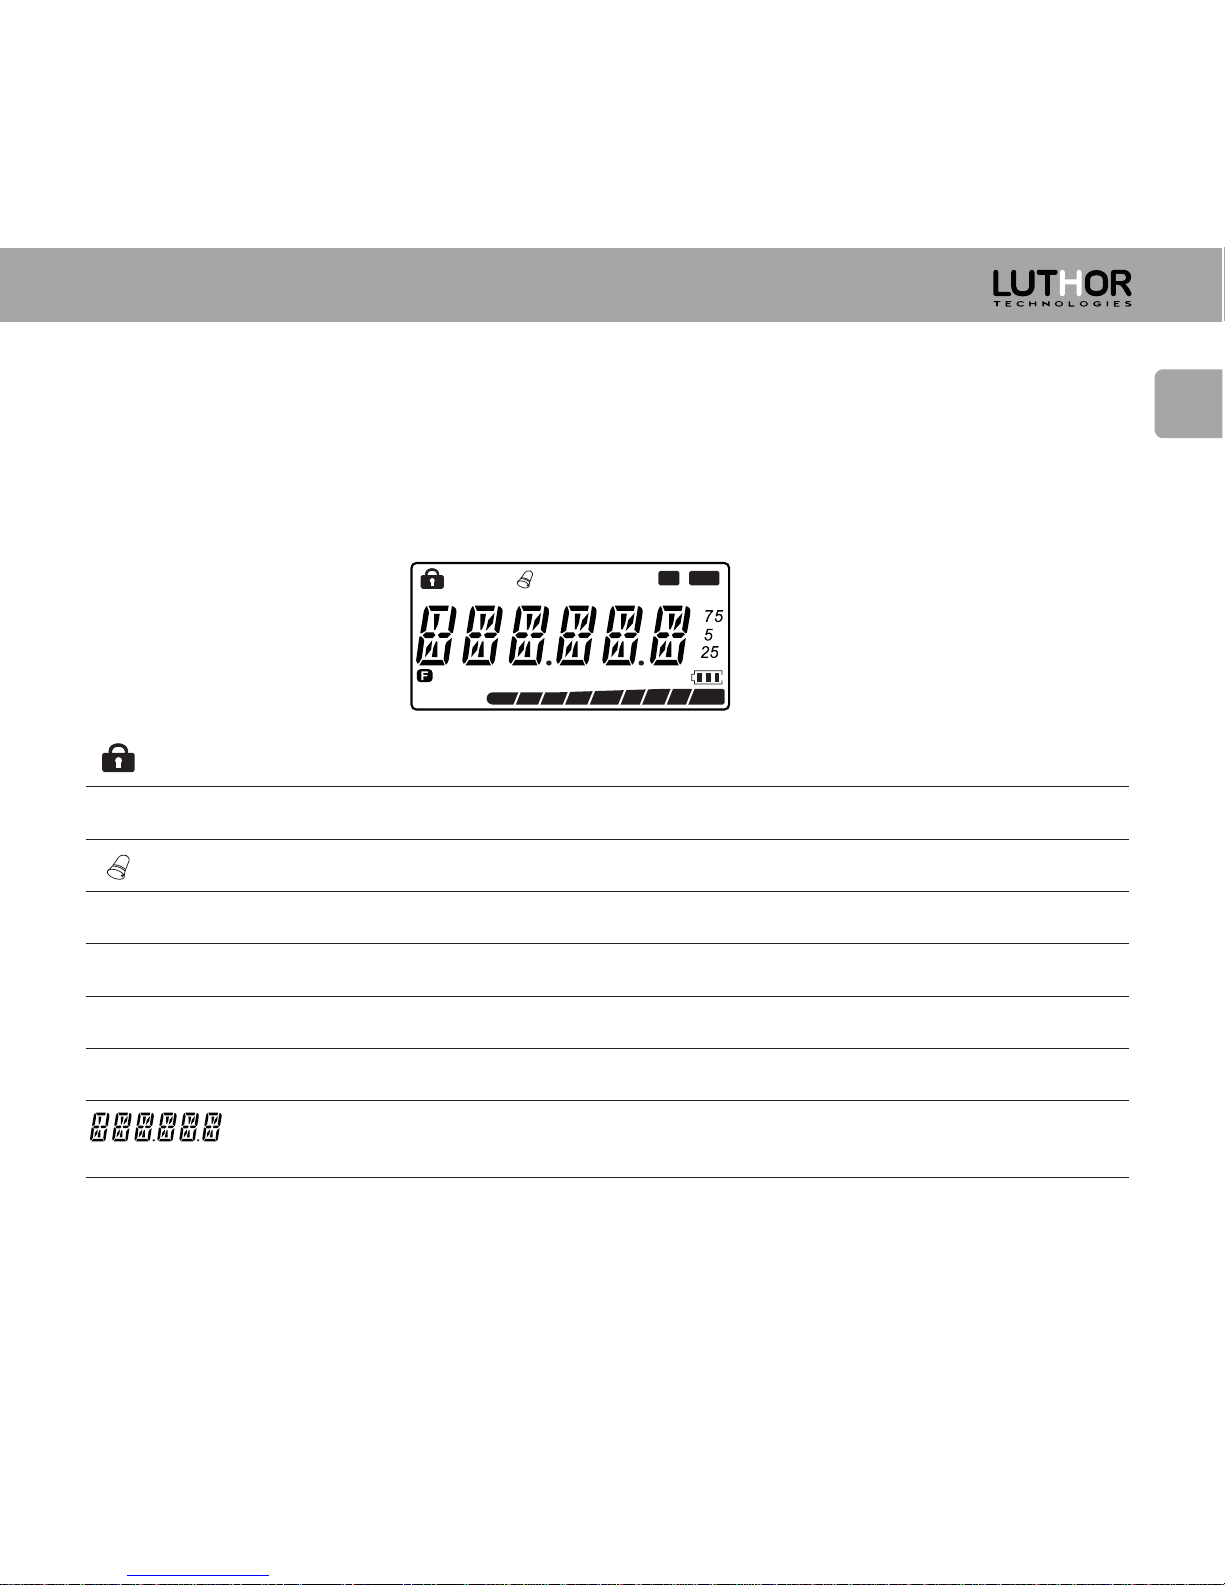
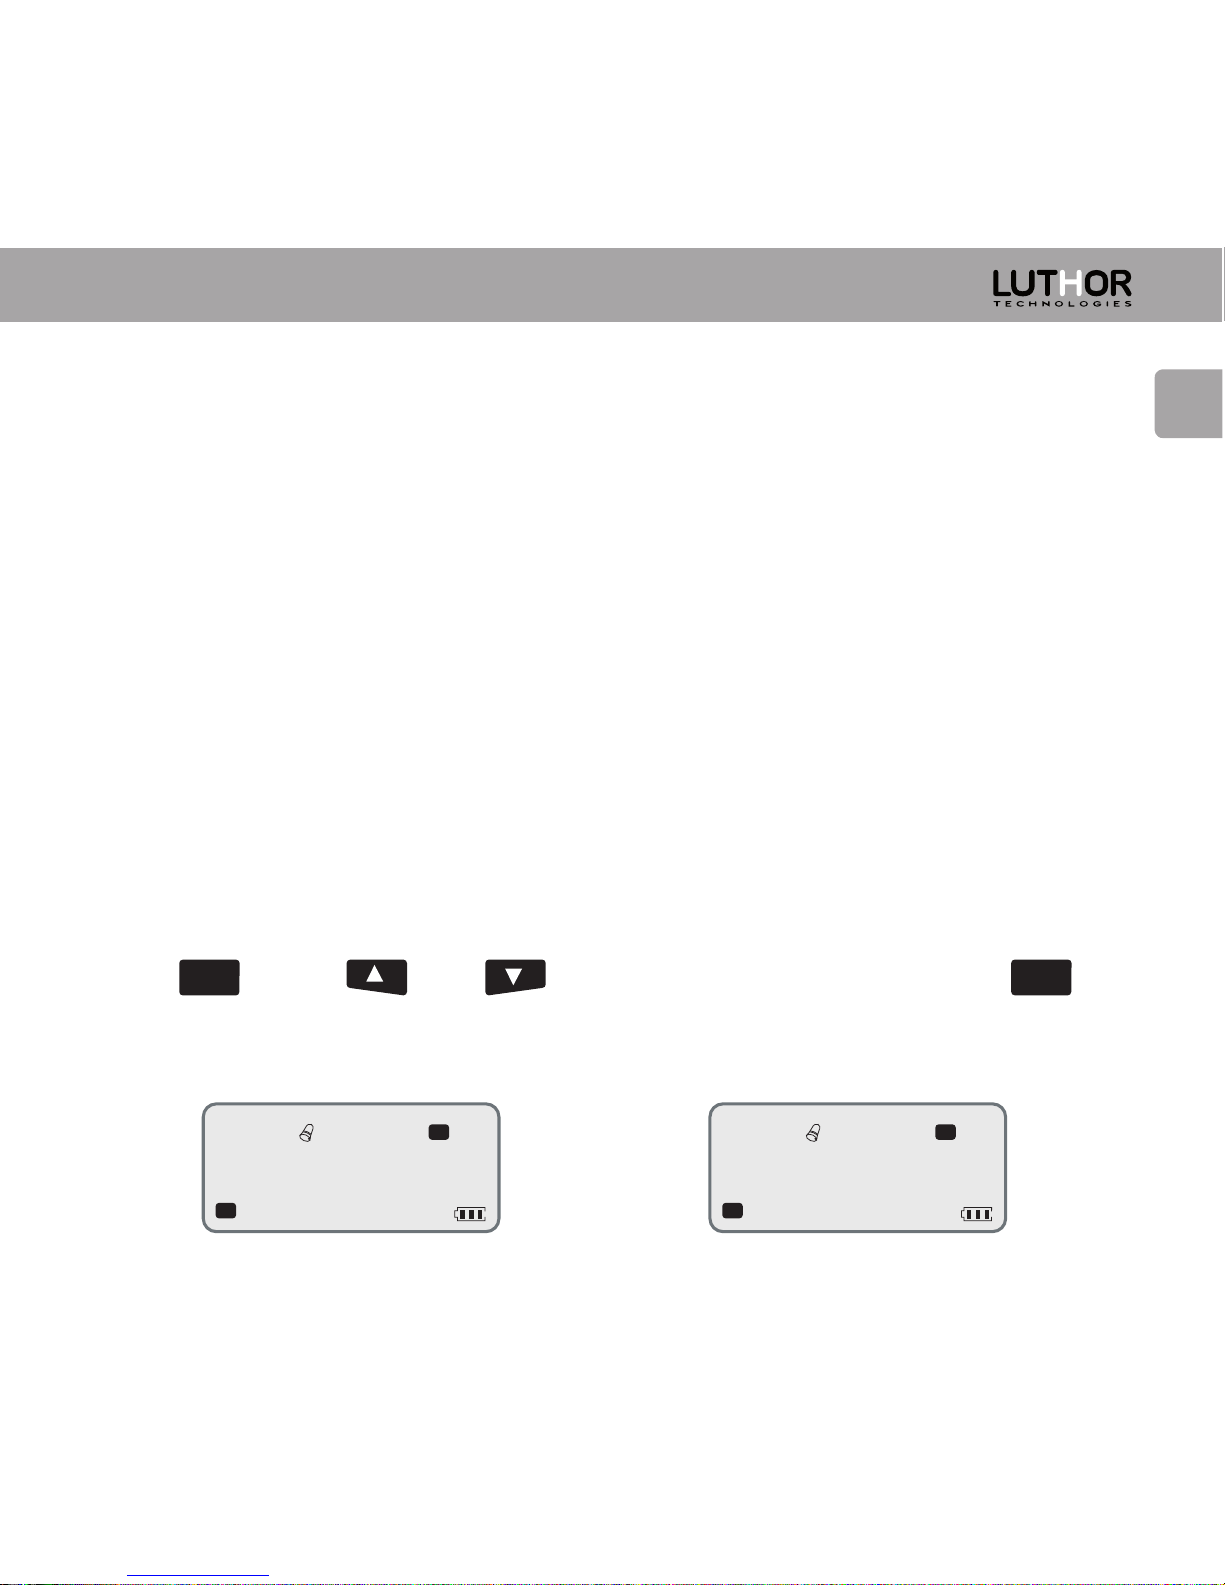
Display Icons Description
You can see different icons on the screen when the radio is turned on. The following
table will help you to identify the meaning of the icons on the screen.
H
DW SCR VOX PRI
CT
DCS
888
S N
1
5 9
Key lock on.
Sub tones Numbering / Menus Numbering.
Key tone “beep” on.
Battery save system on
Digital DCS Sub tone on “N” type
Analogical CTCSS Sub tone on
Digital DCS sub tone on, valid icon for type “N” and “I”
Depending working mode, displays the channel number or the frequency
number.
888
S
N
CT
DCS
12
EN
13
TX/RX Transceiver Priority in FM Radio Mode ON.
DW
1
5 9
F
75, 5, 25
In frequency mode, displays the complete frequency.
Indicate that the transceiver is inside the MENU.
VOX
SCR
Voice encryption on.
Handsfree Function (VOX Control) Turned on.
PRI
Scanning beginning from priority active channel.
RX Reception and TX Transmission signal Indicator.
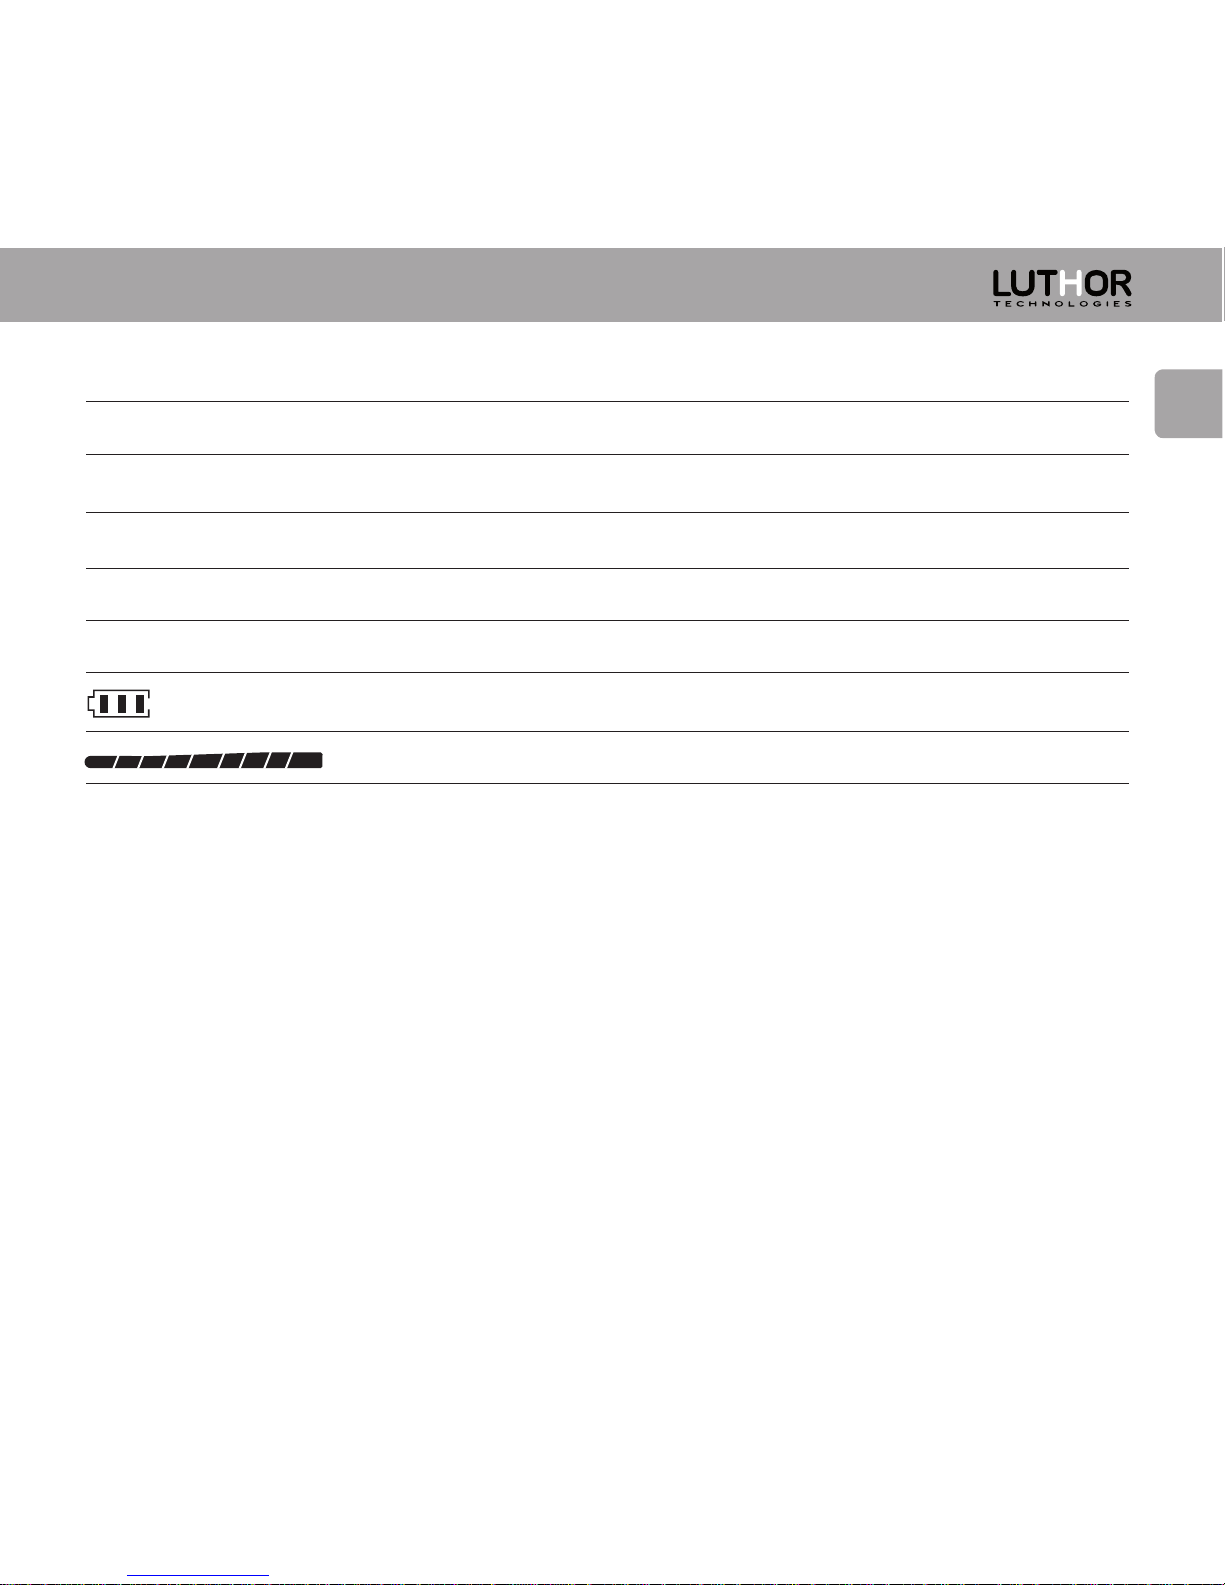
Battery charge Indicator..
EN
Working Modes
The TL-88 is able to work in three ways: A-Channel Mode, B-Frequency Mode, and C-Radio
FM Mode.
A-Channel Mode
It is the most common working mode of the transceivers for FREE USE PMR-446. The
display shows the channel number and the top le the CTCSS tone.
Selecting and using appropriate channel whether it needs the combination of sub
tones, the TL-88 is compatible and able to communicate with any equipment PMR-446
of free use of the market, in any segment: professional, semi-professional or
economics of the consumer market (we recommend to read attentively the appendix
USE OF THE WALKIE AS PMR-446 BASIC that you will find in the page 74), even this way
the TL-88 is supplied from factory with 56 channels (memories) preprogrammed, these
56 channels / memories are directly compatible with the majority of equipments for
004
ch -- 01
CT
DW SCR
14

EN
15
free use PMR-446 FREE PROFESSIONALS of the market (see appendix: TABLE 56
MEMORIZED CHANNELS, page 66).
Even if from origin the TL-88 is supplied with 56 channels/memories preprogrammed,
the transceiver is capable of memorizing by means of its easy and free programming
soware up to 128 channels (attention: these 128 channels/memories will be always
combining the 8 authorized frequencies for free use with the sub tones that dispose
the equipment, in this case 38 analogical sub tones (CTCSS) and 208 digital (DCS) ones,
giving a total of more than 1900 different combinations to use or store in its 128
memories. See section advanced options index (soware), page 54).
B - Frequency Mode
The frequency mode is not so common in this type of equipments, but the TL-88 can
operate in it showing the complete number of working frequency (which is what
corresponds to a memorized channel) within the authorized 8 (remember: that
combining the sub tones you also have in this mode over 1900 different combinations).
EN
To operate with the frequency mode, with the receiver off, keep pressed the (MENU)
key and switch it on by the upper control ON/OFF. Keep pressed the (MENU) key until
the equipment display shows the frequency.
In this case the display changes the configuration, where the numbers of sub tones
were appearing in CHANNELS MODE, now displays the memory numbers/channel
corresponding the frequency showed on the display.
C-Radio FM Mode
In FM Radio mode the transceiver becomes a receiving radio of issuers between 88 and
108 MHz, the traditional commercial FM radio issuers, where the user can listen to
music, news, talk-shows or programs of varied content.
MENU
MENU
0 0 1
4 4 6.0 0 6
DW SCR
0 0 1
4 4 6.0 0 6
DW SCR
16
EN
17
To accede to the FM Radio mode, press the key (MENU), then press the lateral key
MONITOR and the transceiver will show the number that corresponds to the frequency
of the FM issuer.
Through the upper control button of channels you could change the frequency of the
issuers or realize a search or scan using the keys¬¬____ and _____ -. To search just
hold about 3 seconds the key for the direction you want that the radio realizes the
issuers' scanning of FM, then the display shows:
In the moment that the radio locates a sign, will stop in the frequency.
MENU
If your choice was to realize
the search in ascending sense
If your choice was to realize
the search in descending sense.
9 9.4 0
1
5 9
DW SCR
S C N. U P
DW SCR
S C N. D N
DW SCR

EN
Inside the FM Radio mode the user has two options:
1 – To listen unique and exclusively commercial FM radio.
2 – To listen FM commercial radio but if it receives a transmission or signal in the last
channel of PMR-446 that was when entered on the FM Radio mode, the transceiver will
immediately leave the FM radio mode to go to the display mode Channels / Frequencies
and be able to listen to the transmission, enclosed to speak if you wish it.
In this case spent a few seconds aer the signal received or transmitted cuts the
transceiver returns to the FM radio mode automatically.
You will obtain more information about this practical function by referring to the MENU
14 (DW function) “Priority Transceiver while using the Radio FM function”, page 41.
To leave the FM radio function and return to the PMR-446 transceiver mode, you must
realize the same steps to enter: press the key (MENU), then press the lateral MONITOR
key and the transceiver will pass to the working mode as a transceiver that you
previously had selected : channels or frequencies.
MENU
18

EN
19
Scheme / index Menu
Menu 01 – Analogical CTCSS / Digital DCS (TN) Sub tones
Menu 02 – Channel Encryption (SCR)
Menu 03 – Squelch level or noise filter selection (SQL)
Menu 04 – Battery Save System (SAV)
Menu 05 – Transmission Time Timer (TOT)
Menu 06 – Busy channel automatic lock (BCL)
Menu 07 – Key sound “beep” (BP)
Menu 08 – Display Light (LMP)
Menu 09 – Hands free Function (VOX)
Menu 10 – Roger Beep (EOT)
Menu 11 – Automatic Key Lock (ALK)
Menu 12 – Channel and Sub tones Scanner/Search (SCN)
Menú 13 – Selection of priority channel scanning (PRI)
Menú 14 – Priority Transceiver while using the FM Radio Function (DW)
Menú 15 – RESET / Reinitialize (RESET)
Menu 01 – Analogical CTCSS / Digital DCS (TN) Sub tones
Setting function using MENU
EN
Press , using and , select the menu number 01.
Using the up control for the channel selection you can choose analogical (CTCSS) or
digital (DCS) sub tones.
MENU
MIC
Upper control
of channels
0 1
TN CT
s
CT
F
0 1
TN DCS
s
CT
F
20

21
EN
Selected the sub tone type press for access to the selection of the number
of sub tone that you want to use or turn it off. To do it press again , you can
check that the numbers or the word OFF are blinking, using and or the
upper channel control, select the wanted subtone number or the word OFF. Once
selected your desired option you must confirm it pressing or the PTT button.
You can continue operating inside the MENU to select other parameters using----------
and or you can leave the MENU to go directly to the operative channel display
pressing a few seconds, or the PTT button twice.
Note: See, Technological parameters, conversion table number / frequency of
analogical sub tones CTCSS and digitals DCS "N" and "I", on pages: 71, 72 and 73.
Menu 02 – Channel Encryption (SCR)
The TL-88 has an exceptional feature called ENCRYPTION. This advanced option is only
reserved for the best and more professional equipments of Market.
MENU
MENU
MENU
MENU
EN
The encryption is a measure of safety and privacy in the conversations, once activated
this option the conversations will be totally unintelligible for any user who has not
another transceiver provided with the same feature. Another user who was in the
same channel, even with the same sub tone and did not have encryption or the same
one that your TL-88, would hear a voice so distorted that it would be totally
incomprehensible for him.
This feature makes the TL-88 LUTHOR an exceptional device, specially indicated for its
use by groups where for security reasons want to keep the maximum of possible
privacy.
Press , using and , locate the menu number 02. Press to
confirm that you want configure this option.
MENU
MENU
0 2
s c r oFF
s
CT
F
0 2
s c r on
s
CT
F
22

23
EN
MENU
You can see that the option to select is blinking on the display. Using the upper channel
control or pressing and you can choose if you turn on the channel
encryption (ON) or turn it off (OFF).
To confirm your option press or PTT button.
You can continune operating inside the MENU to select other parameters
using--------------and or you can leave the MENU to go directly to the operative
channel display pressing a few seconds, or the PTT button.
Selecting the option ON (encryption enabled) the display shows the icon “SCR”.
MENU
0 2 1
CH - 1
s
CT
F
DW SCR
EN
MENU
MENU
Menu 03 – Squelch level or noise filter selection (SQL)
Press , using and , locate the menu number 03. Press “ ”
to confirm that you want to configure this option.
You’ll see a blinking number between 0 and 9 on the display. Using the upper channel
control or and you can choose between 0 (Squelch Off) and 9 (Maximum
level of Squelch) the SQUELCH level (noise filter). The default level is 5.
To confirm your option press or PTT button.
You can continue operating inside the MENU to select other parameters using------------
and or you can leave the MENU to go directly to the operative channel display
pressing a few seconds, or the PTT button.
MENU
MENU
0 3
SQL 5
s
CT
F
24
25
IMPORTANT:
"0" is opened squelch and from 1 to 9 you will obtain the different levels of noise
reduction, being "9" the highest level of reduction. If you set the too high level, the
signal that you will receive will be very clean of noise, but it will go to detriment of the
communication, that is, in this case will lose reception distance. On the contrary if the
selection is a too low level or deactivate the squelch will count with an increased
distance but the radio will be object to receive noise or signal of worse quality. The
most recommended level is the intermediate “5”.
Menu 04 – Battery Save System (SAV)
Press , using and , locate the menu number 04. Press to
confirm that you want configure this option.
EN
0 4
SAV on
s
CT
F
MENU
MENU
Remember: This icon
indicates that the
saving system is
activated.
MENU
You’ll see one of the two options blinking on the display. Using the upper channel
controller or and you can choose if you turn on (ON) or turn off (OFF) the
battery save system. The advice is keep it active (on).
To confirm your option press or PTT button.
You can continue operating inside the MENU to select other parameters using------------
and or you can leave the MENU to go directly to the operative channel display
pressing a few seconds, or the PTT button.
Menu 05 – Transmission Time Timer (TOT)
This useful option allows you to border the maximum transmission time. Very advisable
when working as a group, with this option you can limit the transmission time of
transmitters and avoid the monopoly transmission of one user.
This option allows you to select between 15, 30, 45… (intervals of 15 s.) up to 300
MENU
EN
26
 Loading...