

Page 1
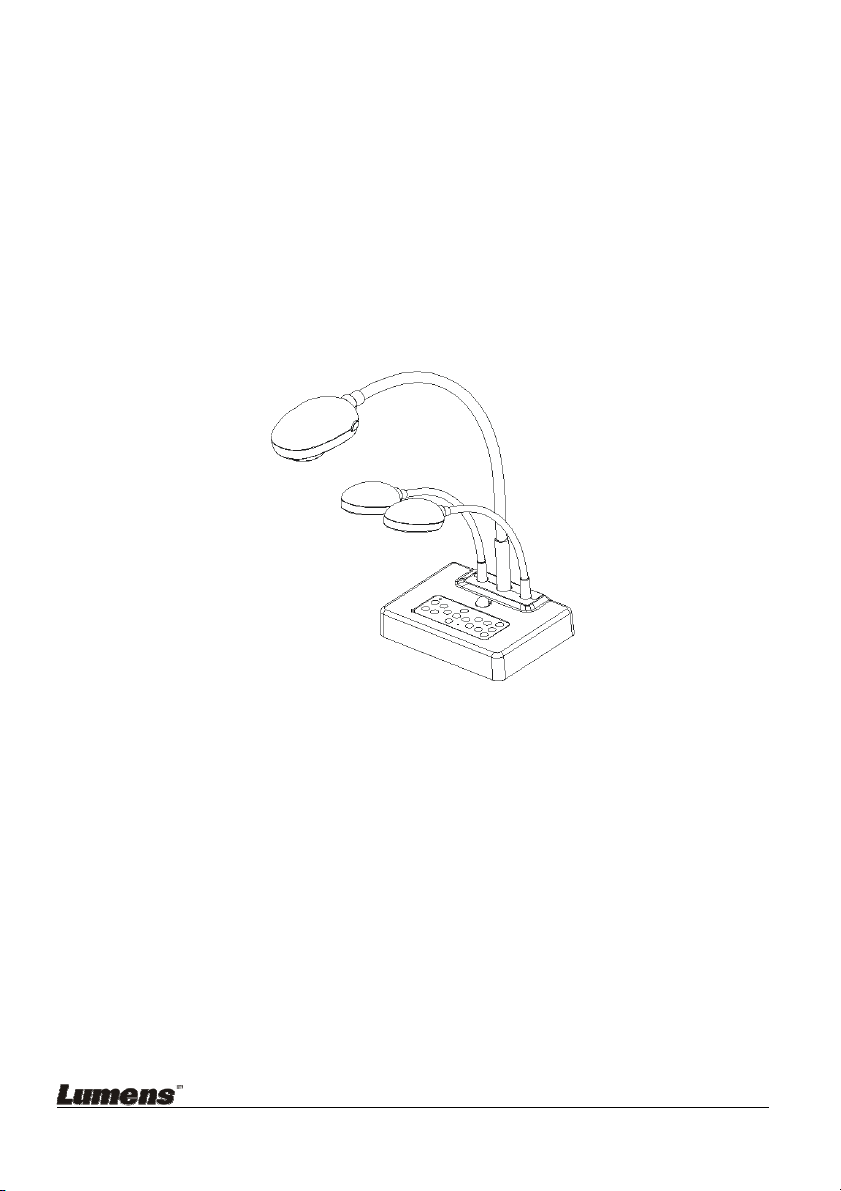
DC260 Visual Presenter
Quick Start Guide
English - 0
Page 2
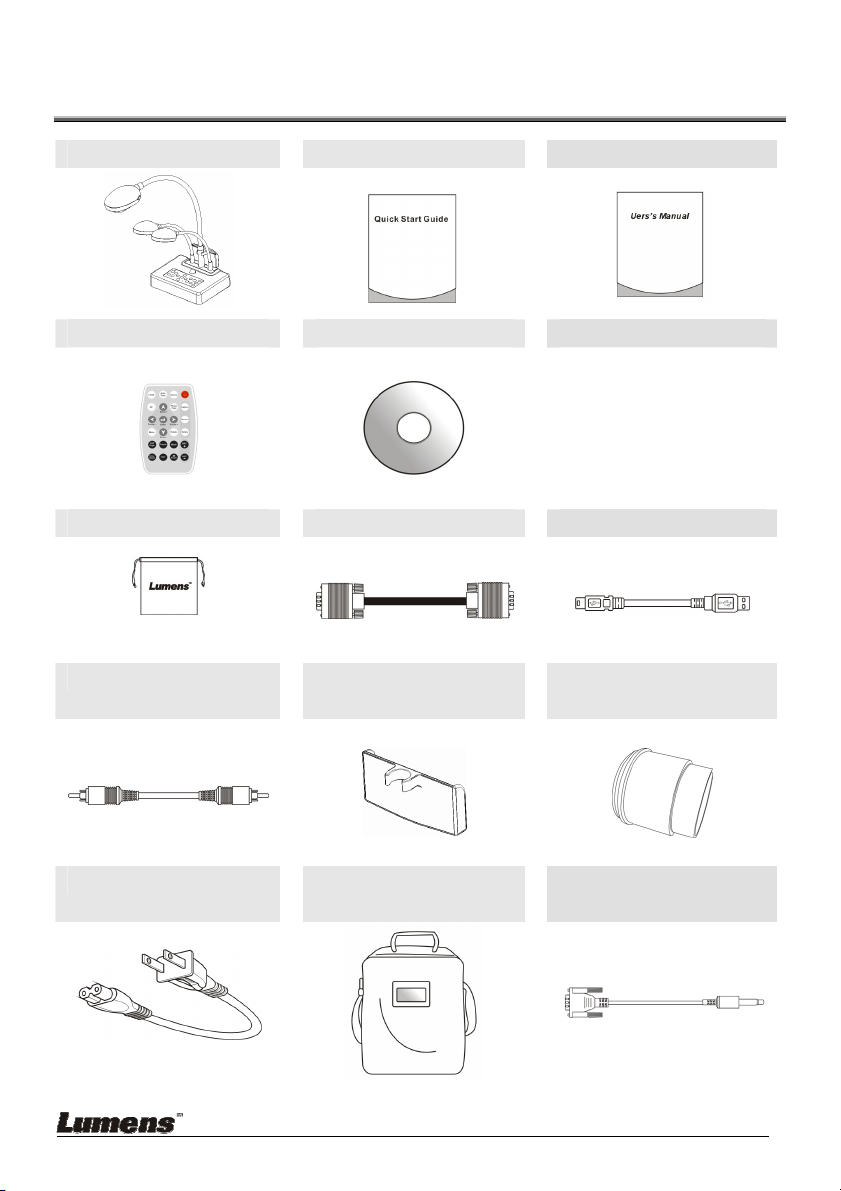
1. Package Content
DC260 Quick Start Guide User Manual
Remote control CD Base Installation Guide
Software Bag VGA Cable USB Cable
C-Video Cable Remote Control
Holder
Microscope Adapter
Power Cord Padded Carry Bag
(Optional)
Appearance may vary with
country/region.
English - 1
RS232 Adapter
(Optional)
Page 3
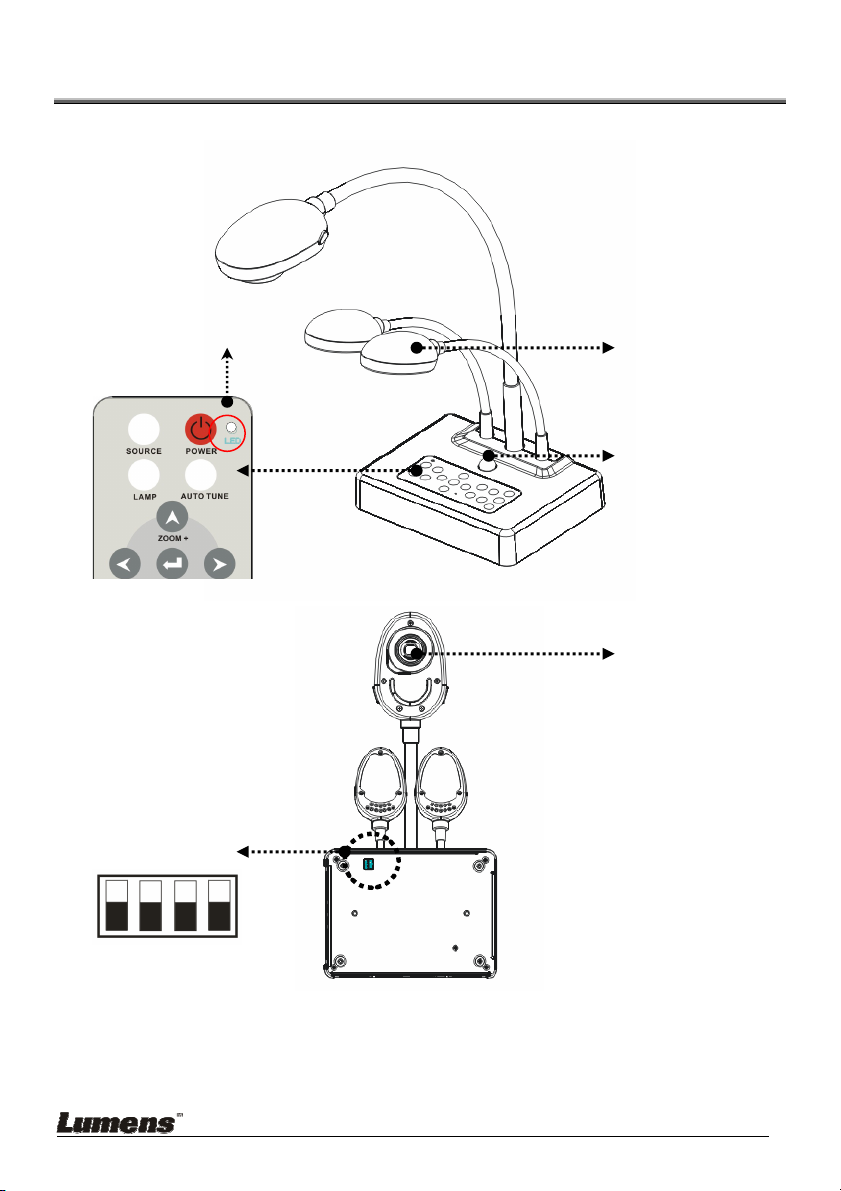
2. Product Overview
4. LED indicator
6. DIP switch
3. Control panel
1. Lamp
2. Remote sensor
5. Lens
(Bottom)
English - 2
Page 4
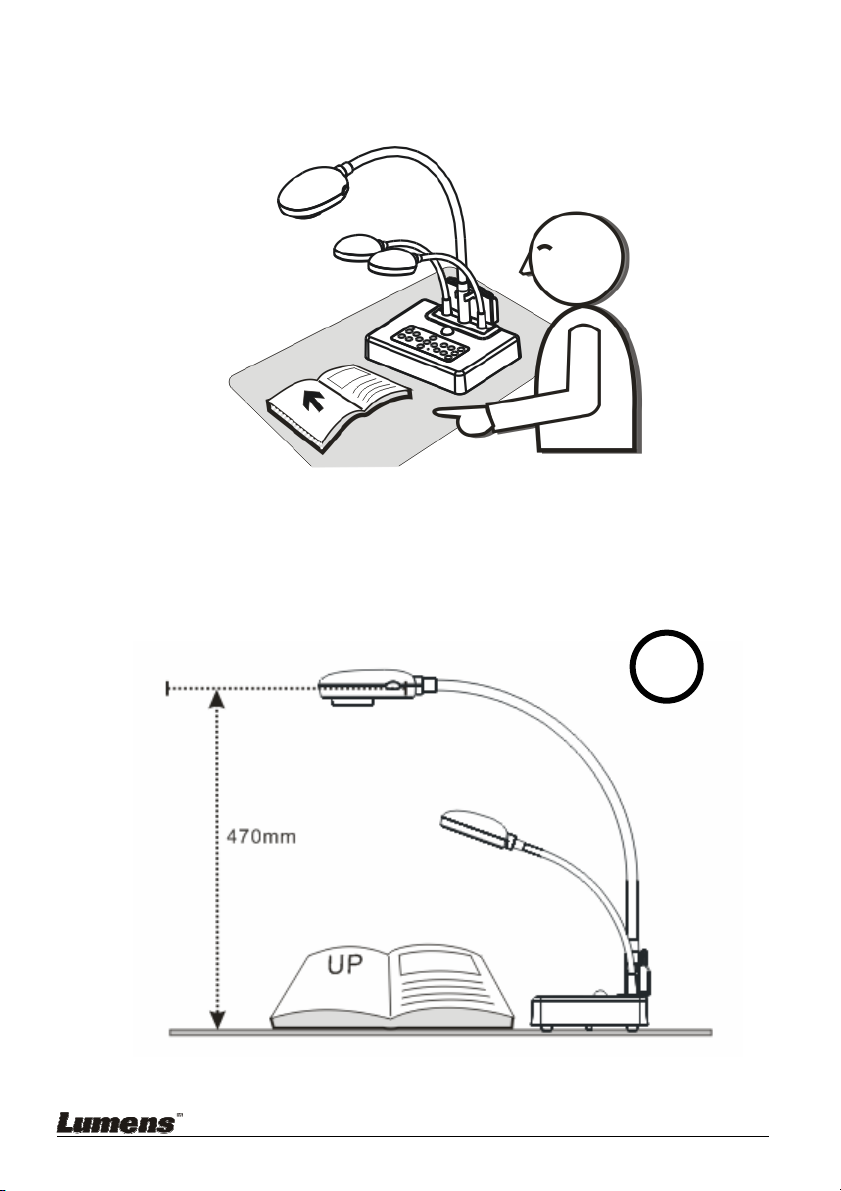
2.1 Relative Position of the Presenter and DC260
DC260
Presenter
Document
2.2 Recommended Distance
About 470mm distance between camera and the desktop is
recommended.
English - 3
Page 5

2.3 Incorrect Use
English - 4
Page 6

3. System Diagram
PC
Television
Monitor
Projector
PC
Microphone
LCD TV
Speaker
SD Card
English - 5
Page 7

4. Mounting the DC260 at Desktop
1. Please set up the DIP Switch settings first. Refer to chapter 5 "DIP
Switch Settings" in the DC260 user manual.
2. Please refer to the Base Installation Guide
all parts.
for installation instructions for
5. Connecting Devices
5.1 Step 1: Plugging in the Power Outlet
AC Outlet
<Note> Appearance of power cord may vary with countries/regions.
5.2 Step 2: Connecting with components
5.2.1 Connecting to a Projector or Monitor
z Connect the VGA Out on the DC260 to the VGA IN on the projector or the
monitor using the VGA cable.
5.2.2 Connecting to a TV
1. Use C-Video cable to connect TV.
English - 6
Page 8
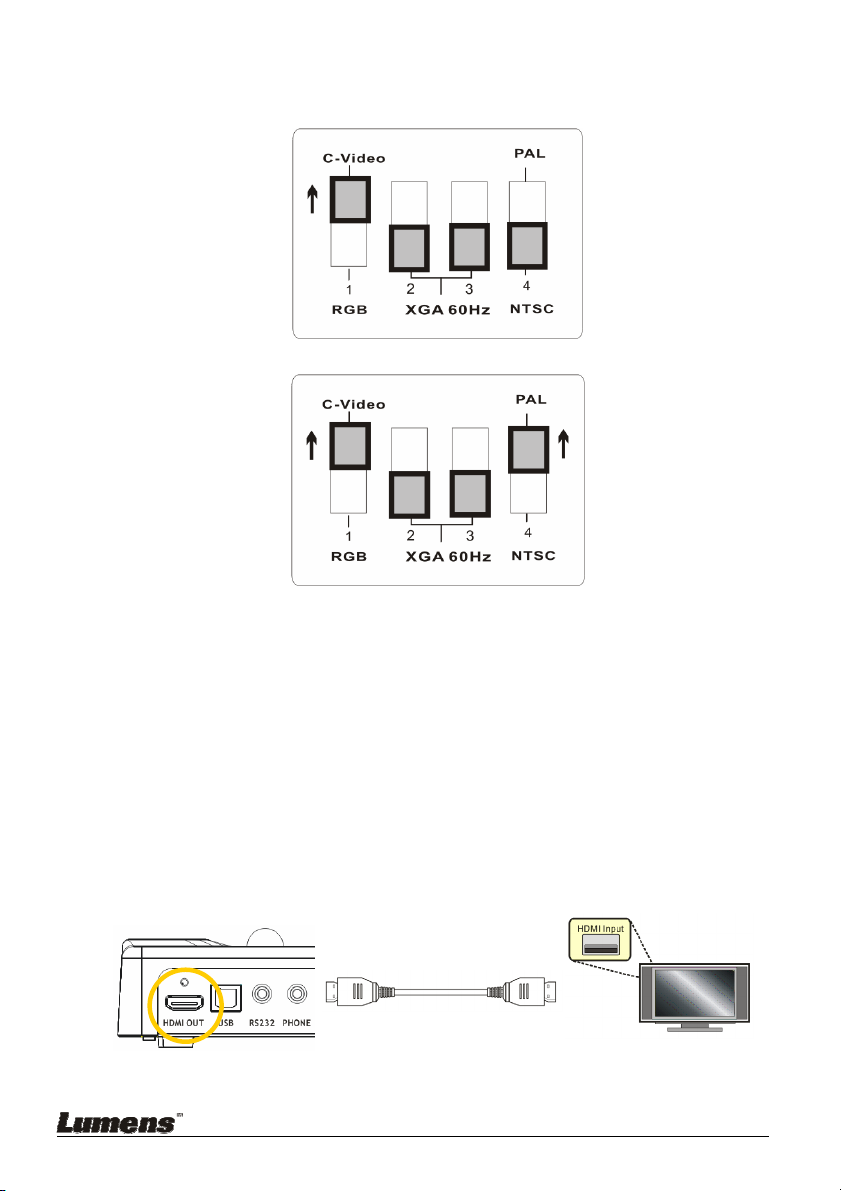
2. Adjust DIP Switch Setting
NTSC:America, Taiwan, Panama, Philippine, Canada, Chile, Japan, and Mexico
PAL :Country/region not listed above:
<Note>
VGA output is not supported once C-Video output enabled.
<Note> You are unable to use the [Menu] / [Rotate] / [Half Page] /
[Source] / [Record] / [Capture] / [Delete] / [PBP] / [Slide Show]
functions in C-Video mode.
3. Restart the DC260
DIP Switch setting will not be available until restarting the DC260.
5.2.3 Connecting to a LCD TV/ PDP
z Using the HDMI cable to connect a LCD TV/ PDP
English - 7
Page 9

5.2.4 Connecting to a Computer
z Connecting to a computer through VGA in
z Connecting to a computer through USB
Connect to USB port then install the supplied queue program. Please refer to
the DC260 user manual 4.6 Installing driver and application queue
z Connecting to a computer through RS232 (RS232 Adapter is optional)
5.2.5 Connecting to Speaker
Speaker
.
電腦
English - 8
Page 10

5.2.6 Connecting to Microphone
Microphone
English - 9
Page 11

6. Start Using the DC260
6.1 Turn on the DC260
Control Panel Remote Control
z When using the remote control, aim at the receptor on the DC260,
and press the power button.
z Once DC260 is turned on, the LED on the control panel will flash a
few times and stay lit. Please contact your distributor if the LED is not
on.
<Note> Once the password page is shown, please key in the
password. If you forget it, please contact your distributor or the
service center.
*For detailed menu function introduction and operation instructions, please refer
to the user manual.
English - 10
 Loading...