

Page 1
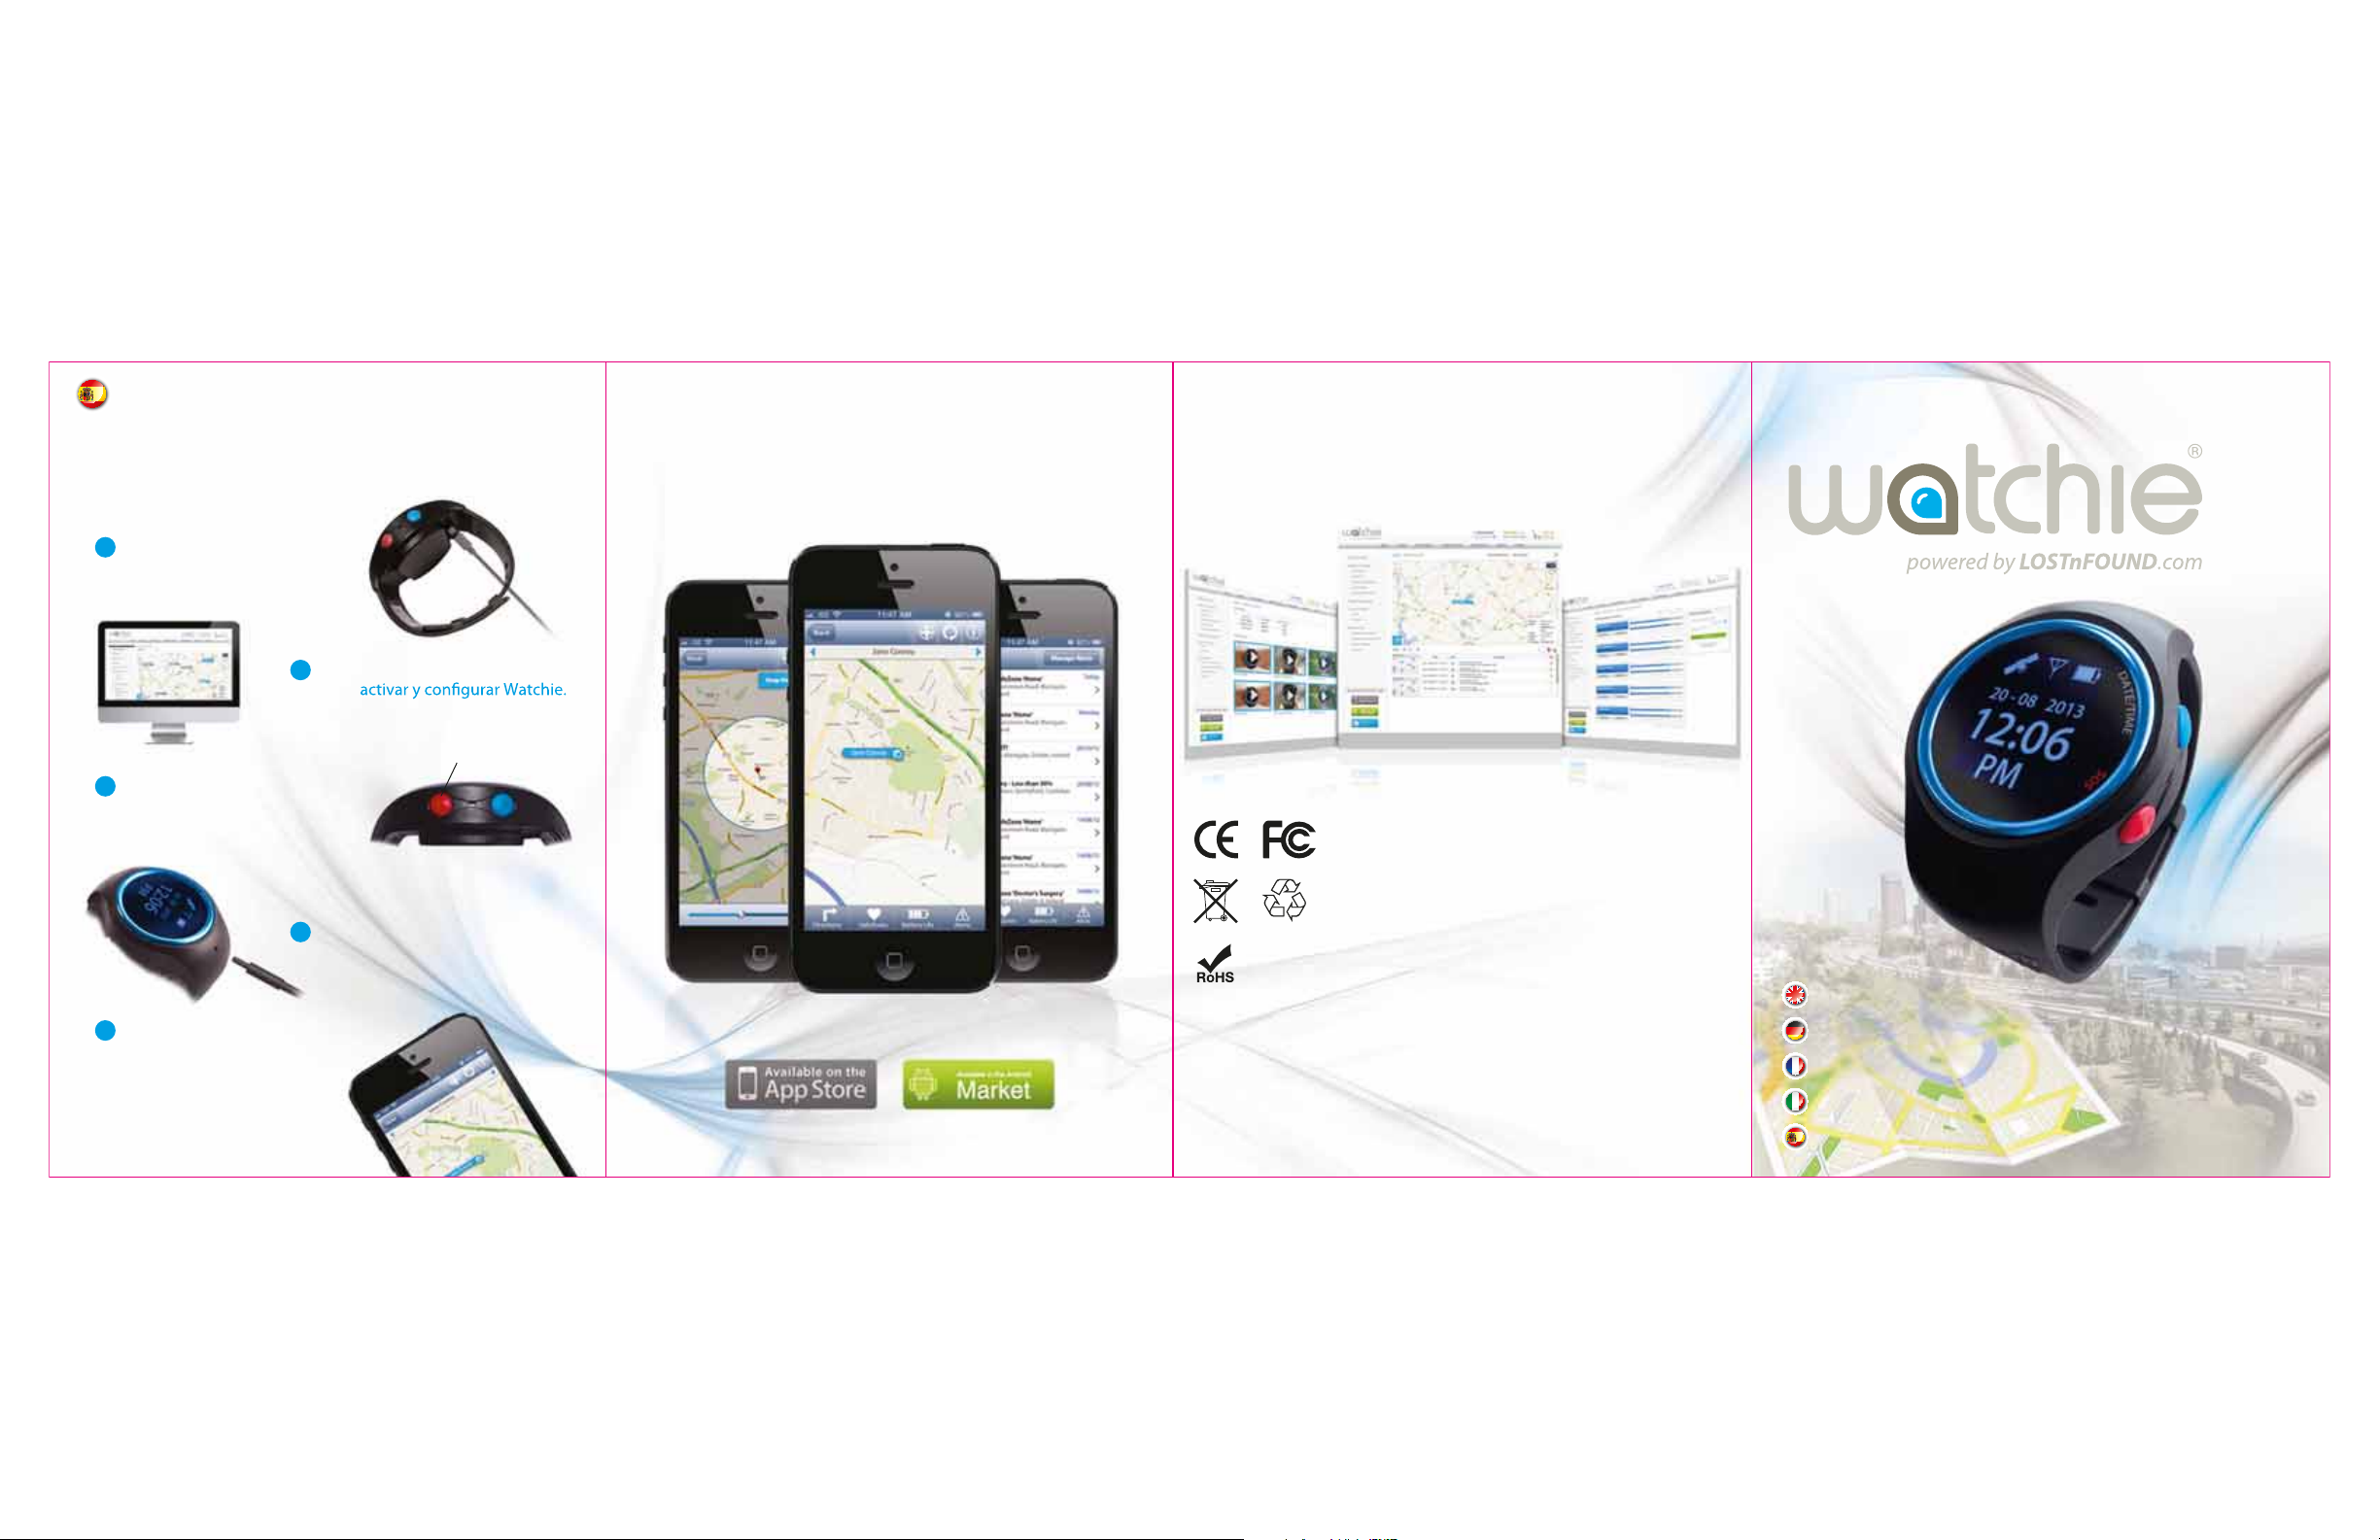
Introducción...
Get the Watchie SmartPhone App
Visit www.myWATCHIE.com
Sigue estos pasos para comenzar a usar tu
nuevo Watchie.
Para cargar el Watchie, inserta
1
el cable USB en la parte
trasera del Watchie.
Vete a www.myWATCHIE.com
2
para
Pulsa el botón rojo de SOS 5
3
segundos: se enviará una
alerta con tu situación.
Ajusta la correa a la muñeca para
4
que quede sujeta. Para abrirla,
utiliza la llave suministrada.
Descarga la app gratis Watchie
5
para Apple y los teléfonos
inteligentes y las tabletas
de Android.
SOS
Download the free App for Apple and Android SmartPhones
and Tablets.
Go online to www.myWATCHIE.com for all user manuals, customer
support, and set-up assistance.
Pack contents: Watchie® V1, Universal AC adapter,
manuals, unlocking pin and USB cable. Please Note -
Internet connection required for Watchie Control Panel.
www.myWATCHIE.com
www.myWATCHIE.com
Quick Start Guide
Schnellstartanleitung
Guide de Démarrage Rapide
Guida Rapida
Guía de Referencia Rápida
Page 2
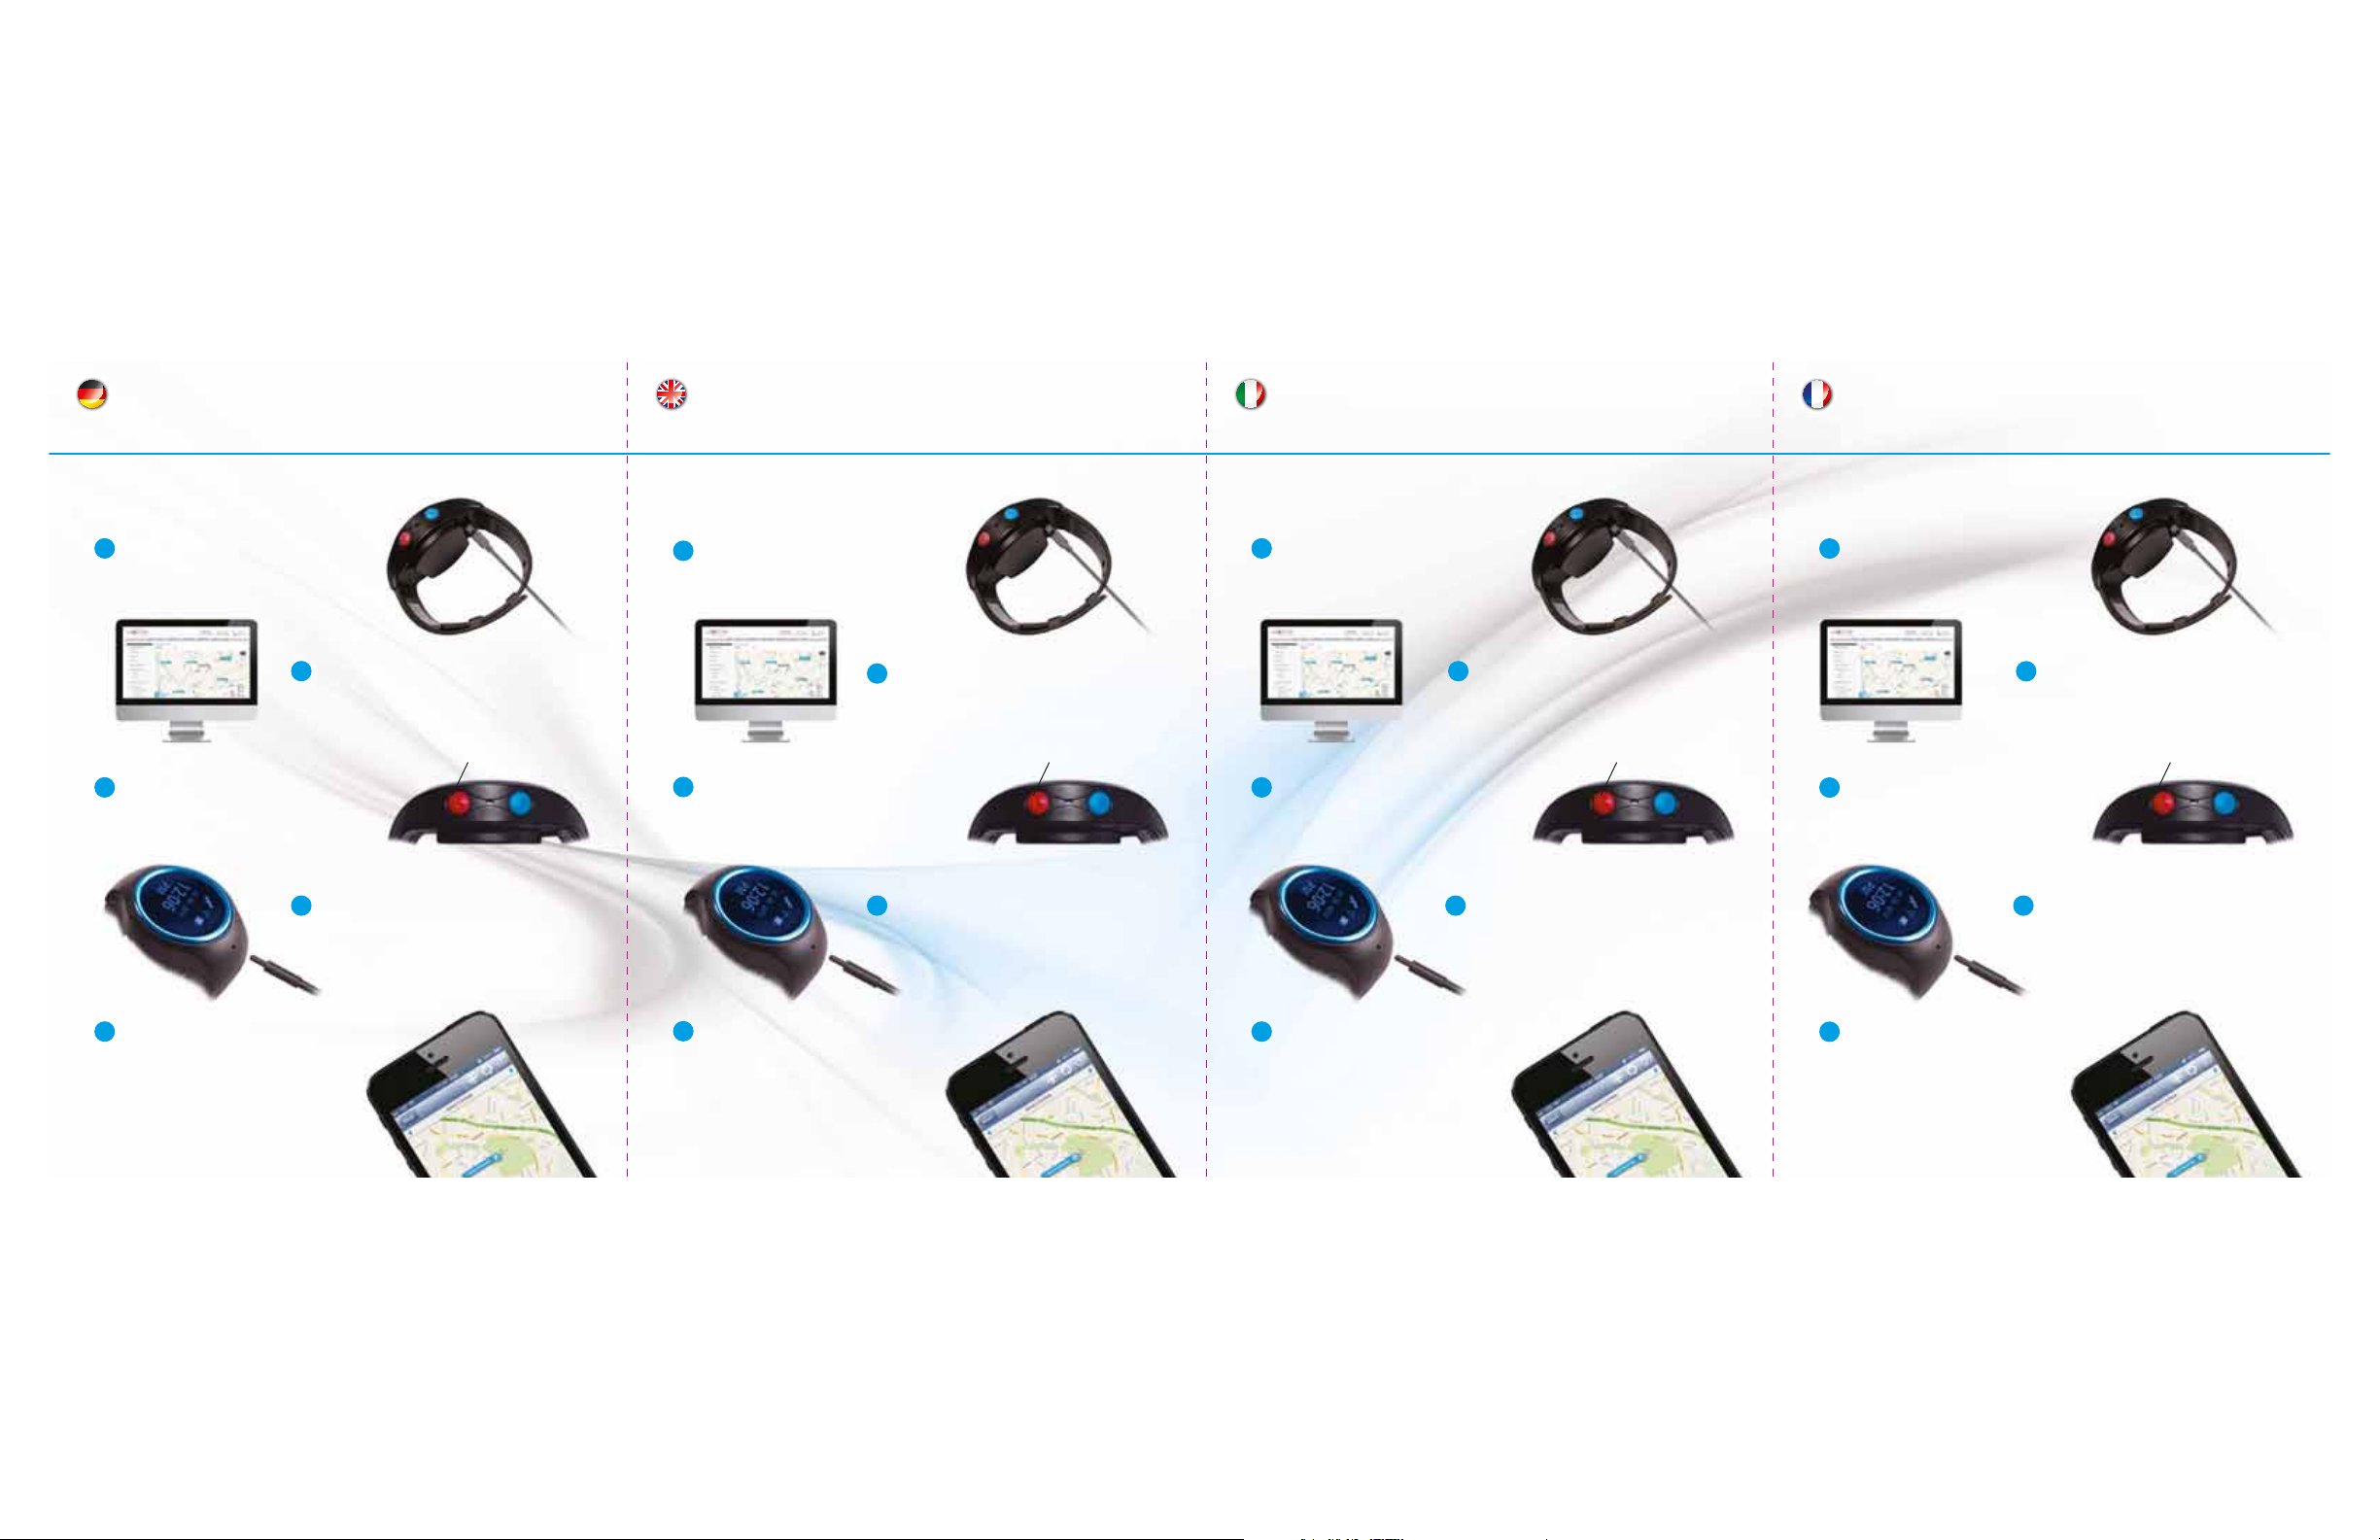
Erste Schritte...
Get started...
Per cominciare...
Pour commencer...
Führen Sie diese Schritte aus, um Ihren neuen Watchie
gleich einsetzen zu können.
Schließen Sie das USB-Ladekabel
1
auf der Rückseite von Watchie an,
wenn Sie das Gerät laden möchten.
Rufen Sie www.myWATCHIE.com auf,
2
um den Watchie zu aktivieren
und einzurichten.
SOS SOS SOS SOS
Drücken Sie die rote SOS-Taste 5
3
Sekunden lang, damit Ihr
Aufenthaltsort übermittelt wird.
Passen Sie das Armband von Watchie
4
so an, dass sich dieses am Handge
befestigen lässt. Der im Lieferumfang
enthaltene Schlüssel dient dem
Önen von Watchie.
Für Smartphones und Tablets mit
5
Apple und Android kann die
„Free Watchie App“
heruntergeladen werden.
lenk
Follow these steps to get ready to use your
new Watchie.
To charge the Watchie, insert
1
the USB charging cable into
the back of the Watchie.
Go to www.myWATCHIE.com to
2
activate and set-up your
Watchie.
Press the red SOS button for 5
3
se
conds - an alert will be sent
with your position
Adjust the strap to t, and lock
4
on to the wrist. To open, use
the supplied key.
Download the Free Watchie App,
5
for Apple and Android
Smartphones and Tablets
Segui questi passaggi ed inizia subito ad usare il tuo
nuovo Watchie.
Per caricare il Watchie, inserisci
1
il cavo USB di ricarica sul retro.
Vai al sito www.myWATCHIE.com
2
per attivare e congurare il
tuo Watchie.
Premi il tasto rosso SOS per 5
3
se
condi – sarà inviato un avviso che
indica la tua posizione.
Adatta il cinturino al polso e
4
chiudilo. Per riaprirlo serve la
chiave in dotazione.
Scarica gratuitamente l’app di
5
Watchie per Smartphone e Tablet
Apple e Android.
Suivez les étapes suivantes pour vous préparer à utiliser
votre nouveau Watchie.
Pour charger votre Watchie,
1
insérer le câble de chargement
USB à l'arrière de votre Watchie.
Rendez-vous sur le site
2
www.myWATCHIE.com pour
activer et congurer votre Watchie.
Appuyez sur la touche SOS rouge
3
pendant 5 secondes pour
envoyer une alerte indiquant
l'endroit où vous vous trouvez.
4
Téléchargez l'application gratuite
5
Watchie pour Smartphones et
Tablettes Apple et Android.
Tirez sur le bracelet pour l'ajuster
et l'attacher à votre poignet.
Utilisez la cl
détacher.
é fournie pour le
Page 3

Federal Communication Commission Interference Statement
This device complies with Part 15 of the FCC Rules. Operation is subject to the following
two conditions: (1) This device may not cause harmful interference, and (2) this device must
accept any interference received, including interference that may cause undesired operation.
This equipment has been tested and found to comply with the limits for a Class B digital
device, pursuant to Part 15 of the FCC Rules. These limits are designed to provide
reasonable protection against harmful interference in a residential installation. This
equipment generates, uses and can radiate radio frequency energy and, if not installed and
used in accordance with the instructions, may cause harmful interference to radio
communications. However, there is no guarantee that interference will not occur in a
particular installation. If this equipment does cause harmful interference to radio or
television reception, which can be determined by turning the equipment off and on, the user
is encouraged to try to correct the interference by one of the following measures:
Reorient or relocate the receiving antenna.
Increase the separation between the equipment and receiver.
Connect the equipment into an outlet on a circuit different from that
to which the receiver is connected.
Consult the dealer or an experienced radio/TV technician for help.
FCC Caution: Any changes or modifications not expressly approved by the party
responsible for compliance could void the user's authority to operate this equipment.
This transmitter must not be co-located or operating in conjunction with any other antenna
or transmitter.
Radiation Exposure Statement:
This device meets the government’s requirements for exposure to radio waves.
This device is designed and manufactured not to exceed the emission limits for exposure to
radio frequency (RF) energy set by the Federal Communications Commission of the U.S.
Government.
The exposure standard for wireless device employs a unit of measurement known as the
Specific Absorption Rate, or SAR. The SAR limit set by the FCC is 1.6W/kg. *Tests for
SAR are conducted using standard operating positions accepted by the FCC with the device
transmitting at its highest certified power level in all tested frequency bands.
 Loading...