

Page 1
Upgrade to Version 2.0 of the Xcelorin™ Setup Program
and your LOSB9500 Sensored ESC
1. This process will reset all parameters to stock default settings. Please
write down your entire special configuration settings before proceeding.
2. De-Install the current Xcelorin Setup Program (if installed). Use
Add/Remove Programs option from within the Control Panel to remove the
Old Version of the Losi Setup Program. Then install the NEW Setup
Program just downloaded.
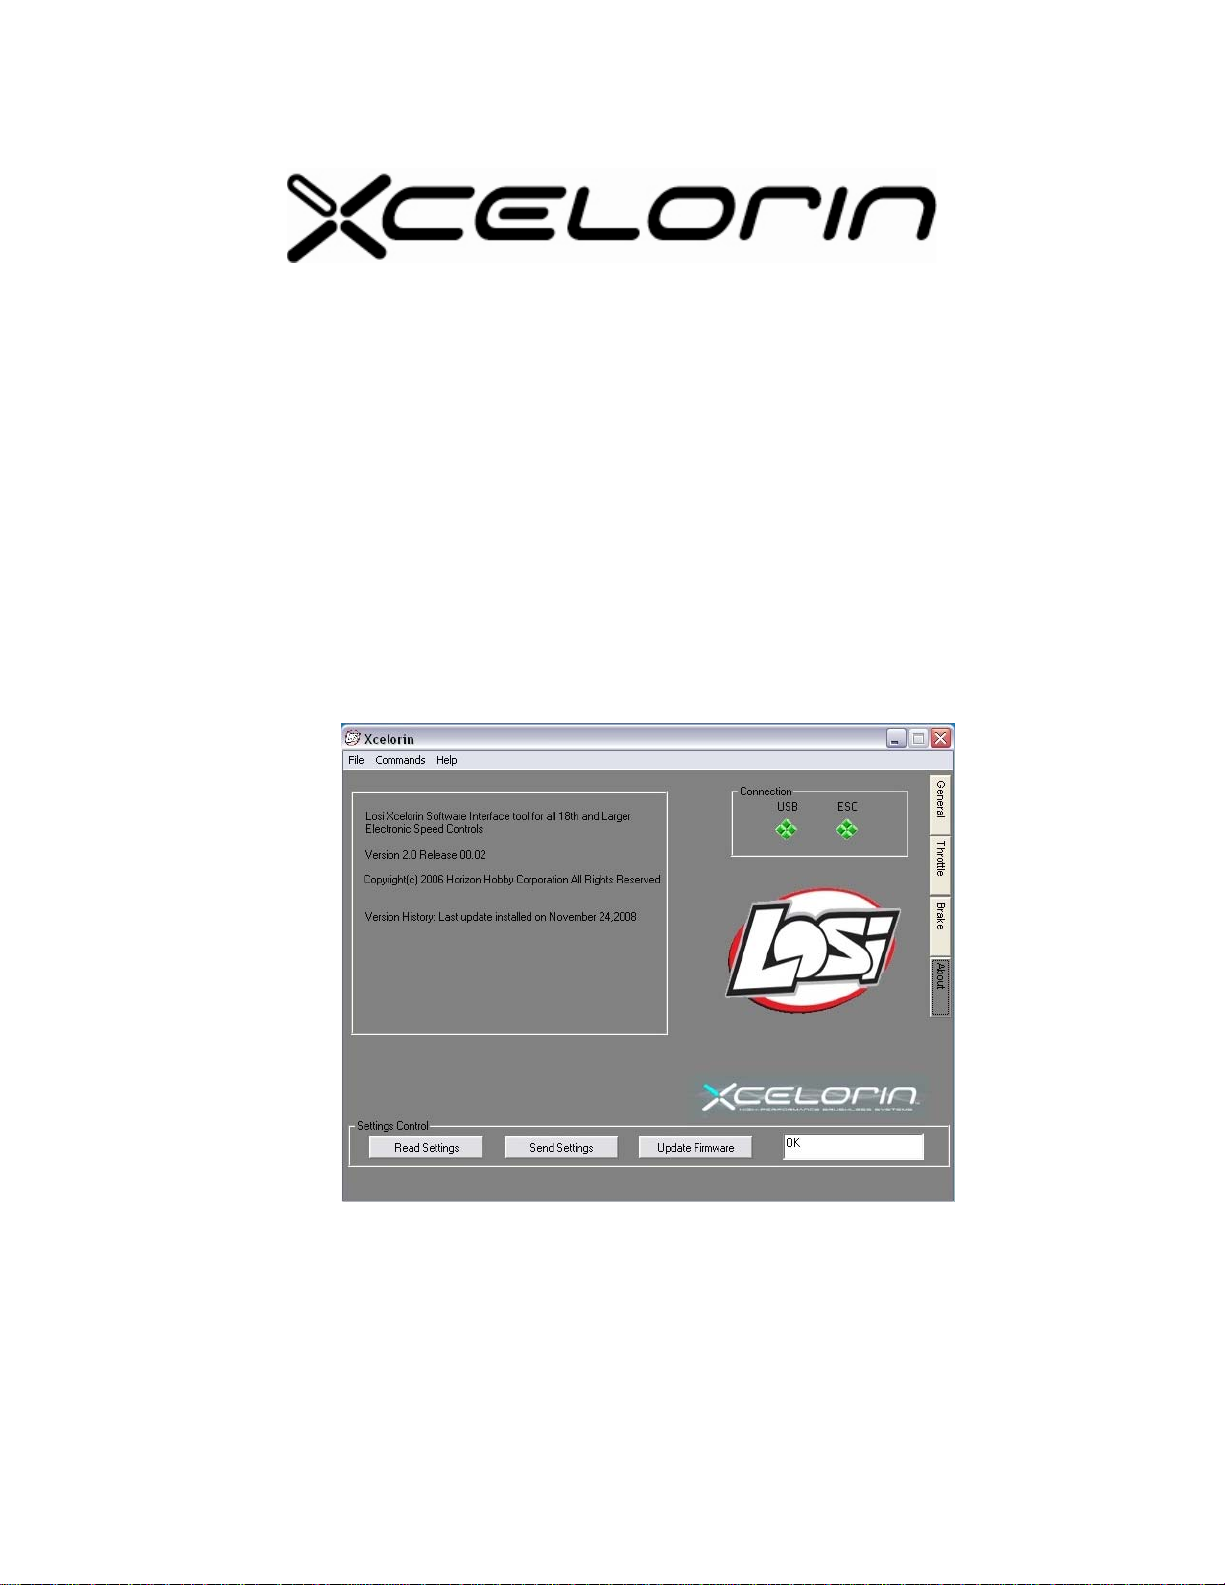
3. Confirm Version 2.0 is installed by Opening the Xcelorin Setup Program
and going to the ABOUT tab.
4. Connect your current 10th SENSORED ESC to the USB Connector per the
Manual.
Xcelorin Software upgrade to Version 2 Page 1 of 6
Page 2
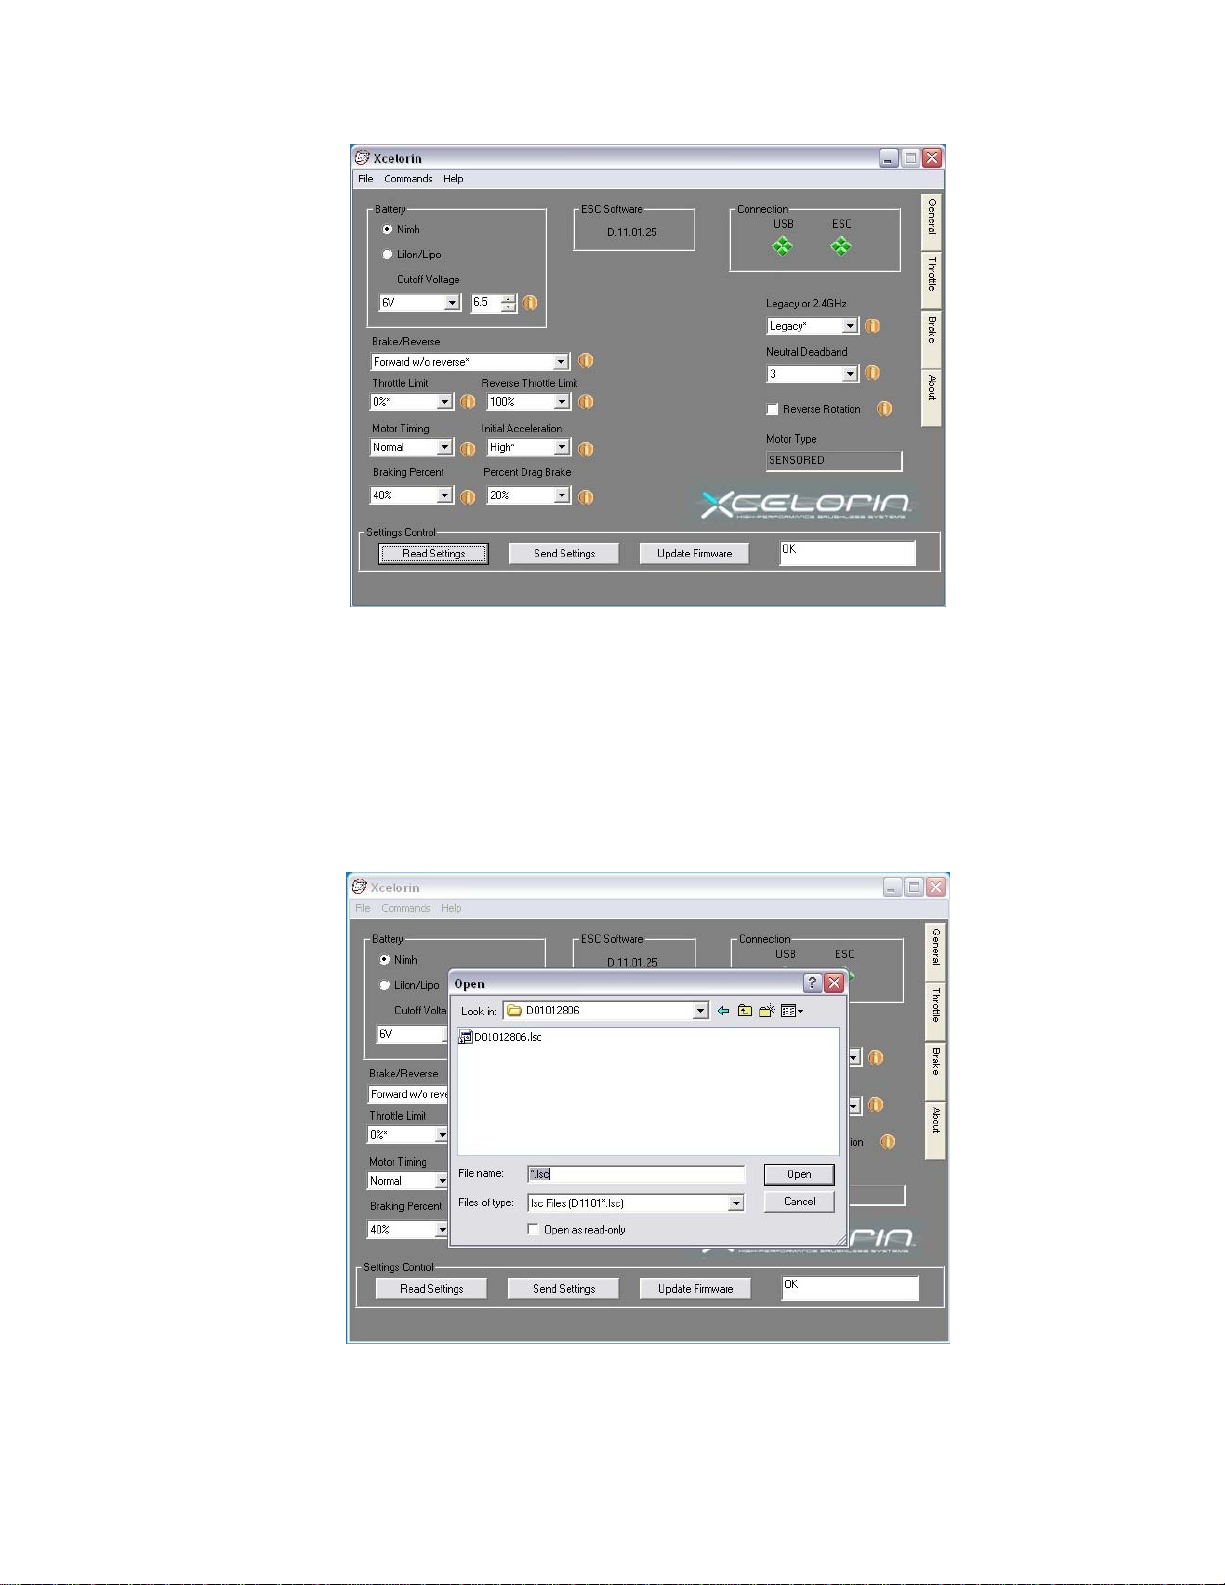
5. Download the new firmware D01012806.LSC and save it in a location to
be used in the next step.
6. Select / Click on “Update Firmware”; you will then be prompted for the
location of the new firmware file. D01012806.LSC
Note: If D01012806.LSC does not display then replace *.lsc with *.* which
will display all the files in the selected folder. You will n eed to actually enter
*.* over top of *.LSC in the File name box.
Xcelorin Software upgrade to Version 2 Page 2 of 6
Page 3

7. Select the D01012806.LSC file and click on Open to begin the Update
process. Do not disconnect the ESC during this process or it may become
unusable.
8. When the update is complete, the Setup Software will attempt to READ
the current settings. This may result in an ERROR 2010 message do not
worry and simply press the “OK” button. (There are several different
error codes possible)
9. Note there maybe several empty fields. It is necessary to “Restore to the
Default Factory Settings” by selecting the “Commands” function and then
click on Restore Factory Defaults.
Xcelorin Software upgrade to Version 2 Page 3 of 6
Page 4

10. After this process completes select the “Read Settings” button. If you
experience any error doing this disconnect the USB connection to the ESC
and close the Setup Program. Then Reopen the Setup Program and
reconnect the ESC to proceed. The ESC Software should now display
D.01.01.28 as below.
11. A new feature is now available there are now two profiles you can Read
and Write to with the Setup Program. These can be selected at the track
using the Setup Button (explained at the end of these instruction s).
What has changed in this release?
Xcelorin Software upgrade to Version 2 Page 4 of 6
Page 5

There have been general enhancements made in this release. The two largest are
changing the Braking function and feel, and then adding of the User Controlled
Profiles.
The Brake function now has a mo
slightly release and then go back to full brake without issue.
The brakes will now work when you turn the ESC on before you had to use some
throttle before they were active.
You can double, triple, or more the brakes without them dropping out.
Many racers had previously used the Brake setting of 20% to 30%. With this
version, you will most likely use a much higher percentage. The team suggests
using 70 to 80% and then back down the brakes on the transmitter.
You can now use the End Point Adjustment to control the amount of braking.
For example in my 2 wheel buggy 13.5T I set the brakes to 80% (Maximum) but had
to change my EP to 40% for proper braking. Alternatively, I could have used 50%
and had the EP set to 70-80%. I mention this only so you might be able to better
adjust your brakes more quickly to your desired feel.
The Brakes and Drag brakes no longer have a different feel depending on speed.
Low Voltage Cut off rou
drops, which caused it to activate before the LiPo was low.
tine has been modified to be less sensitive to sh ort voltage
re linear feel. You can go all the way to full brake
new
We will continually improve this ESC firmware so check the Xcelorin Support
website frequently.
http://www.losi.com/Support/XcelorinDownloads.aspx
Xcelorin Software upgrade to Version 2 Page 5 of 6
Page 6

To select the different profiles without PC Software:
Did you know that you can Write to Profile 4 and 5? Then using the steps below
retrieve them into the active profile at the track
1. Turn the Transmitter on.
2. Turn the vehicle on.
3. With the ESC turned on and ready for operation press and hold the setup button
until both the Yellow and Blue LEDs turn on.
4. Release setup button.
5. The status LEDs flash to indicate the current profile setting.
LED status for each Profile below:
Profile 1 Yellow and Blue LEDs flash
Profile 2 Yellow, Blue and Green LEDs flash
Profile 3 Yellow, Blue, Green and Red LEDs Flash
Profile 4 Red and Blue LEDs flash
Profile 5 Yellow and Green LEDs flashing quickly
6. To make a change, quickly press the setup button, which will advance you to the
next profile.9
7. When you are finished, press and hold the setup button for 2 seconds the four
status LEDs will scroll and the new selection will be stored to t he active memory of
the ESC.
8. If you do not press the setup button within 15 seconds, the four status LE Ds wi ll
scroll to indicate you are exiting programming. The ESC will return to neutral and be
ready for use without any change.
Xcelorin Software upgrade to Version 2 Page 6 of 6
 Loading...