

Page 1
LOREX Technology Inc.
Copyright © 2007 LOREX Technology Inc. As our
products are subject to continuous improvement,
LOREX and its subsidiaries reserve the right to modify product design, specifications and prices, without
notice and without incurring any obligation. E&OE
Quick Set-up Guide
It’s all on the web
Product Information
User Manuals
Quick Start Guides
Specification Sheets
Software Upgrades
Firmware Upgrades
VISIT
www.lorexcctv.com
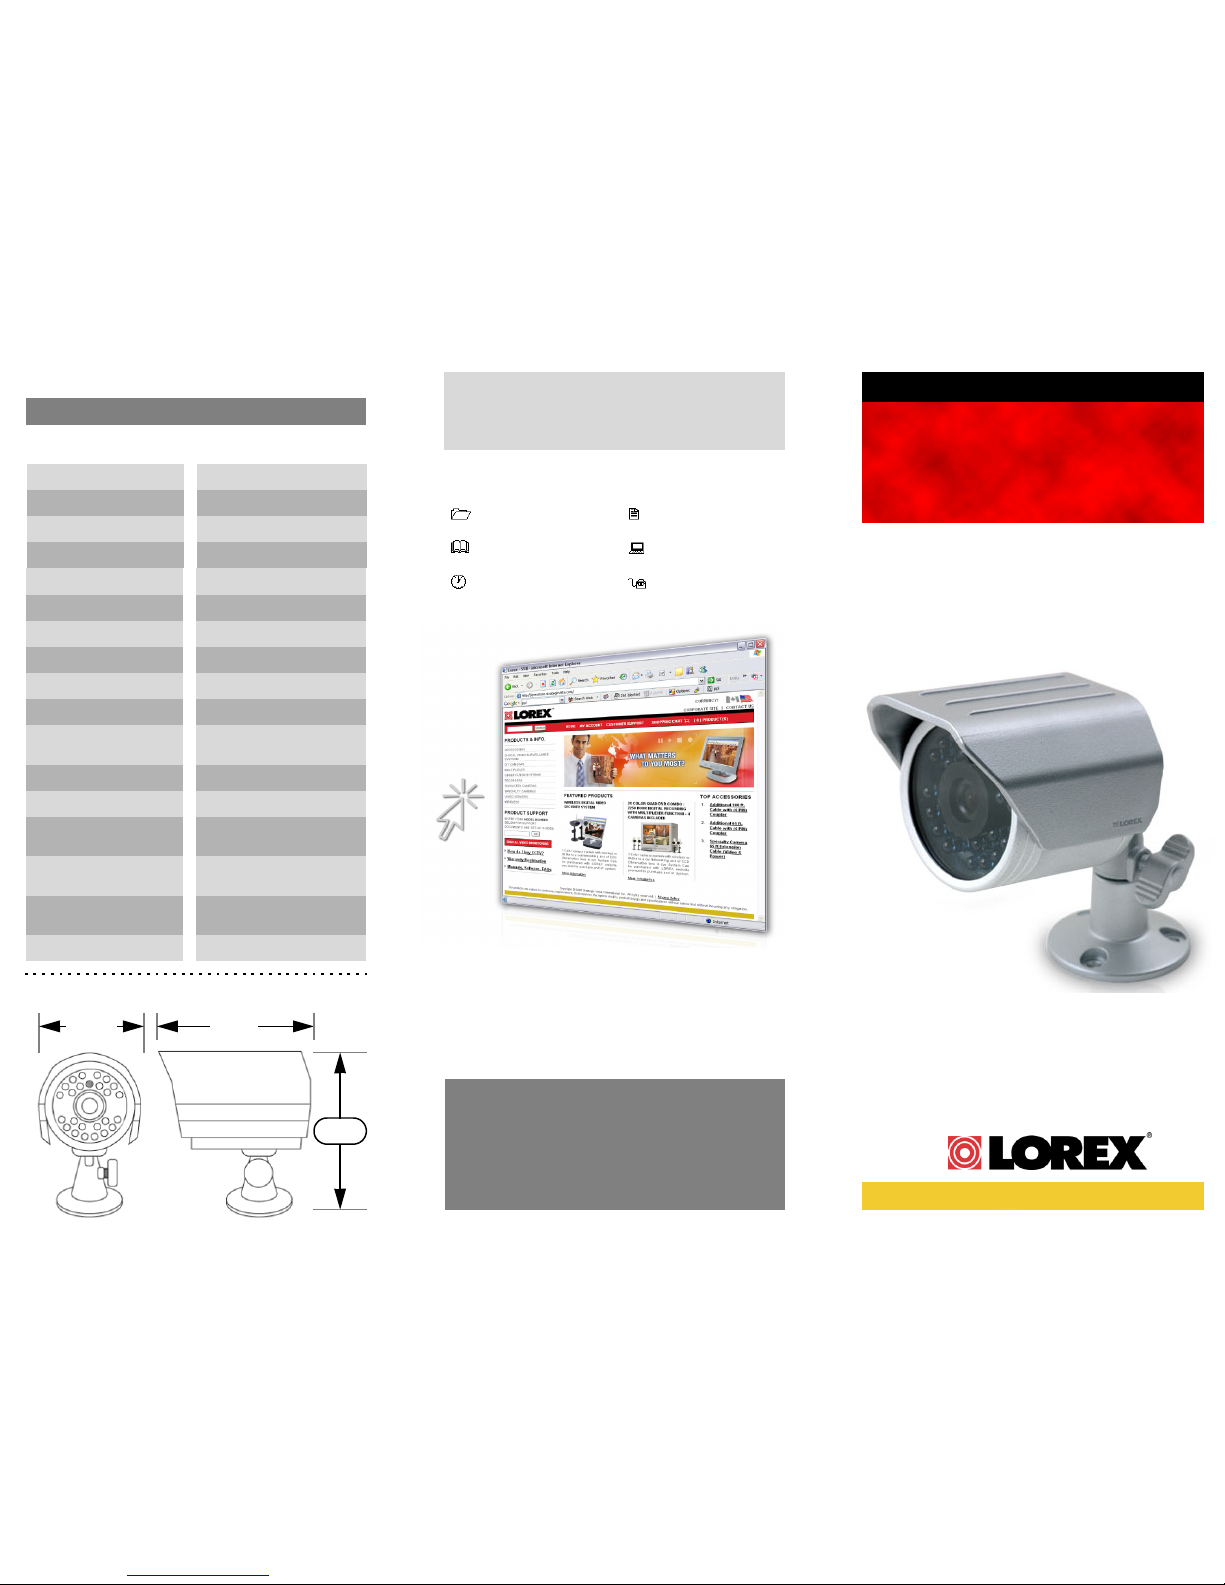
COLOR DAY/NIGHT CCD
WEATHERPROOF
CAMERA
4. Camera Specifications
Model: SG7522 Series
Specifications:
Dimensions:
Image Sensor 1/4” Color CCD
Lens / Lens Mount
Video Format / Pixels
Horizontal Resolution
Minimum Illumination
Termination
IR / Night Vision Range
FOV (diagonal)
S/N Ratio
Sync. & Scan. Systems
Video Output
Power Consumption
NTSC: 512(H) x 492 (V)
350 TVL
0.6 LUX / F2.0 (w/o IR LED)
Video: BNC Female
Power: Barrel Female
24 LED / 12m (40ft)
60 Degrees
More than 48dB @ AGC off
Internal; 2:1 Interlace
1.0Vpp @ 75 ohm
100 mA (w/o LED);
350 mA (w/LED)
Operating Temp. 14°F ~ 113°F
(-10°C ~ 45°C)
3.6mm Fixed
Iris & Shutter Speed AES; 1/60 ~ 1/100,000
Power Source 12V DC 500mA AC Adaptor
Weight 460g / 16.2 oz.
2.6”
65mm
3.1”
78mm
”
mm
Dimensions
Page 2
1. Package Contents
1 x 60 ft. Extension Cable
1 x Quad 4-in-1 AC Power
Adaptor -OR1 x Single AC Power
Adaptor *
1 x Color Bullet Camera
with Stand
Features:
• 1/4” advanced CCD image sensor provides superior
image quality
• 24 IR LEDs provide an effective night vision range of 40
ft. (12m)**
• Advanced Day/Night mode: Picture automatically
switches camera to B&W delivering better clarity in low
light conditions
• Ceiling or Wall Mountable
• Weather proof camera housing ideal for outdoor or
indoor applications (IP67 Rating)***.
** IR illumination range up to 40 ft (12M) under ideal conditions. Objects at or beyond this range may be partially or completely obscured, depending on the camera application.
*** Not recommended for submersion in water.
OR
* Single power adaptor provided with Single Camera pack; Quad 4-in-1
power adaptor provided with a 4-pack Camera Bundle, providing power
to all 4 cameras at once.
WARNING - The REGULATED power supply included with this product
is REQUIRED for use with this camera. Use of a non-regulated, non-
conforming power supply can damage this product and will void the
warranty.
2. Installing the Camera
1. Attach the camera to the supplied stand.
Mount the camera stand to the desired
mounting surface
2. Connect the 60ft Extension cable:
NOTE: Test the Cameras and Cables prior to selecting
a permanent mounting location by temporarily
connecting them to the system.
BNC (VIDEO)
(Yellow Connector)
POWER
(Black Connector)
Connect to
Camera
Connect to
Monitor and Power
Adaptor
A
B
C
D
A. Connect the Barrel Power connector to a power adaptor.
B. Connect the BNC connector to a monitor
C. Connect the Male Power connector to the Camera.
D. Connect the BNC connector to the Camera.
3. Connect the Power Adaptor to the wall
outlet.
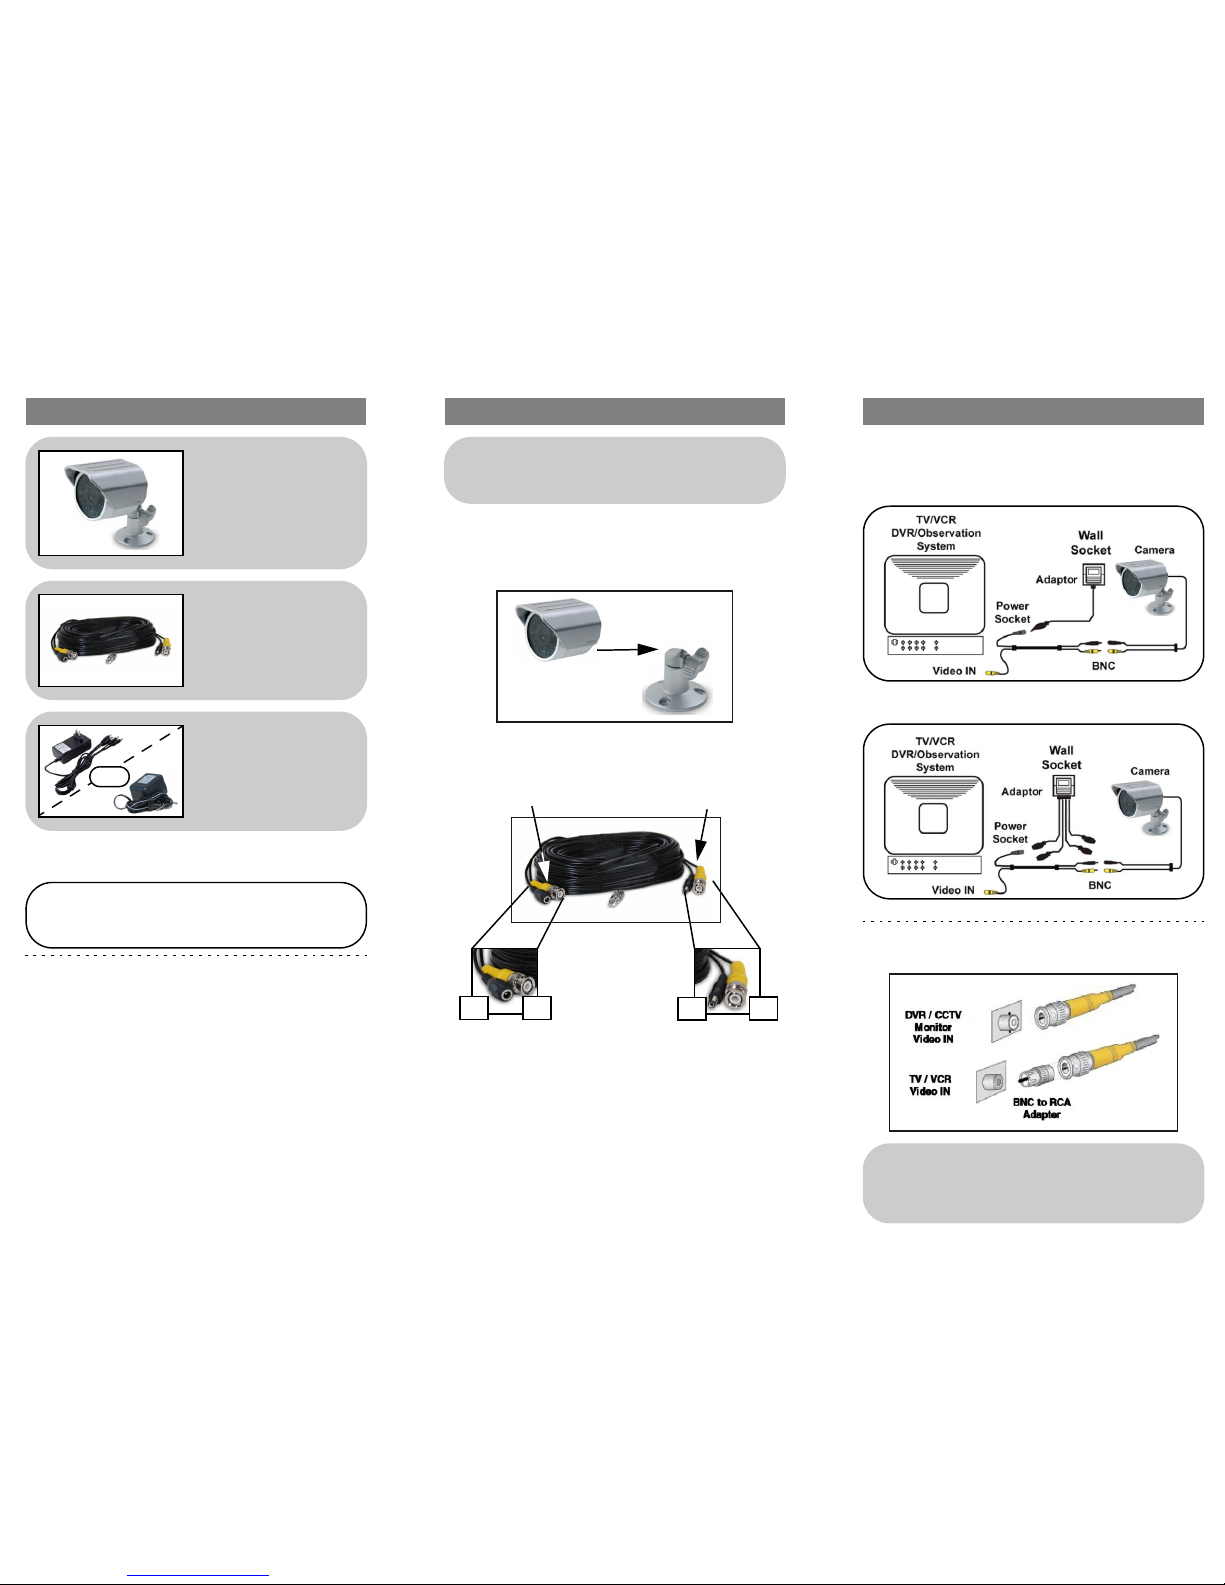
3. Connecting the Camera
Setup Diagrams:
Connect a BNC to RCA Adaptor as needed to
allow for proper connectivity to a TV or VCR (sold
separately).
Single A/C Adaptor
Connecting a BNC to RCA Adaptor:
Quad 4-in-1 A/C Adaptor
 Loading...