

Page 1
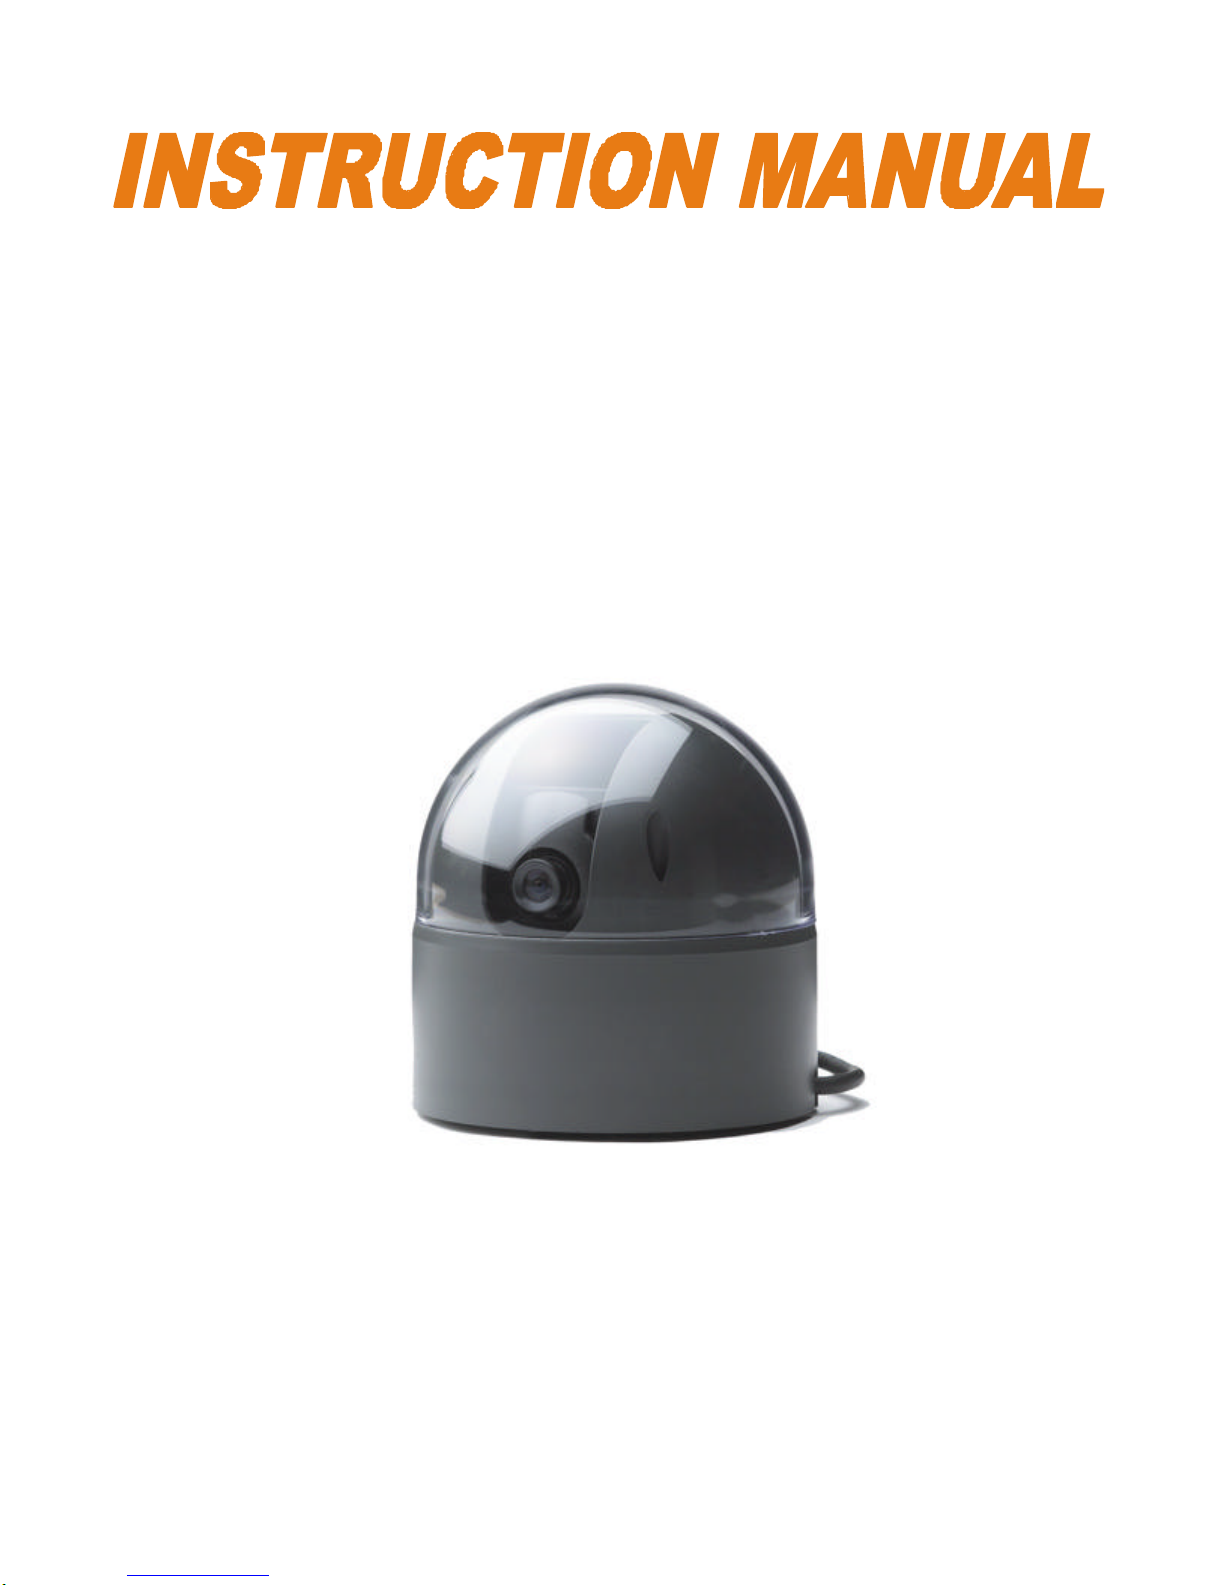
1/3” CCD Color Pan / Tilt
Dome Camera
With 3X Digital Zoom
SG7380
FOR MORE INFORMATION
WWW.STRATEGICVISTA.COM
BEFORE OPERATING THIS SYSTEM, PLEASE READ THIS MANUAL THROUGHLY AND
RETAIN IT FOR FUTURE REFERENCE
Page 2
Thank you for purchasing the SG7380 indoor, mini color dome camera incorporating Pan/Tilt
control, as well as a 3x Digital Zoom function. LOREX is committed to providing our customers
with a high quality, reliable security product that customers have come to expect from us.
This camera features a 1/3-inch Sony color CCD and Digital Signal Processing (DSP), allowing
for excellent picture quality under varying conditions.
This compact smoked acrylic dome blends with any décor and provides discrete video
surveillance. The motorized controls have the ability to give you a viewing angle of 330º
horizontal and 90º vertical.
This dome camera can connect to any Color LOREX, Home Sentinel o r Sylvania observation
system or DVR with Pan/Tilt capability.
To learn more about this Dome Camera and see the complete range or Lorex products, please
visit our website at:
www.strategicvista.com
CAUTION
!
RISK OF ELECTRIC SHOCK. DO NOT OPEN.
CAUTION! TO REDUCE THE RISK OF ELECTRIC SHOCK, DO NOT REMOVE
COVER (OR BACK). NO USER-SERVICEABLE PARTS INSIDE.
REFER SERVICING TO QUALIFIED SERVICE PERSONNEL.
Explanation of two Symbols
The lightning flash with arrowhead symbol, within an equilateral
triangle, is intended to alert the user to the presence of un-insulated
"dangerous voltage" within the product's enclosure that may be of
sufficient magnitude to constitute a risk of electric shock to persons.
The exclamation point within an equilateraltriangle is intended to
alert the user to the presence of important operating and maintenance-
!
THE GRAPHIC SYMBOLS WITH SUPPLEMENTAL MARKING ARE ON
THE BOTTOM OF THE SYSTEM.
(servicing) instructions in the literature accompanying the appliance.
“WARNING – TO PREVENT FIRE OR SHOCK HAZARD, DO NOT EXPOSE
THE UNIT TO RAIN OR MOISTURE”
-i-
Page 3

CONTENTS:
GENERAL PRECAUTIONS ----------------------------------------------------------------------- 1
FEATURES -------------------------------------------------------------------------------------------- 1
SYSTEM CONTENTS ------------------------------------------------------------------------------ 2
CAMERA COMPONENTS ------------------------------------------------------------------------ 3
INSTALLATION ------------------------------------------------------------------------------------- 4
OPERATION ---------------------------------------------------------------------------------------- 4
TECHNICAL SPECIFICATIONS ---------------------------------------------------------------- 5
Page 4

GENERAL PRECAUTIONS:
All the warnings and instructions of this manual should be followed
Remove the plug from the outlet before cleaning. Do not use liquid aerosol detergents. Use
water damped cloth for cleaning
To reduce the risk of fire or electric shock, do not expose this appliance to rain or moisture.
Do not place anything on top of the unit that might spill or fall into it.
Do not attempt to service this unit yourself as opening or removing covers may you to dangerous voltage
or other hazards. Please refer all servicing to qualified service personnel.
Keep enough space around the unit for ventilation. Slots and openings on the monitor should
not be blocked.
During flashes of lightning or cracks of thunder, or when the system is not used for a long time,
unplug the system power supply to protect the unit from lightening or power surges
FEATURES:
• Compatible with select Lorex, Sylvania and Home Sentinel
Observation Systems and DVR’s
• High Resolution Color CCD camera
• 480 lines, 1.0 lux
• Indoor Pan/Tilt Dome System
• Auto Pan - 330°, Auto Tilt - 90°
• 3x Digital Zoom
• Light Weight, Compact Size
• 6 pin Din connection
• Smoked housing provides unobtrusive appearance
-1-
Page 5

SYSTEM INCLUDES:
MINI COLOR PAN/TILT DOME CAMERA 1 - 65 FT CABLE
OWNER’S MANUAL
MOUNTING BRACKET
CHECK YOUR PACKAGE TO MAKE SURE THAT YOU RECEIVED THE COMPLETE
CAMERA SYSTEM, INCLUDING THE COMPONENTS SHOWN ABOVE
-2-
Page 6

CAMERA COMPONENTS
Camera Audio AMP: B+ 12V ( Power )
MINI 6 PIN DIN JACK VIEW ( AT CAMERA )
G
A)
Video Input
B)
Audio Out
N.C. ( Not Connected )
C)
B+ 12V ( Power )
D)
Audio Input
E)
F)
G)Ground ( Metal outer case )
-3-
Page 7

INSTALLATION:
Before installation make sure that:
(A) You have the proper lift equipment or ladder to reach the installation
(B)Electrical power is not connected to the dome camera and surveil lance monitor
during installation
To install the dome camera on a ceiling or wall follow these procedures:
1.) Connect the 65 ft Din cable (included with the dome camera) to the wired lead
of the dome camera
2.) Attach the adaptor plate on the ceiling or wall, using the 3 screws provided
(M3X20 screw). The mounting bracket must be attached to a structural object, such
as a wall stud or ceiling rafter, that supports the weight of th e camera
3.) Twist the base of the dome camera on to the adaptor plate on the ceiling or wall.
Note: Do not hold the clear plastic bubble or swivel when you attach the dome to
the adapter plate
4.) Connect the other end of the 65 ft cable to the Camera 1 input on the back of
the monitor (the monitor must be equipped with a built -in Pan/Tilt Zoom
feature available on“Channel 1 Input ”only)
5.) Connect power to the observation system
Typical Configuration showing a dome camera connected to an Observation System:
Monitor
Dome Camera
Camera 1 input
OPERATION:
To access and operate the Pan/Tilt Zoom feature please refer to the manual for the Lorex,
Sylvania, or Home Sentinel Observation System or DVR that you purchased
-4-
Page 8

TECHNICAL SPECIFICATIONS:
1/3" Interline Transfer Color CCDImage Sensor
410KEffective Pixels
525 Lines 2:1 InterfaceScanning System
15.734KHz (H), 59.94Hz (V) Scanning Frequency
480 LinesHorizontal Resolution
3.8mm Lens
1/60 ~ 1/100,000 sec. Shutter Speed
More than 4dBS/N Ratio
3xDigital Zoom Ratio
Pan-50° /sec., Tilt -40° /secPan/Tilt speed
Pan - Max 330°/Tilt - Max 90°Pan/Tilt Travel
1.0 Lux (F1.2)Minimum Illumination
1Vp-p (75Ohm)Video Output
Powered from monitor via cablePower Supply
-10°C ~ +50°C (-14°F ~ 122°F)Operating Temperature
90% RH MaxOperating Humidity
4.2” (Diameter) x 4.4”(Height) Dimensions
Because our product are subject to continuous improvement, SVC reserves the right to modify product
design and specifications without notice and without incurring any obligation. E&OE
-5-
 Loading...