

Page 1
It’s all on the web
BUSINESS & HOME
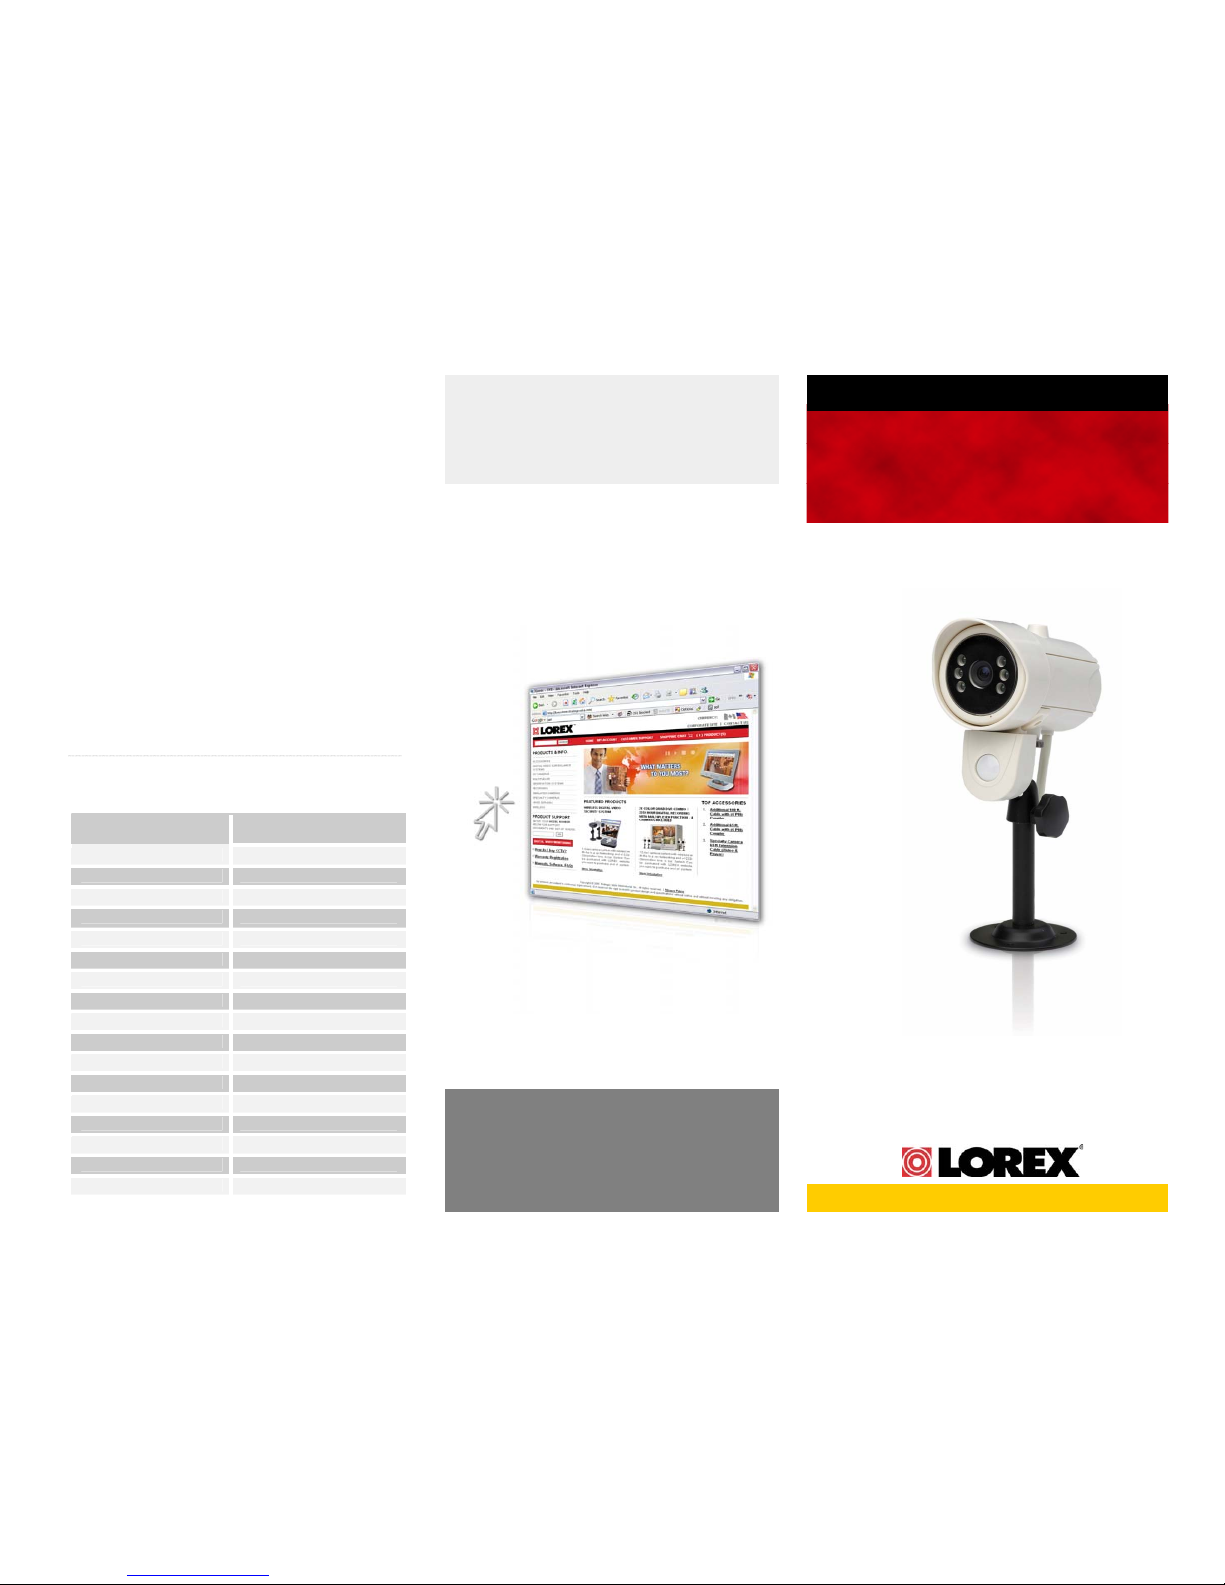
B&W INDOOR/OUTDOOR
OBSERVATION SYSTEM CAMERA
Product Information
User Manuals
Quick Start Guides
Specification Sheets
Model SG7210S
Software Upgrades
Firmware Upgrades
www.lorexcctv.com
Specifications
Image Sensor ¼” B&W CMOS Image
Sensor
Effective Pixels H: 320, V: 240
Scanning System 2:1 Interlace EIA
Scanning Frequency H: 15.75KHz, V: 60Hz
Resolution 240 TV Lines
Shutter Speed Auto 1/60 – 1/6,000 Sec
S/N Ratio N/A
Sync. System Internal
Min. Illumination 0.5 Lux F2.0
White Balance AWB
Video Output 1 Vp-p
Video Termination 6 pin Mini DIN
Lens 3.6 mm F2.0
Power Supply 12 Vdc (from Monitor)
Current Consumption 150 mA
Operating Temp 14ºF to 113ºF (-10ºC to 45ºC)
Weather Proof Rating IP 44
Gain Control AUTO
VISIT
Quick Set-up Guide
Strategic Vista International Inc.
Copyright © 2005 Strategic Vista International Inc
As our products are subject to continuous improvement, SVII
and its subsidiaries reserve the right to modify product design,
specifications and prices, without notice and without incurring
any obligation. E&OE
Page 2
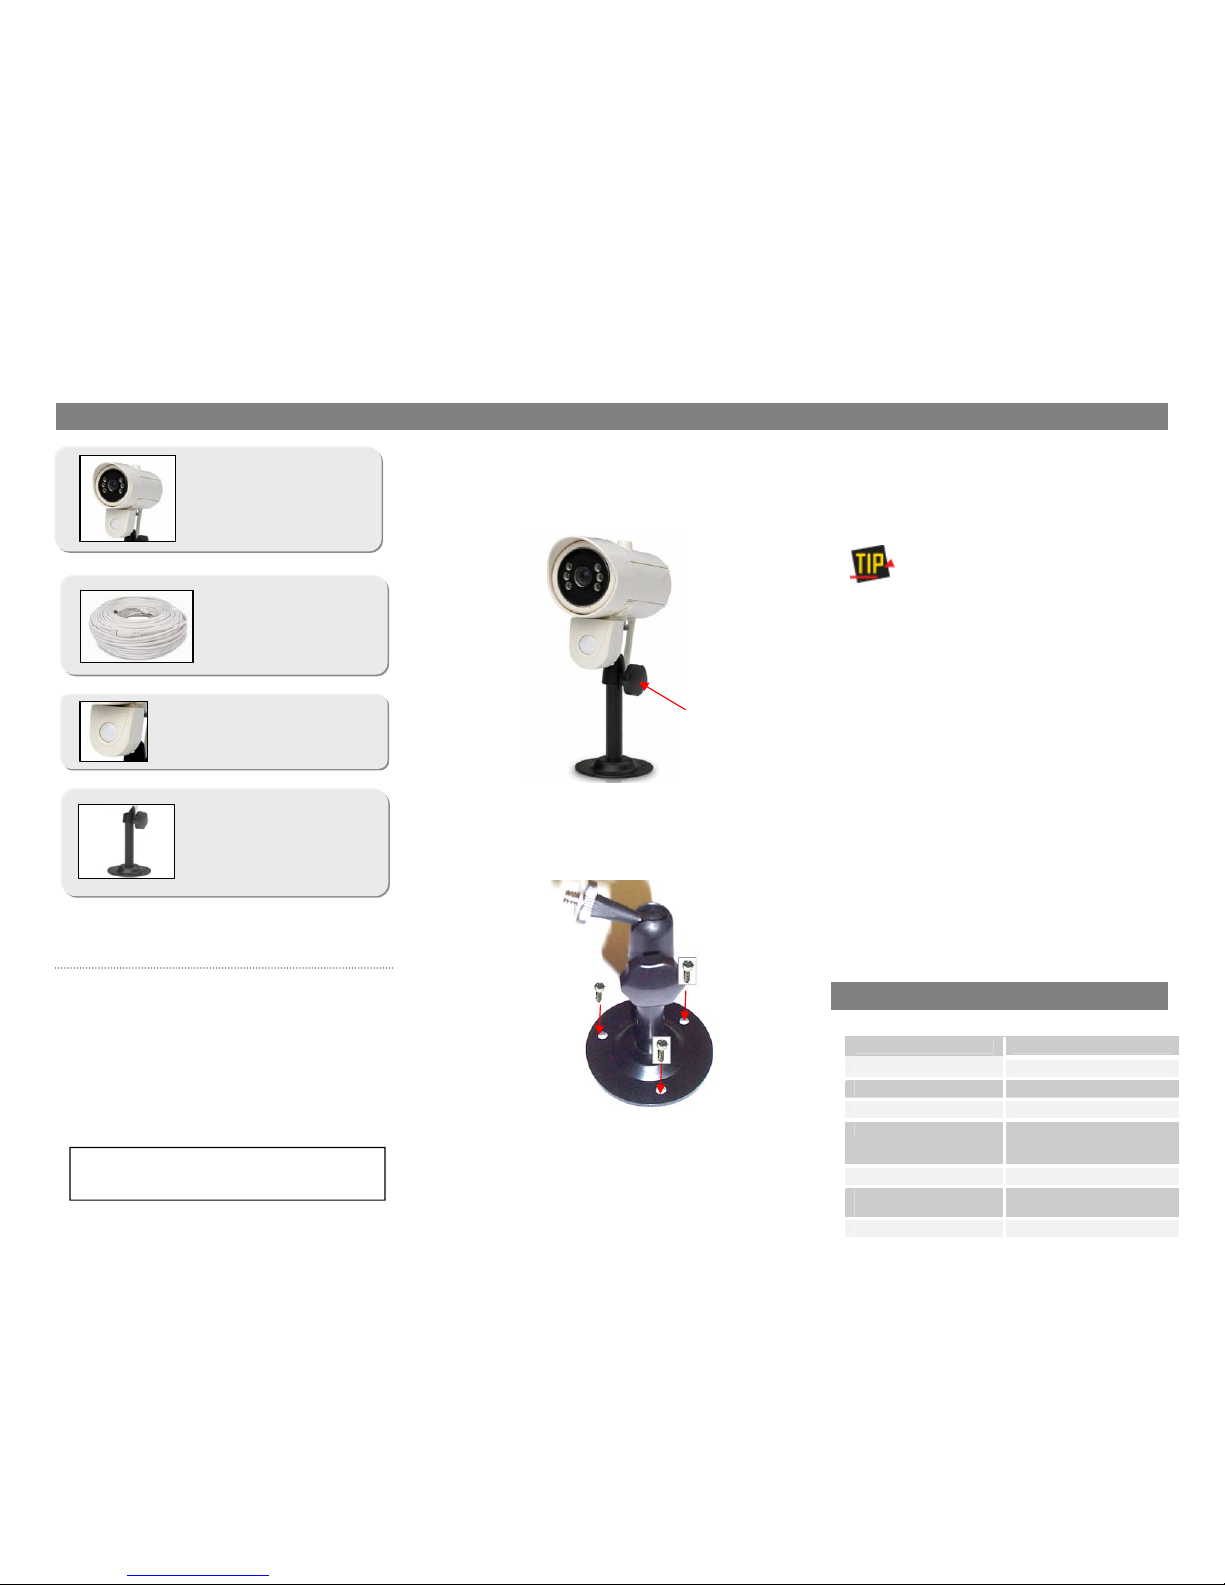
tighten
swivel
Features:
• B&W Indoor/ Outdoor* Motion Sensor Camera
• ¼” B/W CMOS Image Sensor
• Two way audio
• Compatible with all Lorex, Sylvania and Sentinel
CCTV B&W Observation Systems
• 3.6 mm wide angle lens
55 ft extension cable
B&W PIR Motion Sensor
Camera Mounting Bracket
SG7210S Camera with 6’ cable and
mounting bracket
a. Attach the camera to the mounting stand and
tighten the swivel.
* This camera is not designed for direct exposure to water, rain or
snow
b. Connect the supplied cable to the back of the
camera
1. Confirm Package Contents 2. Mount and Install the Camera
3. Connect the Camera to the Monitor
a. Connect the other end of the cable to the back
of the observation system monitor.
Keep the camera installed away from sunlight.
Also avoid places where humidity is high or unable to
protect against rain. The mounting bracket must be
attached to a structural device, such as a wall or ceiling
rafter using a suitable fastener.
4. Troubleshooting
PROBLEM REMEDY
No Picture Check the connection
Picture Flickering Make sure the camera is not
facing any direct light or
sunlight
Motion Sensor is not
working.
Check the connections from
the PIR to the camera
c. Locate a wall stud or ceiling joist and secure
the stand using the supplied screws.
 Loading...