

Page 1
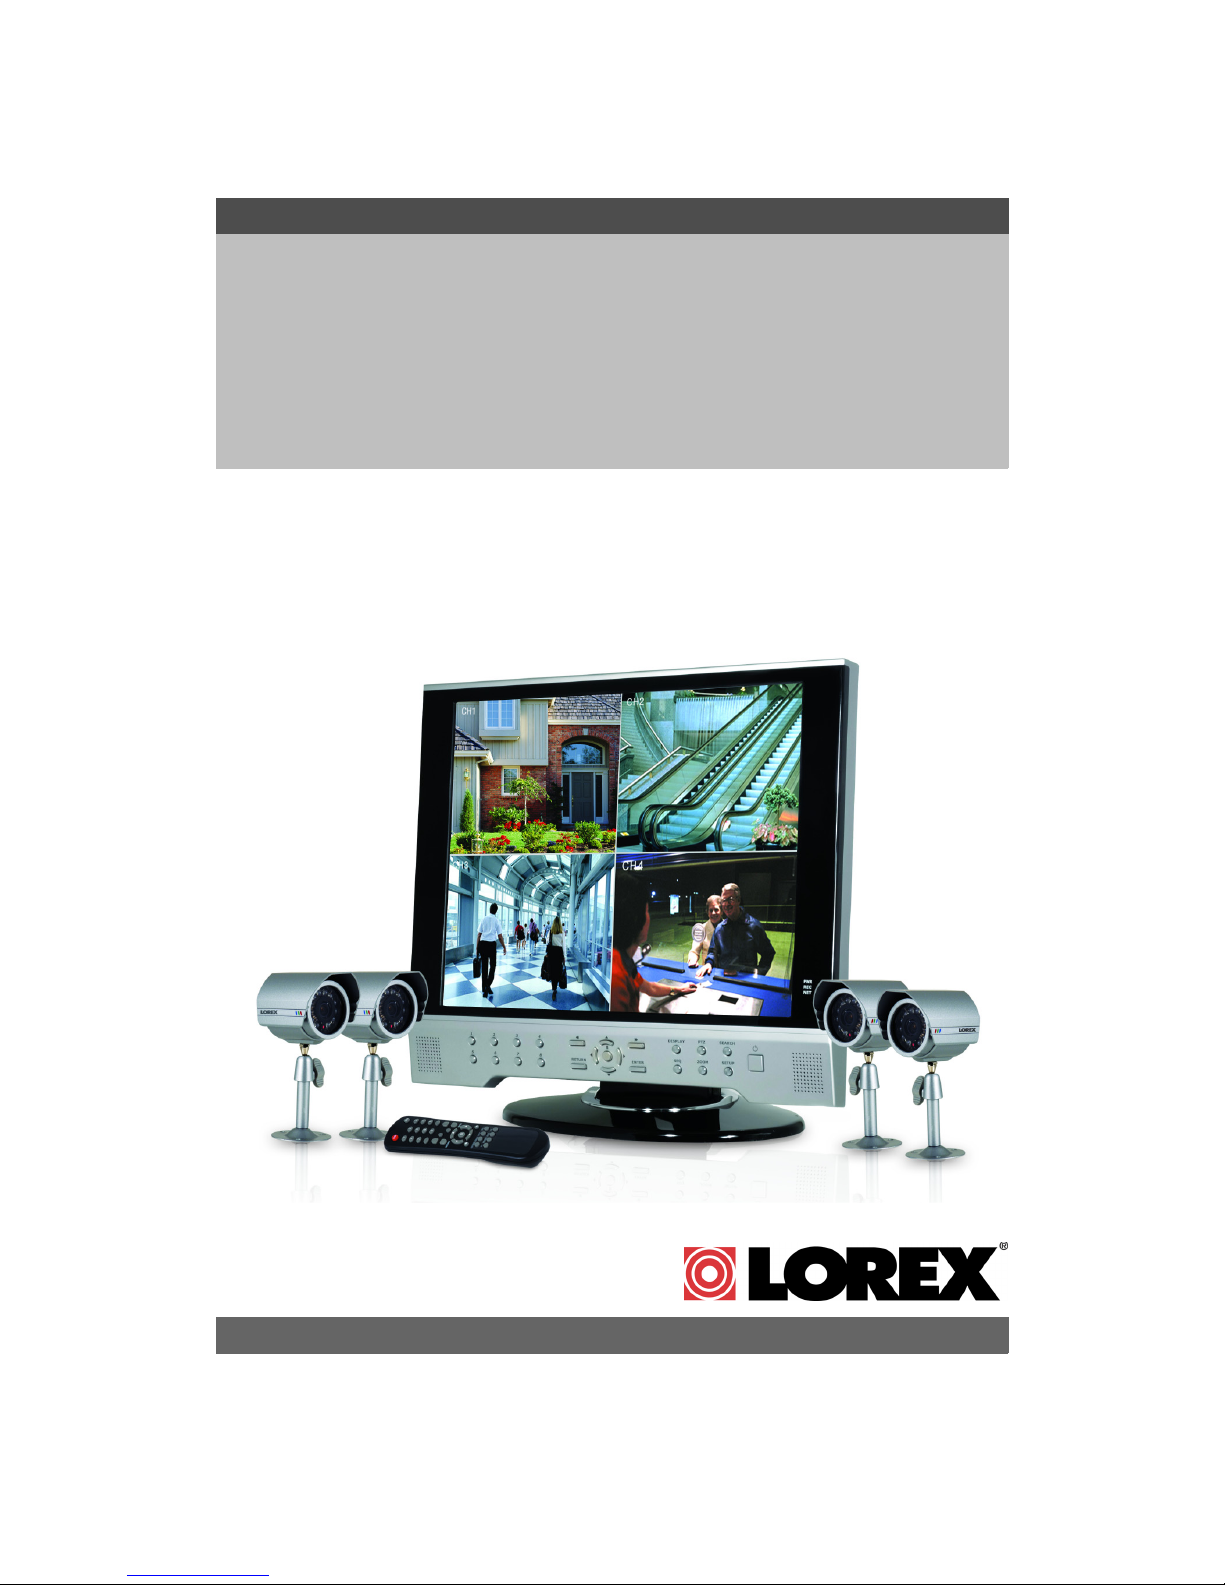
19” LCD / 8 CHANNEL DVR
COMBO WITH 160GB HDD
& 4 CAMERAS
Overview - Auto
Recording
MODEL:
SG19LD804-161
Copyright © 2007 LOREX Technology Inc.
www.lorexcctv.com
Page 2

Auto Recording Overview
Auto Recording Overview
How do I set the Auto-Recording to OFF? ................................................ 3
Setting An Individual Time Block ................................................................................................. 3
Setting Multiple Time Blocks ....................................................................................................... 4
If you have any additional questions or technical issues, please contact the Sentinel CCTV Help
desk for further assistance at 1-888-425-6739 (Option 1 - 1) or mail your questions to
support@strategicvista.com
2
Page 3

How do I set the Auto-Recording to OFF?
How do I set the Auto-Recording to OFF?
The system is set to automatically start recording when powered on. You may wish to change
these settings to better suit your security needs. These settings can be changed for an individual
camera on one time block, or can be set for multiple cameras for multiple time blocks.
Setting An Individual Time Block
1. Enter MENU mode by pressing the MENU button
on the front panel of the system (or on the Remote
Control). Select the RECORD MENU Option.
2. Select the SIMPLE RECORDING MODE menu.
Navigate using the up and down arrows on the
front panel (or remote control). Navigate using
the arrow keys
3. Select the Channel Menu (highlights the area in
PINK).
4. Press the ENTER key to enter the configuration mode.
One time block will be highlighted in GREEN.
5. Navigate to the desired time block and press ENTER.
The selected time block will be highlighted ORANGE.
6. Press Enter once more to access the Configuration
Menu. Select NONE, CONTINUOUS, MOTION or
ALARM by pressing the UP and DOWN arrows. Press
ENTER again to accept the change.
3
Page 4

How do I set the Auto-Recording to OFF?
Setting Multiple Time Blocks
1. Enter MENU mode by pressing the MENU button
on the front panel of the system (or on the Remote
Control). Select the RECORD MENU Option.
2. Select the SIMPLE RECORDING MODE menu.
Navigate using the up and down arrows on the
front panel (or remote control). Navigate using
the arrow keys
3. Select the Channel Menu (highlights the area in
PINK).
4. Press the ENTER key to enter the configuration mode.
One time block will be highlighted in GREEN.
5. Navigate to the desired time block and press
ENTER. The selected time block will be
highlighted ORANGE. Press the UP, DOWN,
LEFT and RIGHT Arrow keys to highlight multiple
time blocks.
6. Press Enter once more to access the Configuration
Menu. Select NONE, CONTINUOUS, MOTION or
ALARM by pressing the UP and DOWN arrows. Press
ENTER again to accept the change.
4
Page 5

It’s all on the web
Product Information
User Manuals
Quick Start Guides
Specification Sheets
Software Upgrades
Firmware Upgrades
VISIT
www.lorexcctv.com
Lorex Technology Inc.
wwwlorexcctv.com
Page 6

 Loading...