

Page 1
19” LCD / 8 CHANNEL DVR
COMBO WITH 160GB HDD
& 4 CAMERAS
Troubleshooting the
Remote Control
MODEL:
SG19LD80 Series
Copyright © 2007 LOREX Technology Inc.
www.lorexcctv.com
Page 2
The Remote Has Stopped Working
The remote control has been working properly, however it has suddenly stopped functioning.
Outlined below are several techniques to help diagnose the problem:
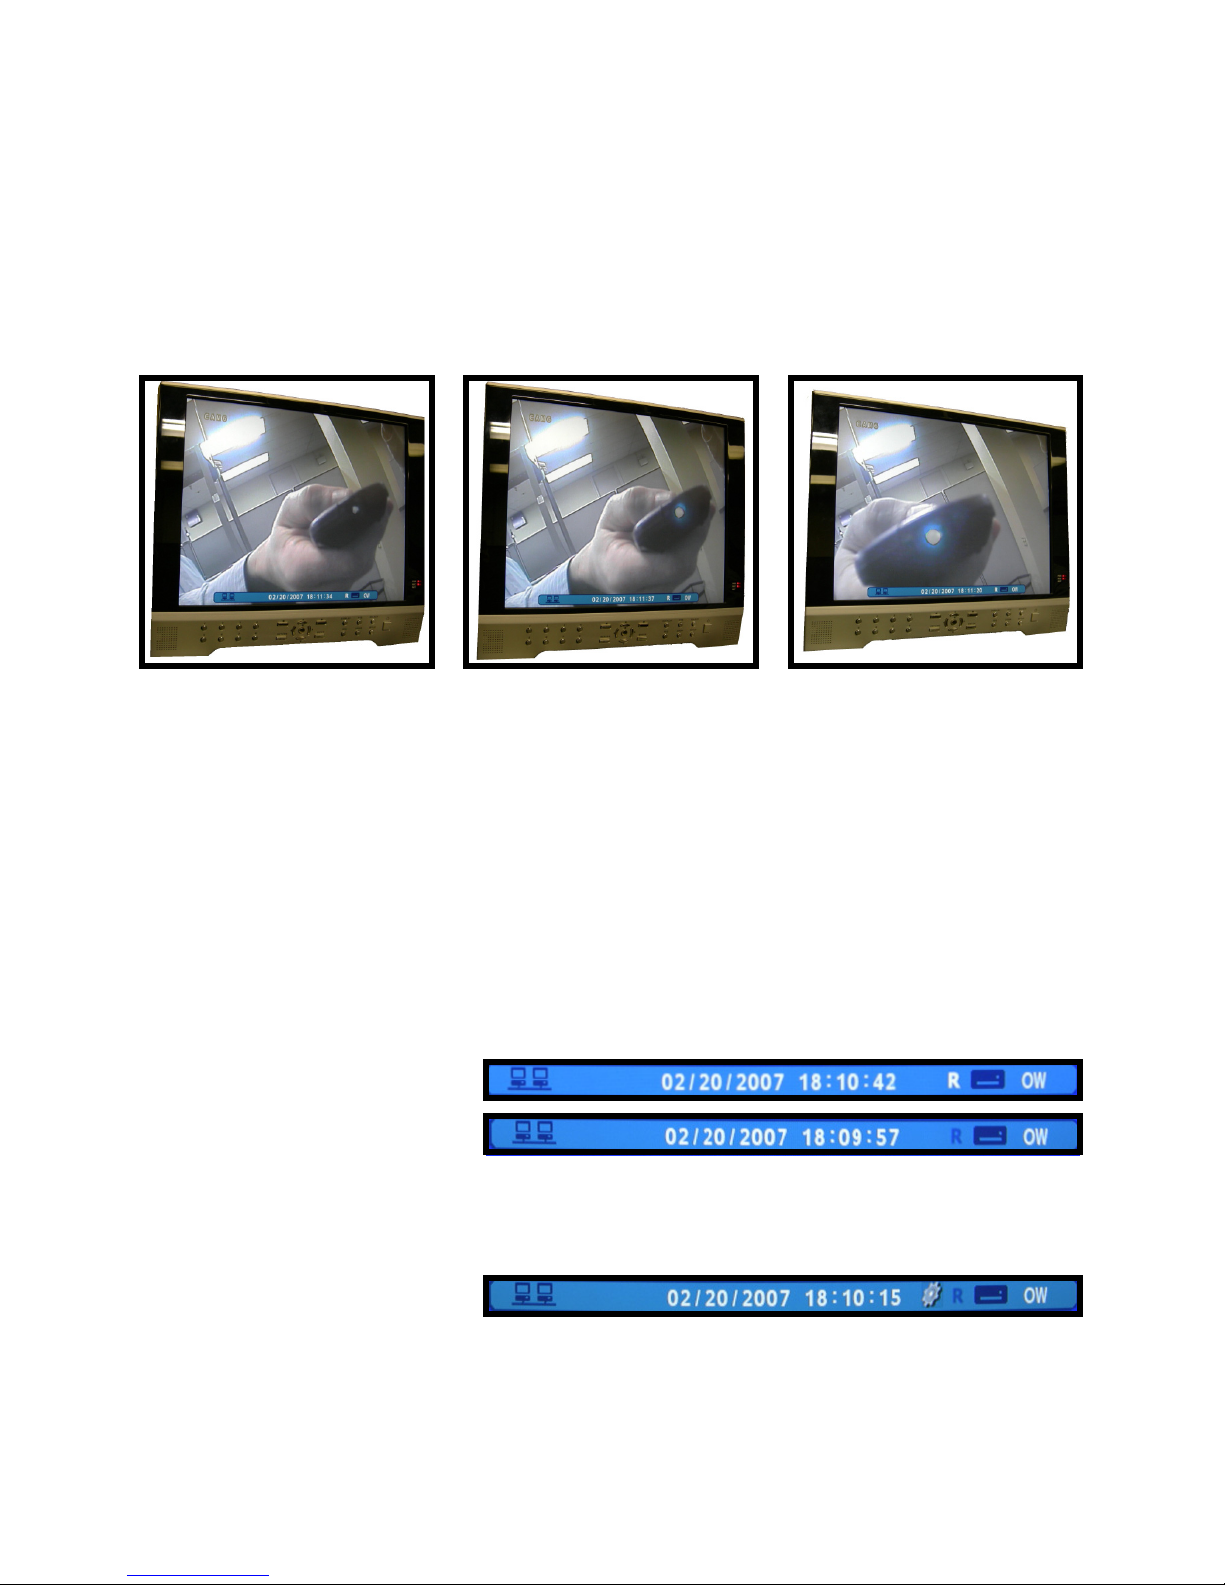
1. Point your remote control at one of your cameras, and press and hold the RETURN button.
The camera is able to detect the Infrared signal from the Remote Control, and will display on the
Observation Screen as a flashing light.
If the remote control light does not FLASH onscreen, then the batteries in the Remote Control will
need to be replaced.
2. The remote control has the ability to control several Observation Systems at one time with the
push of a button. This is useful if you have several SG19LD800 Series systems installed at one
location - each system can be set to a different ID.
By default, the SG19LD800 Series Observation System is set to System ID #1. If the remote is
NOT set to control System ID #1, it will not function with the unit. To reset the remote control:
I. Confirm that the R is white on the bottom onscreen status bar. If the R is blue, please proceed
to Step II.
• Indicates the remote is active
with the System
• Indicates the remote is not
active with the System.
II. Press the REMOTE ID button (see next page for Remote Control diagram). The status bar will
display a GEAR symbol indicating that the remote is in Program Mode.
III. Press the number 1 button on the remote control.
IV. Press the ENTER button on the remote control.
V. Press the RETURN button on the remote control.
For advanced setup of multiple systems, please refer to the Users’ Manual provided with your
product.
Page 3

Remote Control
Listed below is a quick reference for the Remote Control.
POWER BUTTON Turns the system power
ON/OFF
REMOTE ID* Configure when using
multiple systems.*
RETURN BUTTON Returns to the previous
selection in Menu Mode.
Exits the Menu Setup
when in the Main Menu.
VOLUME +
VOLUME -
DISP BUTTON -
Changes the Screen
Mode to Single, Quad, 6
or 8 camera views.
SEARCH BUTTON Enters the Search
Menu.
SETUP BUTTON Opens the Main Menu
(system setup)
CHANNEL BUTTONS Press to select a
specific camera by
number
AUDIO SELECT -
Press to select an audio
channel. Press the
Audio select button,
then a channel 1~4.
ENTER BUTTON Applies a configuration
change in Menu Mode.
NAVIGATION AND
PLAYBACK -
Controls the playback of
video.
Navigates in MENU and
SEARCH mode.
Adjusts the zoomed
area in ZOOM mode.
SEQUENCE Turns camera
Sequence Mode ON/
OFF.
NOTE: All Buttons described above function the same as the Front Panel buttons - see pages
10-13 of the Observation System Manual for detailed information. Buttons without descriptions do
not provide functionality to this unit.
* If the REMOTE ID button is set incorrectly, the remote will not function. To reset the
Remote ID (when using only one system), Press the ID button, and then select the number
1. Press ENTER to reset the remote, and press RETURN to exit the ID Screen.
PTZ Controls PTZ Cameras
ZOOM Zooms in on the current
image
Page 4

It’s all on the web
Product Information
User Manuals
Quick Start Guides
Specification Sheets
Software Upgrades
Firmware Upgrades
VISIT
www.lorexcctv.com
Lorex Technology Inc.
www.lorexcctv.com
 Loading...