

Page 1
Quick Installation Guide
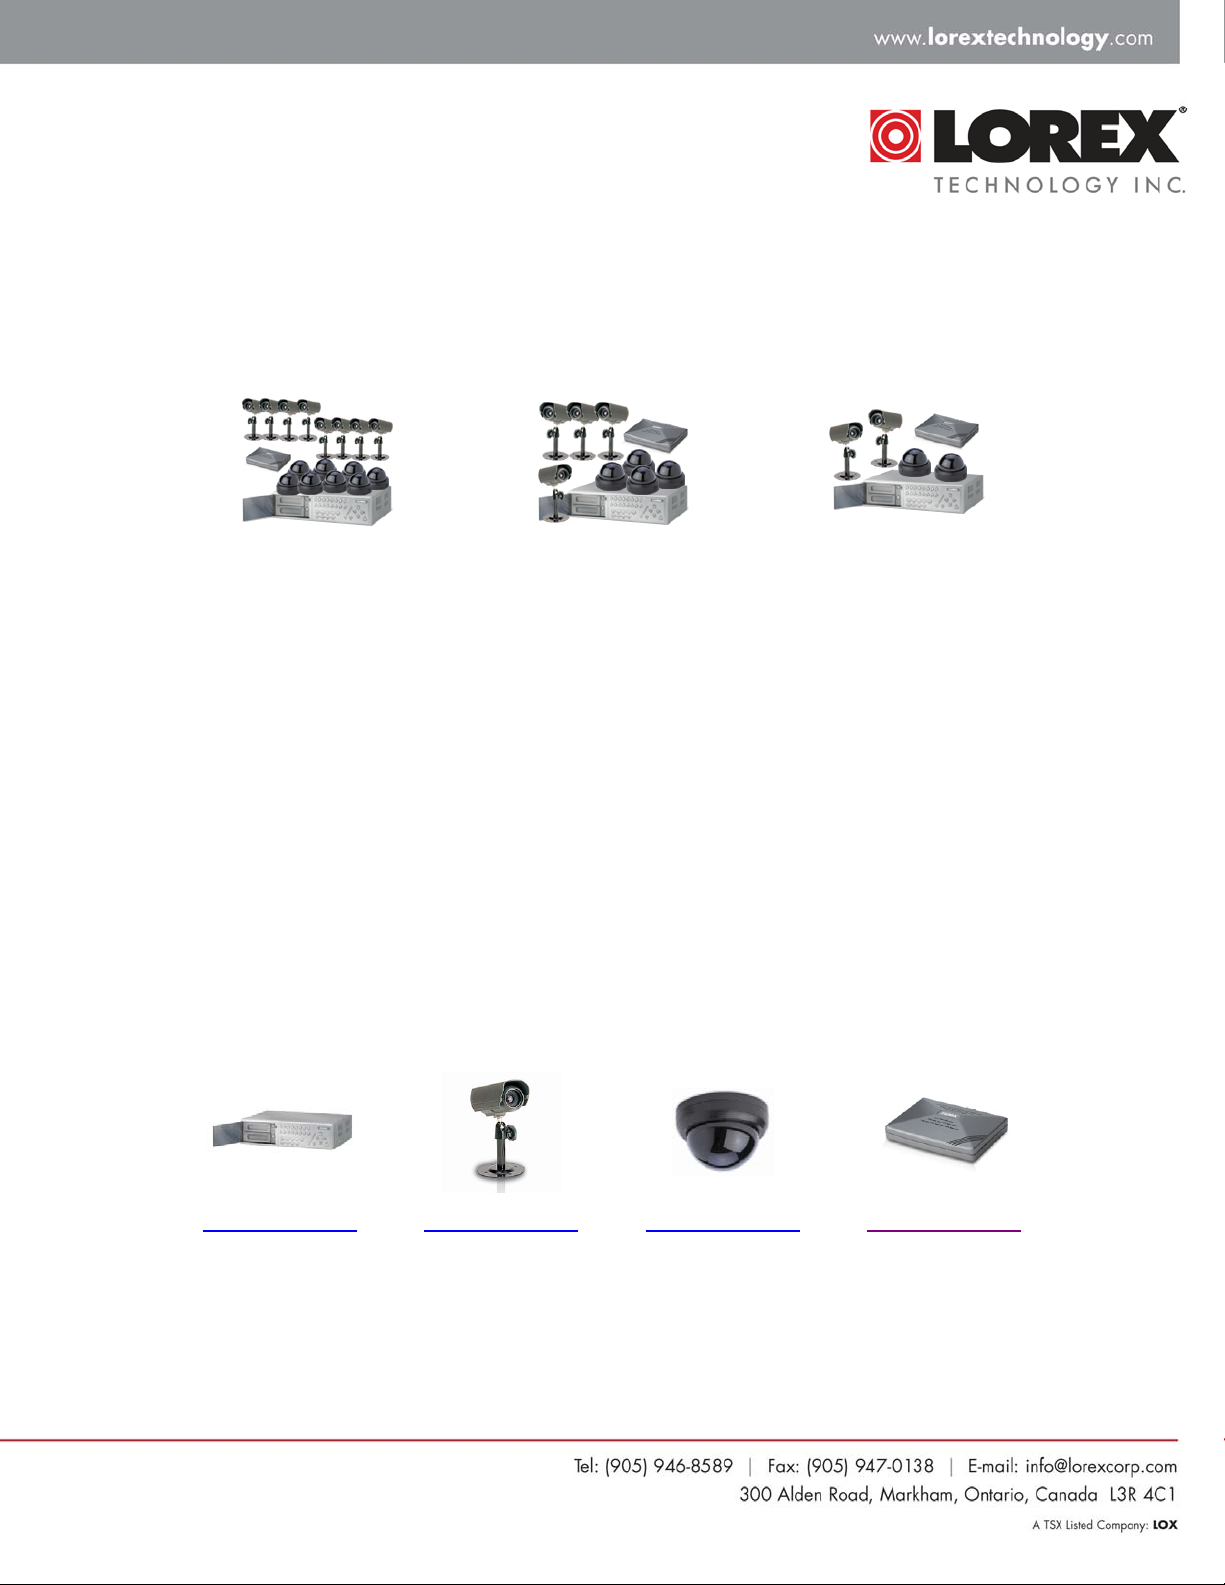
16-Channel DVR Networkable with 120/160GB Hard Drive and 4/8/16
Cameras
DGR116888-S
The following steps will assist you in setting up your DVR, Cameras, and IP Video
Router:
STEP 1: Installing the Hard Drive .....................................................................................2
STEP 2: Connecting the Cameras .................................................................................... 4
STEP 3: Connecting the IP Video Router (L4202)............................................................ 4
STEP 5: Powering Up ....................................................................................................... 5
STEP 6: Setup your IP Video Router ................................................................................ 6
For additional setup and usage information, the following product manuals are
available for download from our website:
DGR116882-S
DGR116841-S
Product Manual
Product Manual Product Manual Product Manual
1
Page 2

STEP 1: Installing the Hard Drive
NOTE: The HDD has the same purpose in a DGR116 as a video cassette does in a VCR. However,
installing the HDD is a bit more complicated. Please follow the next steps carefully in order to ensure proper
installation.
The compartment (with the handle) located on the front panel of the DGR116 is the removable Cartridge
Casing where the HDD is inserted. The various parts of the Cartridge Casing are labeled for your reference.
1. Keyhole
2. LED indicator lights (Power & HDD indicators)
3. Handle
Step 1: Remove the Cartridge Casing from the DGR116
Lift the Handle and pull towards you. The Cartridge Casing will slide out of the DXR116.
NOTE: The Cartridge must be unlocked to remove it, (please see step 8 for more information on locking and
unlocking the removable HDD cartridge).
Step 2: Remove the Cover from the Cartridge Casing
Step 3: Unclip the release latch with the word “OPEN” printed beside it by gently pushing on the
latch.
Step 4: Slide the cover off the Cartridge Casing.
2
Page 3

Step 5: Insert the HDD into the Cartridge Casing
Take the Hard Disk Drive and connect the two cables from the back
of the Cartridge Casing to the HDD.
The cables should be pushed in firmly, but not forcibly.
Step 6: Secure the HDD in the cartridge casing.
Position the HDD into place and secure it using the six
screws supplied.
Step 7: Slide the top Cover over the Cartridge Casing
Slide the Cover forward over the Cartridge Case. Ensure it is
secured in place over the release latch.
Reinsert the Cartridge Casing into the DGR116
Step 8: Lock the Cartridge
• To Lock the cabinet, turn the key clockwise to Position A.
• To unlock the cabinet, turn the key counter-clockwise to Position B.
NOTE: The DGR116 will not function if the key is not in the locked position.
3
Page 4

STEP 2: Connecting the Cameras
Connect all the Camera’s as shown in the diagram below, and then proceed to plug in the camera power
supplies:
1. Connect the Extension Cable to the Camera by connecting the BNC
(Yellow) and Power (black) cables
NOTE: Make sure that the Extension Cable has been oriented correctly
2. Connect the other end of the Extension Cable to the System (by
connecting the BNC Port to an open Channel on the DVR).
3. Connect the Power end of the Extension Cable to a Power
Adaptor. Plug the power adaptor into a wall outlet to power the
camera.
4. Repeat for all cameras
provided with your System.
4
Page 5

STEP 3: Connecting the IP Video Router (L4202)
Connect your IP Video Router as shown in the diagram below, then proceed to plug in the Ethernet cable
and power supply:
STEP 4: Powering Up the DVR
Press the power button located on the front of the DVR to turn the unit on.
NOTE: At this point, it is highly recommended that you consult the Product Manual
monitor to familiarize yourself with the menu options, system setup, recording settings and
playback operations.
Once you are comfortable using the DVR, move on to step 5 to setup your IP Video Router.
for the
5
Page 6

STEP 5: Setup your IP Video Router
NOTE: At this point, it is highly recommended that you consult the Product Manual for the monitor
to familiarize yourself with the menu options, system setup, recording settings and playback
operations.
NOTE: A PC is required for the initial setup of your IP Video Router.
Please refer to the Frequently Asked Questions
common issues.
guide on our website for the answers to some of the most
6
 Loading...