

Page 1
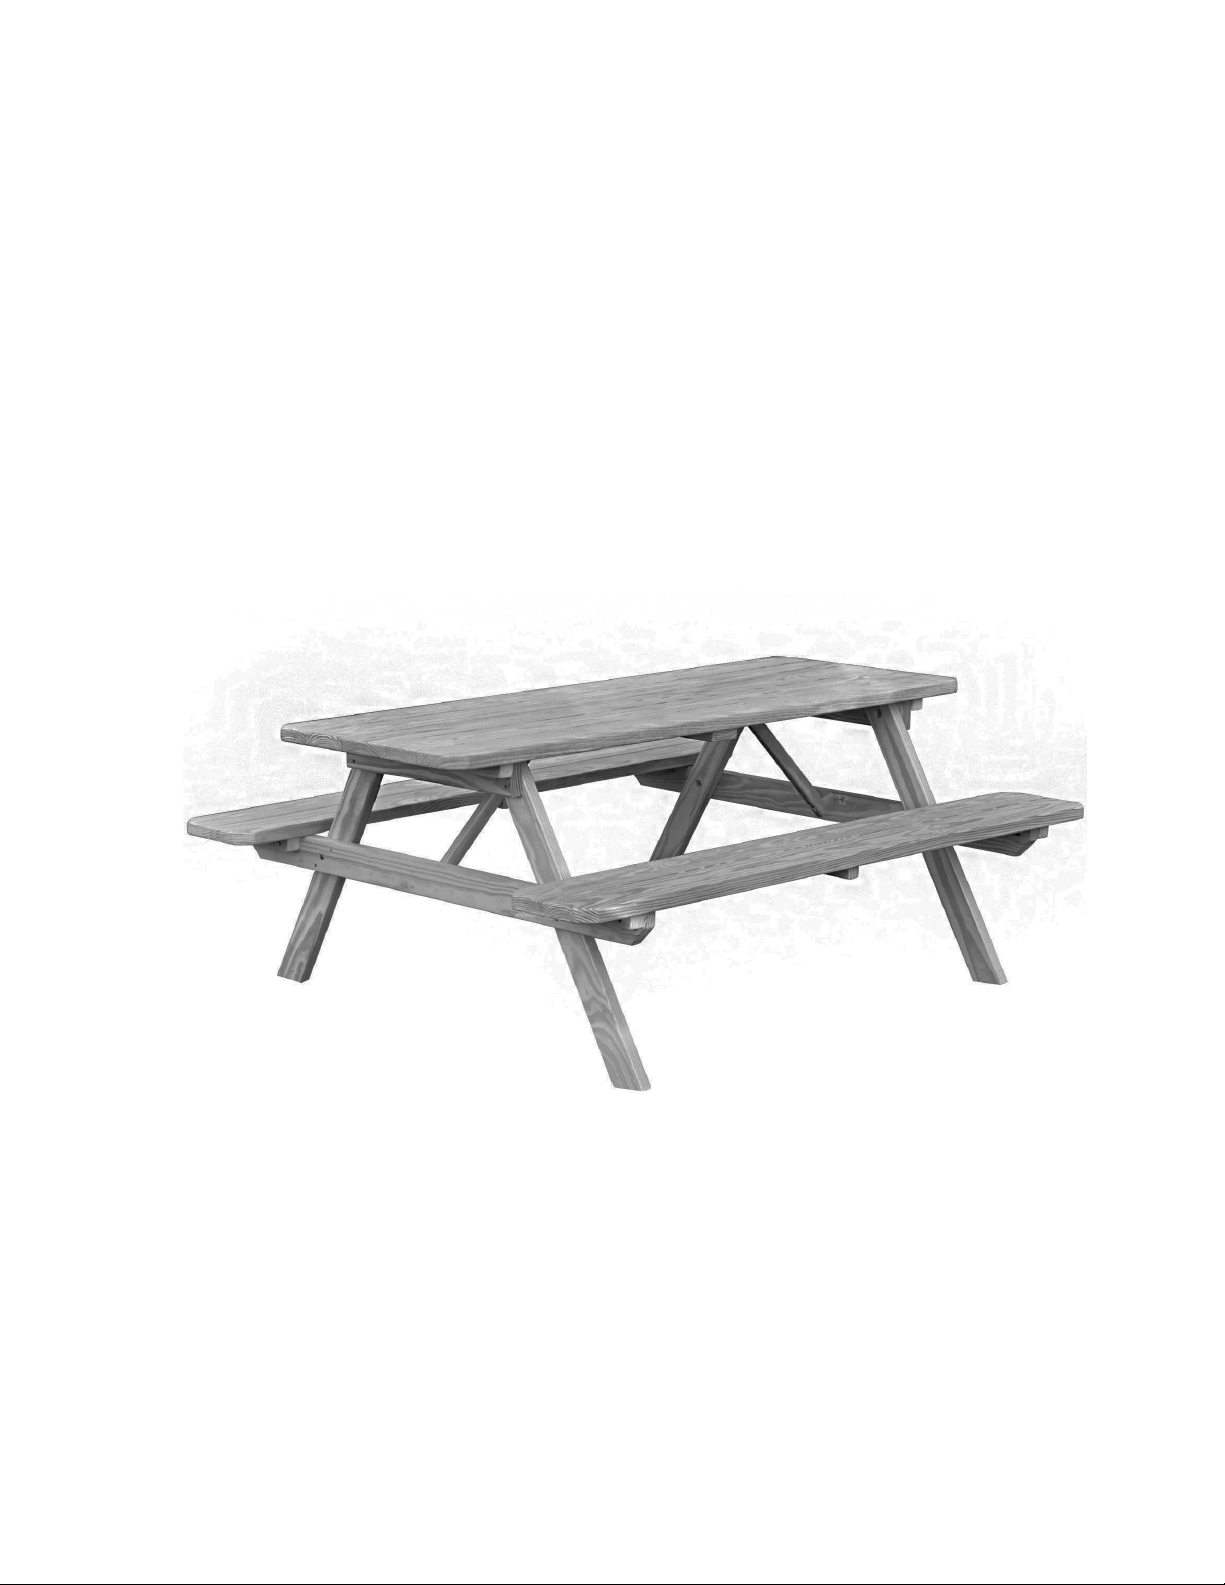
Assembly Instructions
Table with Attached Benches
Page 2
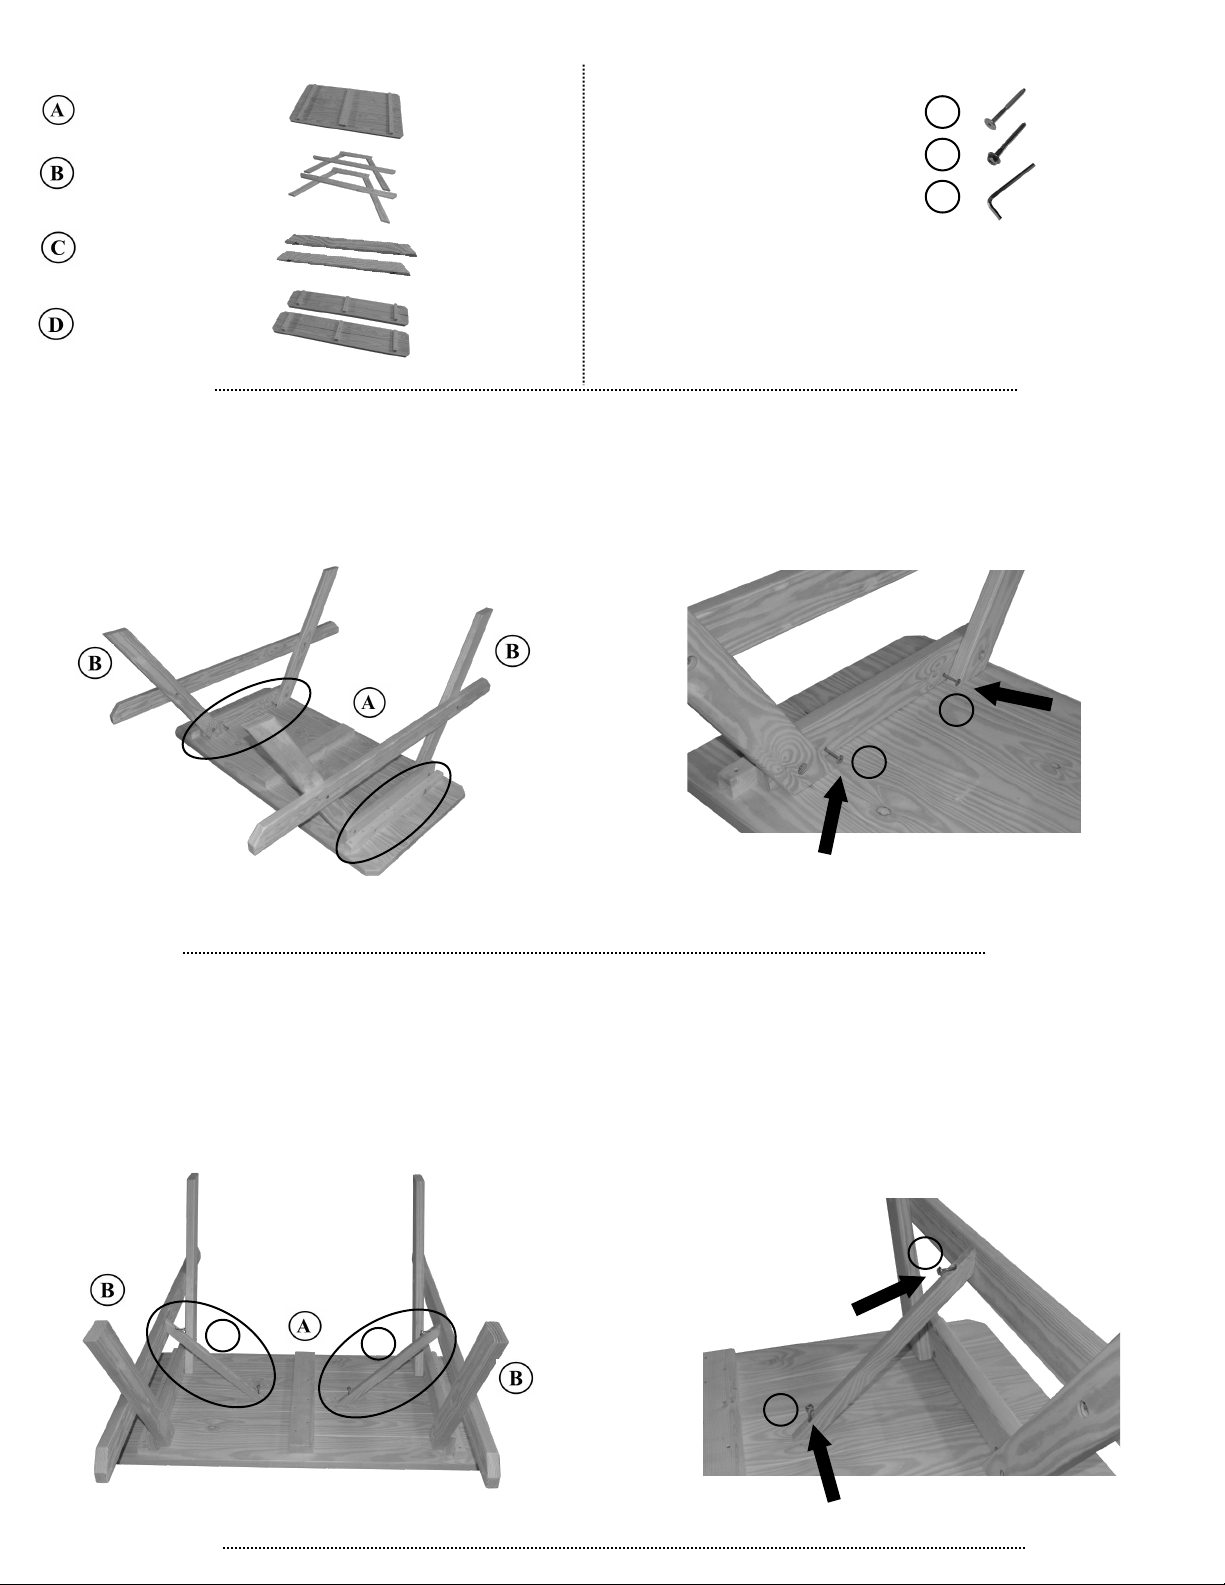
PARTS (included)
Table Top (1)
Table Legs (2)
Table Braces (2)
Bench Tops (2)
HARDWARE (included)
2¾” Bolts (12)
2½” Lag Screws (4)
Allen Wrench (1)
TOOLS NEEDED
Hammer
7
/
16
” Wrench or Socket
b
c
a
STEP 1
Lay the table top upside down on a clean flat surface. Attach the table legs inside the 2x2 cross supports
on the table top. (See photo 1.) Insert the 2¾” bolts through the holes in the legs and turn them into the
metal inserts in the 2x2. (See photo 2.) Tighten with the Allen wrench. Do not overtighten!
Photo 1 Photo 2
STEP 2
Attach the table braces with one end of the brace on the table top and the other end against the horizontal
crosspiece on the table leg. (See photo 3.) Insert 2½” lag screws into the holes in the braces. (See photo
4.) Tap them lightly with a hammer to get them started into the table top. They are self drilling and will not
crack the wood. Now tighten using the 7/16” wrench or socket. Do not overtighten as this may cause them
to break!
Photo 3 Photo 4
a
C
b
a
C
b
Page 3
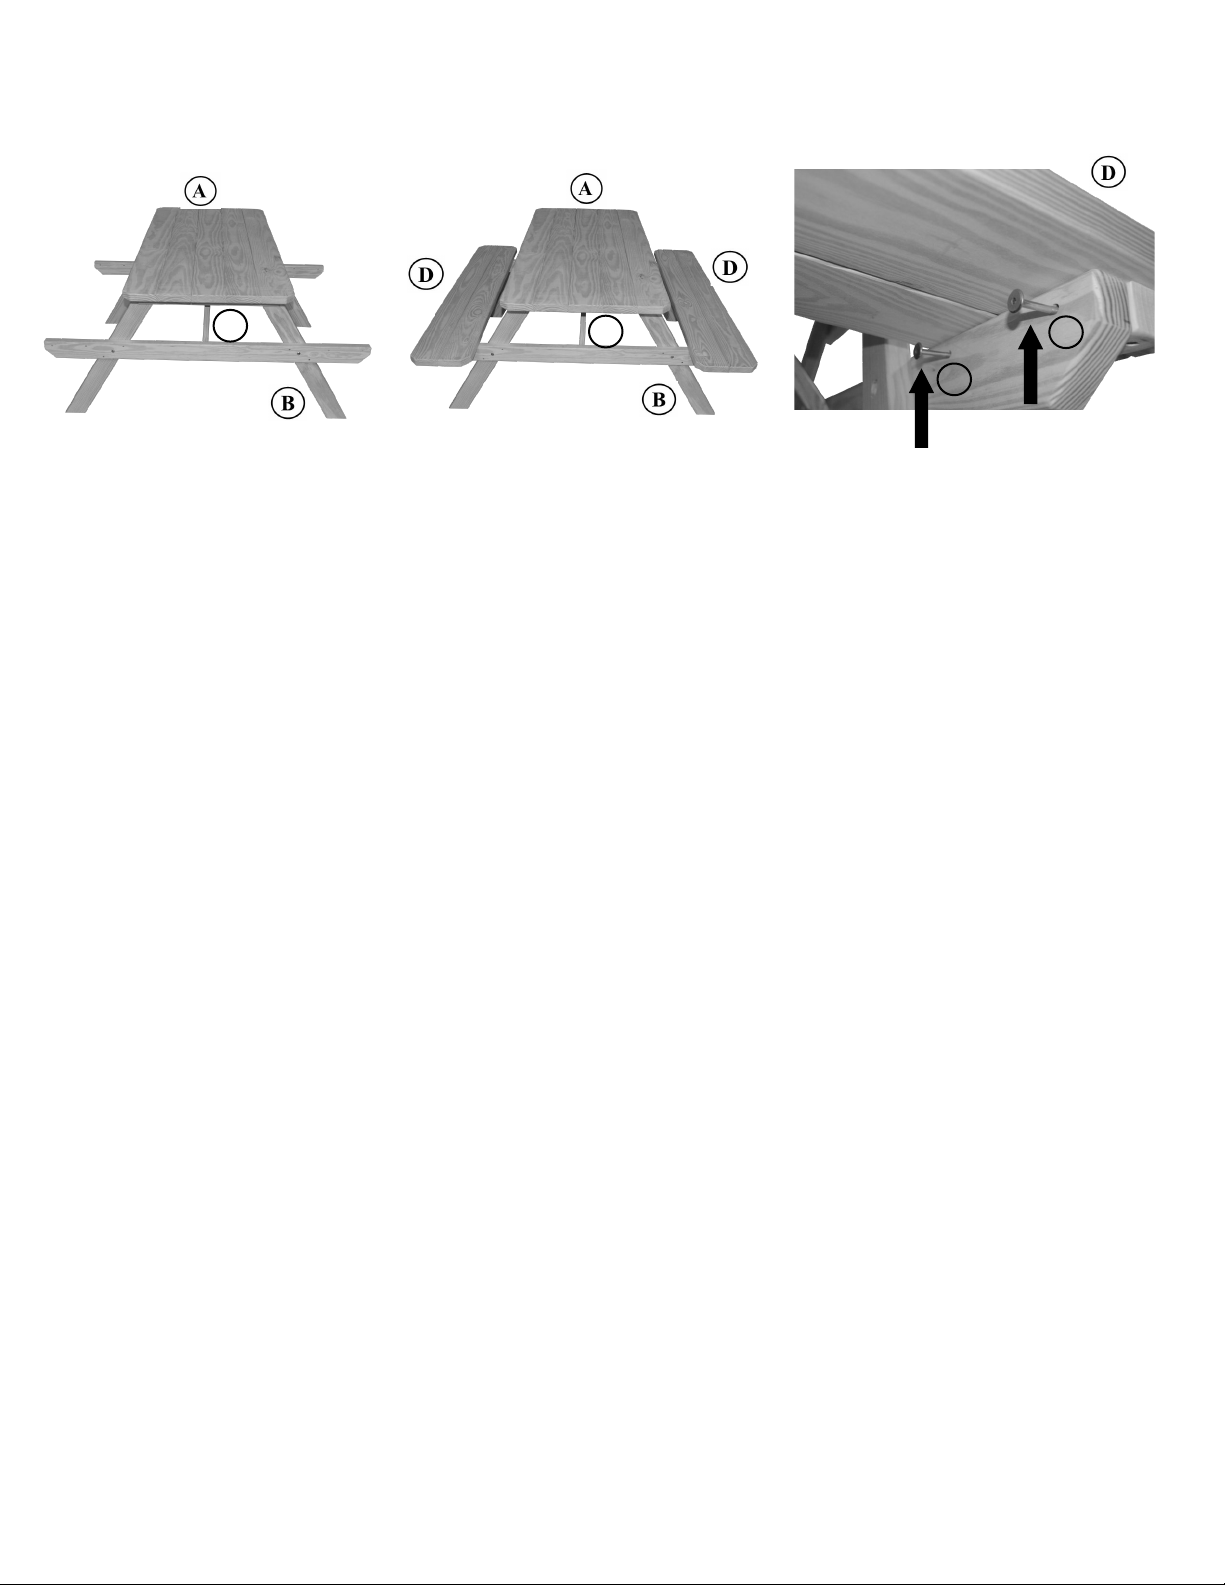
STEP 3
Set the table upright. (See photo 5.) Attach bench tops. (See photo 6.) Insert 2¾” bolts through the table
legs and turn them into the metal inserts in the bench 2x2’s. (See photo 7.)
Photo 5 Photo 6 Photo 7
C
C a
a
 Loading...