

Page 1
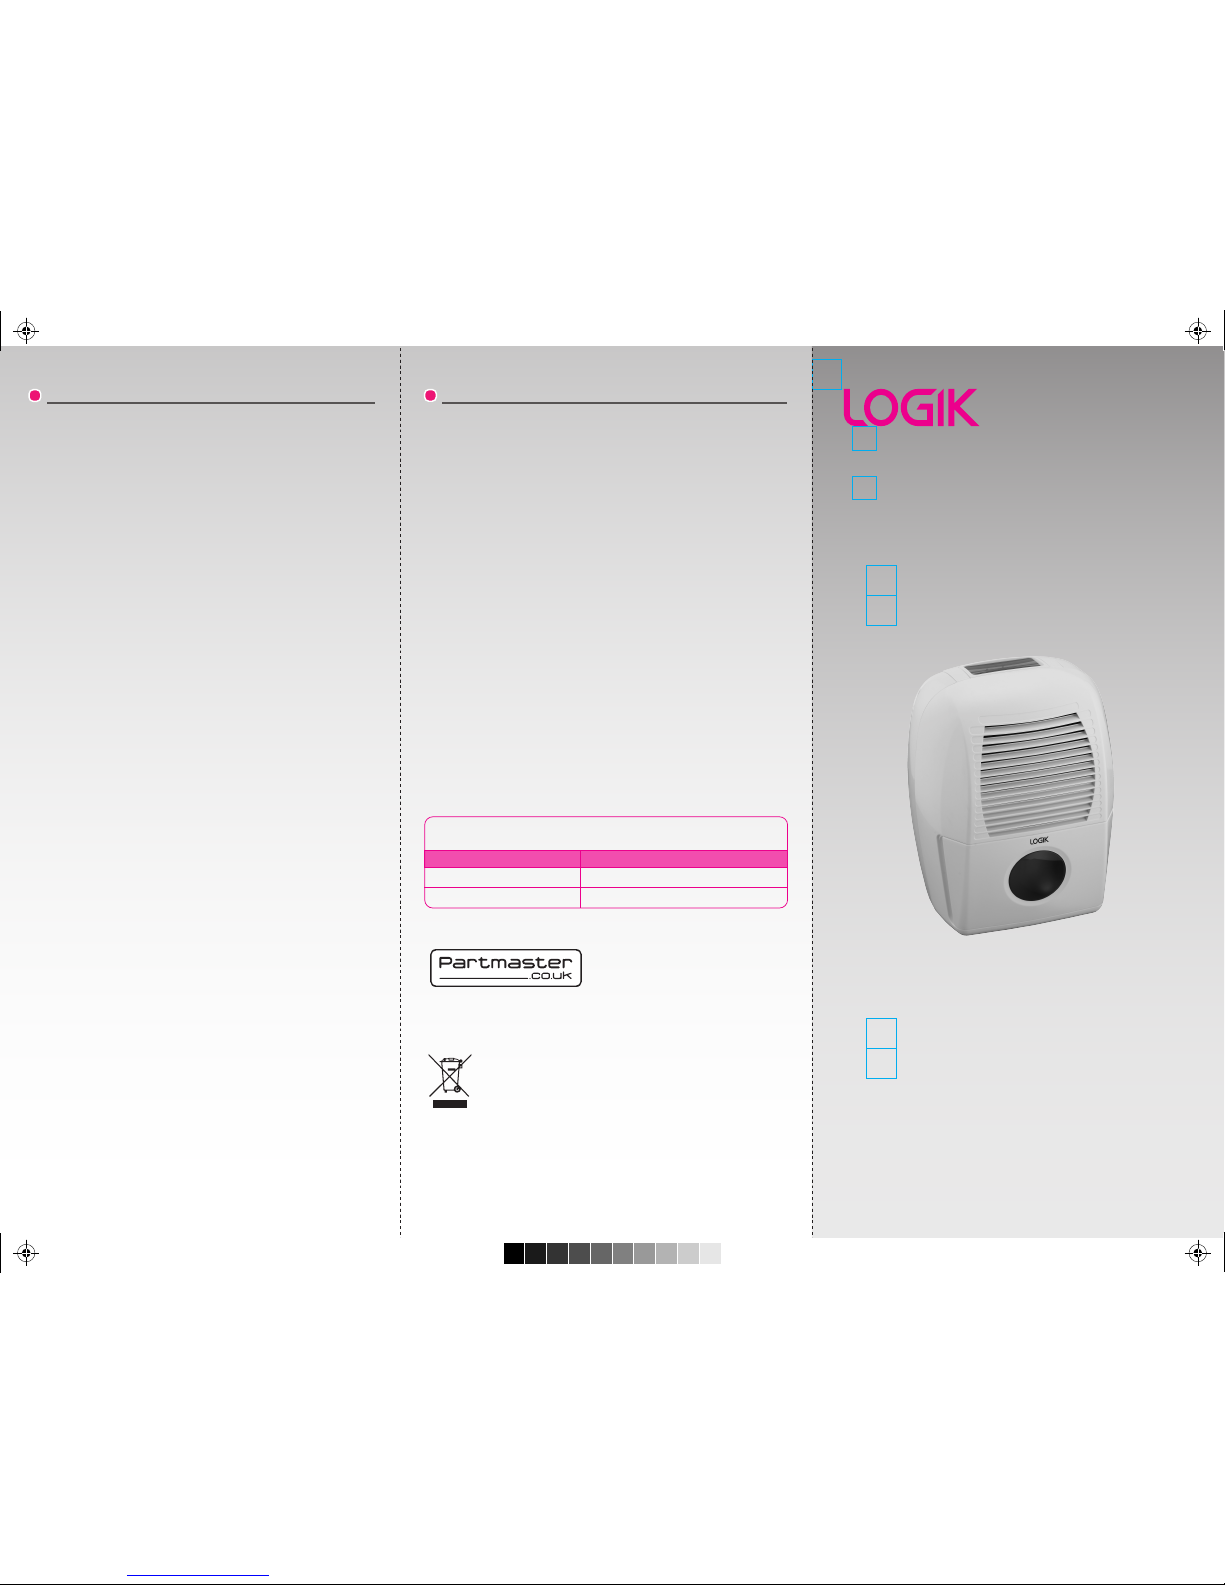
16 Litre Dehumidier
Instr uctio n Manual
L16DH W10
Thank you for purchas ing your ne w Logik 16 Litre D ehumidi er.
We recomm end that yo u spend som e time reading this instructio n manual
in ord er to f ully un derstan d all the o perational features it offers.
Read a ll the safe ty instruct ions ca refully befo re use and keep th is
instru ction manua l for future reference.
GB-4 GB-5
SAFETY FIRST!
Please follow all the safety precautions listed below for safety and to reduce the
risk of injury or electrical shock.
• Read all the instructions before using the appliance and keep them for future
reference.
• Retain the manual. If you pass the appliance onto a third party make sure to
include this manual.
• Always ensure that your supply voltage matches this appliance’s rating label.
• Do not use the appliance in the bathroom or shower room.
• Do not place unit appliance near radiators or heating appliances, also do not
operate the unit in direct sunlight.
• Do not use the unit near ammable materials or re.
• Close supervision is required when the unit is used by or near children.
• Ensure that the unit is used on a stable and level surface. If the oor surface is
uneven there is a risk that the appliance could tip over. Also, excessive vibration
and noise may occur. If the appliance should be accidentally tipped over, please
immediately disconnect from the power supply.
• Do not block or restrict the airow around the appliance. Position the unit so
that the air inlet and exhaust grilles are not blocked or restricted in anyway.
• Allow 300mm of clearance around the unit.
• Do not spray water on the unit as this may cause irreparable damage to the unit
and the risk of electric shock.
• Do not unplug the unit from the mains socket with wet hands.
• Switch off the power before removing the plug from the mains socket. Grip the
plug and pull it out from the mains socket. NEVER pull the mains cable.
• Empty the water when the water tank is full or the unit is not in use for a
prolonged period.
• Do not push any objects in the air inlet and exhaust grilles.
• This unit is not intended for use by persons (including children) with reduced
physical, sensory or mental capabilities, or lack of experience and knowledge,
unless they have been given supervision or instruction concerning use of the
unit by a person responsible for their safety.
• Children should be supervised to ensure that they do not play with the unit.
• If the mains cable is damaged, the unit must be replaced by the manufacturer,
its service agent or similarly qualied persons in order to avoid a hazard.
SPECIFICATIONS
Power Supply : 220 - 240 V / 50Hz
Dehumidication : 16 L / D
Power Consumption : 300W
Air Flow : 165 m
3
/ hr
Capacity of Water Reservoir : 3.5 L
Dimension (L x M x H) : 380 x 300 x 480 mm
Specications and features may change without prior notice.
DSG Retail Ltd • Maylands Avenue • Hemel Hempstead
Herts • HP2 7TG • England
(P.N.: L16DHW10-002)
Visit Partmaster.co.uk today for the easiest way
to buy electrical spares and accessories. With
over 1 million spares and accessories available
we can deliver direct to your door the very next
day. Visit www.partmaster.co.uk or call 0844 800 3456 (UK customers only) Calls
charged at National Rate.
This symbol on the product or in the instructions means that your
electrical and electronic equipment should be disposed at the end of its
life separately from your household waste. There are separate collection
systems for recycling in the EU. For more information, please contact the
local authority or your retailer where you purchased the product.
NOTE: If you require a replacement for any of the items listed below, please quote
their corresponding part numbers:
Replacement Part
Water Tank 201126590209
Part Number
Water Hose 202725490014
L16DHW10_IB_final110617.pdf 1 17/06/2011 11:27 AM
Page 2
GB-1 GB-2 GB-3
UNPACKING
Remove all packaging from the unit. Retain the packaging. If you dispose of it
please do so according to local regulations.
The following items are included:
• The Main Unit
• The Water Hose (P.N.: 202725490014)
• The Instruction Manual (P.N.: L16DHW10-002)
If items are missing or damaged, please contact Partmaster (UK only).
Tel: 0844 800 3456 for assistance.
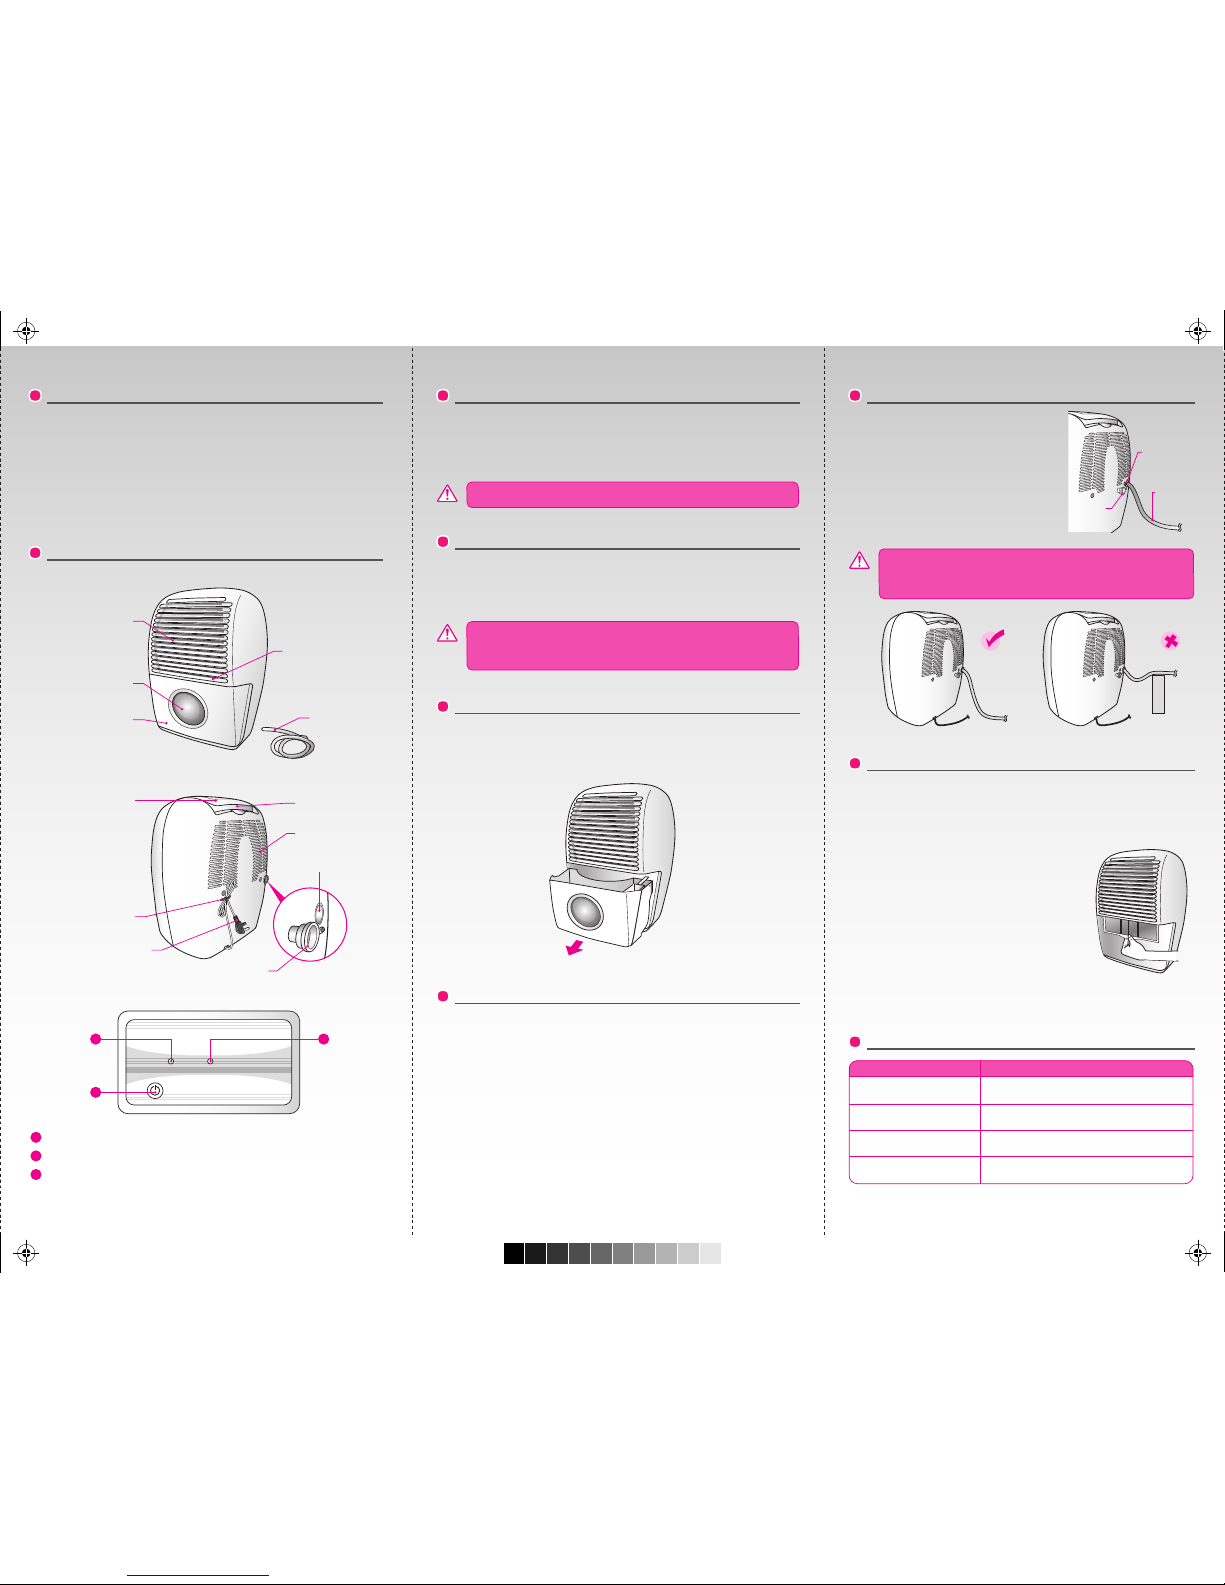
PRODUCT OVERVIEW
CONTINUOUS DRAINING
Water can be automatically emptied into a
oor drain by attaching the unit with a water
hose (12mm).
• Remove the rubber plug from the back of
the unit.
• Insert the water hose into the unit from the
drain outlet in the back of the unit as shown.
Lead the water hose to a suitable drainage
facility.
CLEANING & MAINTENANCE
Maintenance of your air lter
The air lter located inside the air inlet of the unit collects dust contained in the
air. The build up of dust reduces the efficiency of the unit. To prevent the dust
from clogging up the unit always use it with the air lter in place.
Always clean the air lter every 2 weeks. If the unit operates in a dusty
atmosphere clean the air lter more often.
• To remove the lter. Remove the water tank, pull
down the plastic lip at the bottom of the vents as
shown.
• Clean the air lter with a vacuum cleaner. lf the air
lter is very dirty, you can wash it in warm water
(never use hot or soapy water). Make sure that the air
lter is retted correctly to the unit. Do not bend the
lter and ensure it is tted before operating the unit.
Cleaning the unit
• Clean the unit by using a damp sponge, and dry it with a clean, soft cloth.
• Never use alcohol or any product containing solvents.
• Do not immerse the unit in water.
HINTS & TIPS
BEFORE USE
1. Place on a stable, at oor. If the oor surface is not even:
• Vibration and noise will occur.
• Water may leak from the water tank
2. Make sure the air inlet and air outlet openings are clear and free from blockage.
START OPERATION
1. Connect to the mains socket.
2. Press the ON/OFF button.
3. Press the ON/OFF button to turn the unit off.
SUITABLE FOR USE IN
• Bedrooms • Studies
• Cellars / Basements • Kitchens
• Storage rooms • Libraries
• Galleries • Computer rooms
Protects moisture sensitive items, such as :
• Musical instruments • Cameras
• Computers
Benets:
• Prevents clothes and leather products from moulding.
• Dehumidies ooring and carpets.
• Prevents ceiling and windows from condensation.
• To obtain best results, try to avoid opening and closing windows and doors.
WATER TANK FULL
When the water tank is full, the WATER FULL indicator will illuminate and the unit
will automatically stop operating. Turn off the unit and remove the water tank. Empty
the water and then ret the water tank back to the unit. Turn the unit on again and
continue operation.
The unit must stand upright for at least 2 hours prior to use.
If the unit has been switched off and needs to be switched on again
quickly,allow approximately three minutes for the correct operation to
resume.
When the hose is not being used, remove the hose from the drain
outlet. The hose level must be lower than the drain outlet, see
diagrams below.
Air Intake
Water Tank
Water Level Window
Water Hose
Air Filter
(behind the air intake)
POWER WATER FULL
Front View
Control Panel
1
3
2
Control Panel
Mains Cable Band
Air Outlet
Handle
Drain Hose Outlet
Rubber Plug
Rear View
Mains Cable
Power Indicator : Illuminates when the unit is in operation.
Water Full Indicator: Illuminates when the water tank is full or not in place.
ON/OFF Button: Press to turn the unit on and off.
1
3
2
Water
Hose
Rubber
Plug
Drain
Outlet
Empty the water tank. Ret the water tank.The WATER FULL indicator
illuminates.
Clean the air lter. Make sure that the air inlet
and the air outlet are not obstructed.
Dehumidifying function
does not work.
Ensure the unit is on a stable at surface.
Clean the air lter.
Excessive noise.
Clean the air lter.No air coming out from the
air outlet.
Problems Solutions
L16DHW10_IB_final110617.pdf 2 17/06/2011 11:27 AM
 Loading...