

Logan Graphic Products T360, T300 User Manual
Instruction Manual
General PurPose Trimmer
Total Trimmer
Introduction
The Logan Trimmer offers many unique features and durability that make it the best value trimmer/cutter available.
Capable of handling your most demanding trimming needs, the Total Trimmer is the versatile work-horse trimmer you
have been looking for. Ideal for trimming difficult materials like PVC foamboard and vinyl, it also easily cuts common
materials such as films, paper and almost any flexible or rigid materials. Easy to use, ergonomic design, safety
features and inexpensive cost makes the Total Trimmer a cutter with great features at a great price.
For advice, assistance or replacement parts please contact us at www.logangraphic.com
Model T300
Model T360
www.logangraphic.com
For best results use only
authentic Logan blades
Purchase Date

Instruction Manual
BLADE DEPTH
SETTINGS
1 1/8” 3mm
2 3/16 - 1/4” 5-6mm
3 3/8 - 1/2” 9-12mm
Use Blade#267
Total Trimmer
Model T300 & T360
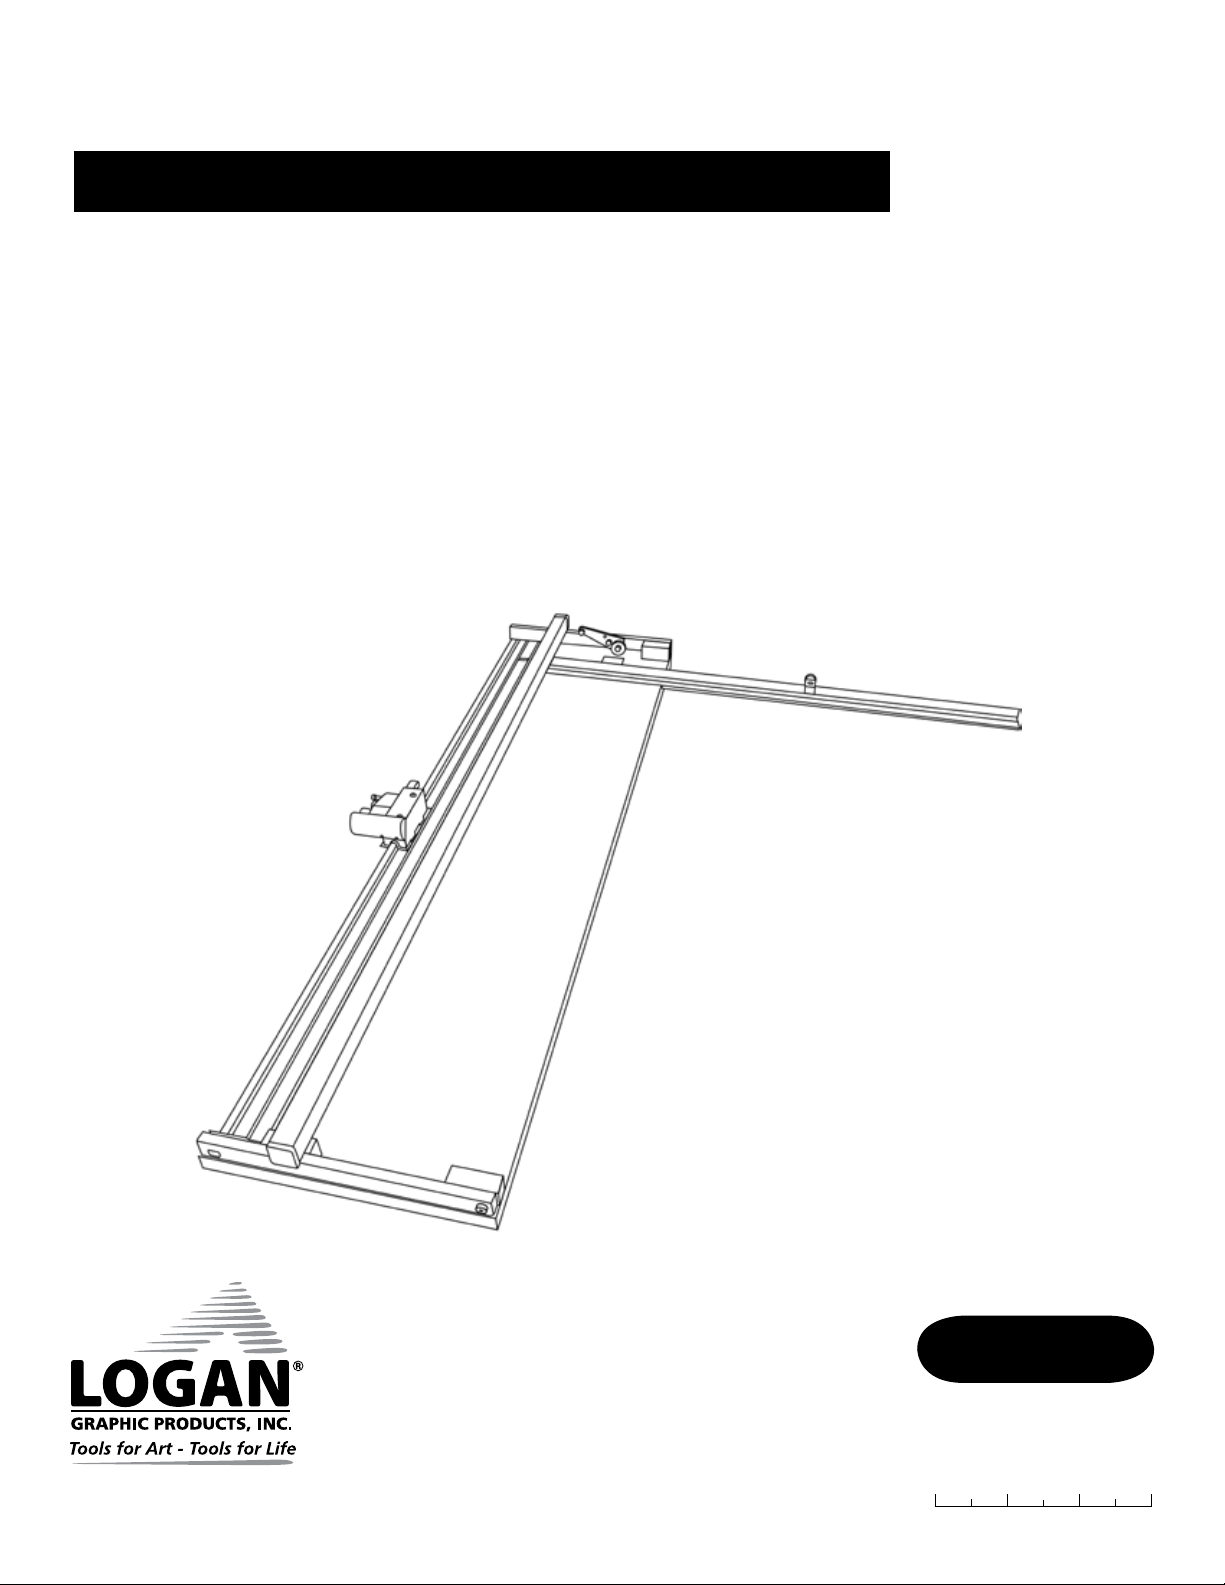
Identification
Board
A. Squaring Arm
B. Squaring Arm Stop
C. Lifter
D. Cutting Head
E. Cutting Bar
F. Handle Bar
Safety
• Remove blades when servicing
machine.
• Do no place your fingers near
blade when using machine.
• Be sure lifter bar is down when
cutting.
• Do not force cutting head if stuck.
Head
G. Blade Knob
H. Depth Adjustment
Knob
I. Plunger Pin
J. Blade Holder
E
D
Fig. 1
C
F
B
A
J
G
I
Fig. 2
H
Assembly
Attaching Squaring Arm & Stop
1. Use two screws to attach squaring arm to
board.
2. Slide stop on to squaring arm. (Fig. 1)
Blade Installation
1. With handle bar in down position, pull out
plunger pin & rotate blade holder back.
Loosen blade holding screw (Fig. 2)
2. Slide blade into slot under “Blade” label.
(Fig. 3)
3. Tighten screw & rotate blade holder back
until plunger pin releases to safety position.
Depth Setting
1. Determine desired depth setting using
Blade Depth Settings chart. (Fig. 4)
2. Rotate depth adjustment knob to desired
number setting. (Fig. 5)
Fig. 3
Fig. 5
Blade Holding Screw
Fig. 4
2
Logan Graphic Products Inc., 1100 Brown Street, Wauconda, IL 60084 847-526-5515 www.logangraphic.com
 Loading...