

101 N. Alloy Dr.
Fenton, MI 48430
Ph (810) 714-5811
Fax (810) 714-5711
CustomerService@lmicorporation.com
Research, Development and Manufacturing of Precision Measuring Systems
Mastering Instructions for the LMI 200-S or LMI 200-SB to the LMI 585 Plus
3
2
1
4
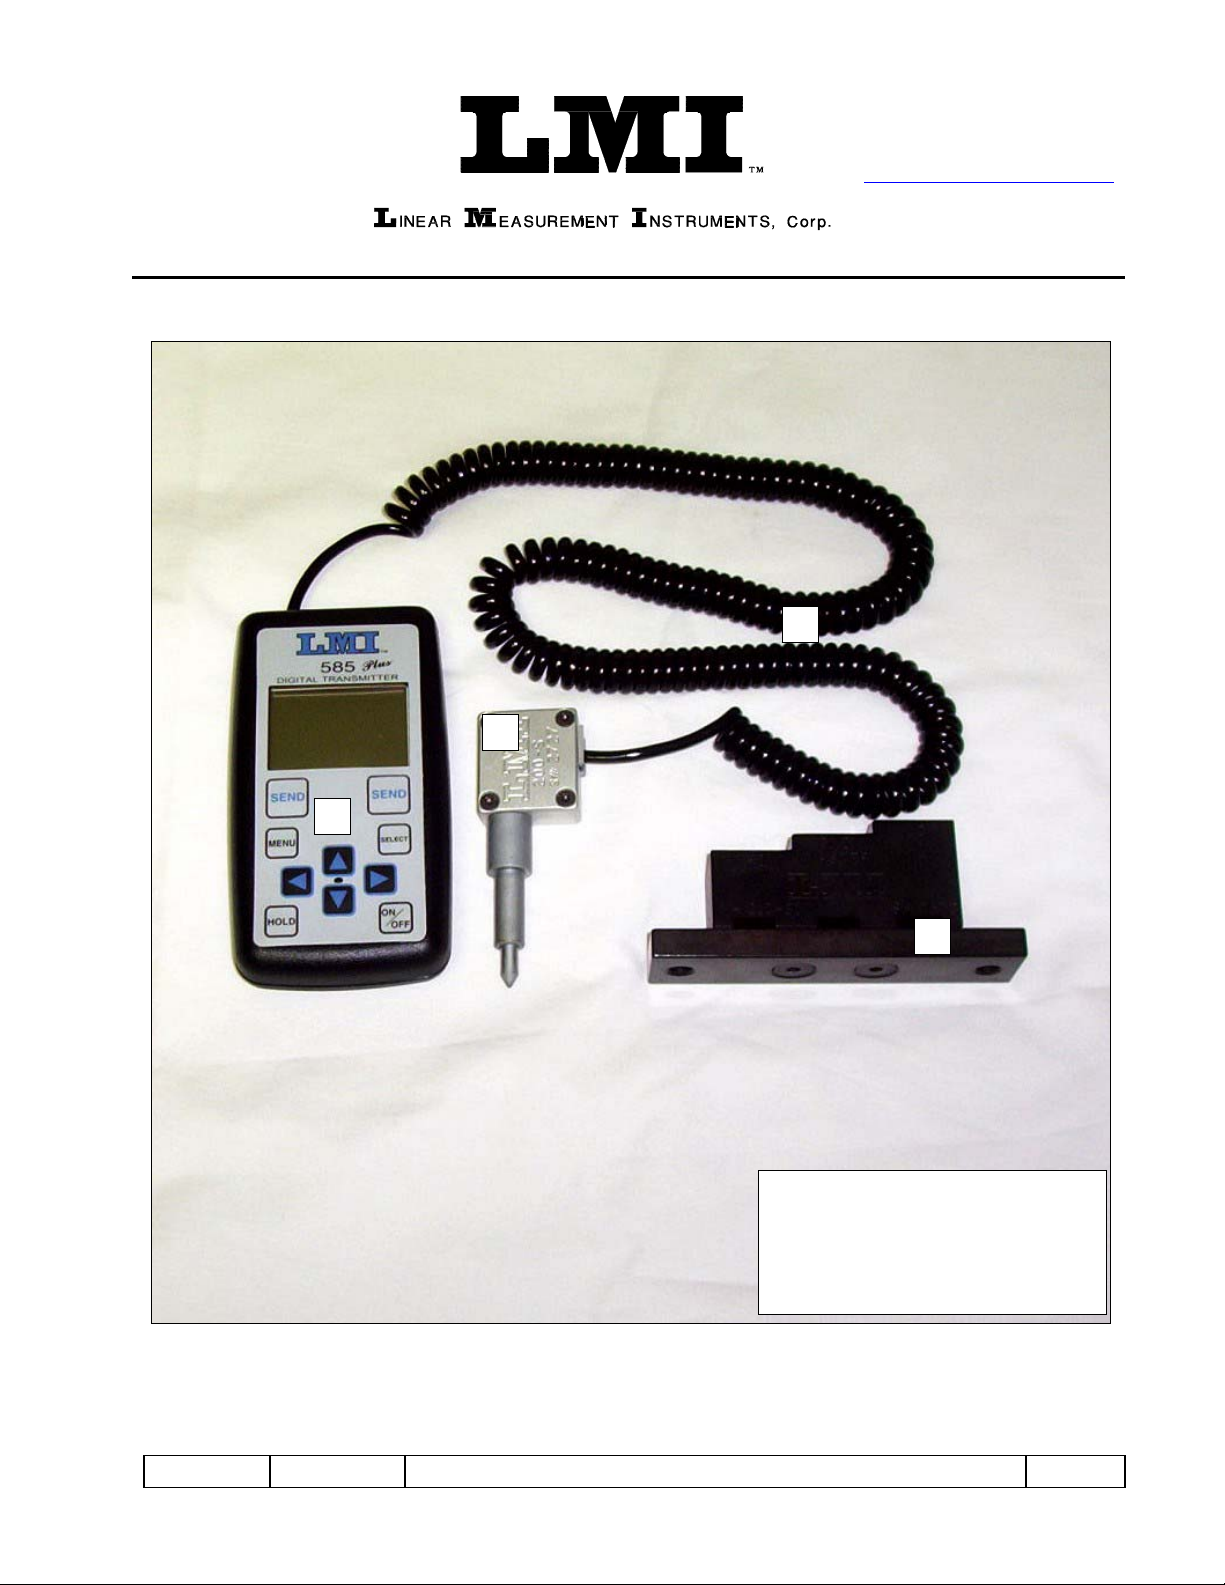
Required equipment:
1. LMI 585 Plus digital transmitter
2. LMI 200-S or 200-SB probe
3. LMI 6009 4 pin to 4 pin cable
4. LMI 210 master block
Form: CA ??? August 01, 2005 R:\Quality\Calibration Instructions\CA 097 200s or sb to LMI 585 Plus.doc Page 1 of 4
E-mail support
techsupport@lmicorporation.com
LMI Corporation
Phone support
(810) 714-5811
*NOTE*
These instructions are copied from the LMI 585 Plus User Guide and are intended to be used as a
quick reference for the mastering process. Please refer to the LMI 585 Plus User Guide for the setup
and configuration of the LMI gage.
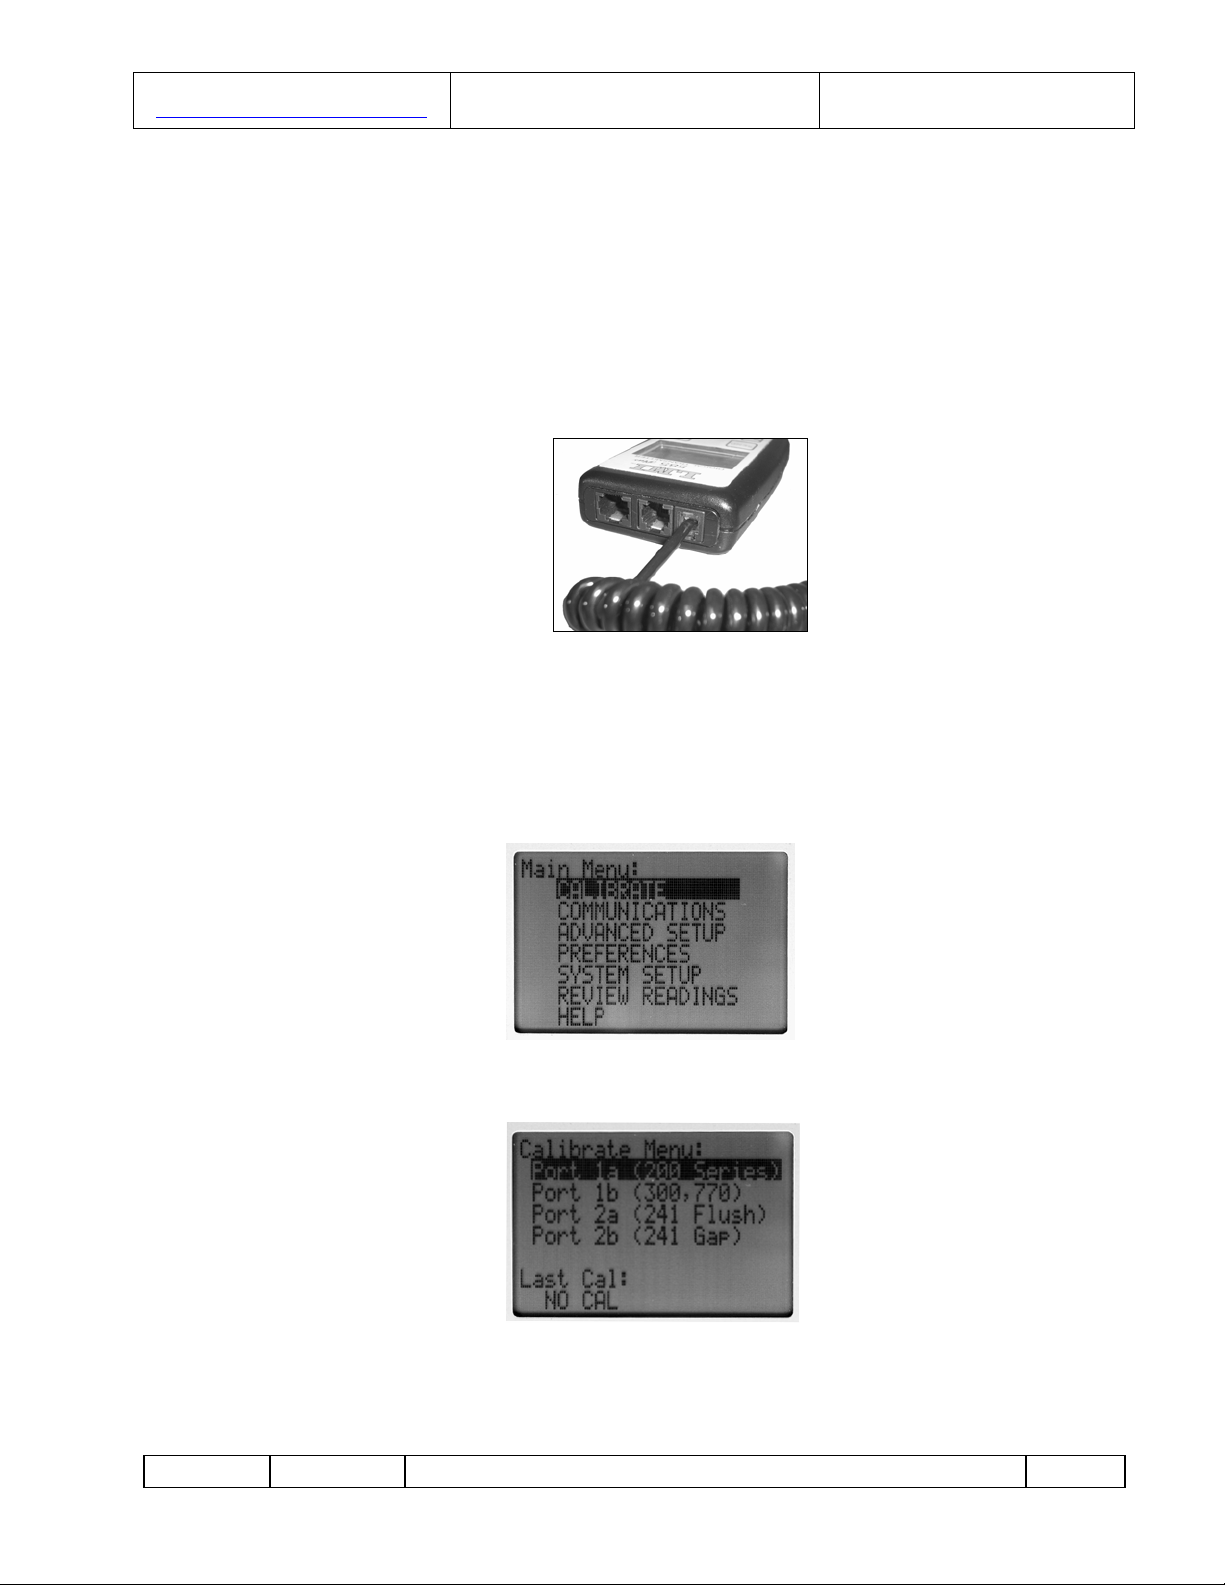
Prior to starting calibration, make sure your 200 Probe is connected to the Gage Port #1 on the 585
Plus using a 6009 cable.
Under the ADVANCED SETUP/CONFIG PORTS menu, the CALSPAN of Port 1a should be set to
10.00mm. Reference LMI 585 Plus User Guide section 6 sub section 6.2.2
¾ Press <MENU> to enter the main menu
¾ “Calibrate” should already be highlighted like the figure below. Press <SELECT> or ►
¾ Highlight Port 1a then press <SELECT>
Form: CA 068 August 01, 2005 R:\Quality\Calibration Instructions\CA 097 200s or sb to LMI 585 Plus.doc Page 2 of 4

E-mail support
techsupport@lmicorporation.com
¾ CAL LOW will be displayed on
the screen. Insert the 200 probe in
the “LO” step of the 210 Master
block and press <SELECT>
¾ The screen will then toggle to
CAL HIGH. Insert the 200
probe in the “HI” step of the
210 Master block and press
<SELECT>
LMI Corporation
Phone support
(810) 714-5811
The screen will then toggle to
¾
CAL MASTER. Insert the 200
probe in the “31.0 Master” step
of the 210 Master block and
press <SELECT>
¾ Calibration is complete and the screen takes you back to the “Calibrate Menu:” screen. To exit
and view your readings, press <SEND>.
¾ You should be able to view your readings on the screen labeled
1PROBE. Use the ► or ◄ to toggle between three gage screens
if 1PROBE is not shown. The screen below shows 1PROBE with
a gage reading of 0.70mm. Insert the gage back into the “31.0
Master” step to verify zero or master. This calibration procedure
will produce a negative reading when the Probe is extended
beyond the 31.0 Master Point.
Form: CA 068 August 01, 2005 R:\Quality\Calibration Instructions\CA 097 200s or sb to LMI 585 Plus.doc Page 3 of 4

E-mail support
techsupport@lmicorporation.com
¾ To reverse the signs, go to the main menu. Go to Advanced setups and hit <SELECT>. Go to Ports
LMI Corporation
Phone support
(810) 714-5811
Polarity. Press <SELECT>. Choose the port you are using and press <SELECT>…the port readings
will change to “Inverted”
NOTES:
1) If you are using the 200-SB with the 235/236 seal gap blocks, you will want to CAL MASTER on
the LO step of the Master Block and put in the proper offset in the ADVANCED SETUP>PORT
CONFIG>Port1a menu. The offset should be set to the 235/236 minimum gap check (10.0mm typ.).
2) A 200-SF Probe has 22.0mm of travel so the CALSPAN needs to be changed from the default
10.00 to 22.00mm. Go to the ADVANCED SETUP>PORT CONFIG>Port1a menu to adjust the
CALSPAN to 22.00mm. The 210 Master Block will also be replaced with the 214 Master Block
with a 54.0mm Master.
Form: CA 068 August 01, 2005 R:\Quality\Calibration Instructions\CA 097 200s or sb to LMI 585 Plus.doc Page 4 of 4
 Loading...